

How to Measure Alternating Tread Stairs
About This Project
This project outlines the process of measuring for and potentially constructing alternating tread stairs. This type of stair, also known as a 'winder' or 'alternating' stair, allows for a steeper rise in a more compact space by having treads that alternate their width, requiring the user to step with alternating feet. The outline will cover the essential measurements needed to design and build such stairs, including rise, run, tread depth, and overall dimensions. It's crucial to note that alternating tread stairs have specific code requirements and safety considerations due to their unique design.
Tools & Materials
Measuring Tape
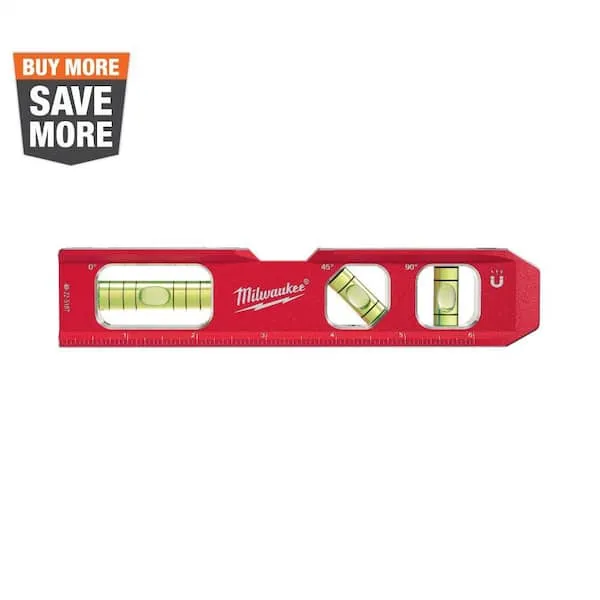
Level
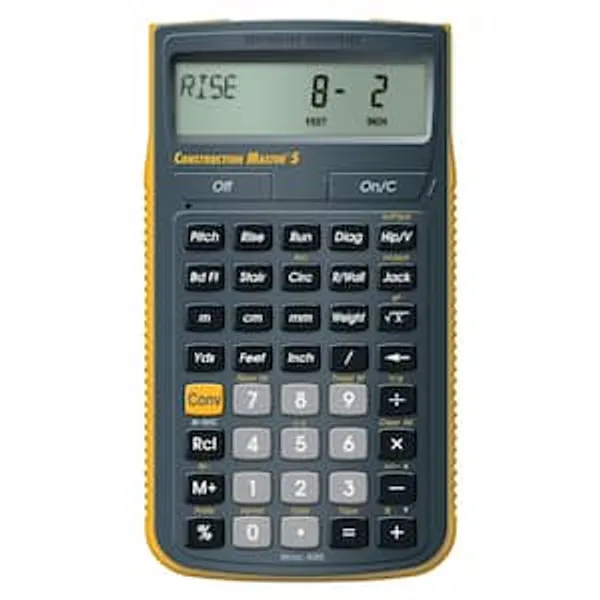
Construction Master 5 Calculator

Calculated Industries Construction Master 5 Calculator 4050

Acro Building Systems Steep Pitch Guardrail System Bracket and Post 12070

Pencil
Measuring Tape
For accurate measurements of plywood and components, ensuring proper assembly.
Level
Ensures surfaces are just right.
Construction Master 5 Calculator
Makes construction calculations a breeze.
Calculated Industries Construction Master 5 Calculator 4050
The Construction Master 5 Calculator is an essential tool for construction pros. It helps you get fast, accurate construction-math calculations in the office or on the job site. Reduce the risk of expensive
Acro Building Systems Steep Pitch Guardrail System Bracket and Post 12070
Fall prevention is the best form of protection and with Acro's temporary fall protection for roofing and construction trades, you won't find a better solution to protect your business against the tragedy
Pencil
Marks and draws with ease.
Steps

Determine Total Rise
15 minutesAccurately measure the vertical distance between the two finished floor levels. This measurement is critical for all subsequent calculations, including the number of steps and the rise of each individual step. Use a reliable measuring tape and ensure it is held plumb.
Watch: Measure Total Rise
Calculate Nominal Riser Height
10 minutesBased on the total rise, decide on the approximate number of risers. A common riser height is around 7 inches. Divide the total rise by your chosen number of risers to get the nominal riser height. For example, if the total rise is 100 inches and you aim for 14 risers, the nominal riser height would be 100/14 = 7.14 inches. You will later adjust this to achieve a consistent, code-compliant riser height for all steps.
Watch: Calculate Individual Riser Height
Determine Total Run
15 minutesThe total run is the horizontal distance the stairs will occupy. This will depend on the available space and the desired tread depth, which is influenced by the riser height and code requirements. For alternating tread stairs, the 'run' per step is essentially the depth of the tread. You'll need to calculate this based on the angle and space.
Watch: Calculate Total Run
Calculate Tread Depth and Nosing
20 minutesThe tread depth is the distance from the front edge of one tread to the front edge of the next. For alternating tread stairs, this is often referred to as the 'run' per step. The 'nosing' is the part of the tread that overhangs the riser below. The combination of riser height and tread depth must comply with building codes to ensure safe footing. A common formula relating riser height (R) and tread depth (T) is 2R + T = 24-25 inches. However, for alternating tread stairs, the tread itself may not have a uniform depth, with one side being deeper than the other.
Watch: Understanding Tread Depth and Nosing
Mark Stringers for Treads and Risers
60 minutesUsing the calculated riser heights and tread depths, carefully mark the stringers. For alternating tread stairs, the layout will be asymmetrical. Mark the positions for each tread nosing and the bottom of each riser. Ensure that the marks for the treads alternate in their depth from the center line of the stringer, and that the riser heights are consistent. Double-check all measurements before cutting.
Watch: Mark Stringers Using Stair Gauges
Cut Stringers
75 minutesCarefully cut the stringers using a circular saw or handsaw, following the layout marks precisely. Make straight cuts for the riser faces and angled cuts for the tread nosings. For alternating tread stairs, this will involve creating a series of notches and angled cuts that accommodate the stepped tread design.
Watch: Cutting Stringers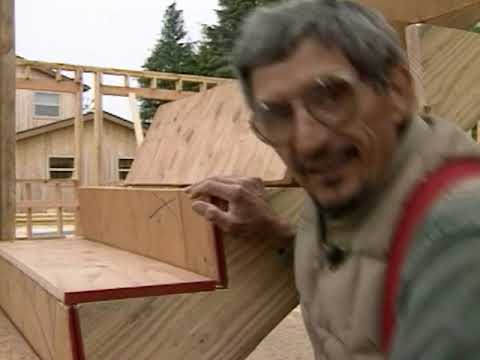
Cut Treads
45 minutesCut the treads from your chosen lumber. The dimensions of each tread will be determined by your layout. For alternating tread stairs, the treads may have different depths on each side to accommodate the alternating stepping pattern. Ensure the cuts are square and the treads will fit snugly into the stringer notches.
Watch: Cut Treads and Risers
Attach Stringers to Floor and Landing
30 minutesPosition the cut stringers in their final location. Ensure they are plumb and properly aligned. Secure the top of the stringers to the upper landing framing and the bottom to the lower floor framing using appropriate structural fasteners such as lag screws or bolts. This step establishes the fundamental support for the stairs.
Watch: Install the StringersInstall Treads
90 minutesPlace each cut tread into its corresponding notch on the stringers. Ensure a snug fit. Secure the treads to the stringers using screws or nails. For alternating tread stairs, pay close attention to the alternating pattern and ensure each tread is correctly oriented.
Watch: Install Risers and Treads
Install Handrails and Guardrails
60 minutesInstall handrails along the side of the stairs and guardrails where necessary, particularly at landings or open sides. The height and spacing of handrails and guardrails are strictly regulated by building codes. Ensure they are securely attached to the stair structure or framing.
Watch: Install Handrails