
How to Use a Toilet Auger to Clear a Stubborn Clog
About This Project
This guide provides comprehensive, step-by-step instructions for using a manual toilet auger, also known as a closet auger, to effectively clear stubborn clogs that a plunger cannot resolve. The process involves preparing the work area, properly inserting and operating the auger to break up or retrieve the obstruction, and then testing the toilet to ensure the drain is clear.
Best for experienced DIYers and homeowners with some experience with basic plumbing knowledge.
Tools & Materials

Towel

Heavy Duty Latex Gloves
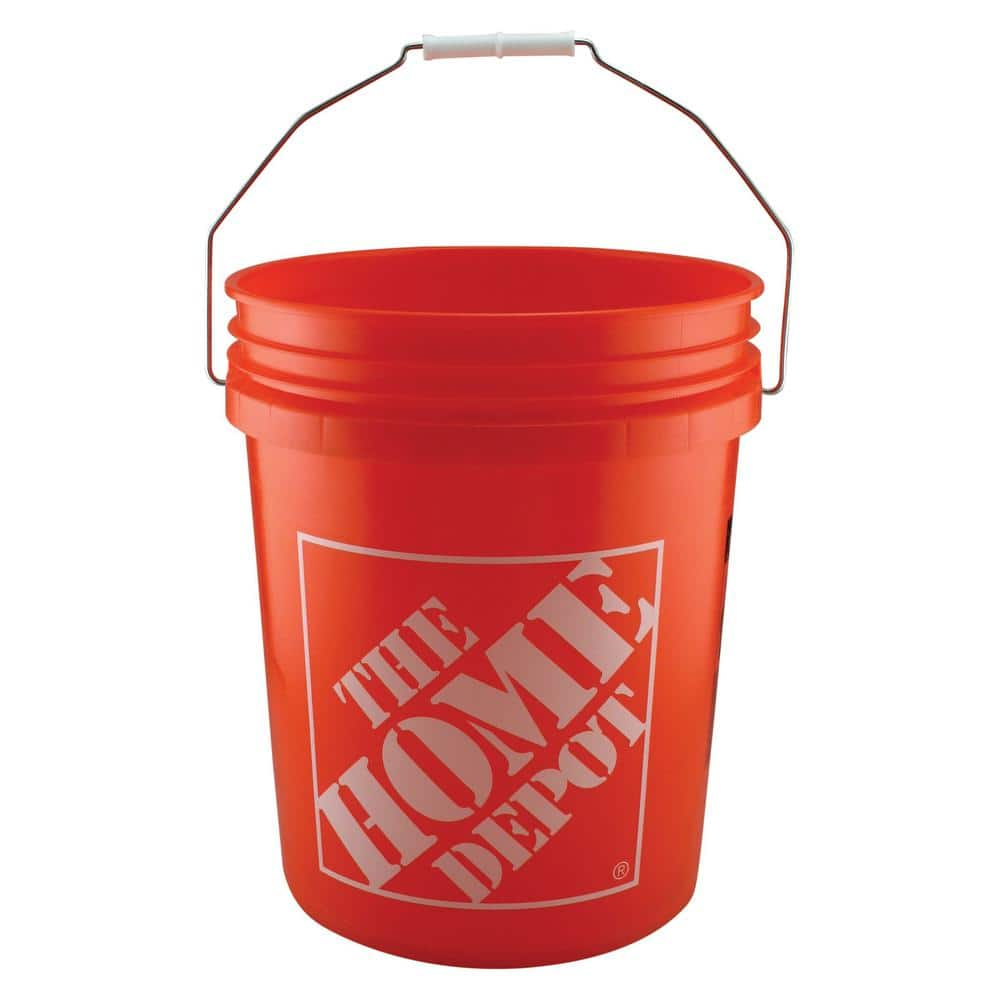
The Home Depot 5 gal. HD Bucket in Orange (Pack 300) 05GLHD2
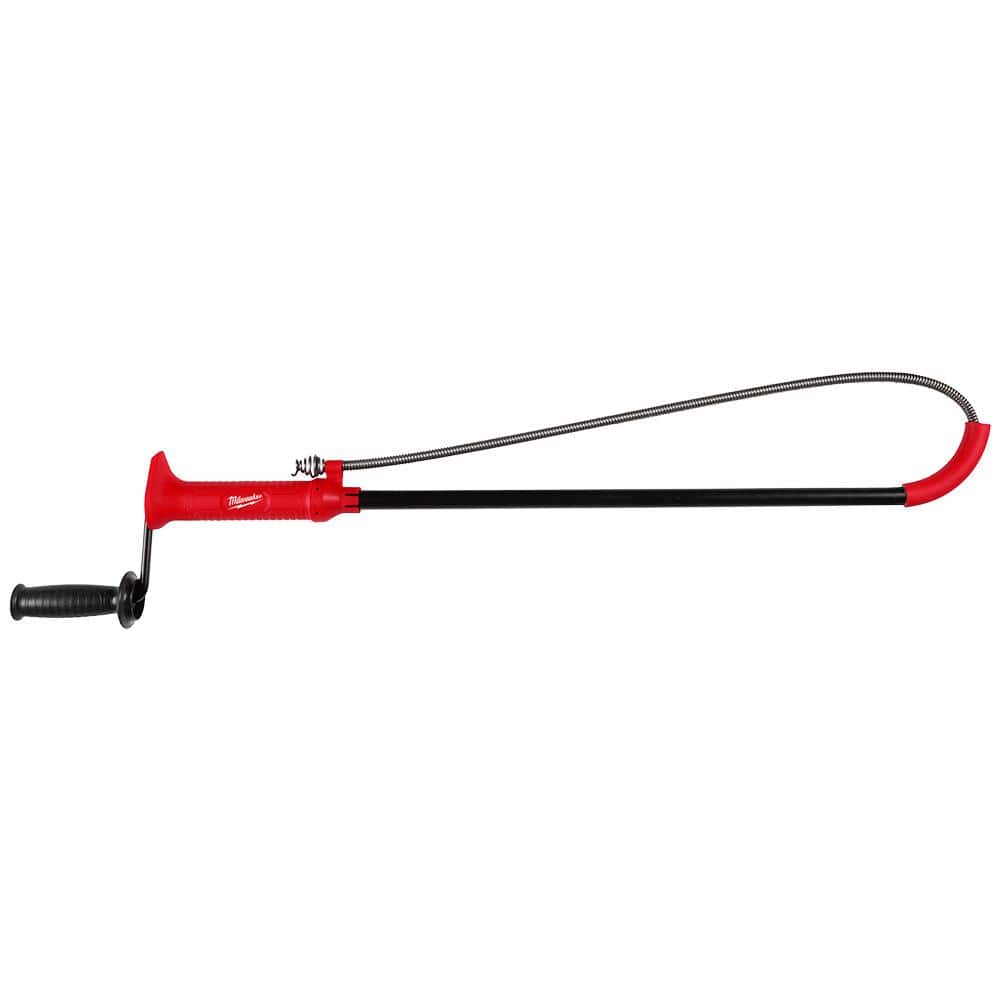
Milwaukee 3 ft. Toilet Auger 48-22-5765
Mutual Dropcloth 4 ft. x 12 ft. 8 oz. Natural Canvas Drop Cloth (3-Pack) 11457
Everbilt 5 ft. x 5 ft. 8 oz. Easy Drop Cloth 85515/12HD
Towel
Absorbs moisture and dries surfaces.
Heavy Duty Latex Gloves
Protection during intense tasks.
The Home Depot 5 gal. HD Bucket in Orange (Pack 300) 05GLHD2
Use the 5 gal. Orange Homer Bucket to haul parts, paint, topsoil and other household and work-site items. Made from durable 0.70 mil HDPE plastic, you will get a lot of use out of the bucket. This orange,
Milwaukee 3 ft. Toilet Auger 48-22-5765
The Milwaukee 3 ft. Toilet Auger provides quicker and easier drain clearing in tough applications. The secure rubber boot helps prevent damage to porcelain fixtures. With an extended cable head, this auger allows for the easiest stoppage retrieval. The hose opening offers a quick and easy cleanup. The 3 ft. Toilet Auger is backed by Milwaukee's Limited Lifetime Warranty.
Mutual Dropcloth 4 ft. x 12 ft. 8 oz. Natural Canvas Drop Cloth (3-Pack) 11457
8 oz. 4 ft. x 12 ft. (3-Pack) natural canvas drop cloths are manufactured with first quality tightly woven cotton cloth. This drop cloth will protect your paint area from costly splatters and drips. Our
Everbilt 5 ft. x 5 ft. 8 oz. Easy Drop Cloth 85515/12HD
The Everbilt 5 ft. x 5 ft. 8 oz. Easy Drop Cloth is made with an absorbent canvas top and a poly backing to prevent leaks. It features sewn hems and seams that hold up well over time. This small, economical
Steps

Prepare the Work Area
3 minsBefore starting, prepare the area to prevent a mess and ensure your safety. Lay down several old towels on the floor around the base of the toilet to catch any water that may splash out. Put on a pair of waterproof gloves to protect your hands from toilet water and germs. If you have one, place a 5-gallon bucket nearby; it will be useful for holding the wet auger after you've finished.

Insert the Auger
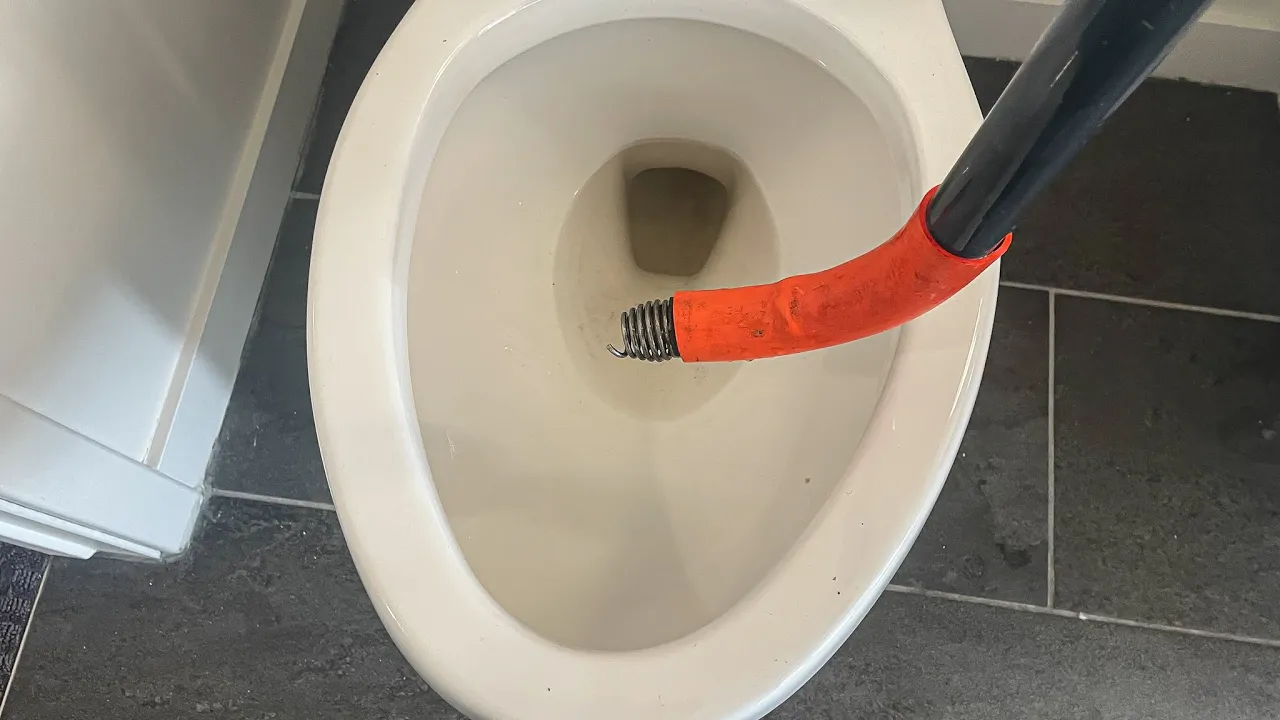
2 minsHold the toilet auger upright and pull the crank handle all the way up. This retracts the flexible metal cable completely inside the metal guide tube. Carefully lower the curved end of the auger into the toilet bowl. The rubber boot on the J-bend is specifically designed to rest in the drain opening at the bottom of the bowl and protect the porcelain from being scratched.

Extend and Crank the Cable
5 minsWith one hand firmly holding the guide tube to keep the auger stable, use your other hand to slowly turn the crank handle in a clockwise direction. As you turn the handle, apply gentle downward pressure. This combined action will feed the flexible cable out of the guide tube and down into the toilet's S-shaped trapway. Continue this motion until the cable stops advancing, which indicates you have reached the obstruction.

Work the Clog
5 minsOnce you feel the resistance from the clog, the goal is to either break it up or hook it. Continue to slowly crank the handle clockwise. The corkscrew tip of the auger cable will work its way into the mass of the clog. Gently push and pull the auger a few inches while continuing to turn the crank. This motion will macerate soft clogs (like toilet paper) or securely hook onto solid objects (like a washcloth or toy).

Retract the Auger Cable
3 minsAfter working the clog, begin retracting the cable. Crank the handle in a counter-clockwise direction while simultaneously pulling the handle up and away from the toilet bowl. This will draw the cable back into the protective guide tube. If you have hooked the clog, you will feel resistance as you pull. Continue with a slow and steady motion to pull the object out of the trap and into the bowl. Once the cable is fully retracted, carefully lift the entire toilet auger from the bowl, keeping the end pointed down to avoid drips, and place it on the towels or directly into your bucket.

Test the Toilet and Clean Up
5 minsWith the auger removed, test if the clog has been cleared. Flush the toilet. Observe the water in the bowl; it should swirl and drain quickly and completely. If it does, congratulations, you've fixed the clog. If it still drains slowly or backs up, you can try the auger process one more time. If a second attempt fails, the clog may be further down the main drain line, requiring a professional plumber. Finally, clean your toilet auger thoroughly with soap and water, dry it, and store it for future use. Gather and launder or dispose of the used towels.
Common Problems
Spinning counter-clockwise is essential for retracting the cable properly.
Solution: To avoid this issue: Be mindful of this warning and take appropriate precautions.
Be extra cautious when the auger head is about to retract fully to avoid damaging the porcelain.
Solution: To avoid this issue: Be mindful of this warning and take appropriate precautions.
Clog re-emerges after augering due to lost debris.
Solution: When retrieving, avoid turning the crank so you don't lose anything the auger head may have snagged.
Have a rag or towel ready to place under the auger as you remove it to catch dirty water.
Solution: To avoid this issue: Be mindful of this warning and take appropriate precautions.
The auger cable gets stuck in the toilet trap.
Solution: Some toilets have tighter traps, so it may take some maneuvering to get the cable through.
Auger doesn't clear the clog on the first pass.
Solution: You could retract the cable then go forward and repeat several times to either break up or pull out the clog.
Auger gets stuck on large debris, preventing clog removal.
Solution: The spiral in the front of the snake could catch large obstructions.
Frequently Asked Questions
Why can't I just use a regular drain snake instead of a specialized toilet auger for a stubborn toilet clog?
A specialized toilet auger, also known as a closet auger, is designed with a protective sleeve and a curved end to safely navigate the toilet's trap without scratching the porcelain. Regular drain snakes lack this protection and can easily damage your toilet bowl, leading to costly repairs. Always use the correct tool for the job to prevent unnecessary damage.
What are the most important safety precautions I should take when using a toilet auger?
Always wear heavy-duty latex gloves to protect yourself from unsanitary water and potential splashes. Consider eye protection as well. Work slowly and carefully to avoid splashing water and to prevent damaging the toilet bowl or yourself with the auger cable.
What should I do if the auger cable gets stuck or doesn't seem to be clearing the clog?
If the auger gets stuck, try rotating the handle in both directions while gently pulling back and pushing forward. Avoid forcing it, as this can damage the auger or the toilet. If you cannot clear the clog after several attempts, the obstruction might be too dense or too far down, indicating it's time to call a professional plumber.
How will I know if I've successfully cleared the toilet clog after using the auger?
After retracting the auger, first try flushing a small amount of toilet paper down the drain. If that clears easily, then attempt a full flush. The water should drain quickly and completely without backing up. Repeat the full flush once or twice to ensure the clog is fully gone and the drain is flowing freely.
Can I use chemical drain cleaners as an alternative or in conjunction with a toilet auger for tough clogs?
It is generally not recommended to use chemical drain cleaners with a toilet auger. Chemical cleaners can be harmful if splashed back onto your skin or eyes, and they often don't work effectively on severe toilet clogs. Furthermore, they can sometimes damage pipes or make the situation more difficult and hazardous for a plumber if the auger fails.
This project is rated 'beginner' with an estimated time of 2 hours. What if it takes longer or seems too difficult for me?
The 'beginner' rating means the steps are straightforward, but patience and careful execution are key. The 2-hour estimate accounts for preparation, auger use, and cleanup. If you're struggling to operate the auger, repeatedly getting stuck, or if the clog persists after multiple attempts, it's wise to stop and consider calling a professional plumber to prevent potential damage or frustration.


