
How to Use a Drain Cleaning Bladder (Blow Bag) to Clear a Clog
About This Project
This guide provides comprehensive, step-by-step instructions for safely and effectively using a drain cleaning bladder, also known as a blow bag, to clear a clog in a main household drain line. The process involves selecting the correct bladder, attaching it to a garden hose, inserting it into the drain's cleanout access, and using controlled bursts of water pressure to dislodge the obstruction.
Best for experienced DIYers and homeowners with some experience with basic plumbing knowledge and familiarity with power tools. Requires MCR Safety BearKat Safety Glasses MCSCRWBK110 and Heavy Duty Latex Gloves and G & F Products 1628 L 100% Waterproof Winter Gloves for Outdoor Cold Weather 1628L.
Tools & Materials
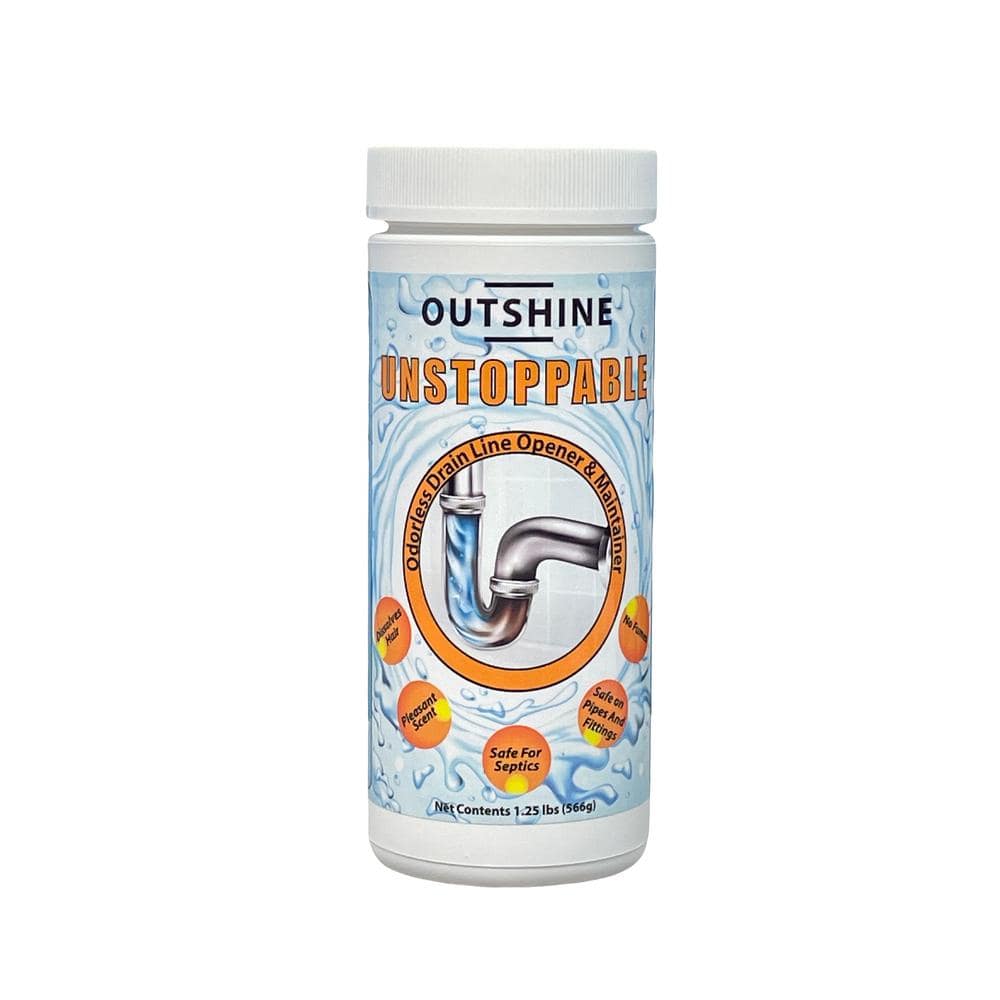
Drain Line Opener and Maintainer 3050-O1005-2
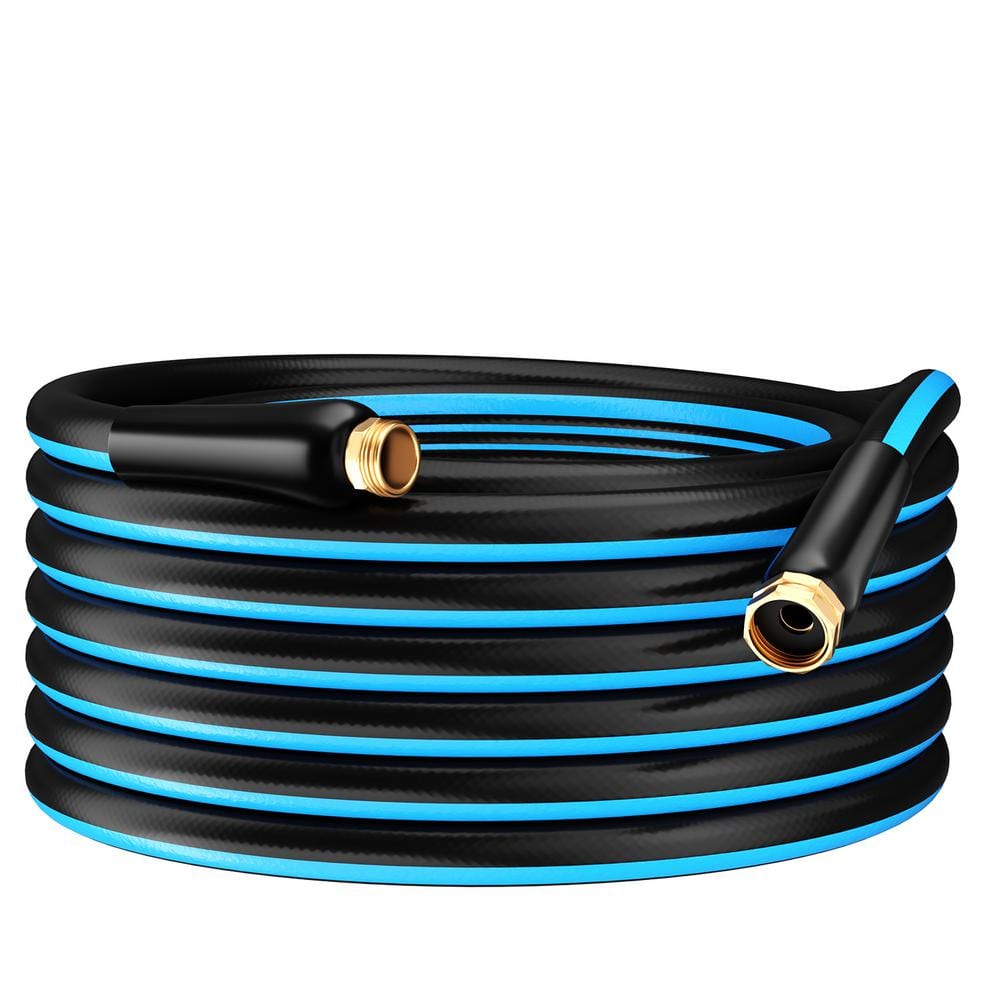
GardenJoy PVC Garden Hose 5/8 in. x 75 ft. Heavy-Duty Durable Hose Outdoor Water Hose LG-GHB5875

Towel
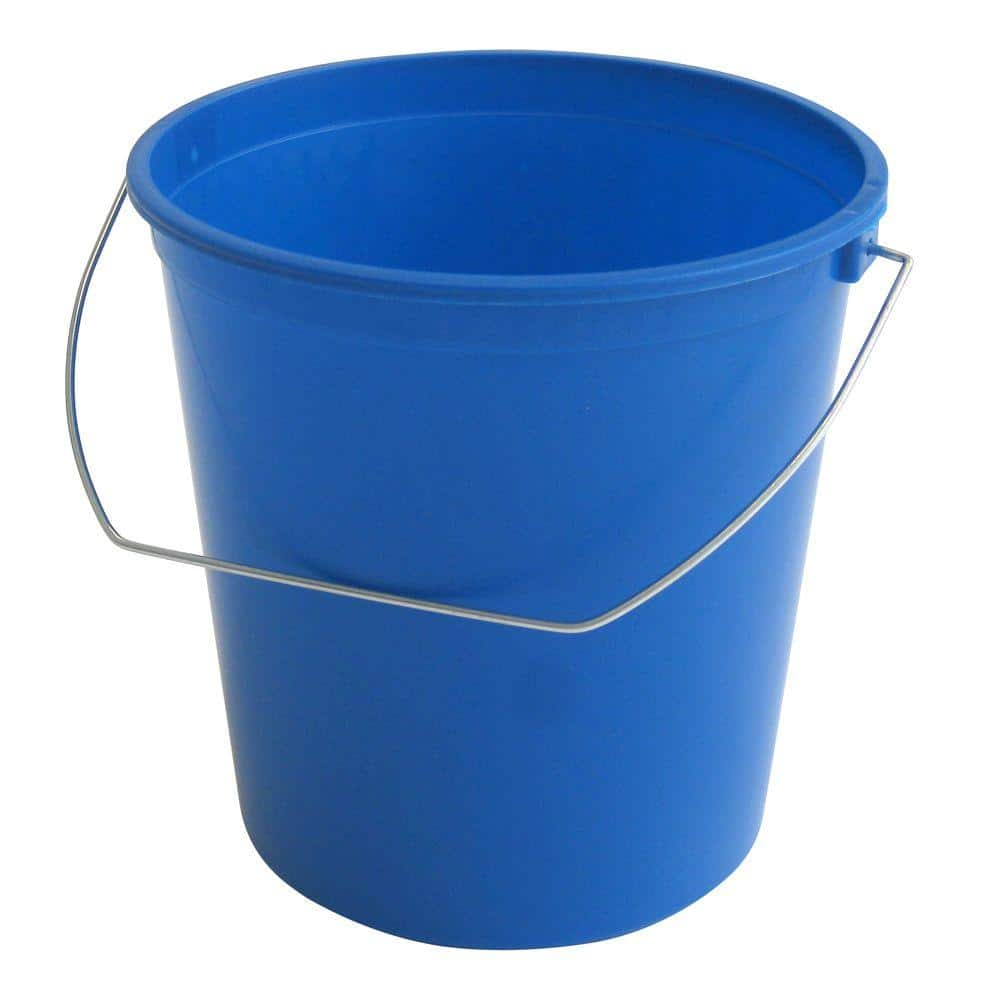
2.5 Qt. Bucket RG580/12
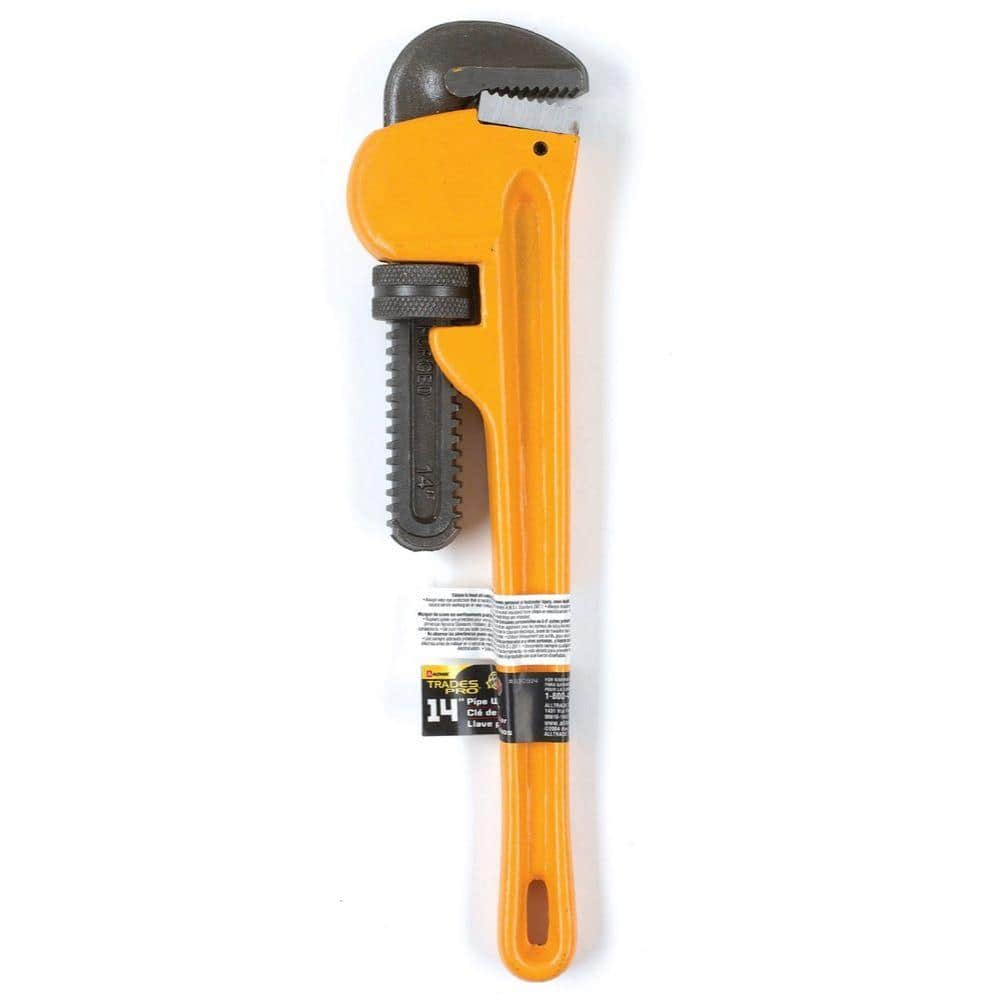
TradesPro 14 in. HD Pipe Wrench 830914
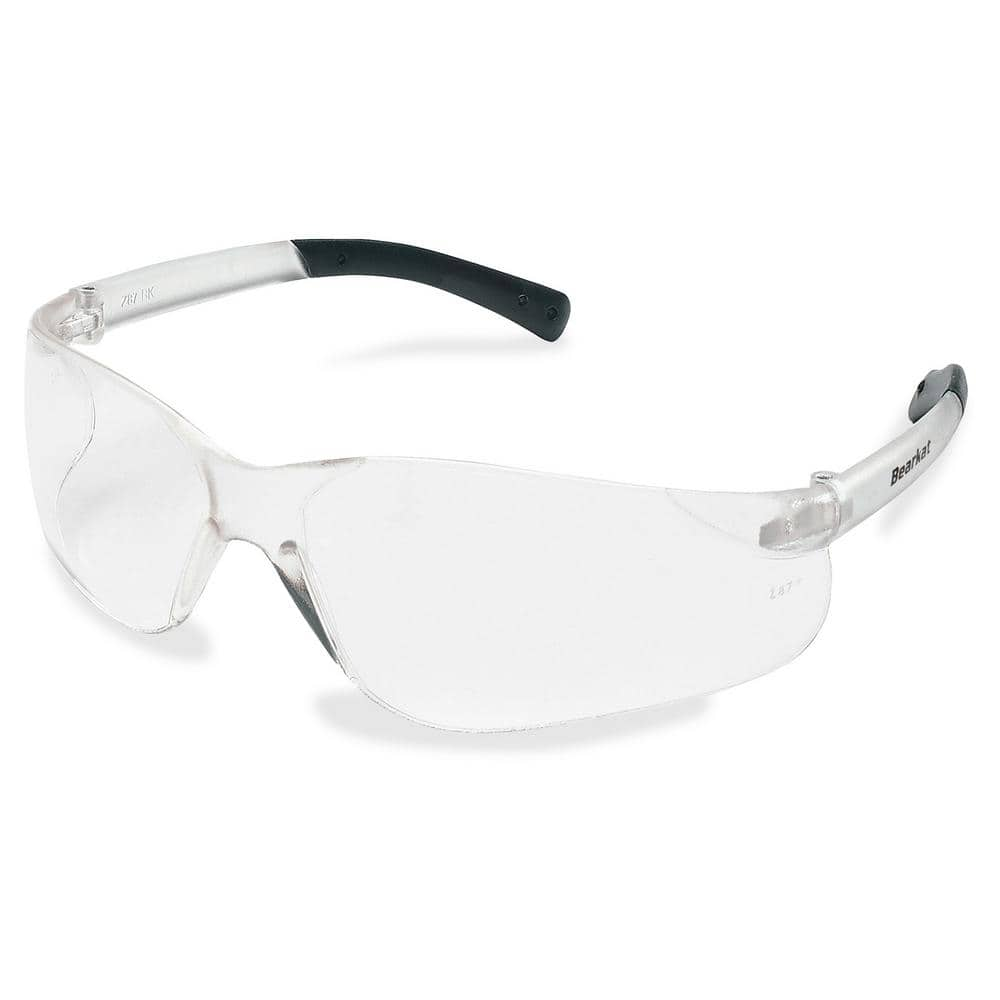
MCR Safety BearKat Safety Glasses MCSCRWBK110
Drain Line Opener and Maintainer 3050-O1005-2
Unstoppable is a citrus scented granule that cleans and maintains drains. This product is designed to remove hair, body oils, and soap scum that can trap and mat other debris, and cause drains to run slow or clog. Use Unstoppable in tubs, showers, sinks, and kitchen drains. Product can be use on a regular basis as preventative maintenance.
GardenJoy PVC Garden Hose 5/8 in. x 75 ft. Heavy-Duty Durable Hose Outdoor Water Hose LG-GHB5875
Light-weight and Flexible: Made from premium PVC, our garden hose is both light-weight and durable, allowing for easy handling without kinks or tangles, ideal for all your watering and cleaning needs.
Towel
Absorbs moisture and dries surfaces.
2.5 Qt. Bucket RG580/12
12-pack of handy 2.5 qt. blue buckets. Perfect for faux painting, sponging, crafts, etc. Also great touch-up bucket, perfect for various small jobs and storage.
TradesPro 14 in. HD Pipe Wrench 830914
A simple tool that's simply irreplaceable around the house, yard, garage and worksite. Nothing works better at biting, clamping and turning stubborn pipes, fittings and more. This wrench has all the essentials
MCR Safety BearKat Safety Glasses MCSCRWBK110
Safety glasses feature a well thought-out construction that combines the best in safety, comfort and affordability. Your vision is unobstructed by the 1-piece wraparound lens which, by its tight fit, provides for maximum safety. Flexible temples enhance your comfort during extended use. Nonslip rubber head grips are notched for a clip-on breakaway cord.
Steps

Preparation and Safety
5 minsBegin by prioritizing safety. Put on your safety glasses to protect your eyes from potential backsplash of dirty water and a pair of waterproof gloves to keep your hands clean and dry. Locate the main line cleanout access port. Because backflow or spills are possible, place a shallow bucket or lay down several old towels around the cleanout opening to protect the floor. Gather all your necessary tools, including the correctly sized drain cleaning bladder, a durable garden hose, and a pipe wrench if the cleanout cap is too tight to open by hand.

Select and Inspect the Bladder
2 minsExamine the packaging of your drain cleaning bladder to confirm it is rated for the diameter of your pipe, which we've identified as 3-4 inches. Using the wrong size is ineffective and risky. A bladder that is too small will not create a proper seal, while one that's too large may not fit or could become lodged. Once you've confirmed the size, perform a thorough visual inspection of the bladder itself. Look for any cuts, punctures, cracks, or signs of dry rot in the rubber. A compromised bladder can burst under pressure inside your pipe, turning a clog into a much more difficult retrieval and repair job.
Connect Bladder to Hose
1 minTake the metal, threaded end of the drain cleaning bladder and attach it to the male end of your garden hose. Screw it on by hand, ensuring it is snug and secure. The connection should be tight enough to prevent water from leaking at the joint when under pressure. Do not overtighten with a wrench or pliers, as this can crack the plastic or brass fitting on the bladder.

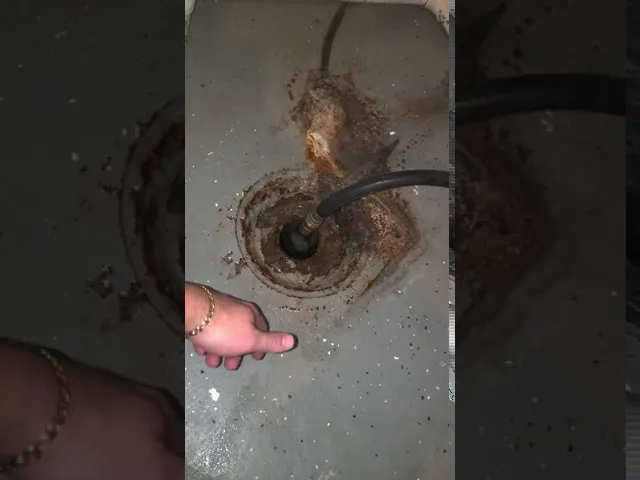
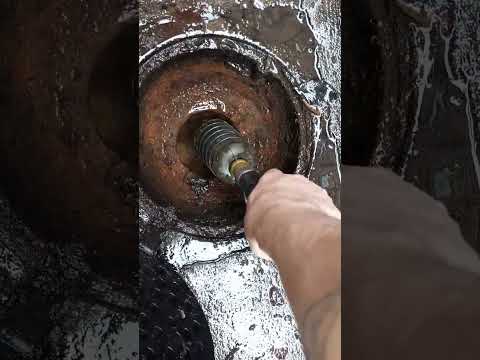
Insert Bladder into Drain Pipe
3 minsWith the cleanout cap removed, begin feeding the bladder and the attached garden hose into the drain pipe. Push the hose deliberately, guiding the bladder into the pipe. Continue feeding it until the bladder is well inside the pipe, at least 6-10 feet if possible. The goal is to get the bladder past any immediate bends or wyes near the opening and closer to the actual clog. The bladder must be fully contained within the pipe for it to inflate and seal correctly.

Activate the Bladder
5 minsThis is the most critical step. Firmly grip the garden hose with both hands, bracing yourself for significant back pressure. Signal to your helper to turn on the water at the spigot. It's best to turn it on fully and quickly. The bladder will immediately begin to inflate, pressing against the inner walls of the pipe to form a seal. Once sealed, a concentrated, high-pressure jet of water will blast from the tip of the bladder directly at the clog. The hose will pulse and push back against you. Apply water in short, powerful bursts of 20-30 seconds, then have your helper turn the water off. Repeat this pulsing action several times. Listen carefully for a 'whoosh' sound and feel for a sudden decrease in back pressure, which indicates the clog has been dislodged.

Verify and Retrieve
5 minsAfter you believe the clog has been cleared, have your helper turn the water supply off completely. Wait for at least 30-60 seconds. This allows the water pressure to dissipate and the bladder to fully deflate. Do not attempt to pull it out while it is still inflated. Once deflated, the bladder and hose should slide out of the pipe with minimal resistance. Before replacing the cleanout cap, test the drain line. Go to a fixture inside the house (e.g., flush a toilet or run a sink) and let a significant amount of water flow into the drain system. Watch the open cleanout to ensure water is flowing past it freely and not backing up. If it flows well, you can securely replace the cleanout cap, using a pipe wrench if needed to snug it up.
Common Problems
Be prepared for some water to splash back before the bladder fully inflates and seals the pipe.
Solution: To avoid this issue: Be mindful of this warning and take appropriate precautions.
Do not overtighten the connection, as this can strip the threads or damage the rubber washer.
Solution: To avoid this issue: Be mindful of this warning and take appropriate precautions.
Do not overtighten the connections, as this can damage the threads or the rubber washer inside, leading to leaks.
Solution: To avoid this issue: Be mindful of this warning and take appropriate precautions.
be careful. You just can't crank it all the way up when you got it in there
Solution: To avoid this issue: Be mindful of this warning and take appropriate precautions.
Unsanitary conditions and potential for skin irritation from contact with sewage.
Solution: Be sure to wear waterproof gloves and wash all equipment thoroughly with a bleach solution after the job is done.
Clog remains, pipe is still blocked.
Solution: You may hear a 'whoosh' or notice the hose jerking, which can indicate the clog has been successfully dislodged.
Stand clear of the cleanout opening when you first turn on the water, as there can be some initial spray or backup.
Solution: To avoid this issue: Be mindful of this warning and take appropriate precautions.
Frequently Asked Questions
How do I choose the correct size drain cleaning bladder for my pipe?
Selecting the right size is crucial for effectiveness and safety. Your drain bladder should match the interior diameter of the pipe you're clearing; for example, a 3-inch bladder for a 3-inch pipe. Using a bladder that is too small will not create enough pressure to dislodge the clog, while one that is too large might get stuck or not fit at all. Always measure your cleanout access pipe or consult your home's plumbing diagrams if unsure.
What essential safety precautions should I take when using a drain cleaning bladder?
Always wear safety glasses (like MCR Safety BearKat Safety Glasses) and sturdy gloves to protect against splashing water and potential debris. Ensure you have a clear understanding of where the water pressure will be directed and place towels around the cleanout to manage any overflow. Never exceed the recommended water pressure or use the bladder in a drain where chemical drain cleaners have recently been used, as this can create dangerous fumes.
What should I do if the drain cleaning bladder doesn't clear the clog?
If the initial attempt doesn't clear the clog, try repositioning the bladder slightly deeper into the pipe and apply water for a longer duration (up to a few minutes). If the clog persists, it might be too dense, too far down the line, or a different type of obstruction (like tree roots) that requires a different approach. At this point, consider using a drain auger or calling a professional plumber.
Can using a drain cleaning bladder damage my plumbing system?
Yes, improper use can potentially damage older, corroded, or PVC pipes, especially if the pipe joints are weak. To prevent damage, ensure you use the correct size bladder and apply water pressure in controlled bursts, rather than a continuous, high-pressure stream. If you suspect your pipes are old or fragile, it's best to consult a professional before attempting this method.
Is a drain cleaning bladder suitable for all types of drain clogs or pipes?
Drain cleaning bladders are most effective for clearing soft obstructions like grease, hair, and soap scum in main drain lines (typically 3-4 inches in diameter). They are generally not recommended for smaller household drains like sinks or bathtubs due to the high pressure, which could damage fixtures or cause water to overflow. For hard obstructions or tree roots, a drain auger or professional intervention is usually required.
Do I need a special garden hose or specific water pressure for this tool?
You will need a sturdy, kink-resistant garden hose, such as a 5/8 inch heavy-duty PVC hose, as it will be under significant pressure. Standard household water pressure (typically 40-80 psi) is usually sufficient for activating the bladder and clearing clogs. Ensure your hose is free of leaks and securely connected to both the water source and the bladder to maintain effective pressure.


