

How to Use a Basin Wrench Like a Pro
About This Project
This guide provides a comprehensive, step-by-step process for professionally using a basin wrench. This specialized tool is essential for removing or installing faucets by accessing the hard-to-reach mounting nuts located behind a sink basin. The instructions cover preparation, proper wrench configuration, engagement techniques in tight spaces, and applying leverage for both loosening stubborn, corroded nuts and tightening new ones without causing damage.
Best for advanced DIYers and professionals with basic plumbing knowledge. Requires HDX Indoor Safety Glasses Clear (1-Pack) VS-9300, clear and MCR Safety BearKat Safety Glasses MCSCRWBK110 and Safety Glasses.
Tools & Materials

Towel

Unger 6 Gal. Heavy-Duty Plastic Bucket DB02
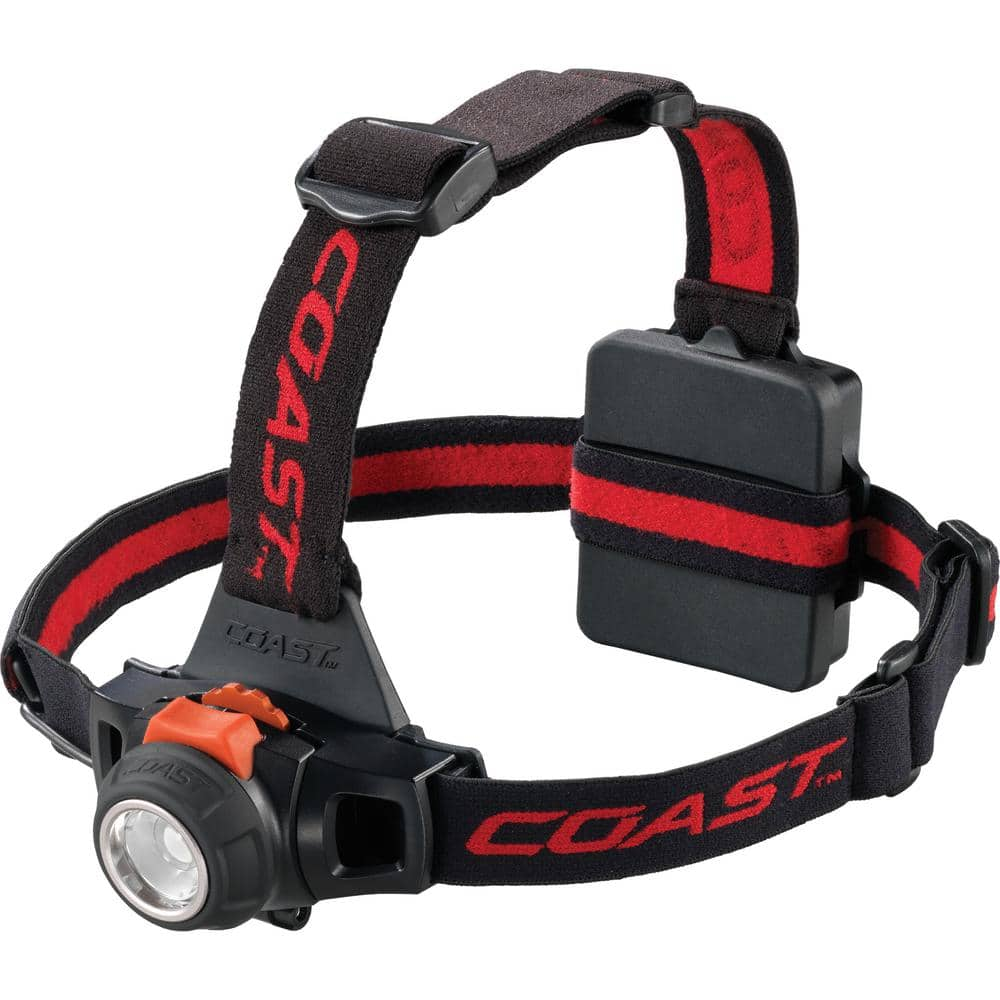
Coast HL27 330 Lumen LED Headlamp with Twist focus 19721
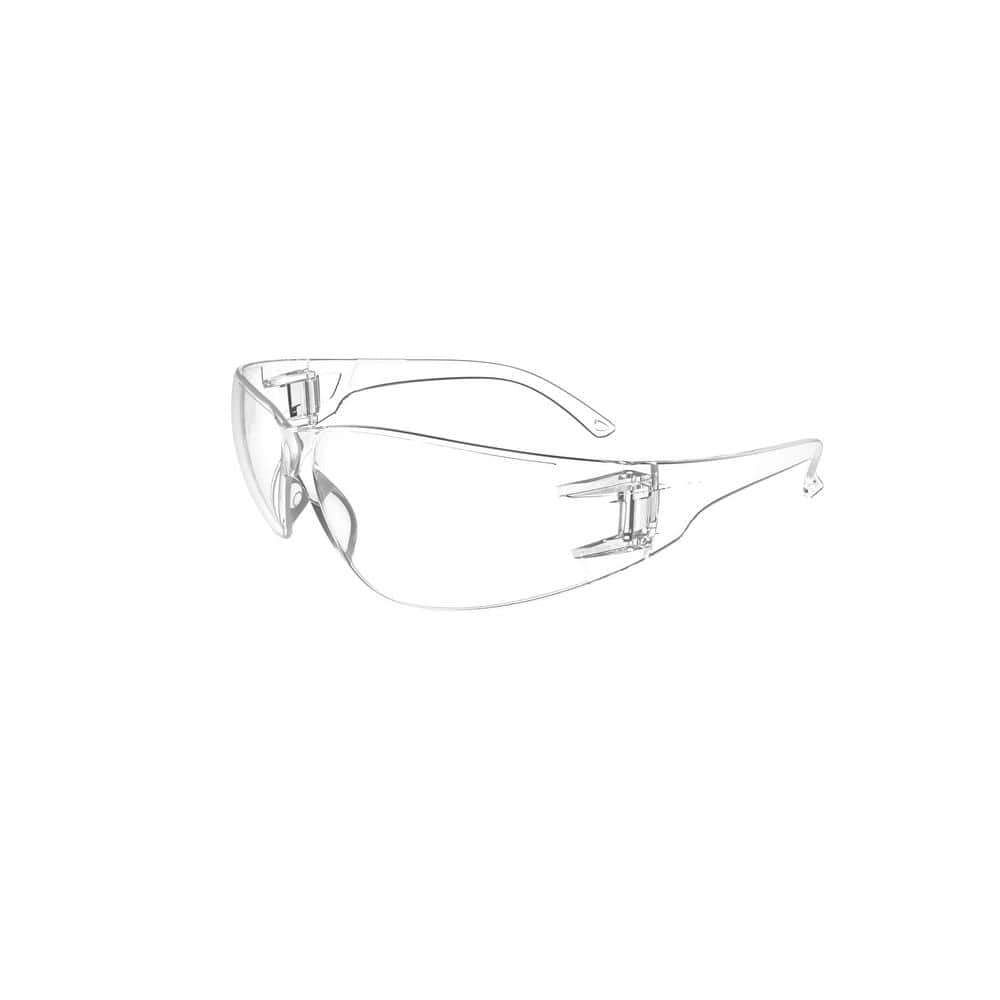
HDX Indoor Safety Glasses Clear (1-Pack) VS-9300, clear
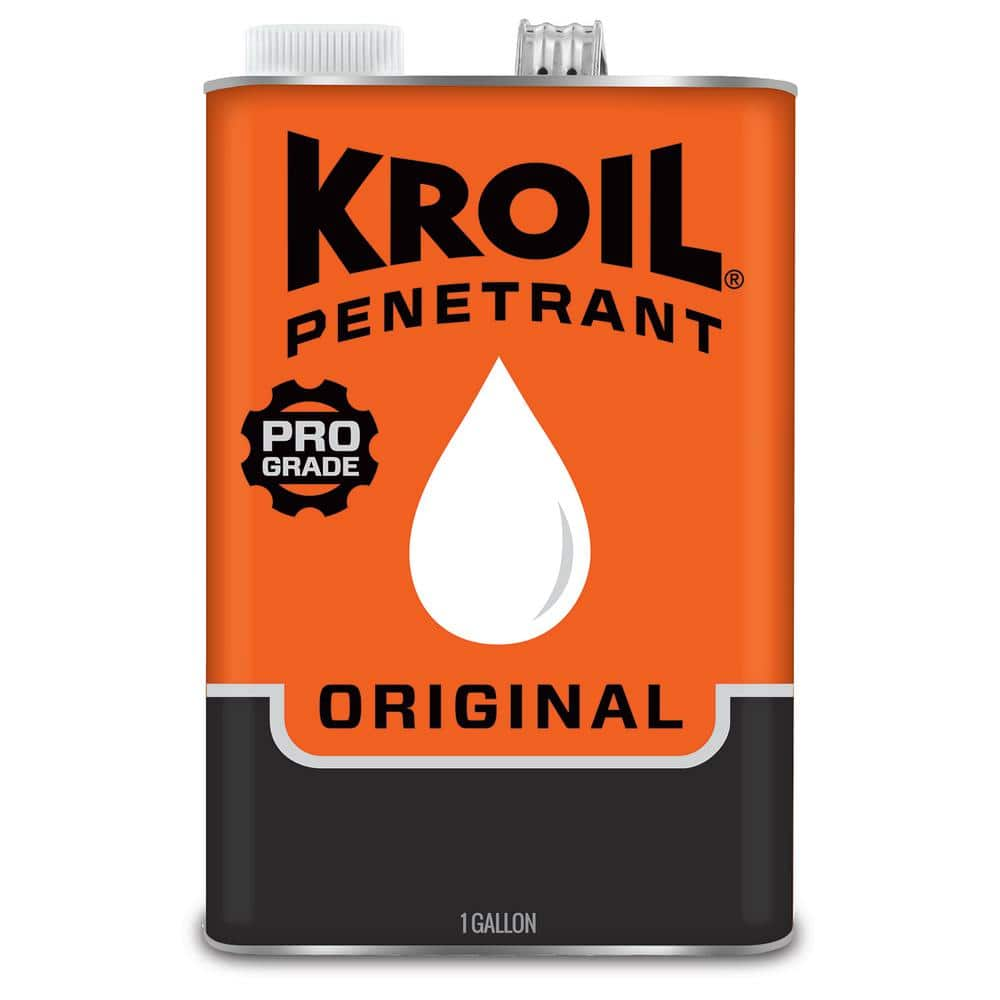
KROIL Penetrating Oil Liquid, Industrial-Grade Penetrant, Multi-Purpose Oil, Liquid, NSF H2,50-State VOC Compliant KL011

Safety Glasses
Towel
Absorbs moisture and dries surfaces.
Unger 6 Gal. Heavy-Duty Plastic Bucket DB02
The Unger 6-Gallon Heavy-Duty Professional Cleaning Bucket holds more than 6 Gal. of liquid. The bucket can accommodate a scrubber up to 14 in. L. This bucket features measurement marks and 2-pour spouts
Coast HL27 330 Lumen LED Headlamp with Twist focus 19721
Jumping up to AA batteries, the HL27 Headlamp not only goes up in brightness but also has the light dimming on the front of the headlamp to keep all the controls in one convenient place. It gives you the ability to shine an ultra wide flood beam and then quickly twist the bezel to a long reaching spot beam with transition halo so that you can be ready for anything. With our Variable Light Control Technology onboard you can adjust the light output with the control wheel to any point between the lowest low and the highest high so you can have highly personalized output and runtimes. With Coast's commitment to quality, the HL27 Headlamp is impact resistant, weather resistant and its LED is virtually unbreakable. The HL27 Headlamp is backed by Coast's lifetime warranty against defects in materials and workmanship. Tested and rated to ANSI/FL1 standards.
HDX Indoor Safety Glasses Clear (1-Pack) VS-9300, clear
Indoor safety glasses with anti-scratch lenses absorb UV lights and protect the eyes from particles, airborne debris and most commonly encountered eye hazards. Strong wraparound, light weight PC lens offer great and comfortable eye protection for indoor projects. Meet the requirements of ANZI Z87.1.
KROIL Penetrating Oil Liquid, Industrial-Grade Penetrant, Multi-Purpose Oil, Liquid, NSF H2,50-State VOC Compliant KL011
KROIL Penetrant 1 Gal. can is an industrial-strength penetrating oil formulated to quickly penetrate deep into small crevices. KROIL attacks rust and corrosion to help loosen frozen or seized metal fasteners
Safety Glasses
Keeps eyes safe from potential hazards.
Steps
Prepare the Work Area
5 minsBegin by preparing your workspace for safety and efficiency. First, locate the hot and cold water shutoff valves under the sink and turn them clockwise until they are fully closed. Turn the faucet on to release any residual pressure and confirm the water is off. Clear out all items from the cabinet under the sink to give yourself maximum room to work. Lay down an old towel or bucket to catch any water drips or falling debris. Finally, put on your safety glasses. A headlamp is highly recommended over a handheld flashlight as it keeps your hands free and illuminates your direct line of sight.

Apply Penetrating Oil
15 minsGiven the assumption of corroded metal nuts, applying a penetrating oil is a critical step. From your position under the sink, aim the nozzle of the penetrating oil spray can as best you can towards the threads of the faucet tailpiece, just above the mounting nuts. Apply a liberal amount of oil, attempting to coat the nuts and threads completely. Allow the oil to sit and work its way into the corroded threads for at least 15-20 minutes, or longer for severely seized nuts. This chemical action will do much of the hard work for you, making the nuts significantly easier to break free.

Set the Wrench Direction
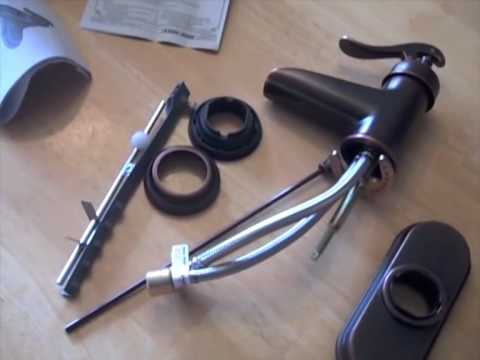
1 minBefore positioning the tool, you must configure the basin wrench's jaw for the correct rotational direction. The jaw is spring-loaded and pivots. To loosen a nut (standard counter-clockwise rotation), the open side of the jaw must be facing to your right as you look down the shaft from the handle. When you turn the handle counter-clockwise, this orientation causes the jaw to cam over and grip the nut tighter. To tighten (clockwise), you would flip the jaw 180 degrees so the open side faces left. Since we are removing a faucet, ensure the jaw is set for loosening.

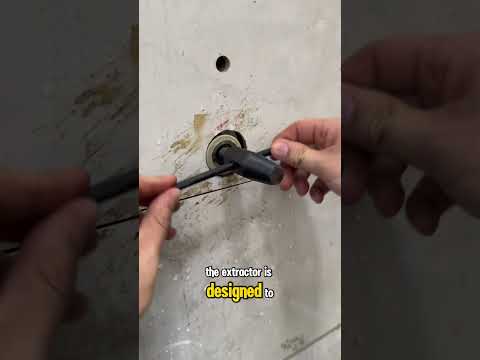
Position the Wrench Head
5 minsThis step requires patience. Lie on your back under the sink, using your headlamp to illuminate the area. Guide the head of the basin wrench up past the water supply lines and drain assembly towards the base of the faucet. Since visibility is limited, you will rely on feel. Use one hand to guide the shaft and the other to feel for the faucet's threaded tailpiece and the mounting nut. Once you locate the nut, carefully maneuver the wrench head so the jaw slips over one of the flat sides of the nut. Let gravity and the spring tension help hold it in place. You may need to jiggle it slightly to get a good seat.

Turn the Wrench to Loosen
5 minsOnce you are confident the jaw is seated on the nut, grasp the T-handle at the bottom of the basin wrench with both hands. Apply slow, steady pressure in a counter-clockwise direction. You will feel the jaw tighten and grip the nut. You may need to put significant force to break a corroded nut free. Avoid jerky movements, as this can cause the wrench to slip off. If the nut is extremely tight, you can insert a long, sturdy screwdriver through the hole in the T-handle to create a longer lever, which will multiply your turning force. Once the nut 'breaks' free, the resistance will decrease significantly.
Complete Removal and Clean Up
5 minsAfter the initial, difficult turn, the nut should be loose enough to unthread more easily. You can continue using the basin wrench or, if space permits, reach up and finish unscrewing it by hand, which is often faster. Once the nut is completely removed, repeat the process for the second nut if your faucet has one. When the task is complete, gather all your tools. If you were installing a new faucet, you would reverse the process, being careful not to over-tighten the new nuts. Finally, use your towel to wipe up any water or oil. Turn the water supply back on slowly and check thoroughly for any leaks around the new connections.
Common Problems
Do not over-tighten the nut, as this can damage the faucet or the sink.
Solution: To avoid this issue: Be mindful of this warning and take appropriate precautions.
Struggling to loosen a stubborn sink nut because you're turning the wrench the wrong way?
Solution: Remember that when you are under the sink looking up, turning the basin wrench to your left will loosen the nut (lefty-loosey).
Be careful not to over-tighten the nut, especially on a porcelain or ceramic sink, to avoid cracking it.
Solution: To avoid this issue: Be mindful of this warning and take appropriate precautions.
Faucet wobbles or won't tighten properly when working alone.
Solution: Have a helper hold the faucet straight from above while you tighten it from below.
Faucet misalignment or damaged connections due to excessive torque.
Solution: Using two wrenches is critical to avoid putting torque on the entire faucet assembly, which could misalign it or damage the connections.
Do not over-tighten the bonnet nut. It should be snug enough to prevent leaks but still allow the handle to turn smoothly.
Solution: To avoid this issue: Be mindful of this warning and take appropriate precautions.
Do not overtighten the retaining nut, as this can strip the brass threads and damage the faucet.
Solution: To avoid this issue: Be mindful of this warning and take appropriate precautions.
Frequently Asked Questions
Why do I need a basin wrench specifically for this project, and can I use a different wrench instead?
A basin wrench's swiveling head and long shaft are uniquely designed to reach and grip faucet mounting nuts in the confined space behind a sink basin. Standard wrenches, like adjustable or pipe wrenches, are usually too bulky or lack the necessary angle and reach, making the job nearly impossible. Using the correct tool prevents frustration and potential damage to components.
What are the most important safety precautions when working in a tight space under a sink with a basin wrench?
Always wear safety glasses to protect your eyes from debris or drips. Ensure the area is well-lit (a headlamp like the Husky PVL-HLP-0004 is ideal) to clearly see the nuts and avoid injuries. Crucially, turn off the water supply to the faucet before starting to prevent unexpected leaks or sprays.
How long does it typically take for a beginner to successfully use a basin wrench, especially if nuts are corroded?
For a beginner, expect 30 minutes to an hour for removal and installation under typical conditions. If nuts are severely corroded or the space is exceptionally tight, it could take longer, potentially requiring repeated application of penetrating oil. Patience is key to avoid stripping the nuts and ensure a successful outcome.
What should I do if the faucet nuts are severely corroded and won't budge with the basin wrench?
Apply a generous amount of penetrating oil like KROIL and let it soak for at least 15-30 minutes, or even longer for stubborn nuts. Reapply and try again, using short, firm, counter-clockwise turns. For very stuck nuts, gently tap the wrench or nut (if accessible) to help break the corrosion bond after applying oil.
How do I ensure the basin wrench properly grips the nut in such a tight space without stripping it?
Fully extend the wrench jaw and position it squarely over the nut before attempting to turn. Apply firm, steady pressure directly onto the wrench handle, ensuring the jaw maintains full contact with the nut's flats. A headlamp will greatly assist in verifying proper engagement and preventing slippage that could strip the nut.
How tight should I fasten new faucet nuts with the basin wrench to prevent leaks without over-tightening?
Tighten the new nuts until they are snug and the faucet is stable, then give them about a quarter to half a turn more. Over-tightening can crack porcelain sinks or damage the faucet's mounting shanks, while under-tightening can lead to leaks or a wobbly faucet. Test the faucet for stability and leaks after installation, adjusting tightness if necessary.


