
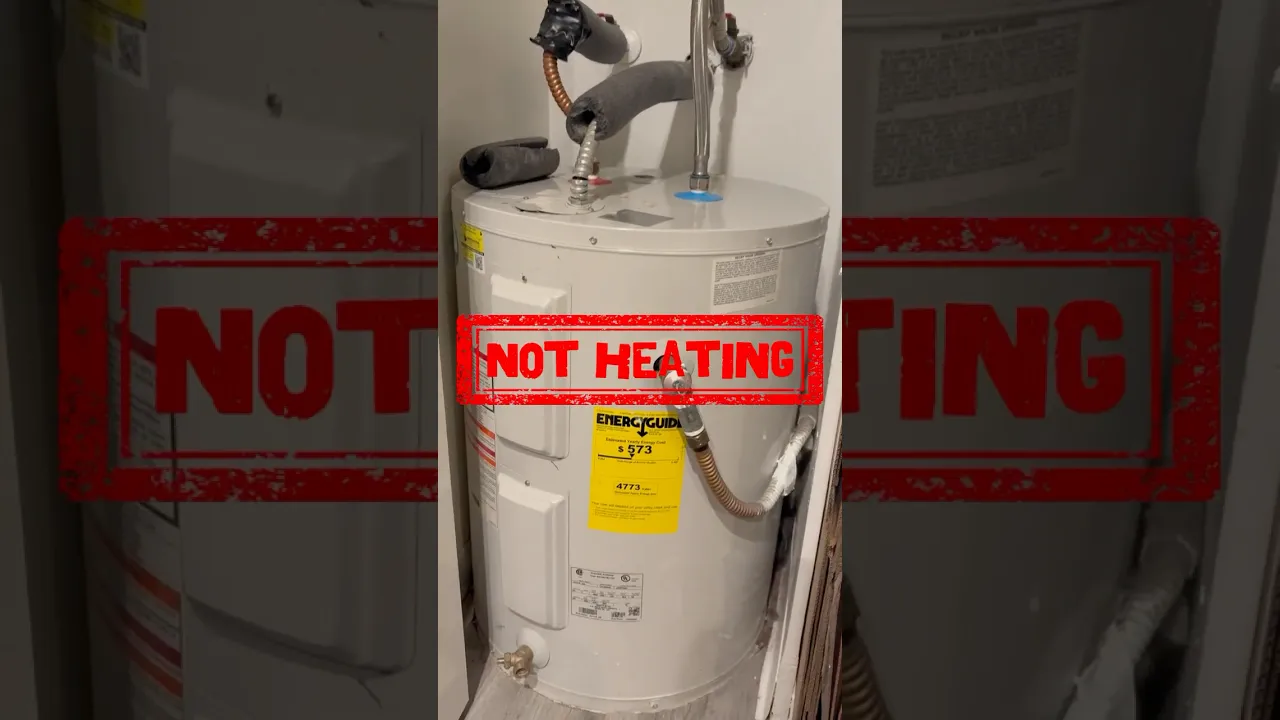
How to Test and Replace an Electric Water Heater Thermostat
About This Project
This guide provides comprehensive, step-by-step instructions for safely testing the upper and lower thermostats of an electric water heater using a multimeter to diagnose a lack of hot water. It then details the process of purchasing and installing a new thermostat if a fault is found, and finally, testing the system to ensure the repair was successful.
Best for experienced DIYers and homeowners with some experience with basic plumbing knowledge and familiarity with power tools. Requires Klein Tools 600 Volt Digital Multimeter, TRMS Auto-Ranging, Temp MM420 and Klein Tools Voltage/Continuity Tester ET250 and VEVOR Lockout Tagout Locks Set, 10-Piece Red Safety Lockout Padlocks with 2 Keys Per Lock, OSHA Compliant Lockout Locks AQSJTZ10JBDGGGKLBV0.
Tools & Materials

Painters Tape
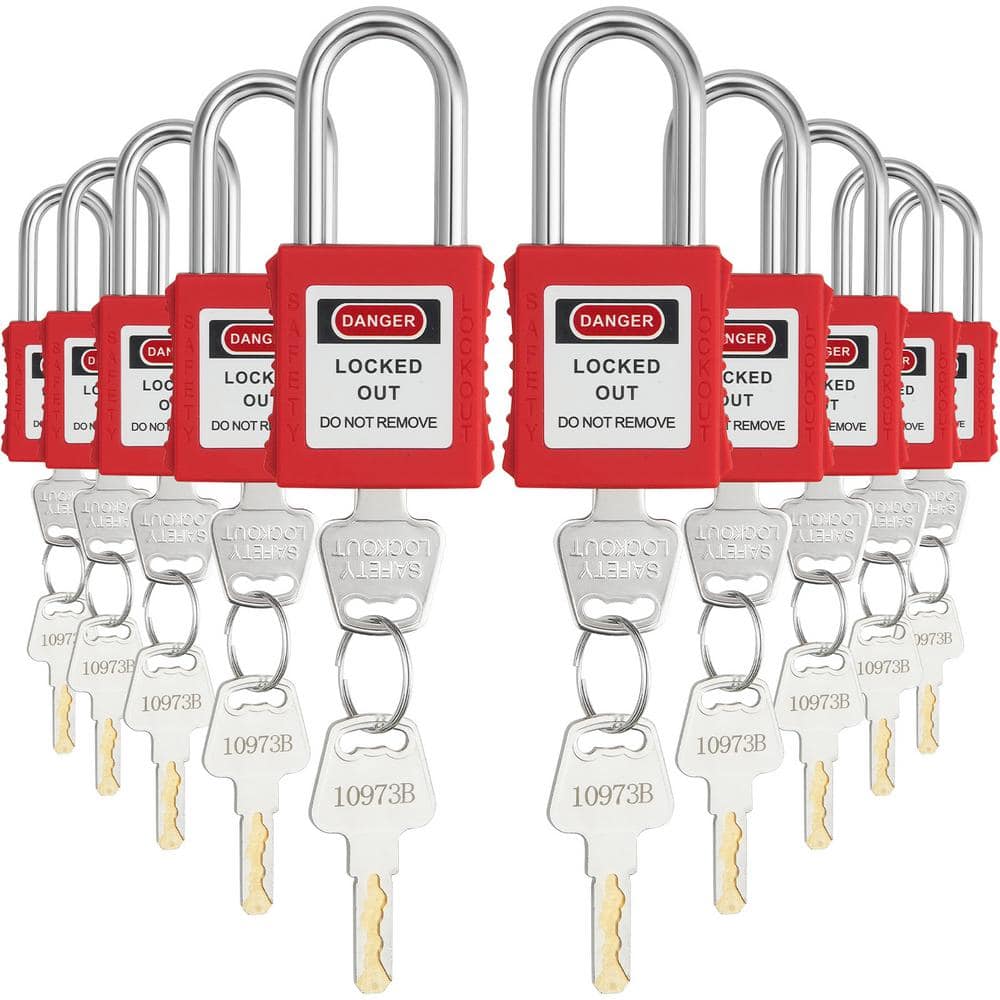
VEVOR Lockout Tagout Locks Set, 10-Piece Red Safety Lockout Padlocks with 2 Keys Per Lock, OSHA Compliant Lockout Locks AQSJTZ10JBDGGGKLBV0
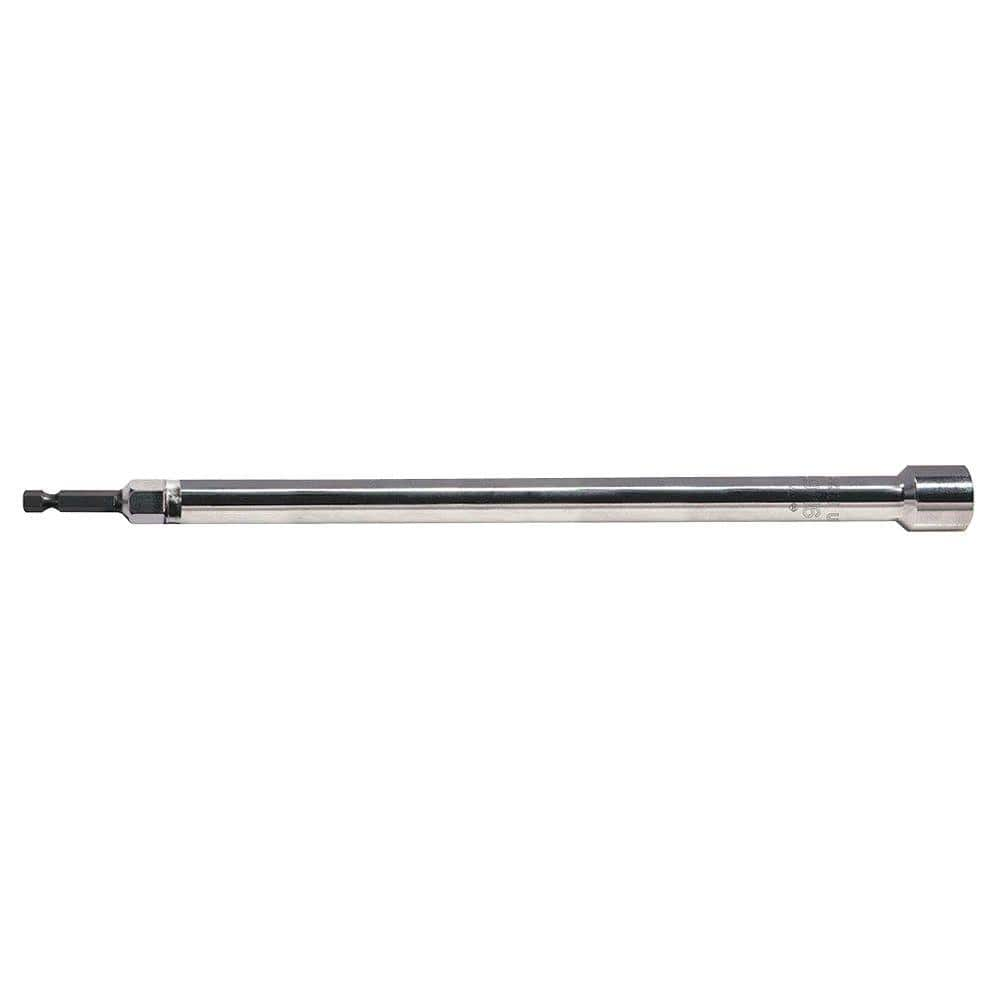
Klein Tools 9/16 in. Power Nut Driver PND91610
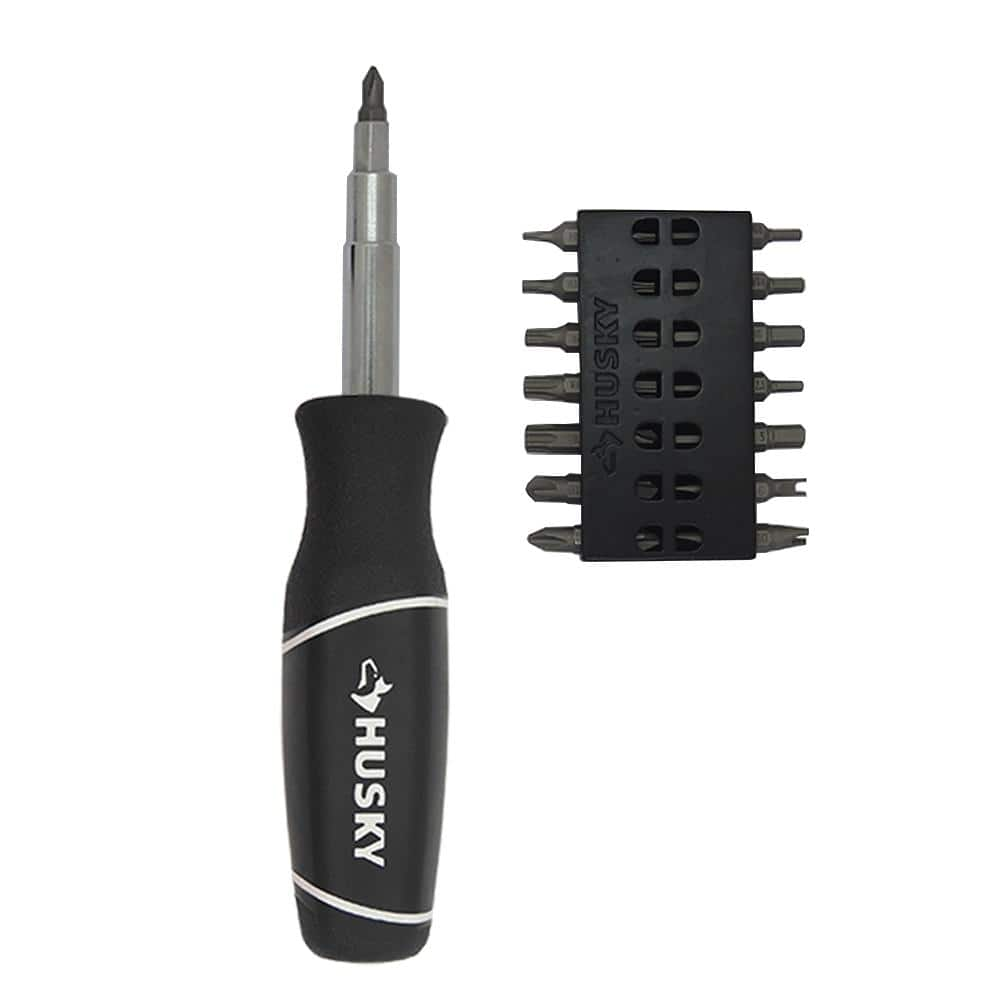
Husky Multi-Bit Screwdriver with 37 Tips 232360180
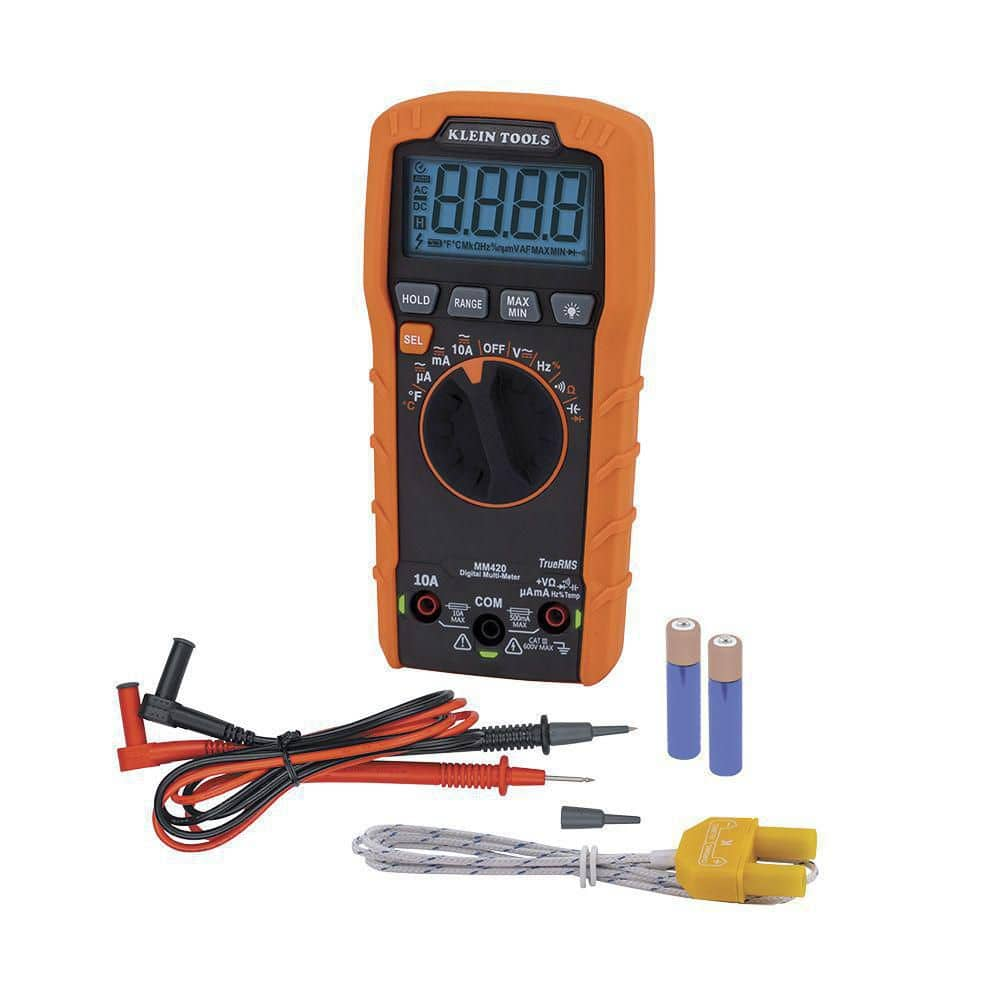
Klein Tools 600 Volt Digital Multimeter, TRMS Auto-Ranging, Temp MM420
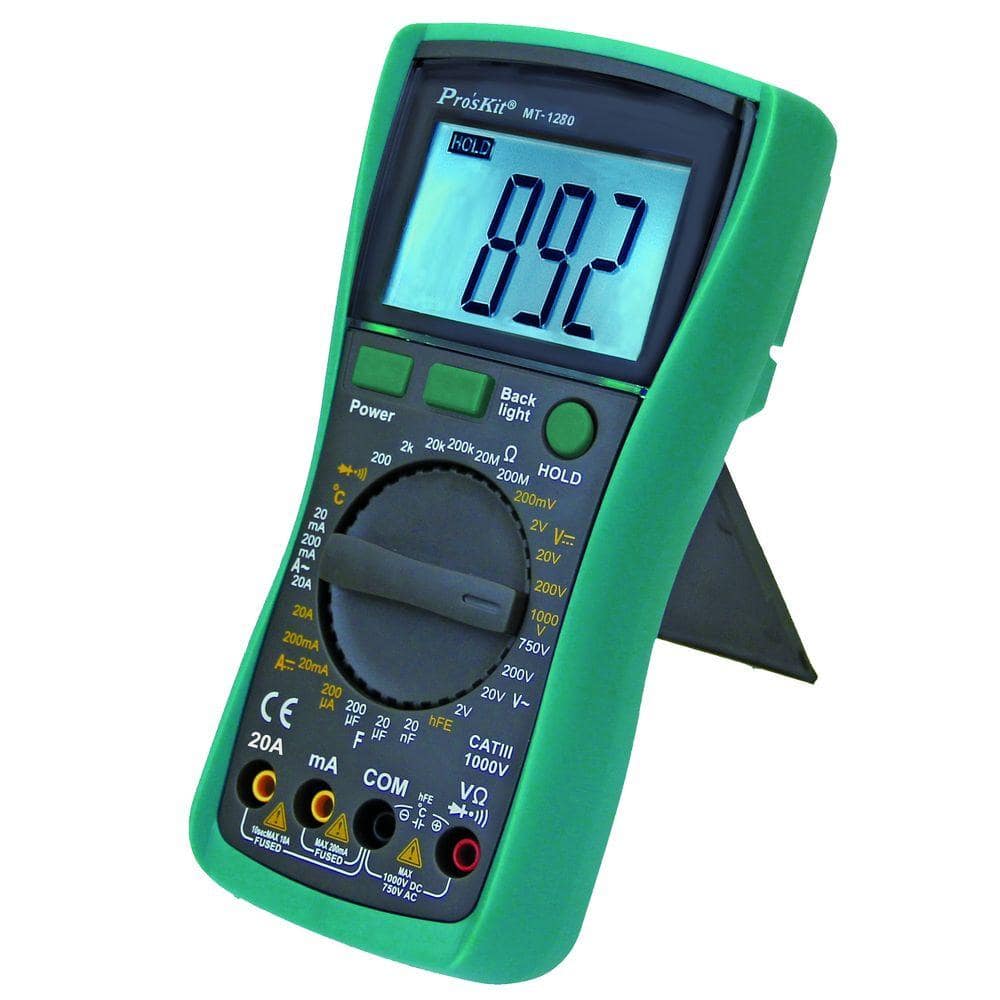
Pro'sKit Digital Multimeter MT-1280
Painters Tape
Masks areas for precision painting.
VEVOR Lockout Tagout Locks Set, 10-Piece Red Safety Lockout Padlocks with 2 Keys Per Lock, OSHA Compliant Lockout Locks AQSJTZ10JBDGGGKLBV0
Ensure Safety and Prevent Accidents with VEVOR Locks Set. Crafted with durability and compliance in mind, our padlocks are designed to prevent electrical and mechanical hazards with ease. With a dual-side
Klein Tools 9/16 in. Power Nut Driver PND91610
These hollow shaft magnetic nut drivers are designed for long bolts, studs or threaded rod jobs. The magnetic head holds nuts and bolts to aid in hard to reach installations. The wrench assist end is designed for high torque loosening found in many jobs. Impacted rated for the most aggressive power tools.
Husky Multi-Bit Screwdriver with 37 Tips 232360180
The Husky 37 Tips Multi-Bit Screwdriver Set includes a handle, a reversible shaft, a work belt bit storage, 2 small barrels and 18 double-sided bits. The premium level soft rubber handle resists damage
Klein Tools 600 Volt Digital Multimeter, TRMS Auto-Ranging, Temp MM420
Klein Tools MM420 Multimeter is an auto-ranging, true root mean square (TRMS) multimeter that measures AC/DC voltage, AC/DC current, and resistance. It can also measure temperature, capacitance, frequency,
Pro'sKit Digital Multimeter MT-1280
This meter features a large easy to read display with back lighting. It's an ideal tool for lab, factory and home use. Used on measuring DCV, ACV, DCA, ACA, resistance, capacitance, diode, transistor,
Steps
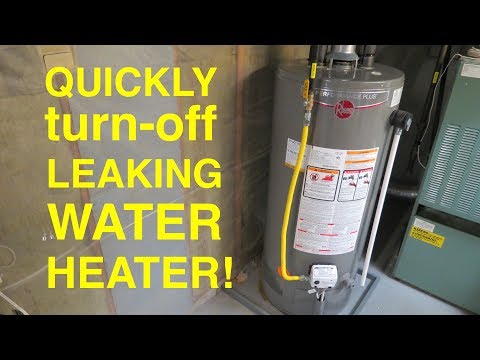
Shut Off Power at Circuit Breaker
5 minsNavigate to your home's main electrical panel (breaker box). Locate the double-pole circuit breaker dedicated to the water heater; it is typically labeled and requires two slots. Firmly move the breaker switch to the 'OFF' position. As a safety precaution, you can place a piece of tape over the breaker to signal that work is in progress and prevent accidental reactivation.

Remove Access Panels and Insulation
10 minsMost electric water heaters have two metal access panels on the side of the tank, an upper and a lower one. Using a nut driver or a multi-bit screwdriver, remove the screws securing these panels. Set the panels and screws aside. Behind the panels, you will find a piece of insulation. Carefully pull the insulation out to expose the upper and lower thermostats and their associated wiring.
Verify Power is Off with a Multimeter
5 minsThis is the most critical safety step. Set your multimeter to measure AC voltage (VAC or V~) in a range greater than 240 volts. Carefully touch the two probes of the multimeter to the top two terminal screws on the upper thermostat where the main power wires from the house connect. The multimeter must read '0' or very close to zero volts. If you get a reading of 120V or 240V, the circuit is still live. STOP IMMEDIATELY and return to the breaker panel to correctly identify and turn off the power.

Test the Upper Thermostat
15 minsTake a photo of the wiring. For a standard upper thermostat, testing occurs in two parts. First, test the high-limit switch. Set the multimeter to continuity (Ω symbol or sound icon). Disconnect the wires from terminals 1 and 2 (left side). Touch a probe to each terminal. A reading of 0 ohms (or a beep) indicates continuity. No continuity (OL) means the thermostat is bad. If it passes, reconnect the wires. Next, test the temperature control switch. Disconnect the wires from terminals 3 and 4 (right side). Test for continuity between them. A reading of 0 ohms means it's working. No continuity means the thermostat is bad and needs to be replaced. Remember to reconnect all wires after testing if the thermostat is good.

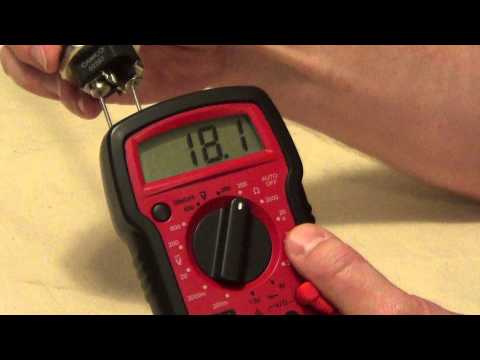
Test the Lower Thermostat
10 minsIf the upper thermostat tested fine, move to the lower one. The lower thermostat is simpler, usually with only two terminals. Ensure the temperature dial is turned up. Take a photo of the wiring. Disconnect the two wires from its screw terminals. Set your multimeter to the continuity setting (Ω or sound). Touch one probe to each of the two screw terminals. You should get a reading of 0 ohms or hear a continuous beep, indicating a closed circuit. If the multimeter reads OL (Open Loop) or does not beep, the thermostat has failed and must be replaced.

Remove Faulty Thermostat and Purchase Replacement
30 minsOnce you've identified a faulty thermostat, disconnect all its wires. It is typically held against the tank by spring-like metal clips. Gently pry the thermostat away from the tank to release it from the clips. Take the old thermostat with you to a plumbing supply or home improvement store. Purchase a new thermostat that is an exact match in size, shape, and electrical ratings. Do not use a substitute.

Install the New Thermostat
10 minsTake the new thermostat and align it with the mounting clips on the tank. Press it firmly into place, ensuring the flat back of the thermostat makes solid, flush contact with the tank's surface. This is critical for accurate temperature sensing. Referring to the photo you took earlier, connect each wire to its correct screw terminal on the new thermostat. Use a screwdriver to tighten the screws for a secure connection, but do not overtighten, as this could strip the threads or damage the component.

Reassemble and Restore Power
10 minsWith the new thermostat installed and wired, set its temperature dial to the recommended 120°F (49°C). Carefully tuck the insulation back into the openings, making sure it doesn't pinch any wires or obstruct the thermostat. Place the metal access panels back over the openings and secure them with their screws using your screwdriver or nut driver. Finally, return to the electrical panel and switch the water heater's circuit breaker back to the 'ON' position.

Test for Proper Operation
45 minsAfter restoring power, allow approximately 30 to 60 minutes for the water heater to heat the water in the tank. You may hear a humming or hissing sound, which is normal during heating. After waiting, go to a faucet close to the water heater and turn on the hot water tap. Let it run until the water feels hot. If you have consistent hot water, the repair was successful. Monitor for any issues over the next few hours.
Common Problems
Setting thermostats to different temperatures can lead to inefficient operation, lukewarm water, or other issues.
Solution: To avoid this issue: Be mindful of this warning and take appropriate precautions.
Ensure the power to the water heater is turned off at the circuit breaker before removing any covers.
Solution: To avoid this issue: Be mindful of this warning and take appropriate precautions.
This is the most critical step for your safety. Never skip verifying that the power is off.
Solution: To avoid this issue: Be mindful of this warning and take appropriate precautions.
Failure to turn off the power can result in serious injury or death from electric shock.
Solution: To avoid this issue: Be mindful of this warning and take appropriate precautions.
Failure to turn off power to the unit before working on it can result in serious injury or death.
Solution: To avoid this issue: Be mindful of this warning and take appropriate precautions.
Risk of electric shock if unit isn't turned off before thermostat replacement.
Solution: Some manufacturers may suggest leaving the unit on, but turning it off is the universally safer method.
Electrical shock can cause serious injury or death. This step is critical and should never be skipped.
Solution: To avoid this issue: Be mindful of this warning and take appropriate precautions.
Frequently Asked Questions
Why is verifying the power is off with a multimeter so critical, and what happens if I skip this step?
Verifying power is off with a multimeter is the most crucial safety step to prevent electrocution. Skipping this step can lead to serious injury or death. Always use your multimeter to confirm no voltage is present at the thermostat wires before touching any components or proceeding with the repair.
I'm a beginner; what kind of multimeter should I use, and what settings do I need for testing the thermostat?
As a beginner, any basic digital multimeter like the Klein Tools MM420 will suffice. You'll primarily use the 'ohms' (Ω) setting to test for continuity in the thermostats and the 'AC voltage' (V~) setting to accurately verify the power is off at the water heater's terminal block.
How can I tell if my water heater's problem is definitely the thermostat, or could it be something else?
A faulty thermostat is a common cause if you have no hot water, inconsistent temperatures, or lukewarm water. This guide helps you definitively diagnose it with a multimeter by testing for continuity. If both thermostats test good, the issue might be with the heating elements, which would require further testing.
How do I ensure I purchase the correct replacement thermostat for my electric water heater?
Before purchasing, remove your faulty thermostat and note its brand, model number, voltage, and wattage, usually printed directly on the part or the water heater's data plate. Bringing the old part to a plumbing supply store or using online parts finders with your water heater's full model number is the best way to get an exact match.
How long does this project typically take for a beginner, and what's the estimated cost?
For a beginner, testing and replacing an electric water heater thermostat usually takes 1-2 hours, assuming you have the necessary tools on hand. The cost for a new thermostat is generally affordable, ranging from $15 to $40 per unit, plus the initial investment for a multimeter if you don't already own one.
What are some common mistakes beginners make during this replacement, and what should I do if my water heater still doesn't produce hot water?
Common beginner mistakes include not fully verifying power is off, incorrectly wiring the new thermostat, or damaging insulation during reassembly. If it still doesn't work after replacement, re-verify power is on, check all connections, and re-test both thermostats and heating elements to ensure no other component is faulty.
Why do I need to remove insulation, and what kind of access panels am I looking for?
Electric water heater thermostats are typically located behind small, rectangular access panels on the side of the tank, usually one for the upper and one for the lower thermostat. You'll need to remove these panels and gently pull back any fiberglass insulation covering the thermostats to access them for testing and replacement.


