

How to Stop a Dripping Two-Handle Faucet
About This Project
This guide provides step-by-step instructions for fixing a common drip in a two-handle faucet, which is typically caused by a worn-out rubber washer or O-ring. The process involves turning off the water, disassembling the handle that is causing the drip, replacing the internal seals, and reassembling the faucet.
Best for experienced DIYers and homeowners with some experience with basic plumbing knowledge.
Tools & Materials
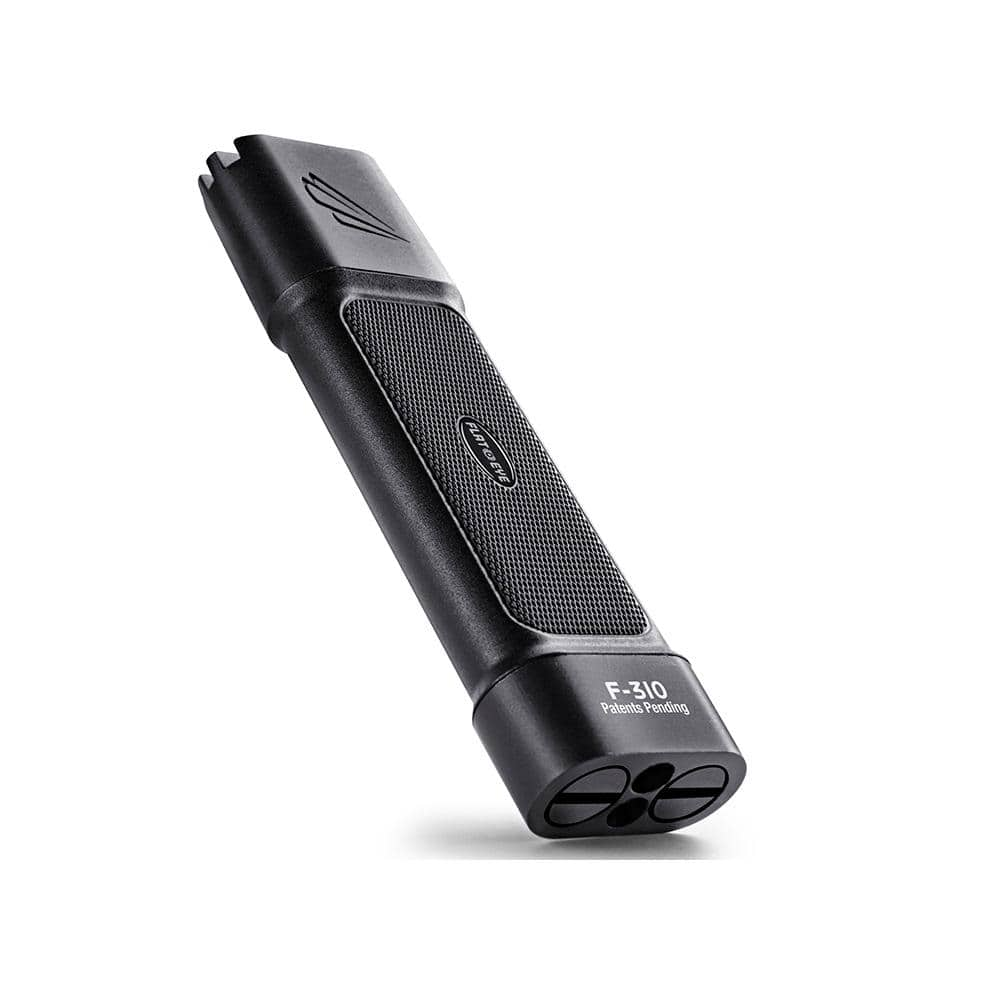
Panther Vision FLATEYE F-310 High Performance 310-Lumen Unround Flashlight CREE LED Multi Position Waterproof and Shockproof FL-6960
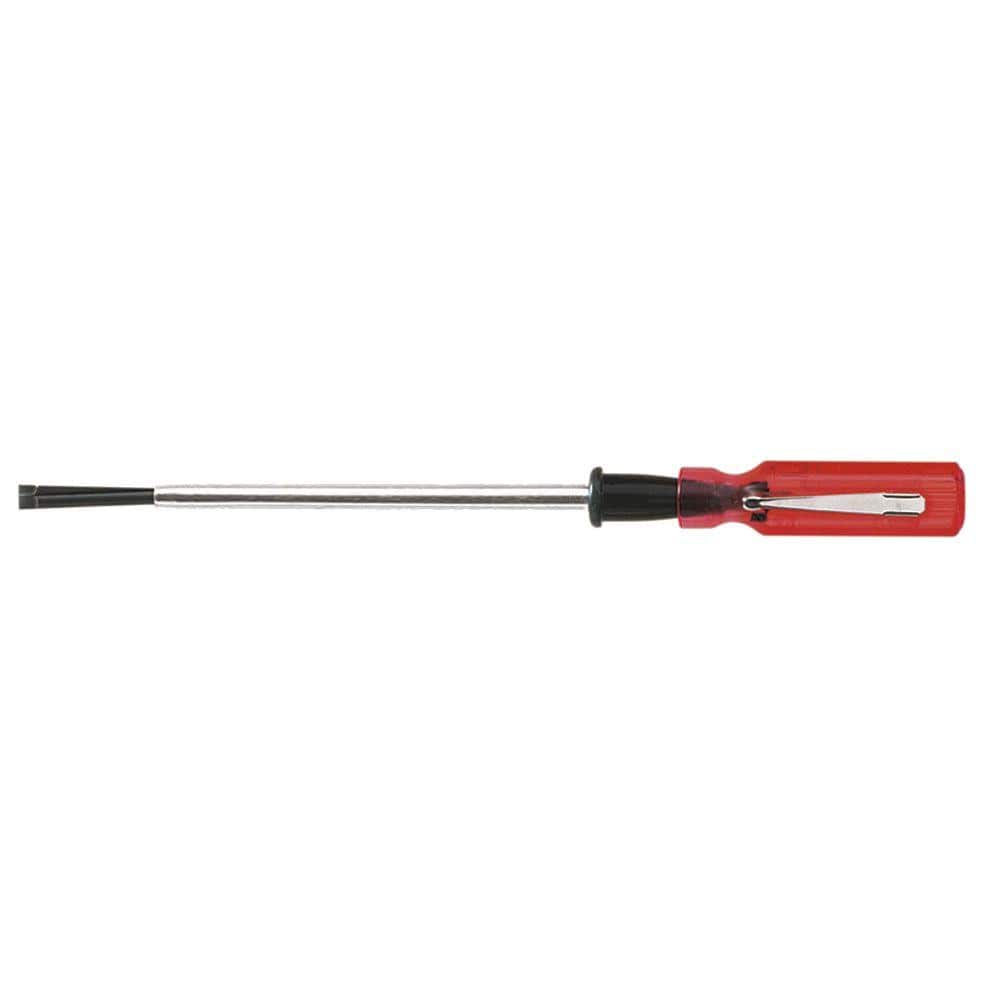
Klein Tools 3/16 in. Slotted Screw-Holding Flat Head Screwdriver with 8 in. Round Shank K28
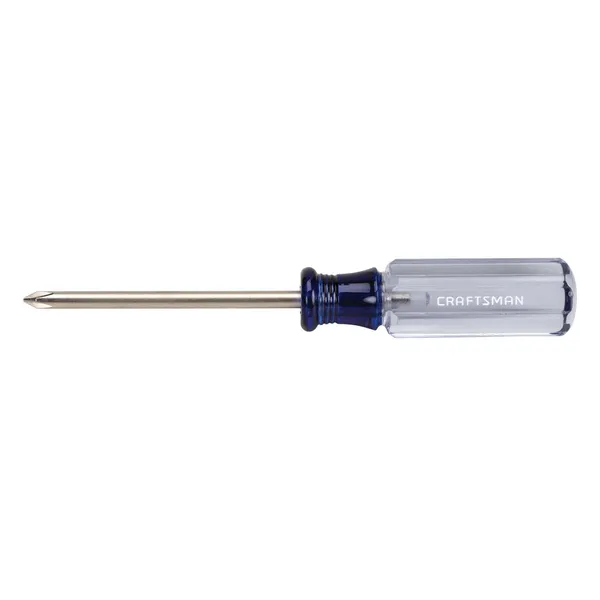
Phillips head screwdriver
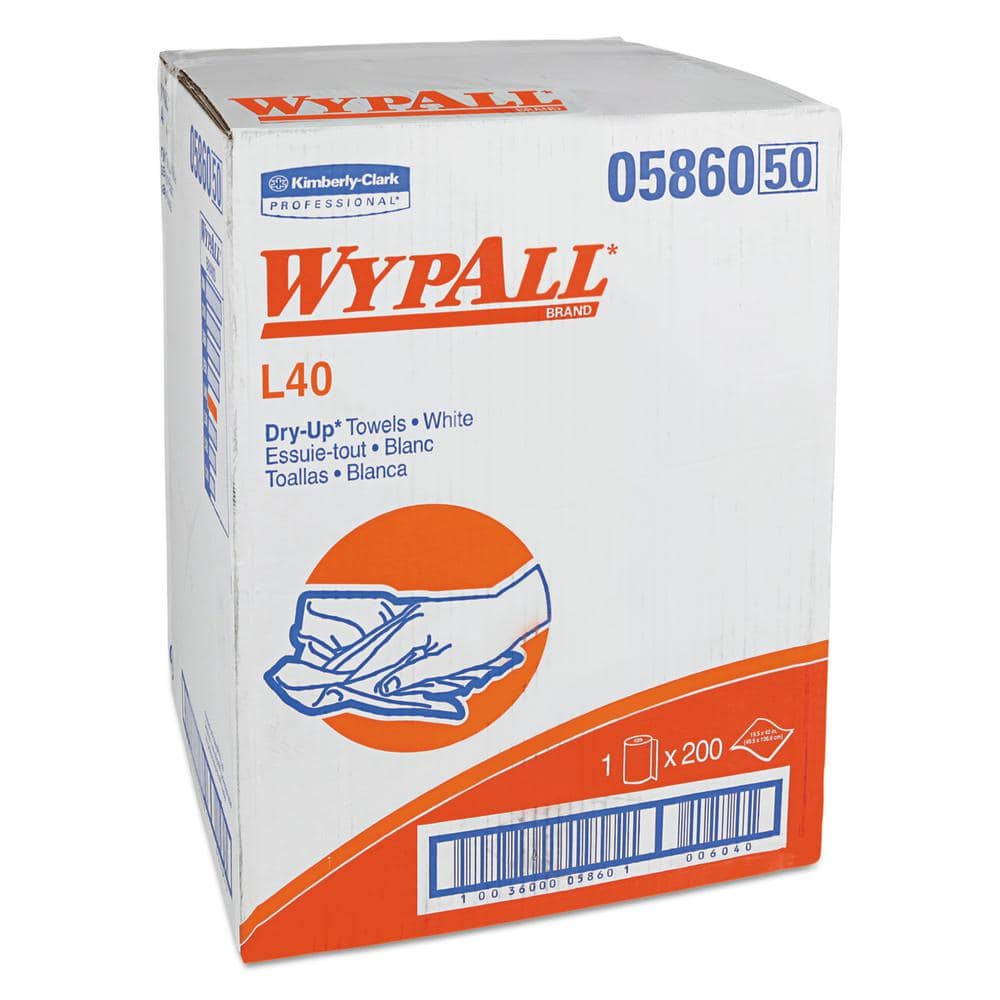
WYPALL L40 Towels, Dry Up Towels, 19-1/2 in. x 42 in., White, 200 Towels/Roll KCC05860
FASTCAP Triblade Utility Knife FC.TRIBLADE

Adjustable Wrench
Panther Vision FLATEYE F-310 High Performance 310-Lumen Unround Flashlight CREE LED Multi Position Waterproof and Shockproof FL-6960
Every revolution starts with a spark. At 310-Lumens the F-310 has the power to ignite our un-round revolution without overpowering your needs or your wallet. Not your granddads flashlight these bad boys
Klein Tools 3/16 in. Slotted Screw-Holding Flat Head Screwdriver with 8 in. Round Shank K28
Getting that screw to stay put while you get it in place is much easier with Klein's Slotted Screw-Holding screwdriver. Positive gripping action holds, starts, and drives slotted screws in awkward, hard-to-reach
Phillips head screwdriver
This is a type of screwdriver that has a cross-shaped tip.
WYPALL L40 Towels, Dry Up Towels, 19-1/2 in. x 42 in., White, 200 Towels/Roll KCC05860
WYPALL L40 Wipers are effective wipers that absorb liquids lightning-fast. These wipes are made of bonded cellulose using DRC (double re-creped) technology for strength, softness and absorbency. As a wiping cloth, it soaks up liquids fast, but all you'll feel is softness, thanks to a plush, touchable outer layer. In fact, it's a popular choice for patient wiping in healthcare industries, for bathing and patient drying. These utility wipes are specially designed to absorb liquids, lubricants and oils (in restaurants for wiping counters, in mechanic shops, industrial and commercial factories and more), yet they're soft enough for use on face and hands. Experience the difference in superior absorbency and cleaning at your home or office today. Towel/Wipe Type: Dry Wipes; Application: Bathrooms; Material(s): Cloth-Like; Number of Plies: 1.
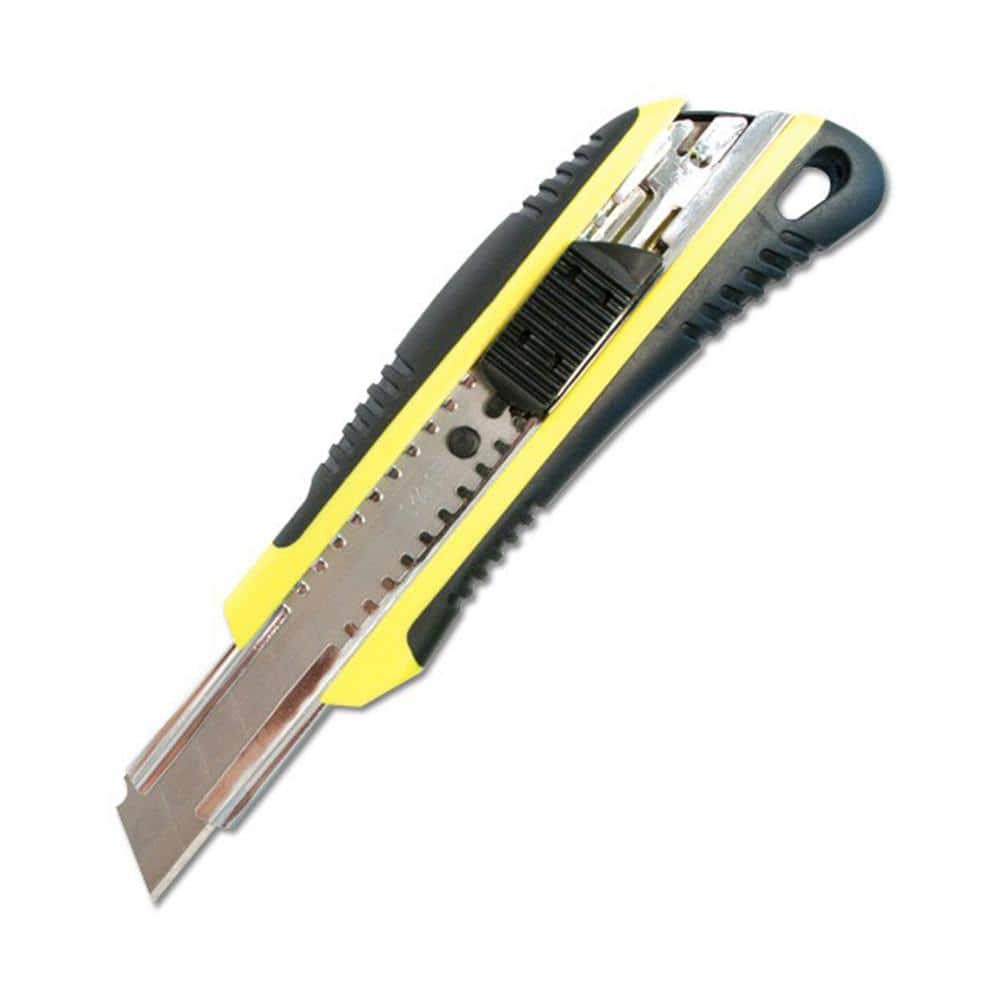
FASTCAP Triblade Utility Knife FC.TRIBLADE
The Fast Cap Tri Blade Utility Knife has a unique design allows for additional storage of 2 extra blades. The rubberized grip makes it comfortable to hold. The retractable self-locking blade makes the
Adjustable Wrench
Fits various nut and bolt sizes with its adjustable jaw.
Steps

Shut Off Water Supply
5 minsBefore starting any work, you must shut off the water to the faucet. Look for two small valves, one for the hot water line and one for the cold, located in the cabinet directly beneath the sink. Turn the handles of both valves clockwise until they are fully closed. If you cannot find these local shutoff valves, you will need to turn off the main water supply valve for the entire house. Once the valves are closed, turn on both faucet handles to release any trapped water and pressure in the lines until the water stops flowing completely.
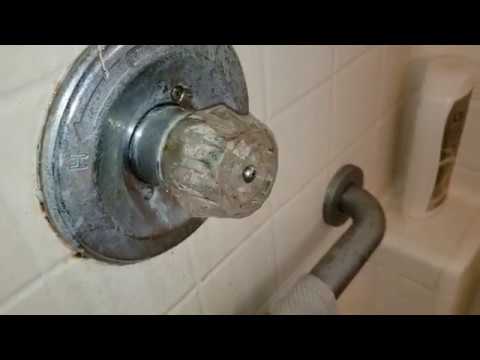
Remove Faucet Handle
5 minsThe faucet handle is typically attached with a single screw, which is hidden under a decorative cap on the top or front of the handle. Use a small flathead screwdriver or a utility knife to carefully pry this cap off, revealing the screw underneath. Use a Phillips head screwdriver to turn the screw counter-clockwise and remove it completely. Set the cap and screw aside in a safe place. Once the screw is out, you should be able to pull the handle straight up and off the valve stem. It may be stuck; if so, wiggle it gently from side to side to loosen it.

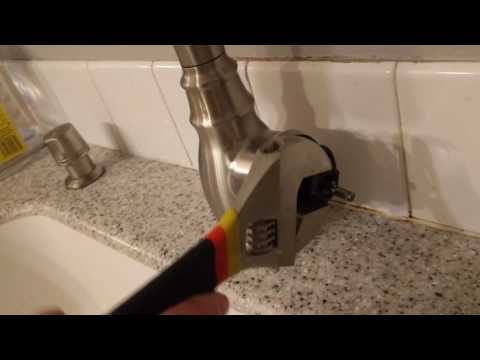
Remove the Packing Nut and Valve Stem
10 minsWith the handle removed, you will see a hexagonal nut called the packing nut. This nut holds the valve stem in place. Using an adjustable wrench or channel-lock pliers, grip the packing nut and turn it counter-clockwise to loosen and remove it. Once the packing nut is off, you can remove the valve stem. Some stems can be pulled straight out, while others may need to be unscrewed from the faucet body by turning them counter-clockwise.

Replace the Seat Washer and O-Ring
10 minsInspect the valve stem you just removed. At the very bottom, there will be a rubber seat washer held on by a brass screw. This is the most common cause of a spout drip. Use a flathead screwdriver to remove this screw and the old washer. Replace it with a new seat washer of the exact same size. Also, examine the O-ring(s) on the body of the stem. If they appear flattened, cracked, or brittle, they should be replaced. Pry the old O-ring off with a small pick or screwdriver and roll the new one into its groove. Before reinserting the stem, apply a small amount of plumber's grease to the new O-ring(s) and the stem threads to ensure a smooth operation and good seal.

Clean and Inspect the Valve Seat
5 minsBefore reinstalling the stem, look down into the empty faucet body to inspect the valve seat, which is the brass rim that the seat washer presses against. Mineral deposits or corrosion on this seat can cause a leak even with a new washer. Use a clean rag wrapped around a screwdriver to wipe the inside of the valve seat clean. If you feel nicks, pits, or roughness, you will need to smooth it. A specialized tool called a valve seat wrench or seat dresser is used for this. Insert the tool and give it a few gentle clockwise turns to lightly grind the seat down to a smooth, flat surface.

Reassemble the Faucet
5 minsReassemble the faucet by performing the disassembly steps in reverse order. Carefully insert the repaired valve stem back into the faucet body, turning it clockwise if it is the threaded type. Hand-thread the packing nut back on, then use the adjustable wrench to give it a final quarter-turn to snug it up. Do not overtighten. Place the faucet handle back onto the valve stem, aligning it correctly. Insert the retaining screw and tighten it with the Phillips head screwdriver. Finally, press the decorative cap back into place on the handle.
Turn On Water and Test for Leaks
5 minsWith the faucet fully reassembled, it's time to test your work. First, make sure the faucet handles are in the 'off' position. Slowly turn the water supply valves under the sink counter-clockwise to restore water flow. Turn them all the way to the open position. Now, closely inspect the faucet for any leaks around the handle base. Then, turn the repaired handle on and off several times, checking for smooth operation. Finally, turn the water off and watch the spout for several minutes to ensure the drip has stopped. If you see a small leak around the handle, use your wrench to tighten the packing nut by another 1/8 of a turn.
Common Problems
Inspect the valve seat inside the faucet body. If it is chipped or corroded, it may need to be replaced or resurfaced for the new washer to seal properly.
Solution: To avoid this issue: Be mindful of this warning and take appropriate precautions.
Do not overtighten the screw, as this can damage the new washer and cause a leak.
Solution: To avoid this issue: Be mindful of this warning and take appropriate precautions.
Overtightening the stem can damage the valve body or the stem itself.
Solution: To avoid this issue: Be mindful of this warning and take appropriate precautions.
Stripped screw heads or damaged acrylic caps when removing faucet handles.
Solution: The video also shows an alternative acrylic knob handle, which is removed by prying off the center cap and removing a Phillips head screw.
Lost small faucet parts during repair.
Solution: Place all small parts like screws and caps in a container or the sink drain (with the stopper closed) to avoid losing them.
Use a thin-bladed tool and be gentle to avoid breaking the plastic clips on the cap.
Solution: To avoid this issue: Be mindful of this warning and take appropriate precautions.
Wrong size socket strips handle nut.
Solution: The user suggests a 13mm socket might be the correct size for the handle nut, but this can vary. Have a small socket set or an adjustable wrench handy.
Frequently Asked Questions
Do I need the specific brand-name tools listed, or can I use generic alternatives for this faucet repair?
No, specific brands are not strictly necessary. A basic set of screwdrivers (Phillips and flathead), an adjustable wrench, and a pair of pliers are usually sufficient for this project. The listed tools are recommendations for quality and ease of use, but common household tools will often suffice.
What is the absolute most important safety precaution I should take before starting this repair?
The most critical step is to completely shut off the water supply to the faucet before any disassembly. This usually involves turning the shut-off valves under the sink clockwise until tight, then confirming the water is off by turning on the faucet.
As a beginner, how much time should I set aside for this project, and what's the typical cost involved?
For a beginner, expect to spend about 30 to 60 minutes on this repair. The cost is typically very low, usually under $10-$20 for replacement washers, O-rings, and plumber's grease, as the main components are inexpensive.
I replaced the washer and O-ring, but my faucet is still dripping. What could be the problem?
If the drip persists, carefully inspect the valve seat for corrosion, nicks, or debris after removing the stem again. A damaged valve seat often needs to be cleaned or replaced, or the new washer/O-ring might not be seated properly or is the wrong size.
My faucet is old, and I'm having trouble identifying the exact replacement washer or O-ring. What's the best way to ensure I get the right parts?
The best approach is to remove the old washer and O-ring and take them to a hardware store to match them by size and shape. A general O-ring kit, like the DANCO 200-Piece O-Ring Kit, can also be useful for finding a suitable match by comparison.
What's the trickiest part of reassembling the faucet, and how can I avoid mistakes?
The trickiest part is often ensuring the packing nut is tightened just enough—not too loose to leak, but not so tight that it damages the new seals or makes the handle stiff. Apply a thin layer of plumber's grease to new O-rings for smoother movement and a better seal.


