
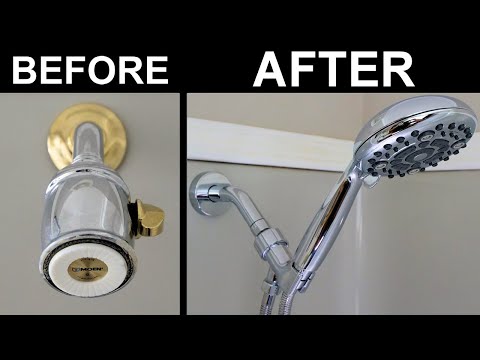
How to Stop a Dripping Two-Handle Bathroom Faucet
About This Project
This guide provides comprehensive, step-by-step instructions for fixing a common plumbing issue: a dripping two-handle bathroom faucet. The process involves shutting off the water supply, disassembling the dripping handle, identifying and replacing the worn-out internal component (typically a cartridge), cleaning the valve body, and reassembling the faucet for a leak-free result.
Best for experienced DIYers and homeowners with some experience with basic plumbing knowledge and familiarity with power tools.
Tools & Materials

Bucket
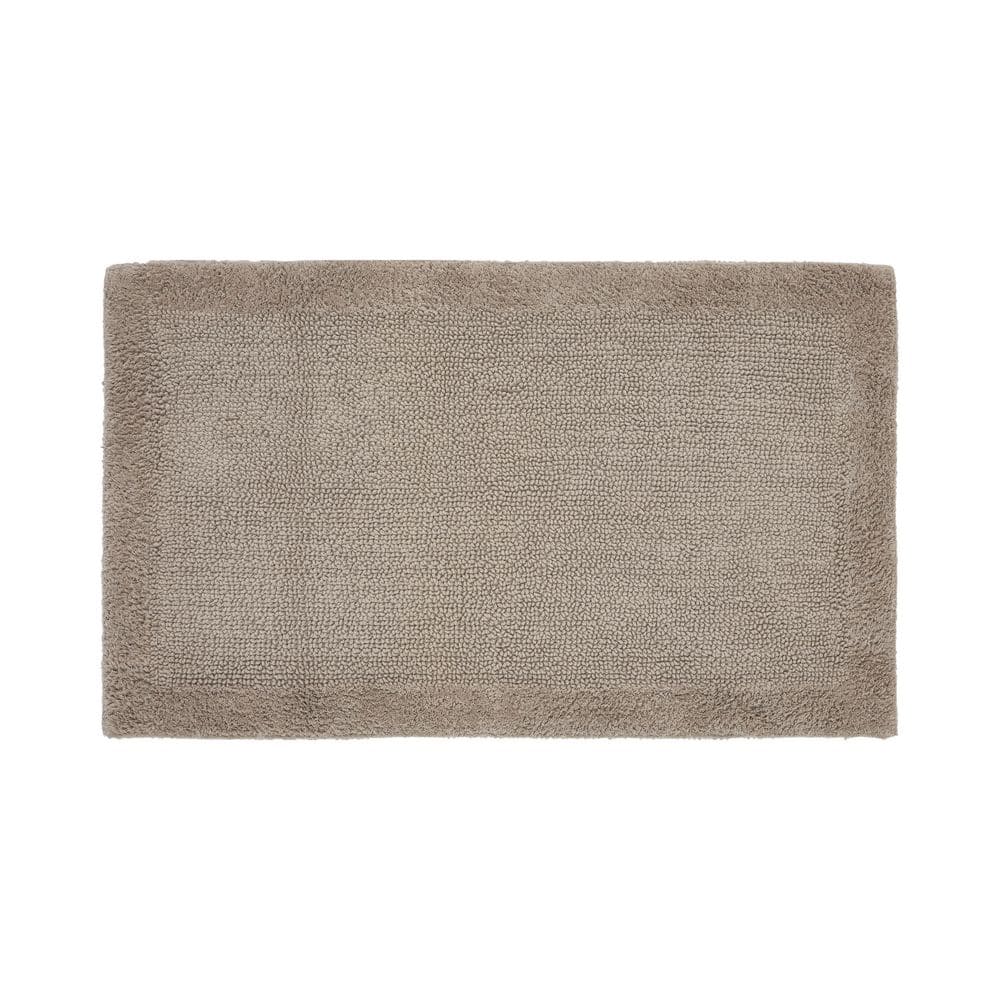
Better Trends Edge Collection 24 in. x 40 in. Brown 100% Cotton Rectangle Bath Rug BAEG2440SD
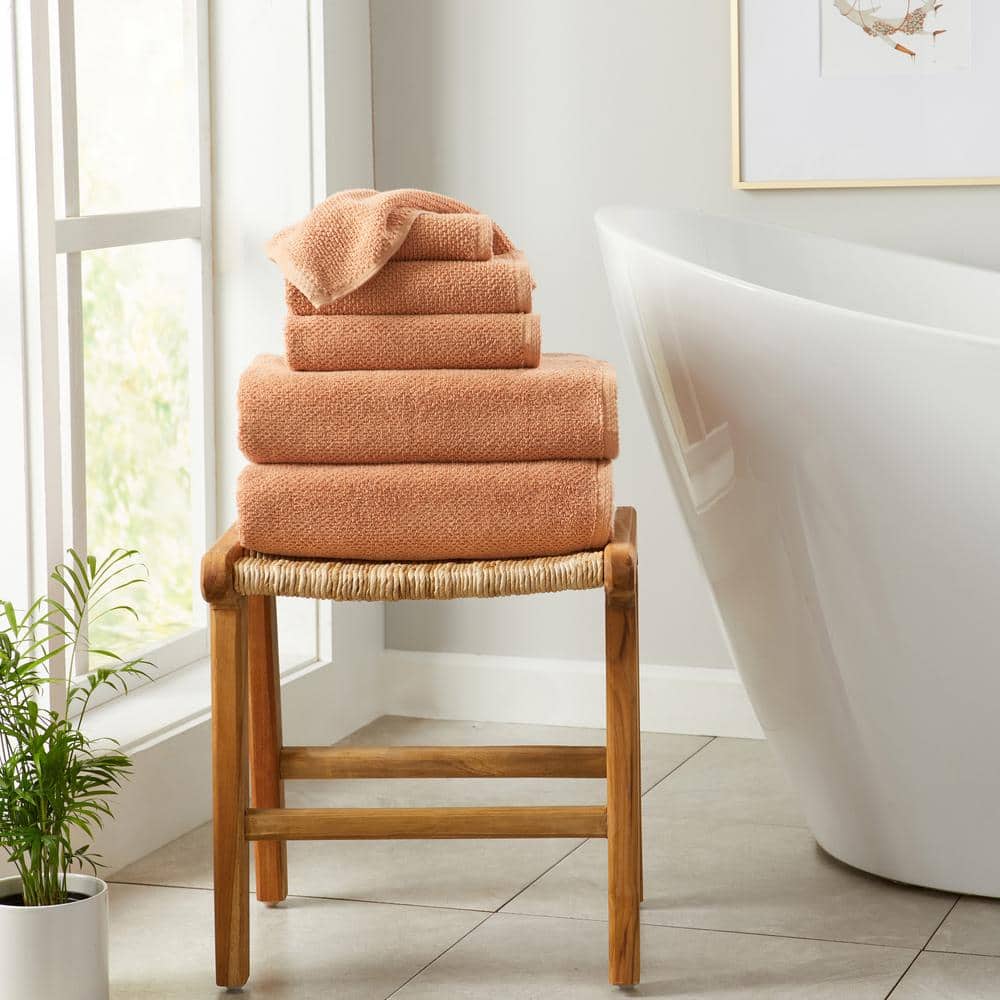
FRESHFOLDS Orange 6-Piece Cotton Quick-Dry Bath Towel Set EC100706
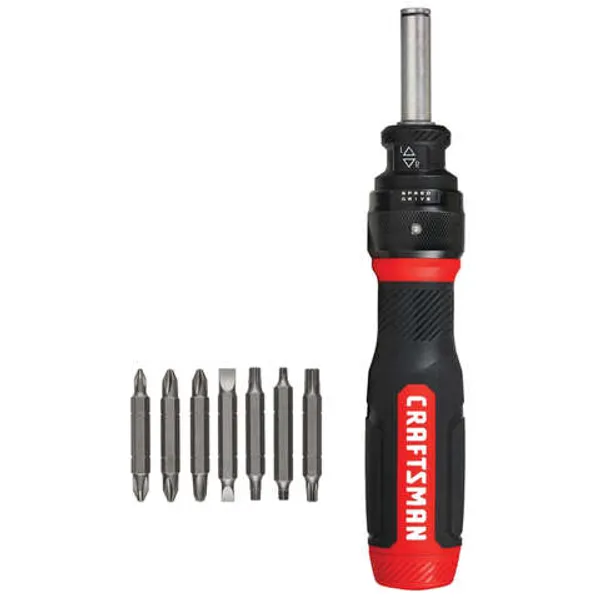
Screwdriver
Phillips head screwdriver
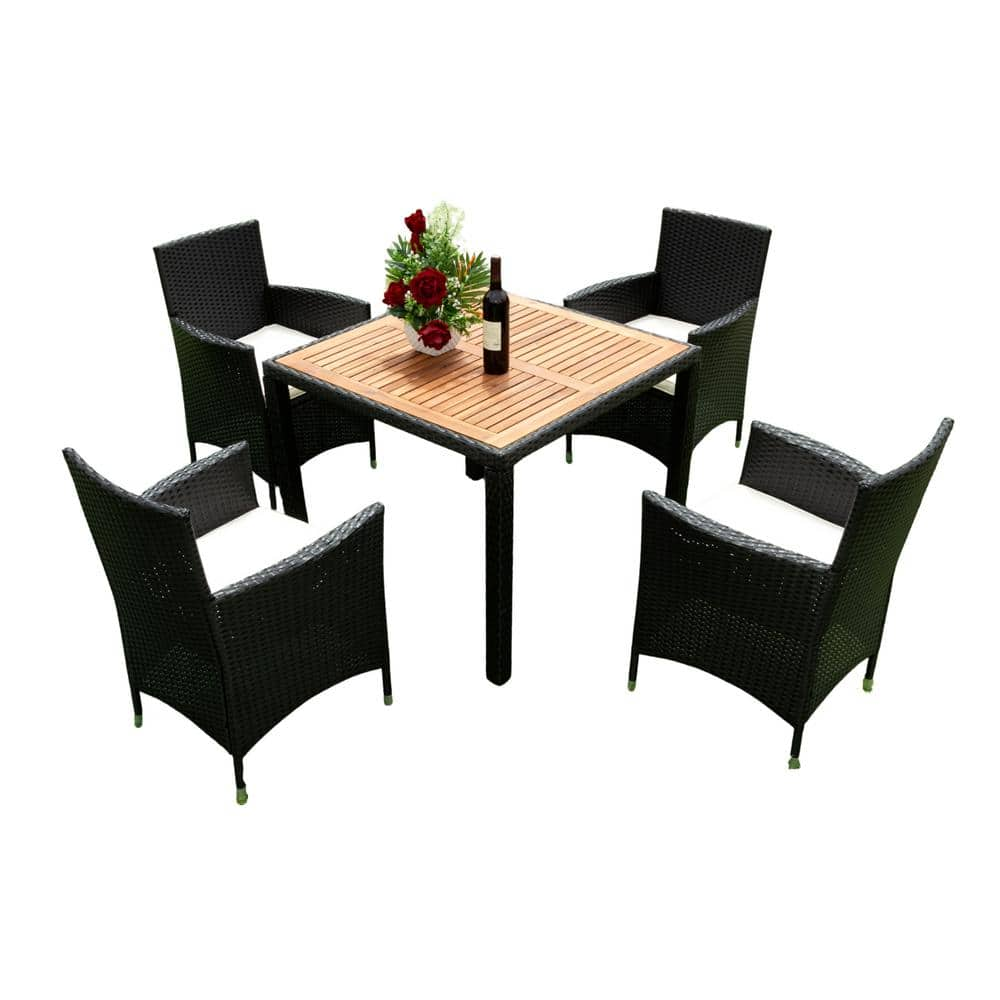
Anvil Black 5-Piece Wicker Outdoor Dining Set Patio Furniture Dining Set with Creme Cushion, Acacia Wood Top FY-W329S00039
Bucket
Ideal for carrying or storing liquids.
Better Trends Edge Collection 24 in. x 40 in. Brown 100% Cotton Rectangle Bath Rug BAEG2440SD
This one is a perfect option if you are looking for a highly durable and sustainable rug for the bathroom. This collection of bathroom mats and rugs sets is a worth investing offer from Better Trends.
FRESHFOLDS Orange 6-Piece Cotton Quick-Dry Bath Towel Set EC100706
This cotton towel is quick-drying, absorbent and features a soft cotton popcorn texture. These towels are low-twist and two-ply, so the fibers are thicker and more durable. The weave allows for more air
Screwdriver
A tool used to turn screws.
Phillips head screwdriver
This is a type of screwdriver that has a cross-shaped tip.
Anvil Black 5-Piece Wicker Outdoor Dining Set Patio Furniture Dining Set with Creme Cushion, Acacia Wood Top FY-W329S00039
This 5-piece dining sets is just what you need to add a rustic country look to your outdoor space on the porch or patio. It includes 4 chairs and a table, all made with a weather- and water-resistant metal frame that's wrapped in black wicker for a breezy design. The chairs feature a sloping backrest and curved arms and they're topped with white foam-filled polyester cushions. And the square table has a slatted wooden surface that's easy to clean. This outdoor furniture set is suitable for outdoor places, such as patio, garden, poolside and backyard and more.
Steps

Shut Off Water Supply
5 minsBefore beginning any work, you must shut off the water to the faucet. Look beneath the sink for two small valves, known as shutoff valves or stops, connected to the wall. One supplies hot water and the other cold. Turn the handles of both valves fully clockwise until they stop. Once closed, turn both faucet handles to the 'on' position on the sink. A small amount of water will drain out, and the flow should stop completely. This depressurizes the lines and confirms the water is successfully shut off.
Prepare the Work Area
2 minsLay a soft towel in the basin of the sink. The primary purpose of the towel is to cover the drain opening, which prevents any small screws, clips, or other faucet parts from accidentally being lost down the drain. As a secondary benefit, the towel also protects the surface of your sink from being scratched by tools.

Remove the Faucet Handle
10 minsBegin disassembly by locating the decorative cap on the faucet handle; it might be on the top or front. Carefully pry this cap off using the edge of a small flathead screwdriver. Underneath the cap, you will find a handle screw. Using the appropriate tool, either a Phillips head screwdriver or an Allen wrench, turn the screw counter-clockwise to loosen it. You don't always need to remove it completely. Once the screw is loose, grip the handle firmly and pull it straight up and off the faucet body.
Remove the Faucet Cartridge
15 minsWith the handle removed, the top of the cartridge is exposed. You will see a packing nut or retaining bonnet threaded over it. Use channel-lock pliers or an adjustable wrench to grip this nut and turn it counter-clockwise to unthread it completely. Once the nut is removed, grasp the stem of the cartridge with the pliers and pull it straight up out of the faucet body. The cartridge may be snug, so a gentle wiggling motion may be necessary to free it. Pay close attention to its orientation (how it's aligned) before you fully remove it.

Clean Faucet Body and Purchase Replacement Part
5 minsAfter removing the old cartridge, look inside the empty faucet valve body. Use a clean rag, perhaps moistened with a small amount of white vinegar, to thoroughly clean the interior, removing any visible gunk, sediment, or mineral deposits. A clean surface is essential for the new cartridge to seal properly. Take the old cartridge you just removed to your local hardware or plumbing supply store. Show it to an associate to find an exact replacement part. This is the most reliable way to ensure you purchase the correct Replacement Faucet Cartridge for your specific faucet model.

Install the New Cartridge
10 minsPrepare the new cartridge for installation. If it came with new O-rings, apply a very light coating of plumber's grease to them. This helps them seat without tearing and creates a better long-term seal. Align the new cartridge based on the orientation you noted from the old one (there are often tabs or notches that fit into corresponding slots in the faucet body). Carefully slide the new cartridge down into the faucet body until it is fully and firmly seated.

Reassemble the Faucet
10 minsFollow your disassembly steps in reverse. First, thread the packing nut back over the new cartridge and tighten it with your adjustable wrench or channel-lock pliers. Tighten until it is snug, but do not overtighten. Next, slide the faucet handle back onto the cartridge stem, aligning it correctly. Re-insert and tighten the set screw using your Allen wrench or screwdriver. Finally, press the decorative cap firmly back into its place on the handle.

Turn on Water and Test for Leaks
5 minsReturn to the shutoff valves under the sink. Turn their handles slowly counter-clockwise to restore the water supply. Opening them slowly prevents a sudden 'water hammer' surge. With the water on, turn the repaired faucet handle on and off a few times to bleed any air from the lines. Finally, with the faucet turned off, carefully inspect the spout and the area around the base of the handle you repaired. Watch for several minutes to ensure there are no drips or slow leaks. If it remains dry, the repair is successful.
Common Problems
Faucet body damaged when trying to remove a stuck cartridge.
Solution: If the cartridge is stuck, you can use pliers to get a better grip, but be careful not to damage the faucet body.
Be prepared for a small amount of water to spill out when the cartridge is removed.
Solution: To avoid this issue: Be mindful of this warning and take appropriate precautions.
Ensure the main water supply to the shower is turned off before starting.
Solution: To avoid this issue: Be mindful of this warning and take appropriate precautions.
Incorrect faucet cartridge purchased, leading to continued leaks.
Solution: Measure the old cartridge with a caliper and take a photo to make matching it at the store easier.
Faucet leaks persist after replacing parts due to debris on the cartridge gasket.
Solution: If the leak is from the faucet itself, cleaning debris from the gasket on the bottom of the cartridge may solve the issue.
O-rings stick, making installation difficult and causing leaks.
Solution: Apply plumber's grease to O-rings to ease installation and prevent future binding.
Incorrectly installed new cartridge causes continued dripping.
Solution: Note the orientation of the old cartridge so the new cartridge is installed correctly.
Frequently Asked Questions
What essential tools do I truly need for this faucet repair, beyond the specialized items listed?
You'll primarily need screwdrivers (flathead and Phillips), an adjustable wrench, and possibly slip-joint or tongue-and-groove pliers for stubborn nuts. A bucket and old towels are essential for catching water. The specific brands mentioned are examples, not strict requirements.
How long should a beginner expect this project to take, and what's the average cost for parts?
For a beginner, this project typically takes 1-2 hours, including water shut-off and cleanup. The main cost is the replacement cartridge, which usually ranges from $10-$30 depending on your faucet's brand and model. It's a cost-effective alternative to calling a plumber.
What's the most common reason a two-handle faucet drips, and how can I ensure I buy the correct replacement cartridge?
A worn-out internal cartridge or O-rings are almost always the cause of a dripping faucet. To get the right replacement, identify your faucet's brand and model (often stamped on the faucet body) and take the old cartridge with you to the store for a direct comparison.
What crucial safety precautions should I take before attempting to fix my dripping faucet?
Always shut off the hot and cold water supply valves under the sink before starting to prevent leaks and potential flooding. Place a bucket under the faucet and have plenty of old towels on hand to manage any residual water in the lines.
My faucet is still dripping or leaking after I replaced the cartridge. What should I check next?
First, ensure the cartridge is fully seated and oriented correctly in the valve body, and that all nuts are hand-tight, then gently snugged with a wrench. Check for any pinched O-rings or debris inside the valve. Sometimes, removing and re-inserting the cartridge carefully can resolve minor leaks.
My faucet parts seem corroded or have mineral buildup. Should I clean them, or does that mean I need a new faucet?
It's highly recommended to clean the valve body and any reusable parts thoroughly with vinegar and an old brush while the cartridge is out. This can improve sealing and prolong faucet life. However, if the corrosion is severe and impacts the faucet's structural integrity or appearance, a full replacement might be a better long-term solution.


