
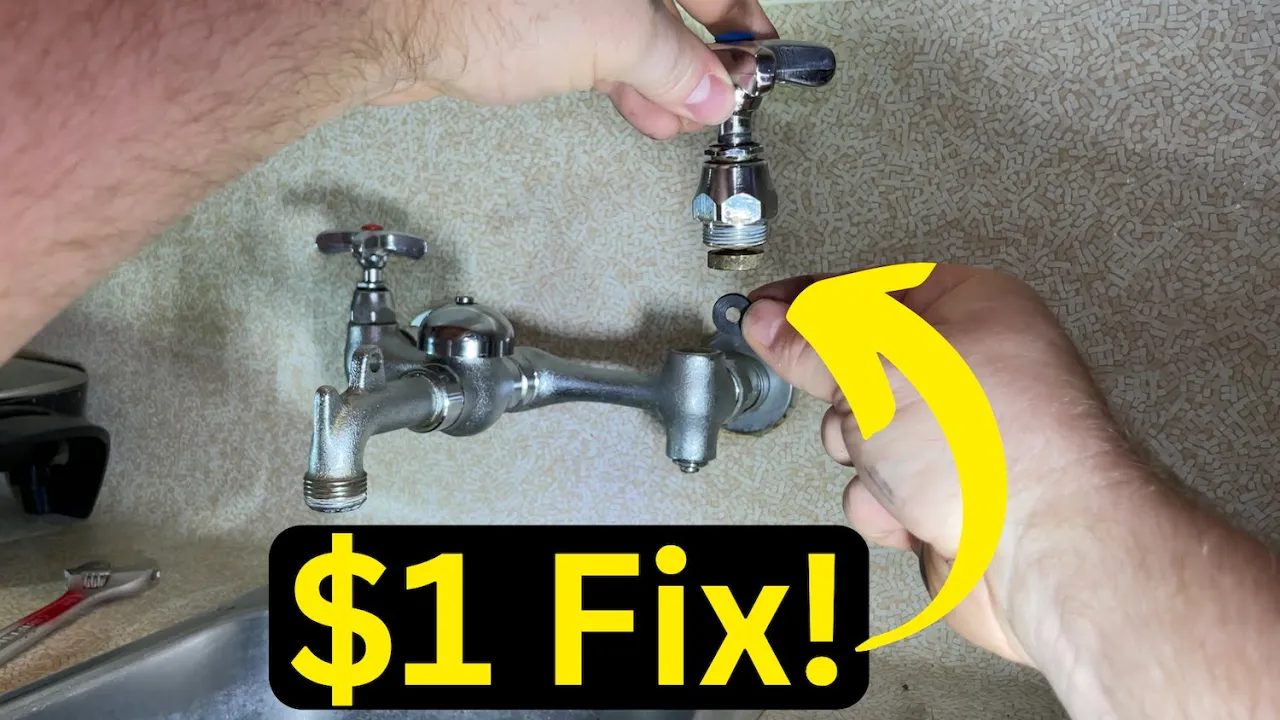
How to Stop a Dripping Two-Handle Bathroom Faucet
About This Project
This guide provides step-by-step instructions for repairing a common household issue: a dripping two-handle bathroom faucet. The process involves turning off the water supply, disassembling the leaking handle, removing and replacing the internal faucet cartridge, and then reassembling the faucet and testing for leaks. This is a common DIY project that can be completed with basic tools.
Best for experienced DIYers and homeowners with some experience with basic plumbing knowledge and familiarity with power tools.
Tools & Materials

Towel
Bucket
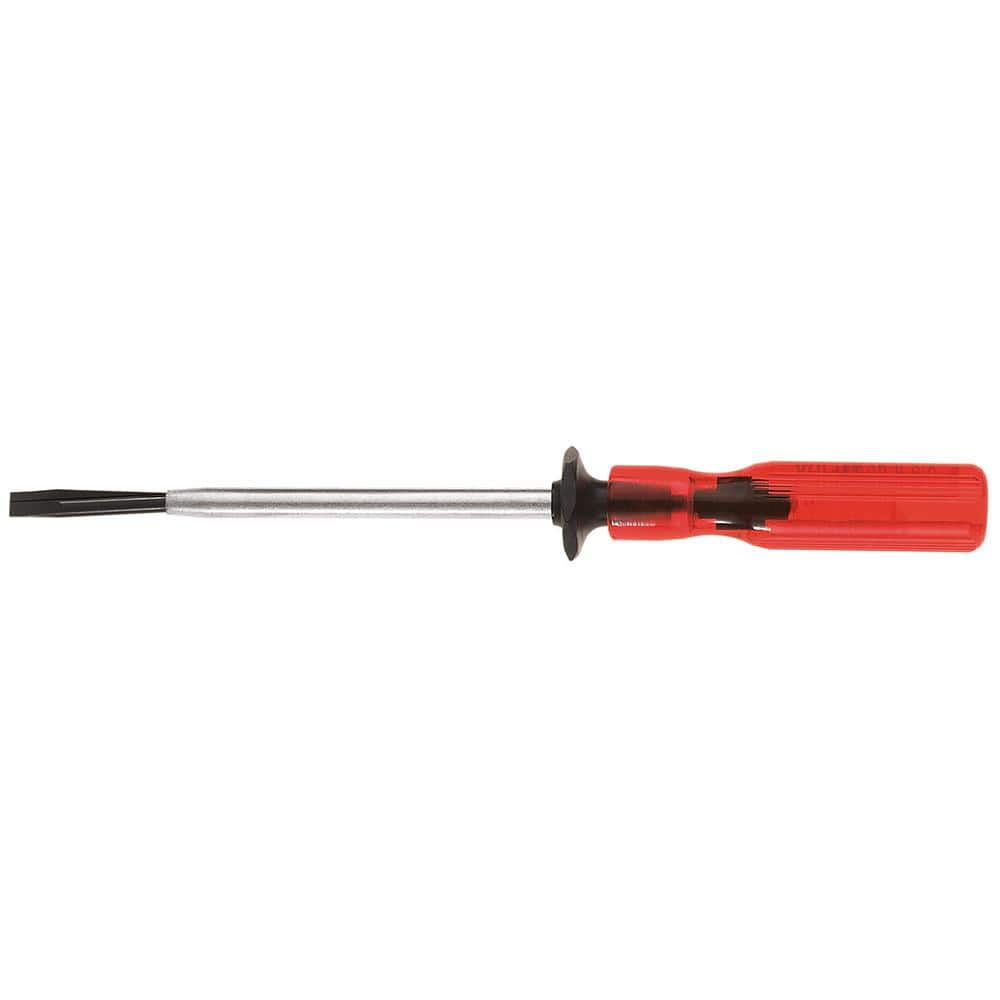
Klein Tools 3/16 in. Slotted Screw-Holding Flat Head Screwdriver with 3 in. Round Shank K23
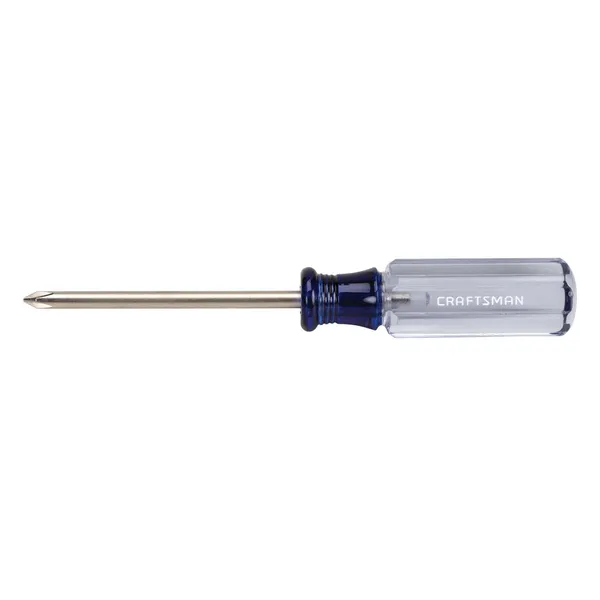
Phillips head screwdriver
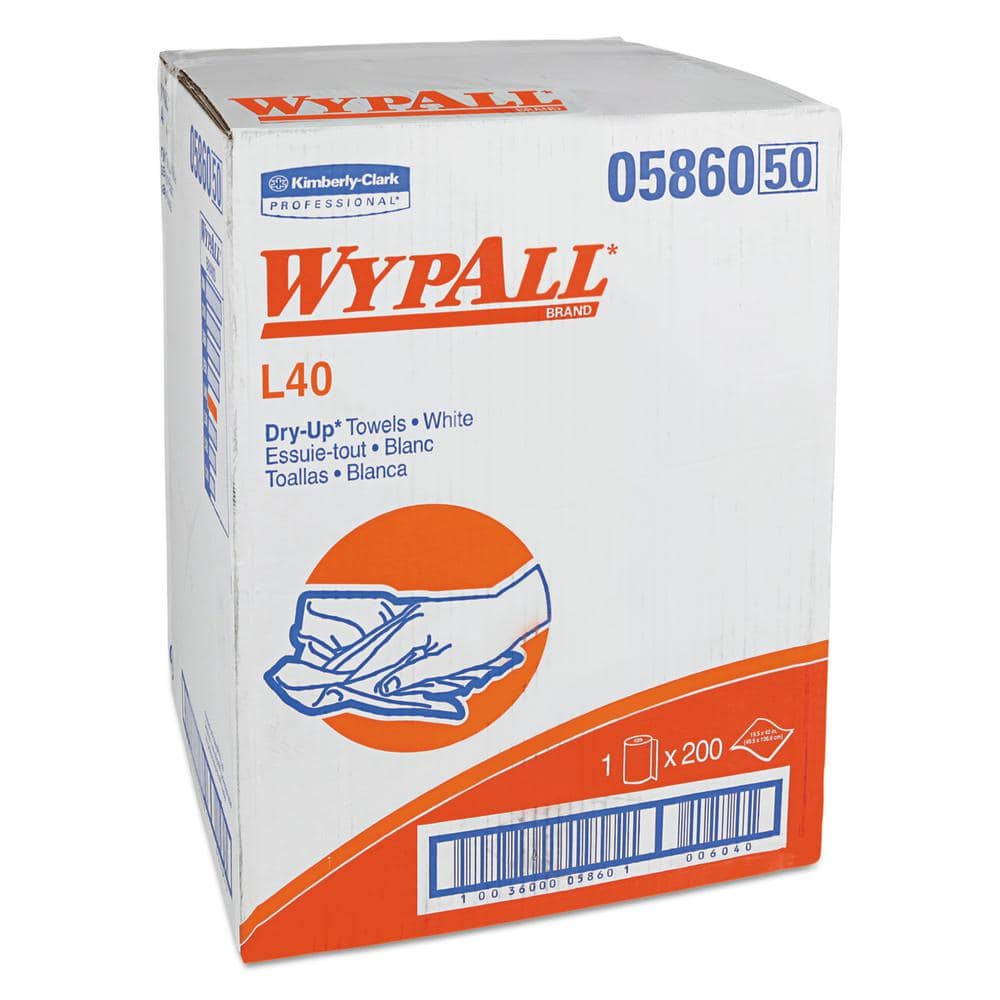
WYPALL L40 Towels, Dry Up Towels, 19-1/2 in. x 42 in., White, 200 Towels/Roll KCC05860

Channellock 12 in. V-Jaw Tongue and Groove Pliers 442
Towel
Absorbs moisture and dries surfaces.
Bucket
Ideal for carrying or storing liquids.
Klein Tools 3/16 in. Slotted Screw-Holding Flat Head Screwdriver with 3 in. Round Shank K23
Getting that screw to stay put while you get it in place is much easier with Klein's Slotted Screw-Holding screwdriver. Positive gripping action holds, starts, and drives slotted screws in awkward, hard-to-reach
Phillips head screwdriver
This is a type of screwdriver that has a cross-shaped tip.
WYPALL L40 Towels, Dry Up Towels, 19-1/2 in. x 42 in., White, 200 Towels/Roll KCC05860
WYPALL L40 Wipers are effective wipers that absorb liquids lightning-fast. These wipes are made of bonded cellulose using DRC (double re-creped) technology for strength, softness and absorbency. As a wiping cloth, it soaks up liquids fast, but all you'll feel is softness, thanks to a plush, touchable outer layer. In fact, it's a popular choice for patient wiping in healthcare industries, for bathing and patient drying. These utility wipes are specially designed to absorb liquids, lubricants and oils (in restaurants for wiping counters, in mechanic shops, industrial and commercial factories and more), yet they're soft enough for use on face and hands. Experience the difference in superior absorbency and cleaning at your home or office today. Towel/Wipe Type: Dry Wipes; Application: Bathrooms; Material(s): Cloth-Like; Number of Plies: 1.
Channellock 12 in. V-Jaw Tongue and Groove Pliers 442
CHANNELLOCK 442 12" Tongue & Groove Pliers feature a unique v-jaw design that creates more points of contact on round stock and tubing. These pliers are built to last with a PERMALOCK fastener to eliminate
Steps
Shut Off Water and Prepare Workspace
5 minsBegin by clearing the area under the sink to access the water supply lines. Locate the two shutoff valves, one for hot and one for cold, on the wall or floor. Turn the oval or round handles clockwise until they stop moving to shut off the water. Next, turn both faucet handles to the 'on' position to drain any residual water and relieve pressure in the lines. This confirms that the water is successfully shut off. Finally, place a thick towel or rag over the sink basin, making sure to cover the drain opening completely. This will protect the sink's finish from dropped tools and prevent any small parts from being lost down the drain.

Remove Faucet Handle
5 minsExamine the faucet handle that is causing the drip. Look for a decorative cap, which is usually on the top or front of the handle and may have a red or blue indicator. Carefully use the edge of a small flathead screwdriver to gently pry this cap off, revealing a screw underneath. Using either a Phillips head screwdriver or an Allen wrench (depending on the screw type), turn the screw counter-clockwise to loosen and remove it. Set the screw aside in a safe place. With the screw removed, grasp the handle firmly and pull it straight up and off the faucet body. If it is stuck due to mineral deposits, try wiggling it gently side-to-side while pulling up. Avoid using excessive force.

Remove the Faucet Cartridge
10 minsWith the handle removed, you'll see the valve stem of the cartridge. There may be a decorative metal sleeve or dome (escutcheon) covering the valve body; unscrew this by hand. Now, you will see a large nut, often called a packing nut or retaining nut, holding the cartridge in place. To protect the faucet's finish, wrap the jaws of a pair of channel-lock pliers or an adjustable wrench with electrical tape. Grip the nut with the wrapped pliers and turn it counter-clockwise to loosen and remove it. Once the nut is off, grasp the plastic or brass stem of the cartridge with the pliers and pull it straight up and out of the faucet body. Note the orientation of any tabs on the cartridge, as the new one must be installed in the same position.

Purchase Replacement Parts
5 minsTake the old faucet cartridge, and any associated O-rings or seals you removed, to a local hardware or plumbing supply store. Having a picture of the faucet on your phone can also be very helpful for identification. Ask an employee in the plumbing department for assistance in finding an exact match for your parts. Faucet cartridges are highly specific to the brand and model, so a visual match is critical. While at the store, purchase the new faucet cartridge and a small tub or tube of heat-proof, non-toxic plumber's grease.

Install New Cartridge and Reassemble Valve
10 minsBefore inserting the new part, use a clean rag to wipe out the inside of the faucet's valve body, removing any mineral scale, grit, or old rubber fragments. Next, take the new faucet cartridge and apply a light, even coat of plumber's grease to all of its rubber O-rings. This lubrication helps protect the seals during installation and ensures a watertight fit. Carefully align the new cartridge with the faucet body, making sure any tabs or notches line up exactly as the old one did. Press it firmly into place. Hand-thread the retaining nut back on clockwise to prevent cross-threading, then use your pliers or wrench to give it a final quarter-turn to snug it up. Do not overtighten.

Reattach Handle and Test Faucet
5 minsPlace the faucet handle back onto the new cartridge stem, ensuring it is positioned correctly. Re-insert the retaining screw and tighten it clockwise with your Phillips screwdriver or Allen wrench until it is snug. Push the decorative cap back into place over the screw until it clicks. Go back under the sink and slowly turn the shutoff valves counter-clockwise to restore the water supply. Open the faucet handle you repaired to check that water flows properly. Then, turn the faucet off and carefully observe the spout for several minutes. Also, inspect the base of the handle and under the sink for any signs of leaks. If everything remains dry, you have successfully fixed the drip.
Common Problems
Water spraying from handle if turned on too fast.
Solution: When turning the water back on, do it slowly to check for any leaks around the handle before turning it on fully.
Do not overtighten the retaining nut or set screw, as this can damage the faucet components.
Solution: To avoid this issue: Be mindful of this warning and take appropriate precautions.
Unevenly tightened escutcheon screws cause the plate to warp and not sit flush.
Solution: Tighten the escutcheon plate screws alternately to ensure the plate sits flush against the shower wall without warping.
A cracked faucet handle can lead to leaks and improper water flow.
Solution: If your original handle is cracked or damaged, it's best to replace it to ensure proper operation.
This is the most important step before starting plumbing work to prevent flooding.
Solution: To avoid this issue: Be mindful of this warning and take appropriate precautions.
Water sprays out unexpectedly when you remove faucet parts.
Solution: Turn on the faucet after shutting off the valve to relieve any remaining pressure in the line.
Failure to shut off the water supply will result in significant water leakage and potential property damage.
Solution: To avoid this issue: Be mindful of this warning and take appropriate precautions.
Frequently Asked Questions
Do I need all the specialized tools listed, like the specific Klein wrenches, or can I use more common household tools?
While specialized tools can make the job easier, many tasks for a two-handle faucet repair can be accomplished with standard items. A Phillips head screwdriver, an adjustable wrench, and a good pair of pliers (like tongue and groove) are usually sufficient for most beginners.
How realistic are the "beginner" difficulty and "3 hours" estimated time for someone new to DIY plumbing?
This project is indeed beginner-friendly as it avoids complex pipe work. While 3 hours is a good estimate, allow yourself extra time if you're new to plumbing, especially for identifying and sourcing the correct replacement cartridge or dealing with old, seized components.
How can I be sure I'm purchasing the correct replacement cartridge for my specific faucet?
The most reliable method is to remove your existing cartridge first and take it to the hardware store for an exact match. Faucet manufacturers often use proprietary designs, so matching by appearance and model number (if available on the faucet or cartridge) is crucial to ensure compatibility.
My faucet is still dripping after I installed the new cartridge; what should I check?
First, ensure the new cartridge is seated firmly and correctly within the valve body, and all retaining nuts are snug. Hard water deposits can sometimes prevent a good seal, so clean the valve body thoroughly before installation. If the drip persists, the issue might be a worn O-ring elsewhere in the faucet assembly, or the valve body itself could be damaged.
What are the most important safety precautions to take during this faucet repair?
Always turn off the water supply to the faucet (typically under the sink) before starting to prevent unexpected flooding. Use rags or towels to absorb any residual water. When reassembling, avoid overtightening nuts and connections to prevent cracking the faucet body or handles.
What is the typical cost for parts and materials for this DIY faucet repair?
The primary expense will be the replacement cartridge, which generally costs between $15 and $50, depending on the faucet brand and cartridge type. If you already own basic tools, the total material cost for this project is usually quite low, making it a very economical repair.


