
How to Stop a Dripping Single-Handle Kitchen Faucet by Replacing the Cartridge
About This Project
This guide provides step-by-step instructions to stop a dripping single-handle kitchen faucet by shutting off the water supply, disassembling the faucet handle and body, removing the old leaky cartridge, installing a new replacement cartridge, and reassembling the faucet components.
Best for experienced DIYers and homeowners with some experience with basic plumbing knowledge and familiarity with power tools.
Tools & Materials

GEARWRENCH SAE & Metric Folding Hex Key Set (17-Piece) 83510
Klein Tools 12 in. Quick Adjust Klaw Pump Pliers D504-12B
Milwaukee 4 in. x 1/4 in. Slotted Flat Head Screwdriver with Cushion Grip MT206
MOEN Single-Handle 8.5 in. D Replacement Cartridge 1225

FRESHFOLDS Orange 6-Piece Cotton Quick-Dry Bath Towel Set EC100706
BOCCHI Fireclay Drain Cover for Fireclay Kitchen Sink Strainers in Matte Black 1220-004
GEARWRENCH SAE & Metric Folding Hex Key Set (17-Piece) 83510
The GEARWRENCH 17-piece SAE/Metric folding hex key set offers an organized and durable solution for hex key needs. The set includes 2 folding hex key sets, 1 SAE and 1 metric. Hex keys are constructed
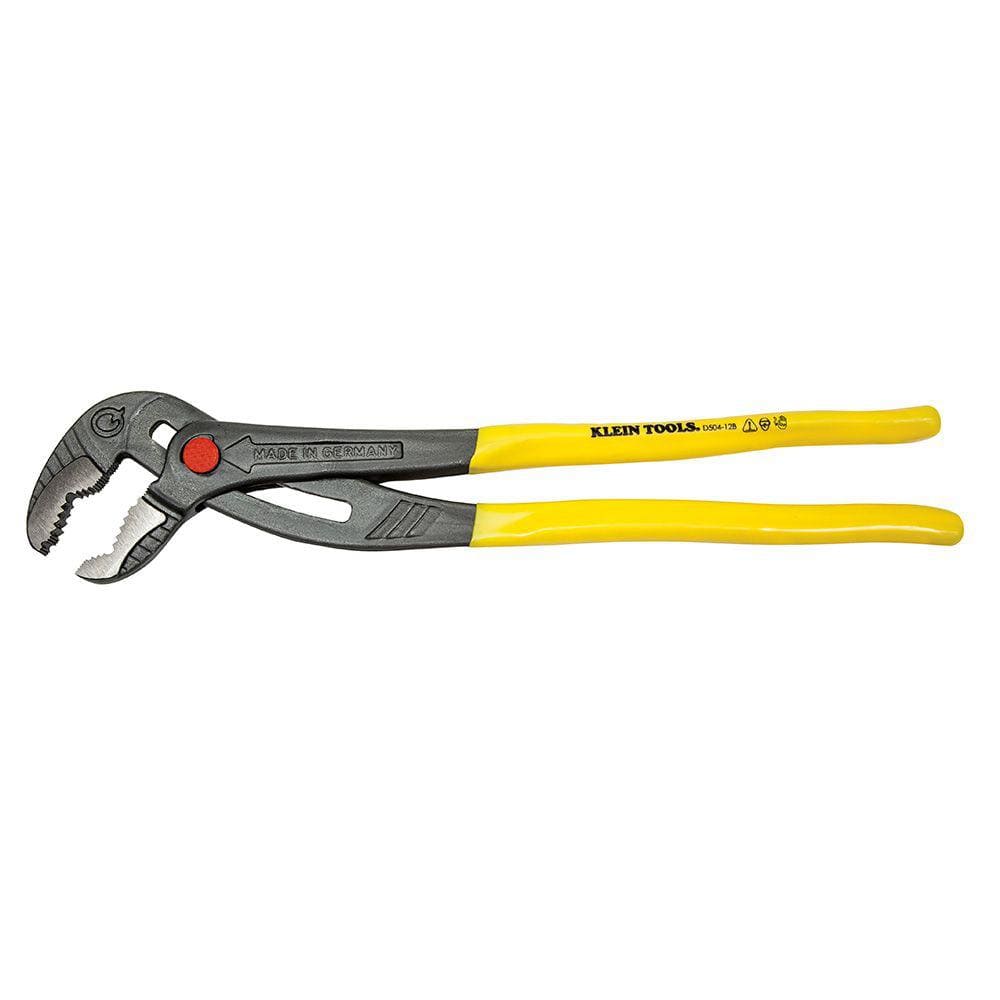
Klein Tools 12 in. Quick Adjust Klaw Pump Pliers D504-12B
Get a better grip on the job at hand with Klein Tools Klaw Pump Pliers. Push button and quick-ratchet feature allows for fast and easy adjustment to any position. The uniquely designed jaw provides multiple
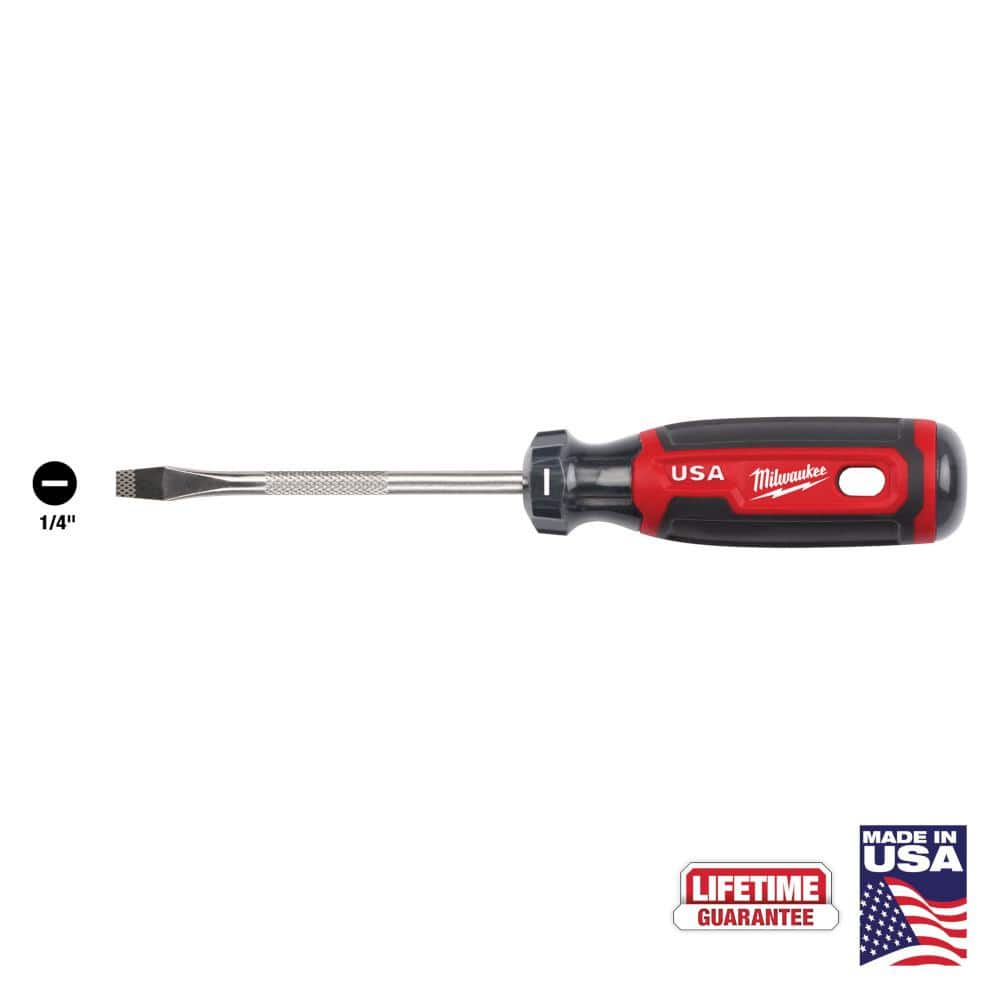
Milwaukee 4 in. x 1/4 in. Slotted Flat Head Screwdriver with Cushion Grip MT206
The Milwaukee® 1/4" Slotted 4" Cushion Grip Screwdrivers (USA) are manufactured to give the professional the best-fitting screwdriver with max grip. These screwdriver tips are custom machined to deliver
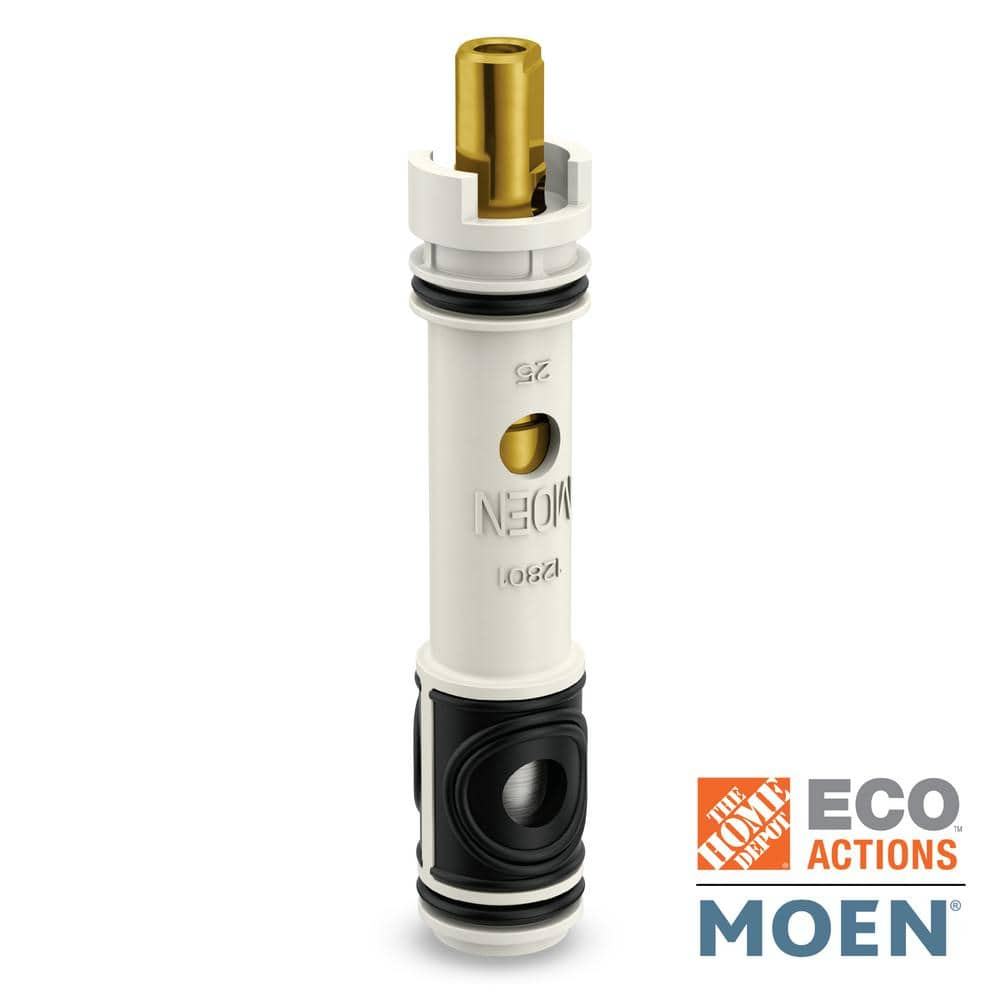
MOEN Single-Handle 8.5 in. D Replacement Cartridge 1225
The MOEN Single-Handle Replacement Cartridge works with many MOEN single-handle bathroom sink and kitchen faucets. The cartridge is made with cast metal and plastic for strength. The MOEN replacement cartridge installs quickly and easily, with instructions included.
FRESHFOLDS Orange 6-Piece Cotton Quick-Dry Bath Towel Set EC100706
This cotton towel is quick-drying, absorbent and features a soft cotton popcorn texture. These towels are low-twist and two-ply, so the fibers are thicker and more durable. The weave allows for more air
BOCCHI Fireclay Drain Cover for Fireclay Kitchen Sink Strainers in Matte Black 1220-004
Luxury drain cover. Color-matched fireclay. Sits above strainer to allow for easy water flow while providing chic cover.
Steps
Gather Tools and New Cartridge
5 minsBefore starting any work, ensure you have all the necessary tools and your new replacement cartridge. Lay out your tools on a towel next to the sink to keep them organized and prevent scratching your countertop. Having everything ready will make the process smoother and quicker.

Shut Off Water Supply
5 minsLook inside the cabinet directly under your kitchen sink. You will find two small valves, one for the hot water line and one for the cold. Grasp the handle of each valve and turn it clockwise (righty-tighty) until it stops. This will shut off the water flow to the faucet. To confirm the water is off and to relieve any pressure in the lines, lift the faucet handle to the 'on' position. A small amount of water may trickle out, but it should stop completely within a few seconds. Leave the faucet handle in the open position to allow it to drain fully.


Remove Faucet Handle
5 minsLocate the small decorative cap on the faucet handle, often marked with a red/blue hot/cold symbol. Carefully use the tip of a flathead screwdriver or a utility knife to pry this cap off. Underneath, you will find a small set screw. Select the correct size Allen wrench from your set and insert it into the screw. Turn the Allen wrench counter-clockwise to loosen the screw. You only need to loosen it a few turns; you do not need to remove it completely. Once loose, lift the entire handle straight up and off the faucet body.

Remove Dome Cap
3 minsWith the handle removed, you will see a rounded or dome-shaped metal piece called the dome cap. This part is usually threaded. Grasp it firmly and turn it counter-clockwise by hand to unscrew it. If it's too tight, wrap a rag around it and use adjustable pliers to get a better grip and turn it loose. Lift it off to expose the plastic components and the cartridge retaining clip.

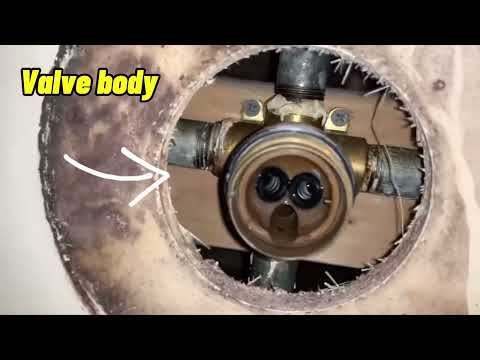
Remove Retaining Clip
3 minsLook at the top of the brass faucet valve body. You will see a small, U-shaped metal clip inserted into two slots, holding the cartridge in place. Using needle-nose pliers or the tip of a flathead screwdriver, firmly pull this clip straight up and out of the faucet body. Be careful not to bend or damage it, as you will need to reuse it.

Remove Old Cartridge
5 minsThe old cartridge is now free to be removed. Many Moen replacement cartridges come with a small plastic tool designed to help with this. Insert the tool over the cartridge stem and use it to rotate the cartridge back and forth to break the seal. Then, grasp the stem of the cartridge with adjustable pliers and pull it straight up and out of the faucet body. This may require some wiggling and steady force, especially if there is significant mineral buildup.

Clean Faucet Body
3 minsBefore inserting the new cartridge, inspect the inside of the faucet's valve body. Use a rag or a soft brush to wipe away any mineral deposits, sediment, or rubber debris left from the old cartridge. Ensuring the interior is clean will allow the new cartridge to seat properly and create a perfect seal.

Install New Cartridge
5 minsTake the new cartridge. If you have plumber's grease, apply a light coat to the rubber O-rings to help it slide in easily and prevent tearing the seals. Align the cartridge correctly; there are typically tabs or notches on the side of the cartridge that must fit into corresponding slots inside the faucet body. For a Moen 1225 cartridge, the 'H C' marking should be facing up. Push the cartridge firmly and evenly down into the valve body until it is fully seated.

Reassemble Faucet
5 minsReassemble the faucet by following the disassembly steps in reverse. First, re-insert the U-shaped retaining clip into its slots to lock the new cartridge in place. Second, screw the dome cap back on, hand-tightening it until it's snug. Third, place the handle back onto the cartridge stem, ensuring it is oriented correctly. Finally, use the Allen wrench to tighten the set screw (clockwise) and then gently press the decorative cap back into its place on the handle.
Turn Water On and Test
3 minsWith the faucet fully reassembled and the handle in the 'off' position, slowly turn the hot and cold water shut-off valves under the sink counter-clockwise to restore the water supply. Open them fully. Now, check for leaks around the base of the faucet handle and from the spout. Turn the faucet handle on, moving it from hot to cold to test its function and flush out any air in the lines. If there are no drips from the spout when it's off and no leaks around the handle, the repair is complete.
Common Problems
Sudden water pressure surges can damage plumbing when reassembling the faucet.
Solution: Turn the water on slowly to avoid a sudden surge of pressure which could damage the plumbing.
Sudden water surges can damage new cartridges or cause leaks.
Solution: Turn the water on slowly to avoid a sudden surge of pressure.
Do not lose the retaining clip, as it is essential for securing the new cartridge.
Solution: To avoid this issue: Be mindful of this warning and take appropriate precautions.
The cartridge retainer is difficult to remove without the correct tool.
Solution: This retainer is designed to be removed with a specific tool that fits all four notches, but careful use of pliers can work as an alternative.
Damaging the clip or ring during cartridge removal can prevent proper reassembly and a lasting fix.
Solution: Be careful not to damage the clip or ring during removal.
Scratches and water damage to countertops and sinks.
Solution: Lay down your towel to prevent damages to the countertop and sink
Water damage and messes on the floor.
Solution: Use a waterproof mat for better protection.
Frequently Asked Questions
What tools will I definitely need for this specific faucet cartridge replacement?
You'll primarily need a screwdriver (like the Milwaukee Flat Head), an adjustable wrench (such as the Crescent AC212VS), and pliers (like the Husky Groove Joint or Channellock Long Nose) to disassemble and reassemble the faucet components. A hex key set (GEARWRENCH 83510) might also be necessary if your handle uses set screws.
How can I ensure I purchase the correct replacement cartridge for my single-handle kitchen faucet?
The most crucial step is identifying your faucet's brand and model number, usually found under the sink or on the faucet itself. If that's not possible, carefully remove the old cartridge and take it to a hardware store to match it, like the MOEN 1225 specified in the materials, to ensure compatibility.
What are the most common mistakes beginners make during this project, and how can I avoid them?
A common mistake is not fully shutting off the water supply, so always confirm both hot and cold valves are off. Another is losing small parts like screws or the retaining clip (OMUR Connecting Clips) down the drain, which can be prevented by plugging the sink drain with a rag or towel (WYPALL L40 Towels).
How long should this project take for a beginner, and is it truly a 'beginner' difficulty task?
Yes, this is a beginner-friendly project, designed to be straightforward for most DIYers. For someone new to plumbing, it should typically take about 30-60 minutes, assuming you have the correct replacement cartridge and all necessary tools readily available.
What should I do if my faucet still drips after I've replaced the cartridge and reassembled everything?
First, ensure the new cartridge is fully seated and the retaining clip (like the OMUR Connecting Clips) is properly installed and secure. Then, recheck for any debris inside the faucet body or on the cartridge's O-rings that might prevent a watertight seal. If the problem persists, the cartridge might be faulty or the wrong model.
Are there any important safety precautions beyond just shutting off the water supply?
Beyond completely shutting off the main water supply to the faucet, it's wise to open the faucet handle briefly to relieve any residual water pressure before disassembly. Also, protect your sink basin by placing a towel or rag inside to prevent scratches or damage from dropped tools.


