
How to Solder Copper Pipes for a Permanent, Watertight Joint
About This Project
A comprehensive guide to cutting, cleaning, fluxing, heating, and soldering copper pipes to create a strong, permanent, and leak-proof joint for plumbing applications. This process, also known as 'sweating a pipe', is a fundamental skill for any plumber or advanced DIYer.
Best for advanced DIYers and professionals with basic plumbing knowledge and familiarity with power tools. Requires Safety Glasses and Nexgrill Heat Resistant Grilling Gloves with Silicone Grip 530-0025N and Bernzomatic Moldable Heat and Flame Shield with FormFoil Technology BZOMHFS.
Tools & Materials
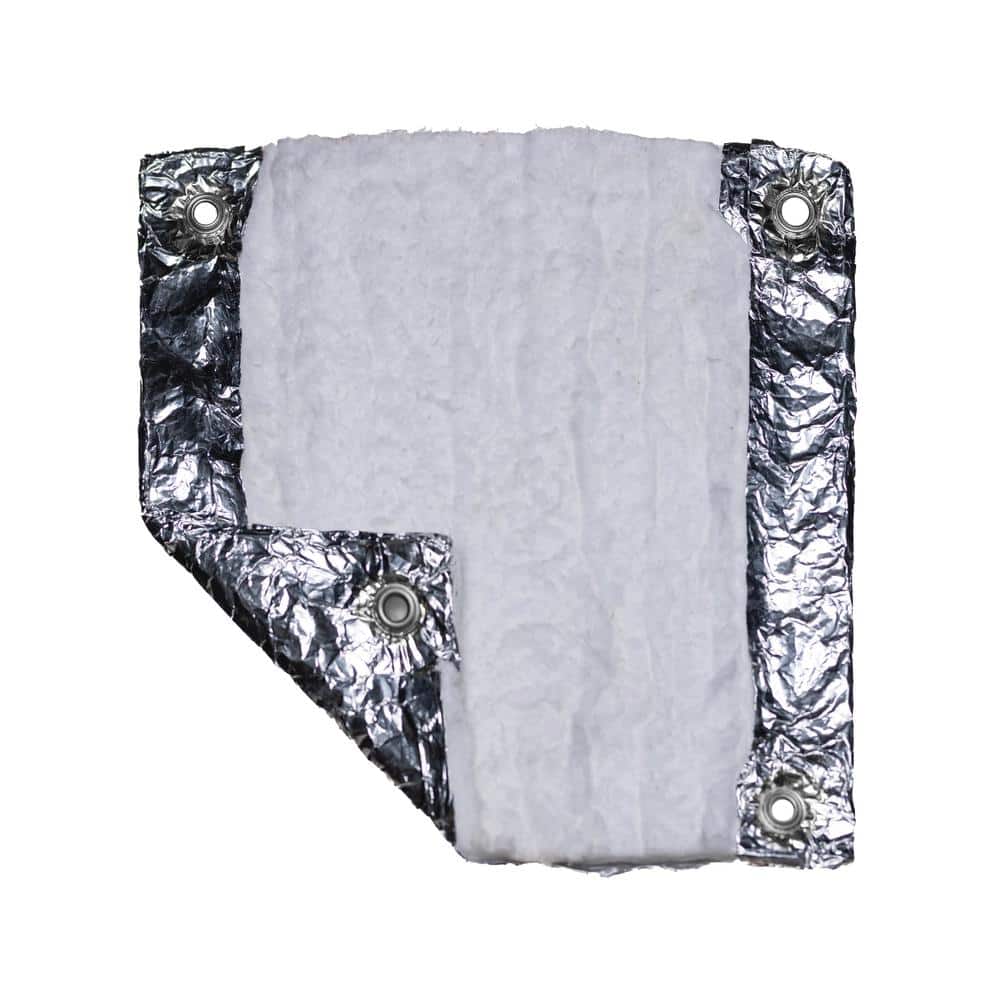
Bernzomatic Moldable Heat and Flame Shield with FormFoil Technology BZOMHFS
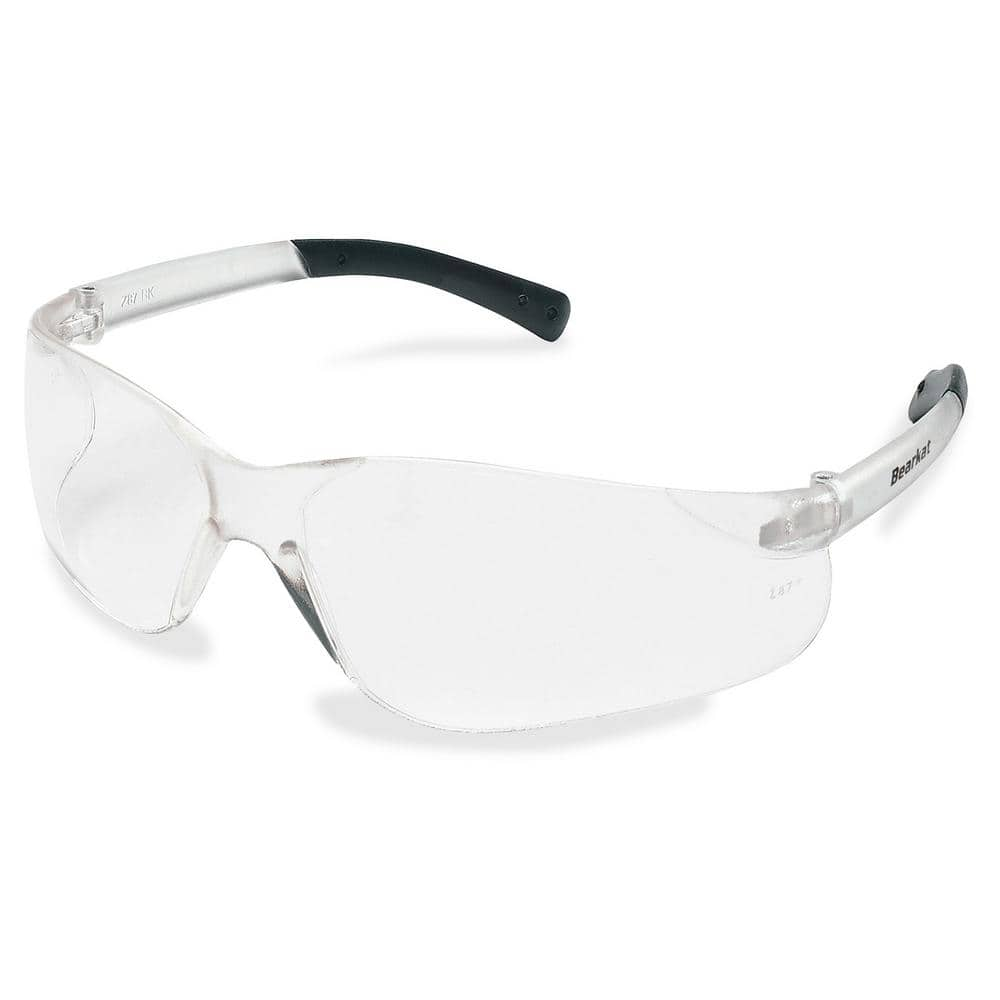
MCR Safety BearKat Safety Glasses MCSCRWBK110
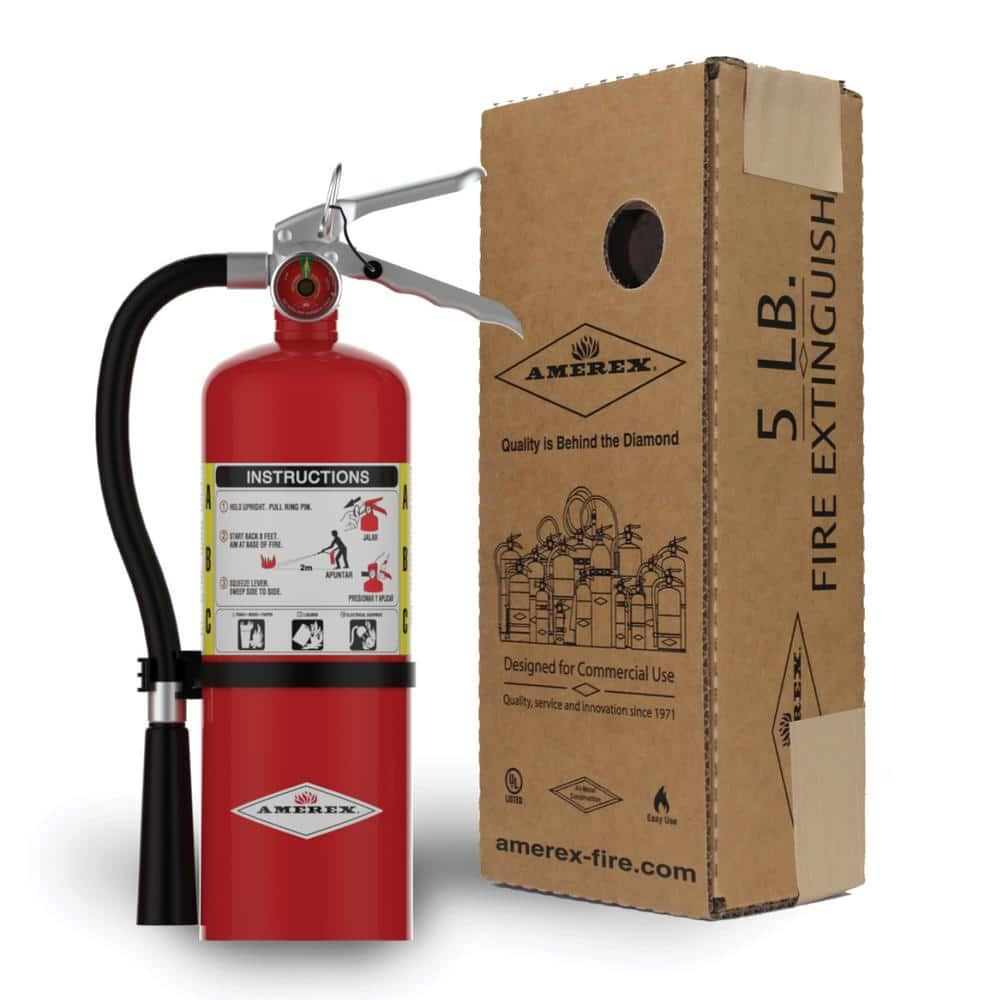
AMEREX 2-A:10-B:C 5 lbs. ABC Dry Chemical Fire Extinguisher B500T
25 ft. Tape Measure
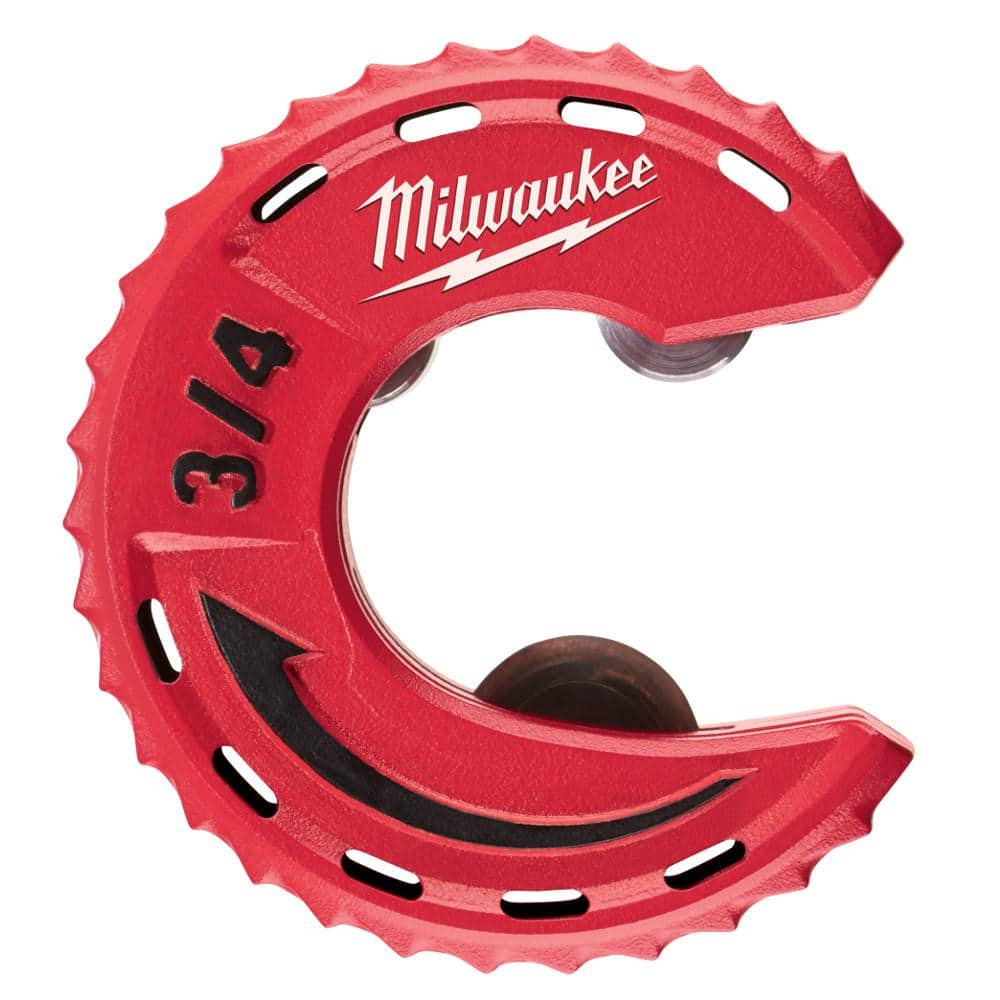
Milwaukee 3/4 in. Close Quarters Tubing Cutter 48-22-4261

Sharpie Black Fine Point Permanent Markers (2-Pack) 30162PP
Bernzomatic Moldable Heat and Flame Shield with FormFoil Technology BZOMHFS
Bernzomatic Heat and Flame Shield with FormFoil technology is the ultimate solution for protecting surfaces from fueled flame. With its unique moldable design, Bernzomatic Heat and Flame Shield is the
MCR Safety BearKat Safety Glasses MCSCRWBK110
Safety glasses feature a well thought-out construction that combines the best in safety, comfort and affordability. Your vision is unobstructed by the 1-piece wraparound lens which, by its tight fit, provides for maximum safety. Flexible temples enhance your comfort during extended use. Nonslip rubber head grips are notched for a clip-on breakaway cord.
AMEREX 2-A:10-B:C 5 lbs. ABC Dry Chemical Fire Extinguisher B500T
Protect people and property with the AMEREX2-A:10-B:C 5 lbs. ABC Dry Chemical Fire Extinguisher with included vehicle bracket. The AMEREX model B500T 5 lb. is a dry chemical fire extinguisher with an ABC rating to combat fires that include ordinary materials such as cloth, paper, wood (class A), flammable liquids and gases (class B), or live electrical equipment (class C). The durable Amerex ABC fire extinguisher features an aluminum valve with a light- to medium-duty anodized aluminum valve body and an anodized aluminum handle and lever. The 5 lb. fire extinguisher is rechargeable and comes with a 6-year warranty. The ABC fire extinguisher is easy to use following the illustrated instructions on the product label. The pressure of the fire extinguisher can be quickly monitored with easy-to-read pressure gauges. Aim at the fire more accurately with the spray hose. The large loop pull pin makes the fire extinguisher easy to use. UL rated 2-A:10-B:C. Operates from 12-18 feet. Remember to P.A.S.S. (Pull, Aim, Squeeze, Sweep) when using your Amerex fire extinguisher.
25 ft. Tape Measure
Measure with precision and ease.
Milwaukee 3/4 in. Close Quarters Tubing Cutter 48-22-4261
Milwaukee Close Quarters Tubing Cutters are optimized for tough cuts in tight spaces. The compact design allows access to the tightest spaces. Chrome rollers deliver best in class rust protection while
Sharpie Black Fine Point Permanent Markers (2-Pack) 30162PP
The Sharpie Permanent Markers can mark on most hard-to-mark surfaces. Suggested use on plastic, metal, cardboard, vinyl, and leather and glass surfaces. These permanent markers have an alcohol based ink
Steps

Preparation and Safety
15 minsBefore starting any work, ensure your safety and prepare the work area. Shut off the main water supply to the building and open the lowest and highest faucets to drain the entire system completely. Even a small amount of water in the pipe will prevent it from reaching soldering temperature. If working near flammable surfaces like wood studs or insulation, use a heat-resistant mat or a piece of sheet metal as a flame shield to prevent fires. Put on your safety glasses to protect your eyes from flux and molten solder. It is also wise to have a fire extinguisher nearby as a standard safety precaution.

Cut the Copper Pipe
2 minsMeasure and mark the copper pipe to the desired length using a tape measure and a permanent marker. Place the tubing cutter on the mark, ensuring the cutting wheel is aligned perfectly. Tighten the knob until the wheel gently makes contact with the copper. Rotate the cutter one full revolution around the pipe. After the first rotation, tighten the knob a quarter-turn and rotate again. Continue this process of rotate-and-tighten until the pipe snaps off cleanly. This method ensures a perfectly square and clean cut, which is essential for the pipe to seat properly in the fitting.

Deburr and Clean
3 minsAfter cutting, a small ridge of copper, known as a 'burr', will be left on the inside edge of the pipe. Use a deburring tool, or the triangular reamer often found on the back of a tubing cutter, to scrape away this ridge until the inside is smooth. Next, you must thoroughly clean the outside of the pipe end (about 1 inch back from the end) and the inside of the copper fitting. Use a strip of emery cloth for the outside of the pipe and a specialized wire fitting brush for the inside of the fitting. Scrub both surfaces vigorously until they are bright, shiny, and the color of a new penny. This is the most critical step for a successful solder joint, as solder will not adhere to dirty or oxidized copper.

Apply Flux
1 minUsing a small flux brush, apply a thin, even layer of water-soluble paste flux to the cleaned outside surface of the pipe end. Also apply a thin layer of flux to the cleaned inside surface of the fitting. Flux is a chemical agent that serves two purposes: it continues to clean the copper when heated and it prevents the surface from re-oxidizing as you apply the torch, which allows the solder to flow evenly into the joint. Do not use an excessive amount; a light, complete coating is all that is needed. Avoid getting flux inside the pipe where it could contaminate the water system.

Assemble the Joint
1 minImmediately after applying the flux, push the copper pipe into the copper fitting until it bottoms out and is fully seated. Give the pipe a slight twist, about a quarter turn, as you push it in. This action ensures that the flux is spread evenly across both surfaces, creating a complete seal for the solder to follow. Use a clean rag to wipe away any excess flux that squeezes out of the joint.

Heat the Joint
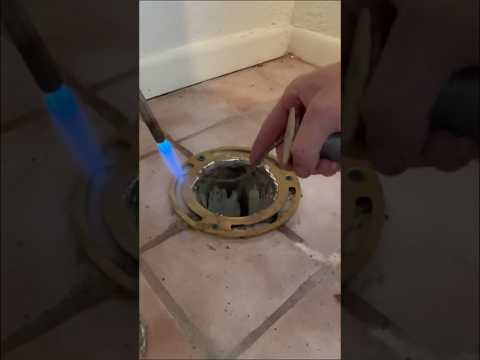
1 minUnroll about 8-10 inches of lead-free solder from its spool and bend the end into a 90-degree hook for easy application. Using a torch striker or lighter, ignite your propane torch and adjust the flame so you have a distinct, bright blue inner cone about 1-2 inches long. Begin heating the joint, focusing the tip of the blue inner flame on the middle of the copper fitting, not on the pipe itself. Move the flame back and forth across the fitting to heat it evenly. The goal is to heat the fitting, which will then transfer its heat to the pipe inside it. The joint is hot enough when the flux begins to smoke or bubble. You can test the temperature by briefly touching the solder to the joint on the side opposite the flame; if the solder melts instantly on contact, the joint is ready.

Apply Solder
30 minsOnce the joint is at the correct temperature, remove the flame from the fitting. Immediately touch the tip of the lead-free solder to the seam where the pipe enters the fitting. Do not apply the flame directly to the solder. The heat stored in the copper fitting and pipe will melt the solder. Capillary action will then pull the molten solder into the narrow gap between the pipe and fitting, filling the joint completely. Move the solder around the entire circumference of the joint until you see a continuous silver ring form. For a 1/2-inch fitting, you will only need about 1/2 inch of solder. Once the joint is filled, remove the solder wire and let the joint begin to cool.
Cool and Clean
5 minsAllow the newly soldered joint to cool down naturally without being disturbed for several minutes. Do not try to accelerate cooling by quenching it with a wet rag or water. Rapid cooling can shock the metal, creating stress fractures in the joint that may lead to future leaks. Once the joint is cool enough to touch safely, use a damp rag to wipe away any remaining flux residue from the outside of the pipe and fitting. This step is important for aesthetics and also because leftover flux is acidic and can cause the copper to corrode over time, potentially weakening the pipe.

Inspect and Test
5 minsPerform a final visual inspection of the cooled joint. A properly soldered joint will exhibit a continuous, smooth, and shiny silver fillet of solder completely encircling the seam where the pipe meets the fitting. There should be no gaps, pinholes, or clumps. Once you have completed all your connections and are confident in their appearance, you can test your work. Close all faucets that were opened for draining. Go to the main water shutoff valve and turn it on very slowly to allow the pipes to refill gradually, preventing water hammer. Once the system is pressurized, carefully inspect all the new joints for any signs of dripping or leaks.
Common Problems
Small leaks go unnoticed, causing water damage.
Solution: Place a dry paper towel under the repair to make it easier to spot even the smallest drips.
Slow leaks go undetected, leading to water damage.
Solution: It's crucial to leave the system under pressure for a period of time to detect any slow leaks that may not be immediately obvious.
Do not leave the area unattended immediately after turning the water back on. Stay and observe the new fittings for several minutes.
Solution: To avoid this issue: Be mindful of this warning and take appropriate precautions.
Turn the water back on slowly. A sudden burst of pressure could cause a loose connection to fail.
Solution: To avoid this issue: Be mindful of this warning and take appropriate precautions.
The crackling sound indicates residual water boiling off inside the pipe. Ensure all water is gone before applying solder for a successful joint.
Solution: To avoid this issue: Be mindful of this warning and take appropriate precautions.
Wear safety glasses and protect the tub surround from the flame with a heat shield or wet rags.
Solution: To avoid this issue: Be mindful of this warning and take appropriate precautions.
Joints won't seal if solder isn't melted by sufficient heat from the copper.
Solution: Heat the fitting, not the solder directly. If the joint is hot enough, it will melt the solder and capillary action will pull it into the gap for a strong bond.
Frequently Asked Questions
What are the most critical safety precautions I need to take when soldering copper pipes?
Always wear appropriate eye protection and heavy-duty gloves. Ensure you have a fire extinguisher or a bucket of water nearby, and work in a well-ventilated area to avoid inhaling fumes from flux and solder. Never point the torch flame at yourself or others, and allow joints to cool completely before touching.
This project is listed as 'beginner' difficulty, but soldering seems intimidating. What makes it beginner-friendly, and what's the hardest part?
While it requires precision and a steady hand, the basic steps are straightforward and repeatable, making it accessible for beginners. The most challenging aspect is often achieving the right heat balance – not too much to burn the flux, and not too little to prevent the solder from flowing properly. Practice on scrap pieces first to get the feel.
What are the most common mistakes beginners make when soldering copper pipes, and how can I avoid them?
A common mistake is insufficient cleaning and deburring, which prevents solder from adhering correctly. Another is overheating the joint, burning off the flux before the solder can flow, leading to a weak or leaky connection. Ensure surfaces are spotless and heat evenly, focusing the flame on the fitting, not directly on the pipe, until the solder is drawn into the joint.
The tool list includes both propane and MAPP torches. Which one should I use for soldering copper pipes, and why?
Propane torches are generally sufficient for smaller diameter pipes (up to 3/4 inch) and offer good control for beginners. MAPP gas burns hotter and is more efficient for larger diameter pipes or if you need to work faster, as it heats the joint more quickly. For most DIY home plumbing repairs, propane is a good starting point.
Are there any alternatives to soldering ('sweating') copper pipes if I'm not comfortable with a torch?
Yes, push-to-connect fittings (like SharkBite) offer a solder-free alternative that is quick and easy to install, requiring no special tools beyond a cutter. Another option is compression fittings, which use a nut and ferrule to create a seal, though they are generally less reliable for permanent, high-pressure applications compared to properly soldered joints.
What should I do if my soldered joint leaks after cooling and testing?
A leak usually indicates the solder didn't flow completely around the joint, or there was an issue with cleaning/fluxing. You'll need to reheat the joint evenly, carefully remove any old solder with a wire brush while hot, clean thoroughly, reapply flux, and resolder. Ensure the pipe and fitting are perfectly clean before attempting to resolder.
The estimated time is 4 hours and difficulty is beginner. What contributes to this time, and how much should I expect to spend on materials for a small repair?
The 4-hour estimate accounts for thorough preparation, safety checks, measuring, precise cutting, cleaning multiple joints, and time for practice runs. For a small repair (e.g., one or two joints), you might spend around $30-$60 on consumables like flux, solder, and a few fittings. Initial tool investment will be higher if you're starting from scratch.


