
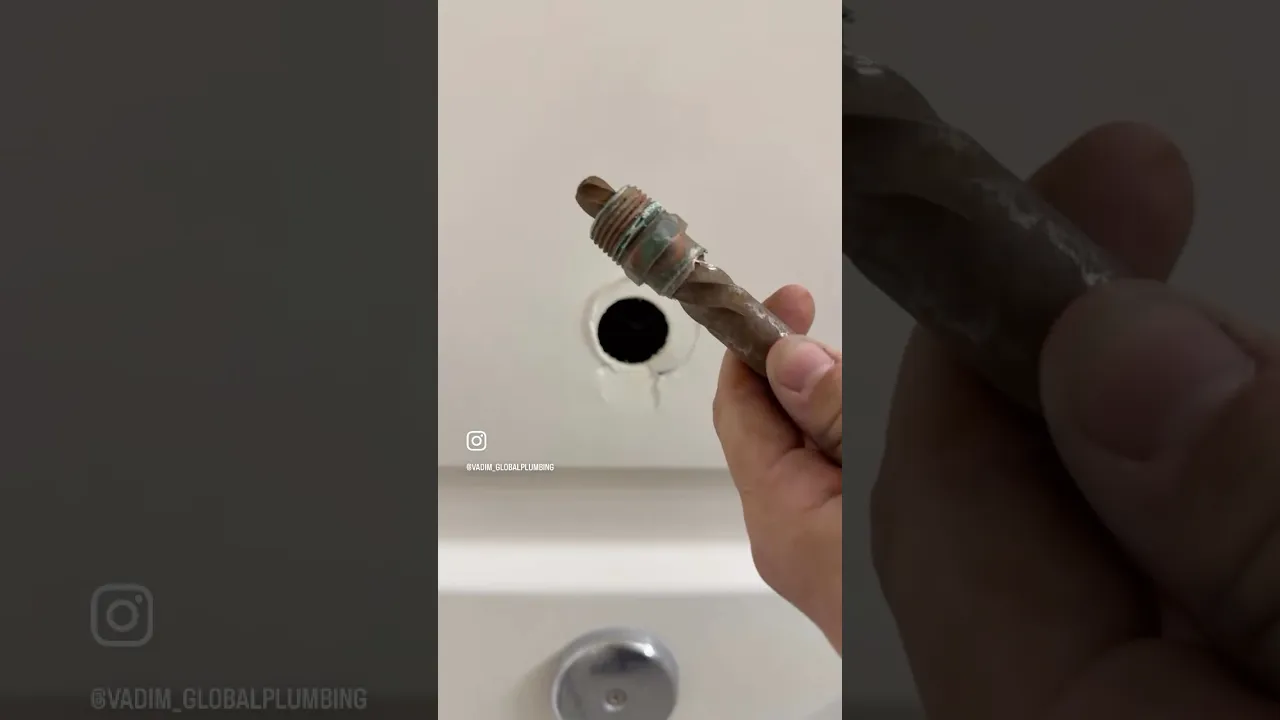
How to Solder Copper Pipes for a Permanent, Watertight Joint
About This Project
This guide provides detailed instructions on how to properly cut, clean, flux, and heat copper pipes and fittings to create a strong, permanent, and leak-proof soldered joint using a propane torch and lead-free solder.
Best for advanced DIYers and professionals with basic plumbing knowledge and familiarity with power tools. Requires Oatey 9 in. x 12 in. Hands-Free Solder Heat Shield 314002 and HDX Indoor Safety Glasses Clear (1-Pack) VS-9300, clear and Nexgrill Heat Resistant Grilling Gloves with Silicone Grip 530-0025N.
Tools & Materials
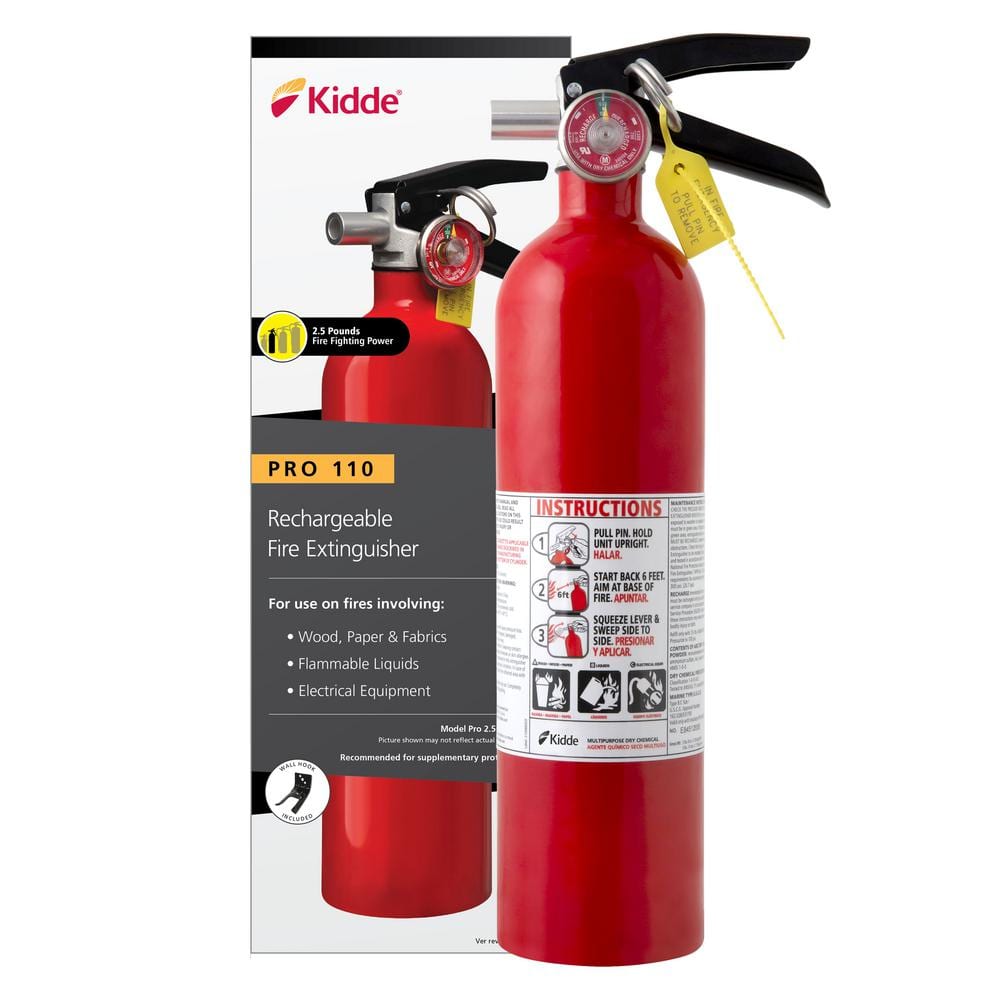
Kidde Pro 1-A:10-B:C Fire Extinguisher 21030922
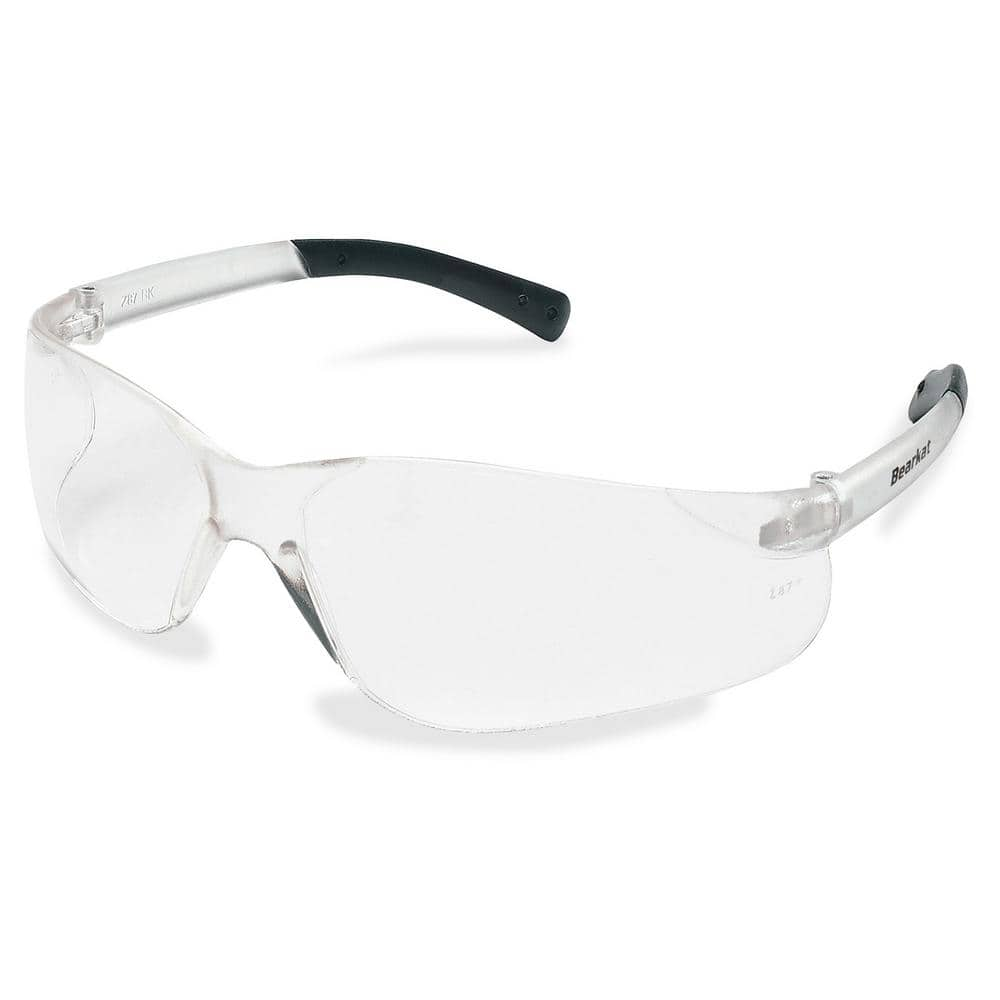
MCR Safety BearKat Safety Glasses MCSCRWBK110
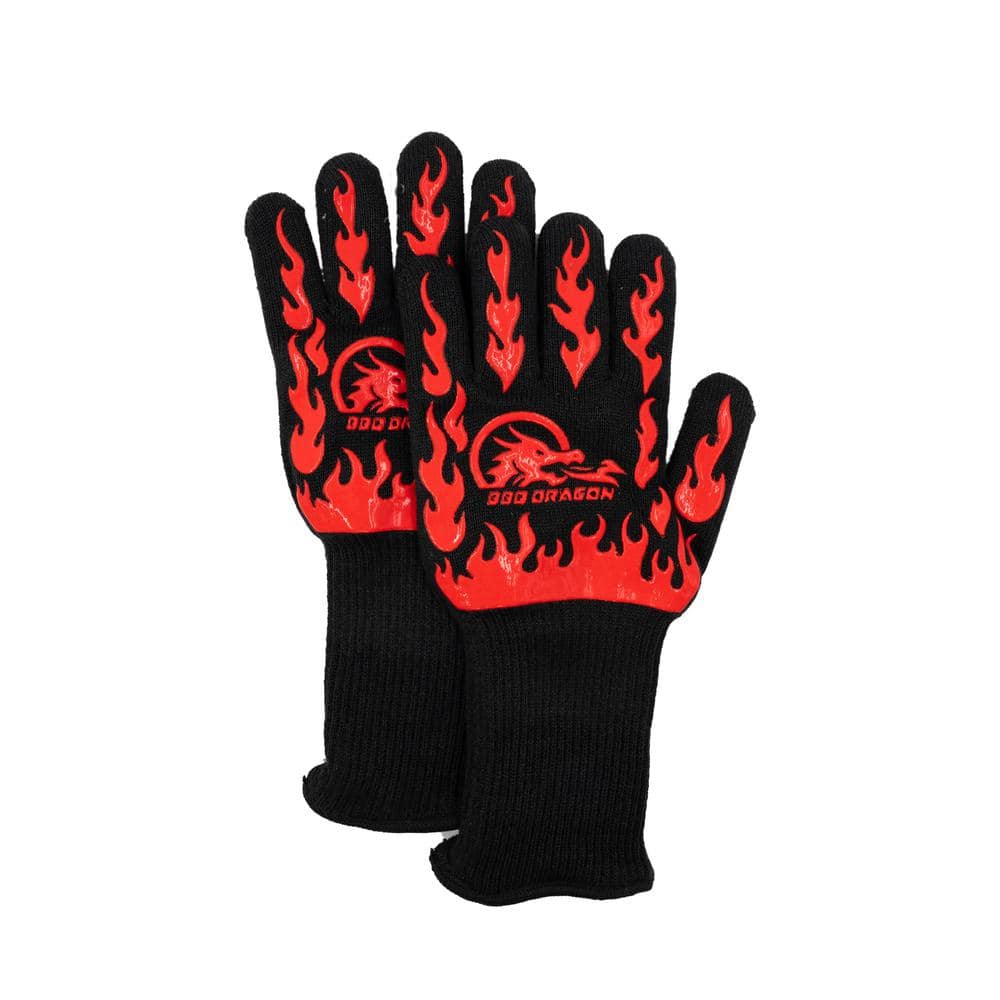
BBQ Dragon Extreme Heat Resistance BBQ Gloves BBQD240
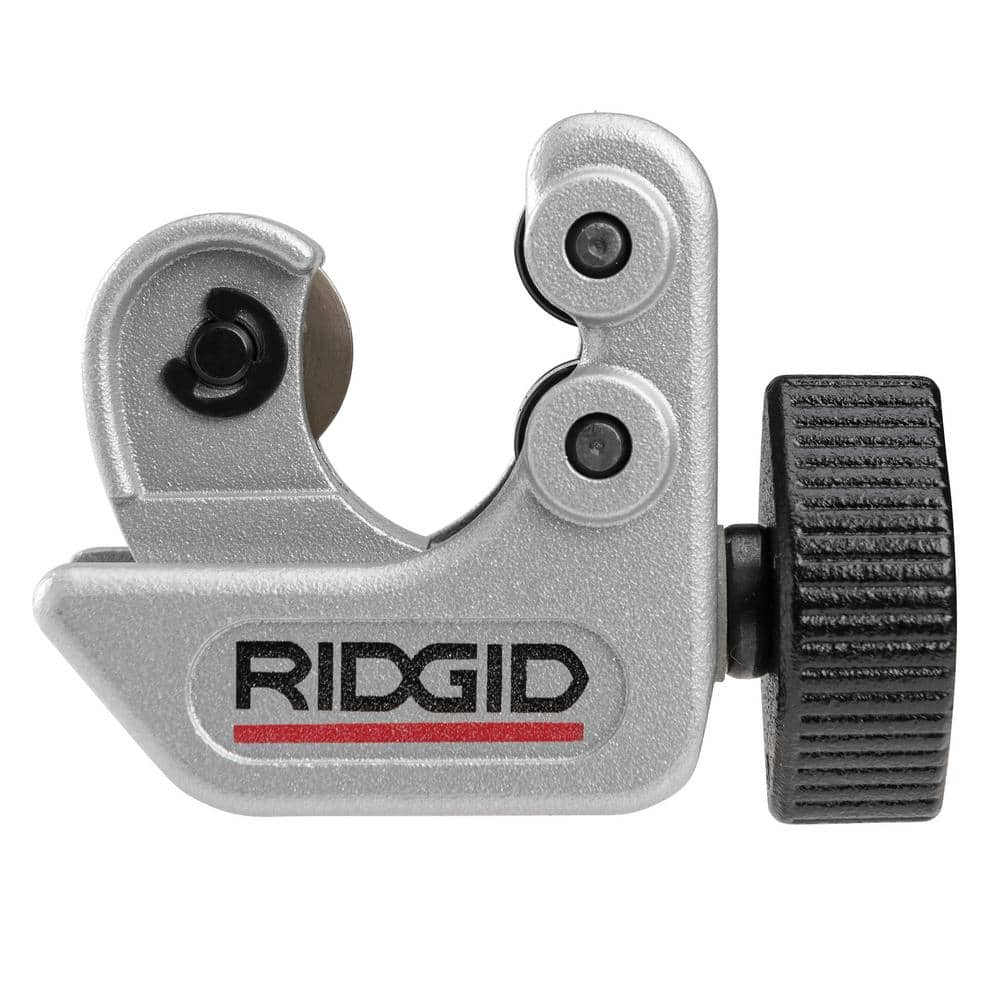
RIDGID 1/4 in. to 1-1/8 in. 101 Close Quarters Copper, Aluminum, Brass, and Plastic Tubing Cutter, Multi-Use Tubing Tool 40617
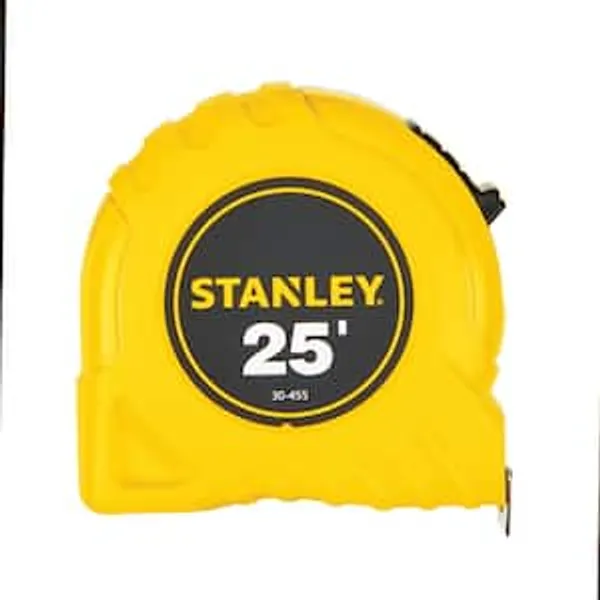
25 ft. Tape Measure
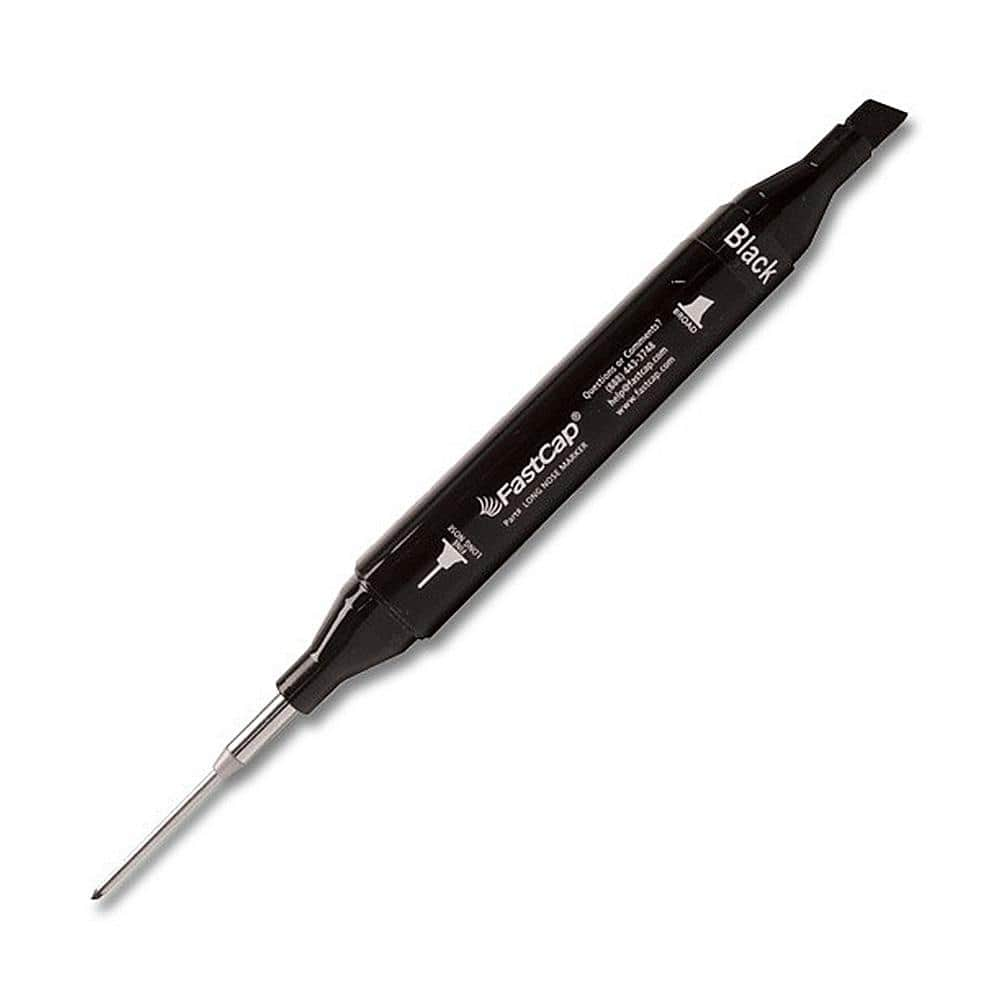
FASTCAP Black Long Nose Pattern Marker FC.LNM
Kidde Pro 1-A:10-B:C Fire Extinguisher 21030922
Having a fire extinguisher within reach can help you create a path to safety, and may even help put out a small, contained fire. This Kidde Pro 110 fire extinguisher is UL rated 1-A, 10-B:C and is ideal
MCR Safety BearKat Safety Glasses MCSCRWBK110
Safety glasses feature a well thought-out construction that combines the best in safety, comfort and affordability. Your vision is unobstructed by the 1-piece wraparound lens which, by its tight fit, provides for maximum safety. Flexible temples enhance your comfort during extended use. Nonslip rubber head grips are notched for a clip-on breakaway cord.
BBQ Dragon Extreme Heat Resistance BBQ Gloves BBQD240
Extreme heat BBQ Gloves resist heat up to 932°F while keeping hands safe and comfortable. Made from high-tech Aramid fiber. Perfect for grills and ovens - but these aren't your dad's oven mitts.
RIDGID 1/4 in. to 1-1/8 in. 101 Close Quarters Copper, Aluminum, Brass, and Plastic Tubing Cutter, Multi-Use Tubing Tool 40617
Built on the trust of the trades, you need tools designed for experts and built to last. Experience the durability of the RIDGID 101 Close Quarters Tubing Cutter with 1/4"-1-1/8" capacity (catalog number
25 ft. Tape Measure
Measure with precision and ease.
FASTCAP Black Long Nose Pattern Marker FC.LNM
Fast Cap Long Nose Pattern Marker solves all your tricky layout problems. It has a 1-1/8 in. in long fine point tip for marking inside holes and along walls while the other end has a wide tip for general
Steps

Prepare Workspace and Safety Gear
15 minsBefore starting any work, ensure the main water supply to the house is shut off. Open the lowest and highest faucets in the system to allow all water to drain from the pipes you'll be working on. Clear the work area of any flammable debris. Place a fire extinguisher within easy reach. Don your safety glasses and heat-resistant gloves. This foundational step prevents water damage and ensures your safety during the soldering process.
Cut Pipe to Length
5 minsMeasure the required length of the copper pipe and mark it clearly. Place the tubing cutter on the mark, with the cutting wheel aligned perfectly. Tighten the knob until the wheel makes firm contact with the pipe. Rotate the cutter around the pipe, following the score line. After each full rotation, tighten the knob slightly (about a quarter turn). Continue this process of rotating and tightening until the cutter slices cleanly through the pipe. This method ensures a perfectly square cut, which is essential for a proper fit inside the fitting.
Deburr and Ream the Pipe End
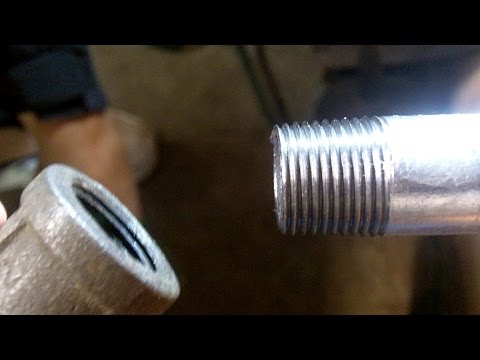
2 minsAfter cutting, a small ridge or burr is left on the inside edge of the pipe. This must be removed. Use a deburring tool or the triangular reamer blade often attached to the tubing cutter. Insert the tool into the pipe end and rotate it several times to shave off the burr, creating a smooth, beveled edge. Also, lightly sand the outside edge to remove any exterior burrs. This step is critical for ensuring smooth water flow and preventing erosion and noise in the plumbing system.

Clean Pipe and Fitting Surfaces
5 minsA successful solder joint depends on perfectly clean surfaces. Use a strip of emery cloth or specialized sanding cloth to thoroughly clean the outside of the pipe end, extending about 1 inch from the end (or slightly more than the depth of the fitting socket). Sand until the copper is bright and shiny, with no signs of tarnish or discoloration. For the inside of the copper fitting, use a wire fitting brush of the correct diameter. Insert the brush and twist it several times until the interior surface is also bright and shiny. Do not touch the cleaned surfaces with your bare hands, as skin oils can interfere with soldering.

Apply Flux to Surfaces
2 minsUsing a small flux brush, apply a thin, even layer of lead-free soldering flux to the cleaned outer surface of the pipe end. Also apply a thin, even layer to the cleaned inner surface of the fitting. The flux serves two purposes: it chemically cleans away any remaining trace oxidation and prevents new oxidation from forming as you heat the metal. It also acts as a wetting agent, helping the molten solder flow easily into the joint through capillary action.

Assemble Pipe and Fitting
1 minImmediately after applying flux, push the pipe straight into the fitting until it is fully seated against the fitting's internal stop. Give the pipe a quarter-turn twist to spread the flux evenly within the joint. Use a clean rag to wipe off any excess flux that has squeezed out around the seam. This prevents the excess flux from running and burning onto the pipe, which can create a messy appearance and potentially weaken the joint if it draws heat away from the seam.

Heat the Joint Assembly
3 minsUnroll about 8-10 inches of solder and bend the first inch at a 90-degree angle for easier application. If working near flammable surfaces like wood studs, place a heat shield or flame protector mat behind the joint. Use a spark lighter to ignite your propane torch. Adjust the flame to have a bright blue inner cone about 1-2 inches long. Direct the tip of the inner blue cone onto the middle of the fitting, not the pipe. Heat is transferred from the fitting to the pipe. Move the flame back and forth to heat the fitting evenly on all sides. The flux will begin to bubble and then smoke; this is normal. After about 30-45 seconds, briefly touch the tip of the solder to the joint on the side opposite the flame. If the solder melts instantly and flows toward the heat, the joint is ready. If it doesn't melt, remove the solder and continue heating for a few more seconds.
Apply Solder to the Joint
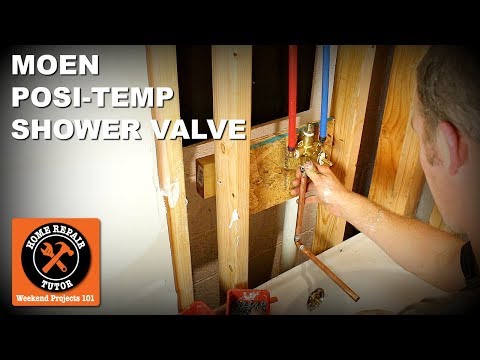
1 minOnce the joint is hot enough to melt solder, remove the flame. Immediately touch the tip of the solder to the seam where the pipe and fitting meet. Do not apply the flame directly to the solder. The heat of the copper itself will melt the solder. Apply the solder to the bottom of a horizontal joint or to the side of a vertical joint. Capillary action will pull the molten solder into the small gap, completely filling the space between the pipe and fitting. For a 3/4-inch joint, feed about 3/4 of an inch of solder. You will see a thin, continuous silver ring form around the entire seam when the joint is full. Once this ring is visible, remove the solder.

Cool and Clean the Finished Joint
5 minsAfter the solder has filled the joint, set the torch aside and allow the joint to cool undisturbed for several minutes. Do not move or bump the pipe. Quenching the hot joint with a wet rag can cause a stress fracture in the solder, creating a pinhole leak. Once the joint has air-cooled and is no longer hot to the touch, use a damp rag to wipe away all flux residue from the exterior of the pipe and fitting. Flux is an acid and will corrode the copper over time if not removed, leading to green staining and potential pipe failure.
Common Problems
Uneven heating causes a weak, leaky solder joint.
Solution: Continuously move the flame around the fitting for even heat distribution. This prevents overheating one spot and ensures the entire solder joint melts at the same time.
Do not directly heat the brazing rod with the torch flame. The heat from the pipe and fitting should be sufficient to melt the rod for a proper bond.
Solution: To avoid this issue: Be mindful of this warning and take appropriate precautions.
Uneven heating can lead to incomplete solder fill, creating leaks.
Solution: The filler material will flow towards the hottest part of the joint. Use this principle to guide the material completely around the pipe.
The pipe and fitting will be extremely hot. Wear heat-resistant gloves and do not touch the joint until it has completely cooled.
Solution: To avoid this issue: Be mindful of this warning and take appropriate precautions.
Uneven heating prevents solder from fully filling the joint, causing leaks.
Solution: Heat the fitting evenly all the way around to ensure the solder flows completely into the joint.
Ensure the area is well-ventilated when soldering to avoid inhaling fumes.
Solution: To avoid this issue: Be mindful of this warning and take appropriate precautions.
Joint corrodes due to uncleaned flux residue.
Solution: Wiping the joint with a damp cloth after soldering not only cleans it but also helps prevent corrosion from the residual flux.
Frequently Asked Questions
What are the most important safety precautions when soldering copper pipes with a propane torch?
Always work in a well-ventilated area to avoid inhaling fumes from the flux and solder. Wear safety glasses and heat-resistant gloves, and keep a fire extinguisher or a bucket of water nearby as a precaution against accidental fires. Ensure no flammable materials are within the K Tool International Self Igniting Propane Torch's reach.
Is lead-free solder mandatory for plumbing, and why is flux so important for a good joint?
Yes, lead-free solder is legally required for plumbing potable water systems in most regions to prevent lead contamination in drinking water. Flux is crucial because it cleans the copper of oxidation and prevents new oxidation during heating, allowing the Oatey Safe Flo Lead-Free Silver Solder to flow properly via capillary action, creating a strong, watertight bond.
My solder isn't flowing into the joint, or it's beading up on the outside. What am I doing wrong?
This usually indicates insufficient or uneven heat. Ensure you are heating the fitting, not just the pipe, and letting the heat transfer until the copper itself is hot enough to melt the Oatey Safe Flo solder on contact, not the torch flame directly. Also, verify that all surfaces were thoroughly cleaned with 3M emery cloth and the HDX 4-in-1 Fitting Brush, and properly coated with Oatey H-20 Lead-Free Water Soluble Solder Flux Paste.
How difficult is soldering copper pipes for a beginner, and how much time should I allocate per joint?
Soldering is a beginner-friendly plumbing skill, but it requires some practice to master the heating technique. With proper preparation and the right tools like the K Tool International Self Igniting Propane Torch, a single joint can typically be soldered and cooled in about 5-10 minutes, not including initial pipe cutting and cleaning.
Are there any flameless alternatives to soldering for joining copper pipes, especially if I'm nervous about using a propane torch?
Yes, press-fit fittings (such as push-to-connect or crimp fittings) are popular flameless alternatives that are often easier for beginners. While they offer convenience and eliminate the need for a torch, these fittings typically come at a higher material cost than traditional copper and solder connections. They might be a good option for small repairs.
Are specific tools like the Husky Reamer and HDX Fitting Brush truly necessary, or can I get by with simpler alternatives?
Do not skip these specialized tools; they are essential for a leak-proof joint. The Husky 1-5/8 in. Inner/Outer Reamer removes burrs that can restrict water flow, and the HDX 4-in-1 Fitting Brush and 3M emery cloth ensure pristine, oxidation-free surfaces inside the fitting and on the pipe. Proper preparation is paramount for solder adhesion and preventing future leaks.
What should I do if a soldered joint leaks after the water is turned back on?
A leaking joint usually means the solder didn't fully penetrate due to improper heating or inadequate cleaning. To fix it, drain the pipe, reheat the entire joint with the K Tool International propane torch, melt out the old solder, and carefully clean the joint area again with the HDX fitting brush and 3M emery cloth. Apply fresh Oatey H-20 flux and re-solder, ensuring the solder is drawn in completely by capillary action.


