How to Solder Copper Pipes for a Permanent, Watertight Joint
About This Project
This guide provides a comprehensive, step-by-step process for soldering copper pipes to create a strong, permanent, and watertight joint. The process involves precise cutting, thorough cleaning, proper application of flux and heat, and the correct technique for applying solder to ensure a leak-free seal suitable for plumbing applications.
Best for advanced DIYers and professionals with basic plumbing knowledge and familiarity with power tools. Requires MCR Safety BearKat Safety Glasses MCSCRWBK110 and BBQ Dragon Extreme Heat Resistance BBQ Gloves BBQD240 and Oatey 9 in. x 12 in. Hands-Free Solder Heat Shield 314002.
Tools & Materials
Oatey Safe Flo 1 lb. Lead-Free Silver Solder Wire 290252
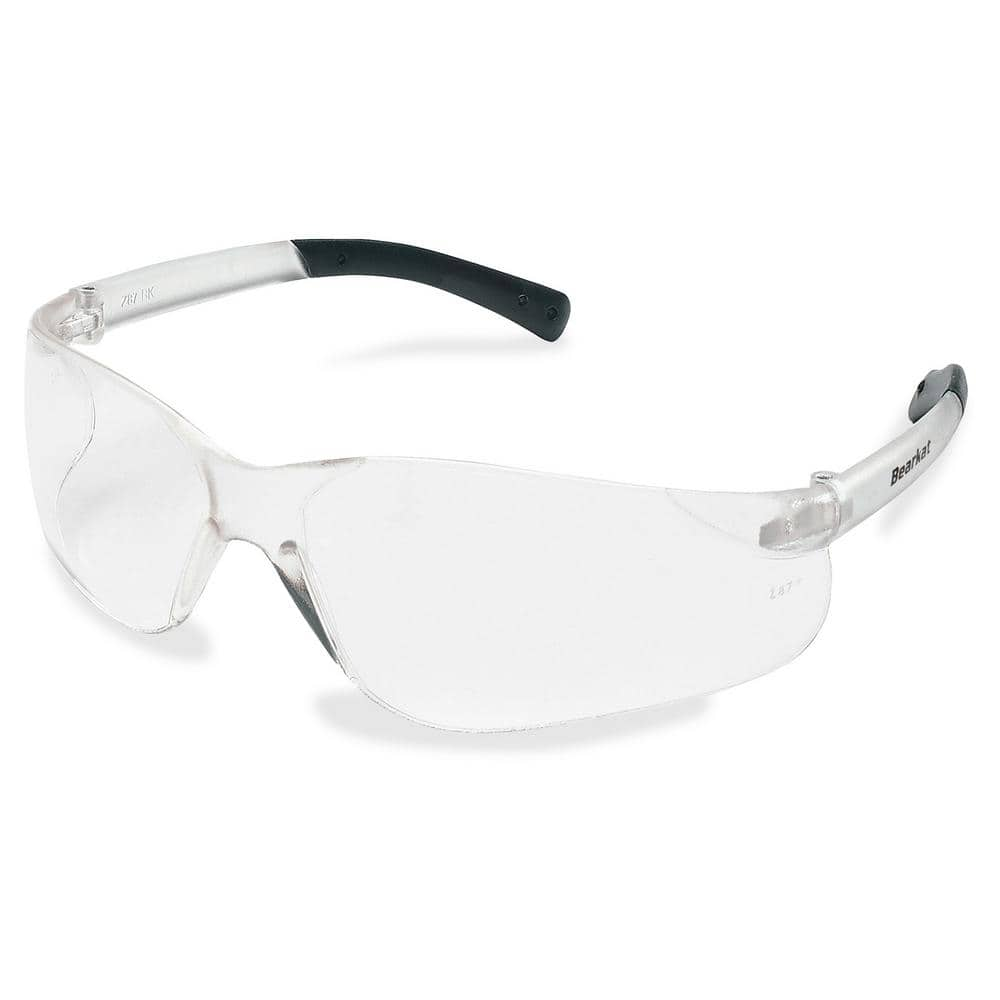
MCR Safety BearKat Safety Glasses MCSCRWBK110
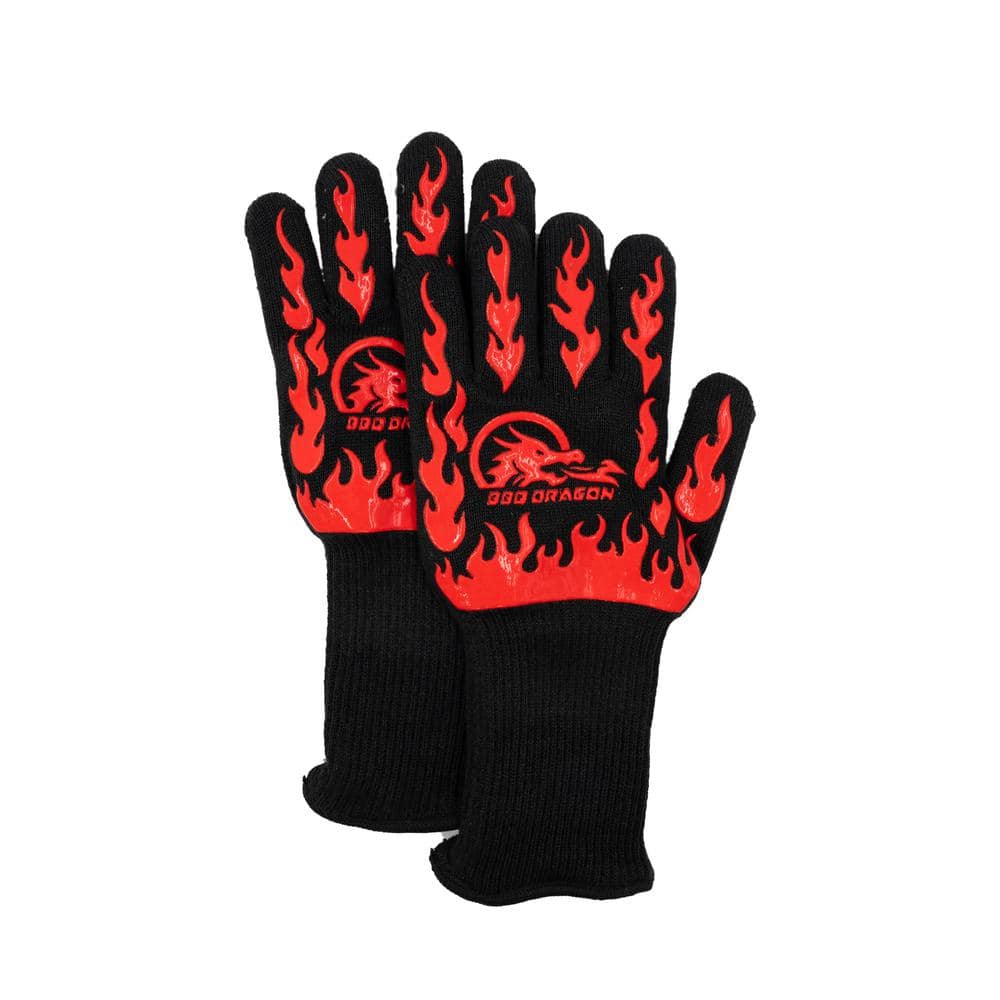
BBQ Dragon Extreme Heat Resistance BBQ Gloves BBQD240
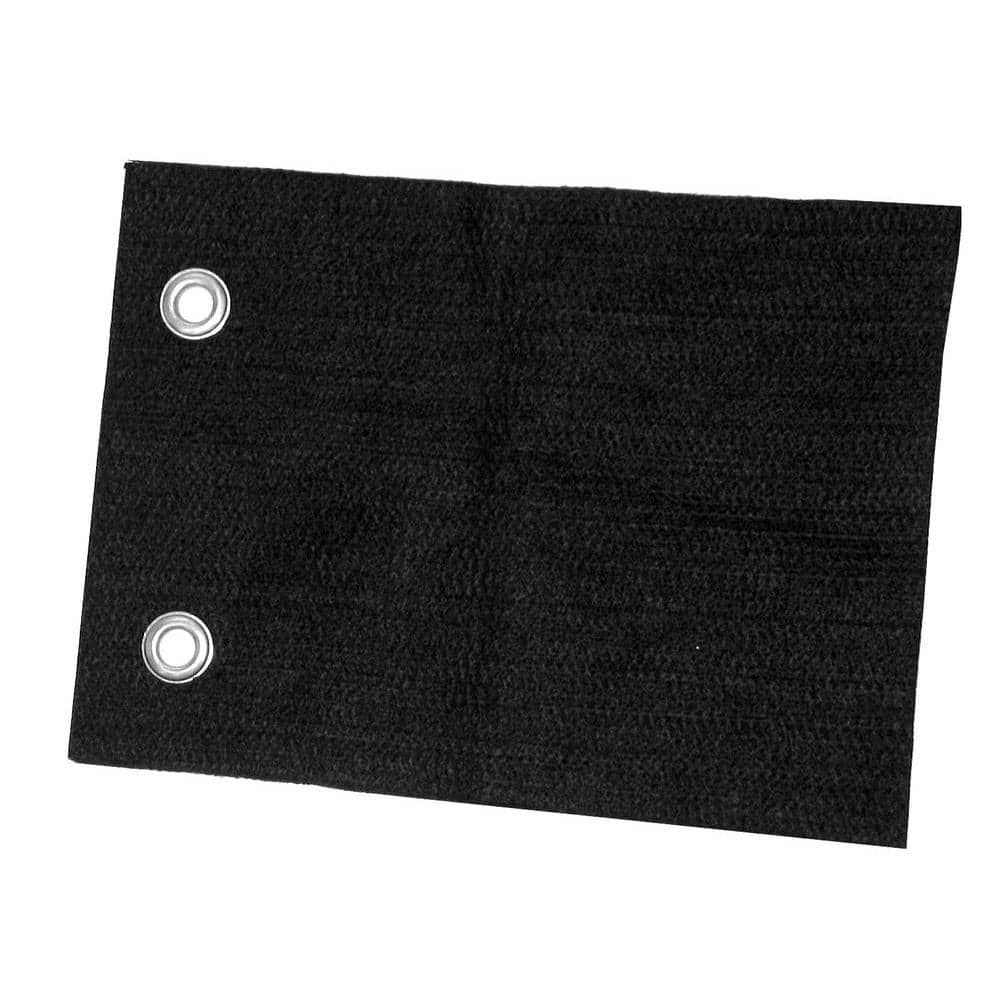
Oatey 9 in. x 12 in. Hands-Free Solder Heat Shield 314002
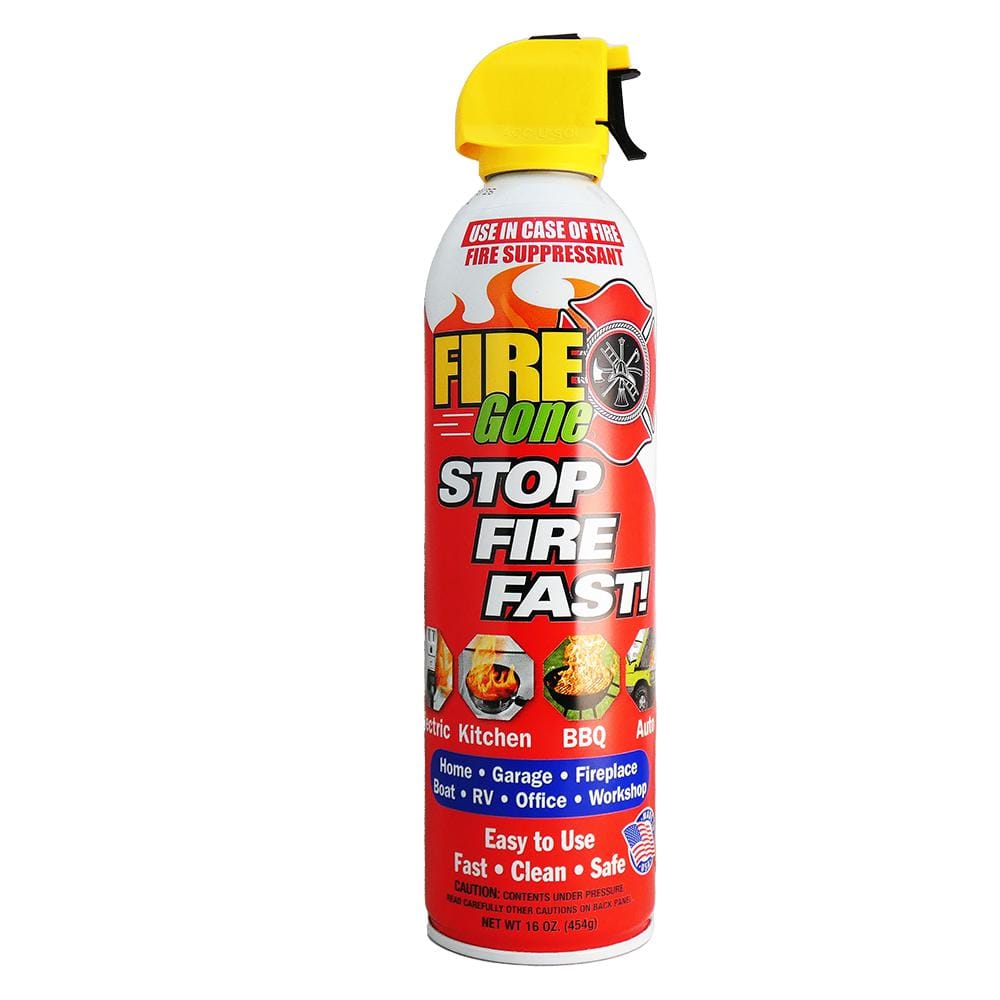
Fire Gone 16 oz. A:B:C Multiple Use Fire Extinguisher Spray Suppressant fg-007-102
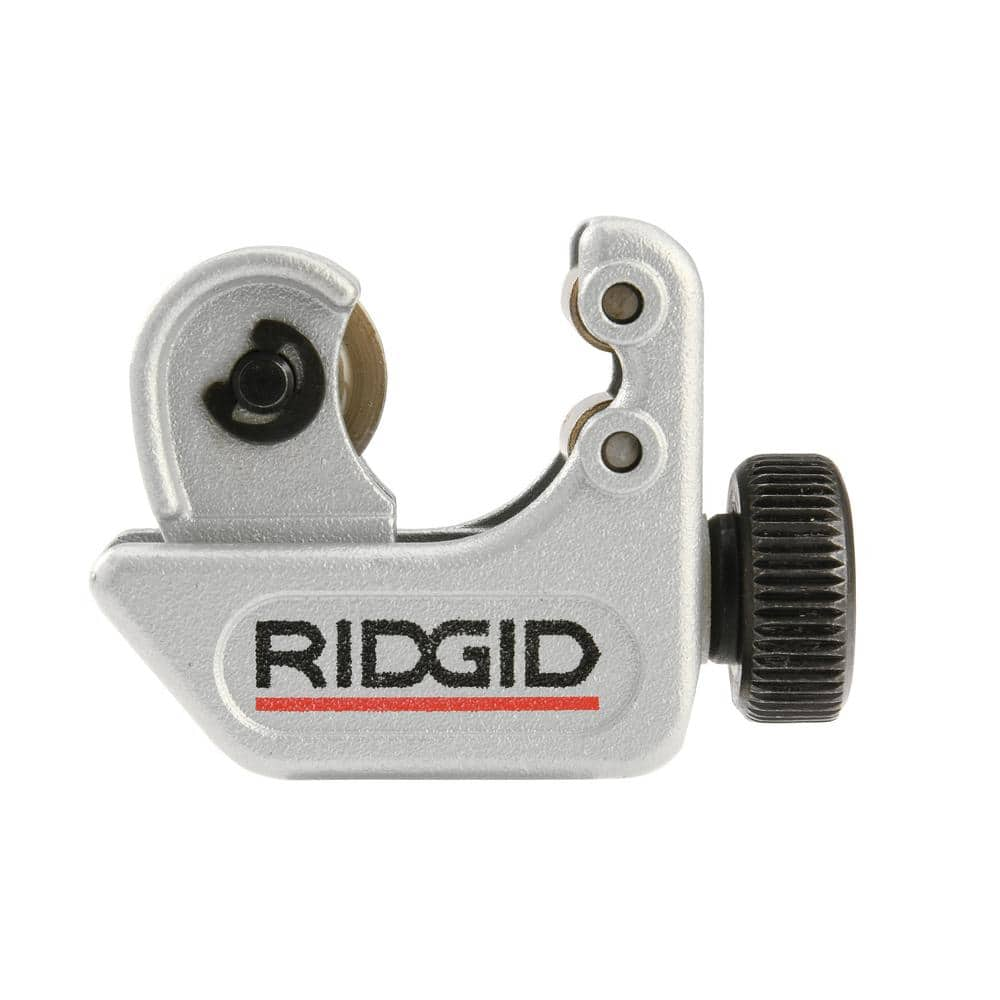
RIDGID 3/16 in. to 15/16 in. 104 Close Quarters Copper, Aluminum, Brass, and Plastic Tubing Cutter, Multi-Use Tubing Tool 32985
Oatey Safe Flo 1 lb. Lead-Free Silver Solder Wire 290252
This Oatey 1 lb. Safe-Flo Silver Wire Solder is made from a lead-free alloy specifically formulated for use on lines that carry drinking water. This solder requires the use of flux (not included) and features a wide melting range, from 415 degrees Fahrenheit to 455 degrees Fahrenheit. Meets the requirements of the Safe Drinking Water Act.
MCR Safety BearKat Safety Glasses MCSCRWBK110
Safety glasses feature a well thought-out construction that combines the best in safety, comfort and affordability. Your vision is unobstructed by the 1-piece wraparound lens which, by its tight fit, provides for maximum safety. Flexible temples enhance your comfort during extended use. Nonslip rubber head grips are notched for a clip-on breakaway cord.
BBQ Dragon Extreme Heat Resistance BBQ Gloves BBQD240
Extreme heat BBQ Gloves resist heat up to 932°F while keeping hands safe and comfortable. Made from high-tech Aramid fiber. Perfect for grills and ovens - but these aren't your dad's oven mitts.
Oatey 9 in. x 12 in. Hands-Free Solder Heat Shield 314002
Oatey Flame Protector is a non-asbestos flame-retardant cloth that protects studs, walls, floors and other surfaces from flames and sparks when soldering. Made of oxidized polyacrylonitrile (OPAN) fibers,
Fire Gone 16 oz. A:B:C Multiple Use Fire Extinguisher Spray Suppressant fg-007-102
Fire Gone is a fire suppressant packaged in a compact and cleverly designed aerosol can. It delivers a strong targeted stream that goes right to the source of the fire, coating it with specially formulated,
RIDGID 3/16 in. to 15/16 in. 104 Close Quarters Copper, Aluminum, Brass, and Plastic Tubing Cutter, Multi-Use Tubing Tool 32985
Built on the trust of the trades, you need tools designed for experts and built to last. Experience the durability of the RIDGID 104 Close Quarters Copper, Aluminum, Brass, and Plastic Tubing Compact Cutter with 3/16"-15/16" capacity (catalog number 32985, model 104). This powerful cutter allows you to make clean and precise cuts on copper, brass, aluminum, and plastic tubing with a capacity of 3/16 inch to 15/16 inch. Specifically designed for use in restricted spaces, this compact cutter makes tight cutting jobs significantly easier and more manageable. It features a strong yet lightweight slide and wheel housing for ease of operation and long-lasting durability as well as a large knurled feed screw knob that provides users with optimal cutting pressure control to produce superior clean cuts. Engineered for maximum accuracy, this cutter is constructed with a high-quality steel cutting wheel for a long life and contains a spare wheel stored in the knob. RIDGID is a global manufacturer trusted by the skilled trades in more than 100 countries. RIDGID products are purpose built for professionals in the evolving commercial, industrial and energy markets who install and maintain the world's infrastructure. BUILT FOR THOSE WHO KNOW.
Steps

Preparation and Safety
15 minsFirst, ensure the main water supply is turned off and the lines are fully drained. Open the lowest faucet in the system to help gravity drain the pipes. Prepare your work area by clearing any flammable materials. Use a heat shield if you are working near walls, studs, or flooring. Unroll about 8-10 inches of lead-free solder from the spool and bend the first 2 inches at a 90-degree angle for easier application. Put on your safety glasses and heat-resistant gloves.
Watch: Solder the Joint
Cut the Pipe
5 minsMeasure and mark the desired length on your copper pipe. Place the tubing cutter on the mark, with the cutting wheel aligned perfectly. Tighten the knob on the tubing cutter until it makes firm contact with the pipe. Rotate the cutter around the pipe, tightening the knob slightly (about a quarter turn) after each full rotation. Continue this process until the cutter slices cleanly through the pipe. This method ensures a straight, square cut which is essential for a good fit.
Watch: Cut the Copper Pipes
Deburr and Ream the Pipe
2 minsAfter cutting, a small ridge or 'burr' will be present on the inside edge of the pipe. This burr can impede water flow and create turbulence. Use a deburring tool, the triangular blade on the back of many tubing cutters, or a round file to smooth this inner edge. Insert the tool and twist it a few times to ream the inside of the pipe until it is smooth. Also, lightly file the outside edge of the pipe to remove any sharp lip.
Watch: Deburr and Clean the Pipe
Clean the Pipe and Fitting
5 minsThis is the most critical step for a successful joint. Solder will not adhere to oxidized or dirty copper. Use a strip of sand cloth to vigorously clean the outside of the pipe end, going about 1 inch up from the end. The copper should be shiny and bright, like a new penny. Next, use a fitting brush (wire brush) to clean the inside of the copper fitting until it is also bright and shiny. Do not touch the cleaned surfaces with your fingers, as oils from your skin can interfere with the solder.
Watch: Prepare Copper Pipe
Apply Flux
2 minsImmediately after cleaning, apply a thin, even layer of soldering flux to the cleaned outer surface of the pipe end and the cleaned inner surface of the fitting. Use a small flux brush to apply the paste. The flux serves two purposes: it chemically cleans the copper as it's heated and prevents re-oxidation, allowing the solder to flow smoothly into the joint.
Watch: Apply Flux and Wipe Excess
Assemble the Joint
1 minInsert the flux-coated pipe end into the flux-coated fitting. Push it in fully until it seats firmly against the fitting's stop. Give the pipe a slight twist to ensure the flux is evenly distributed. Use a clean rag to wipe away any excess flux that squeezes out of the joint. Leaving excess flux on the outside can cause corrosion and an unsightly green patina over time.
Watch: Clean and Cool Joint
Heat the Joint
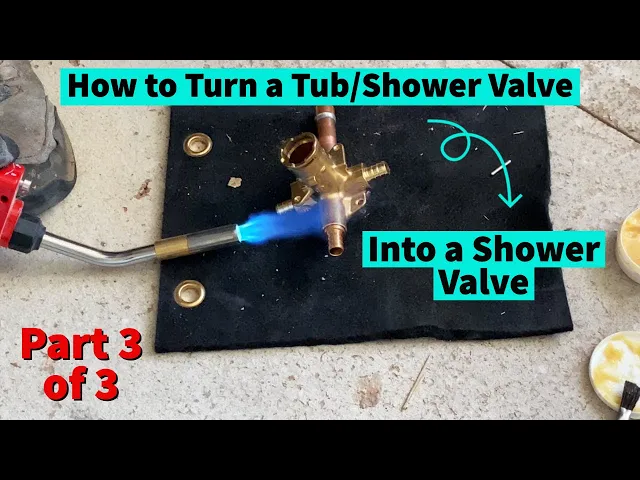
2 minsIgnite your propane torch and adjust the flame to have a bright blue inner cone about 1-2 inches long. The tip of this inner cone is the hottest part of the flame. Apply the heat to the fitting, not directly on the pipe. The goal is to heat the fitting, which will then transfer heat to the pipe inside it. This is crucial for drawing the solder into the joint via capillary action. Keep the flame moving around the entire circumference of the fitting to heat it evenly. The flux will start to smoke and then bubble; this indicates it is working and the joint is approaching the correct temperature. You can test the temperature by briefly touching the tip of the solder to the joint seam, opposite the side you are heating. If it melts instantly, the joint is ready.
Watch: Solder the Valve
Apply the Solder
1 minOnce the joint is at the correct temperature, remove the flame. Immediately touch the tip of the lead-free solder to the seam where the pipe enters the fitting. Do not apply the flame directly to the solder. The heat of the pipe and fitting should melt the solder, which will be drawn into the joint by capillary action. Apply solder around the entire joint until you see a continuous, shiny silver ring form. For a 1/2-inch pipe, you will typically use about 1/2 inch of solder. Once the solder has flowed all the way around, remove the solder wire.
Watch: Heat Pipe and Apply Solder
Cool and Clean the Joint
10 minsLet the joint cool naturally for several minutes. Do not move or disturb the joint while the solder is solidifying. Quenching the hot joint with a wet rag can shock the metal and cause a stress fracture, leading to a weak joint. Once the joint has cooled enough to be safely handled, use a clean, damp rag to wipe away any remaining flux residue from the exterior of the pipe and fitting. This prevents future corrosion and gives the joint a clean, professional appearance. After all joints are completed and cooled, you can slowly turn the water back on and inspect for leaks.
Watch: Cool and Clean the Soldered PipeCommon Problems
Leaky joints due to poor surface preparation.
Solution: Proper cleaning and fluxing are the most critical steps for achieving a leak-proof solder joint. Do not skip this step.
A clean surface is critical for a successful solder joint. Any dirt or oxidation will prevent the solder from adhering properly.
Solution: To avoid this issue: Be mindful of this warning and take appropriate precautions.
Flux is acidic. Avoid getting it in your eyes.
Solution: To avoid this issue: Be mindful of this warning and take appropriate precautions.
Do not apply flux inside the fitting or pipe, as it can lead to long-term corrosion if not burned off completely.
Solution: To avoid this issue: Be mindful of this warning and take appropriate precautions.
Applying too much flux will cause the solder to follow the flux and run down the pipe, resulting in a messy joint. Wiping the excess is a key step.
Solution: To avoid this issue: Be mindful of this warning and take appropriate precautions.
Do not overheat the joint, as this can burn away the flux and prevent a good seal.
Solution: To avoid this issue: Be mindful of this warning and take appropriate precautions.
Be careful when wiping the hot joint, as it can produce steam.
Solution: To avoid this issue: Be mindful of this warning and take appropriate precautions.
Frequently Asked Questions
What type of torch is best for soldering copper pipes, and how do I know I'm applying enough heat?
The K Tool International Self Igniting Propane Torch Head is sufficient for most residential copper pipe soldering. You'll know you're applying enough heat when the pipe and fitting are hot enough to melt the Oatey Safe Flo Lead-Free Solder *by touching the pipe*, not the flame. The solder should then be drawn into the joint by capillary action.
What are the critical safety precautions I must take when soldering pipes indoors?
Always have a fire extinguisher nearby and remove any flammable materials from the work area, especially when using a torch. Ensure good ventilation to disperse solder fumes, and wear safety glasses to protect your eyes from splashes or heat. It's also crucial to turn off the main water supply before starting to avoid accidents and ensure pipes are dry.
Is it really necessary to deburr, ream, and thoroughly clean the pipes before soldering?
Absolutely. Deburring and reaming with a tool like the Husky 1-5/8 in. Inner/Outer Reamer ensures a smooth pipe interior for optimal water flow and prevents solder from being blocked. Thorough cleaning with sandpaper and applying Oatey H-20 Flux are critical to remove oxidation, allowing the solder to properly bond and create a strong, watertight seal.
What are the most common reasons a soldered joint might leak, and how can I avoid them?
Leaks often occur due to insufficient cleaning, inadequate heat application, or not using enough solder. Ensure pipes are shiny clean before applying Oatey H-20 Flux, heat the joint evenly until it can melt the solder, and feed enough solder to completely fill the joint. If a joint leaks, it must be desoldered, thoroughly cleaned, and resoldered.
This project is listed as 'beginner,' but how difficult is it for someone who's never soldered before, and how long should I realistically expect it to take?
While beginner-friendly, soldering requires practice to master the heat application and solder feeding technique. For a first-timer, expect the estimated 4 hours to be a minimum, especially if you're making multiple joints. Take your time with each step, particularly the cleaning and heating, as these are crucial for a successful, leak-free joint.
Are there any alternative methods to connect copper pipes if I'm not comfortable with soldering?
Yes, push-to-connect fittings like SharkBite are a popular solder-free alternative that are quick and easy to install, though they can be more expensive than traditional soldering. Another option is press fittings, which require a specialized press tool but offer a strong, permanent connection without heat. However, soldering is generally the most cost-effective and permanent traditional method.