
How to Rough-In Plumbing for a Basement Bathroom
About This Project
This guide provides a comprehensive, step-by-step process for roughing in the plumbing for a new basement bathroom. The process covers everything from initial planning and obtaining permits, to breaking concrete for drainage, installing the Drain-Waste-Vent (DWV) system, running hot and cold water supply lines, and preparing for final inspection before closing up the floors and walls.
Best for advanced DIYers and professionals with basic plumbing knowledge and familiarity with power tools. Requires MCR Safety BearKat Safety Glasses MCSCRWBK110 and Work Gloves and Safety gloves.
Tools & Materials
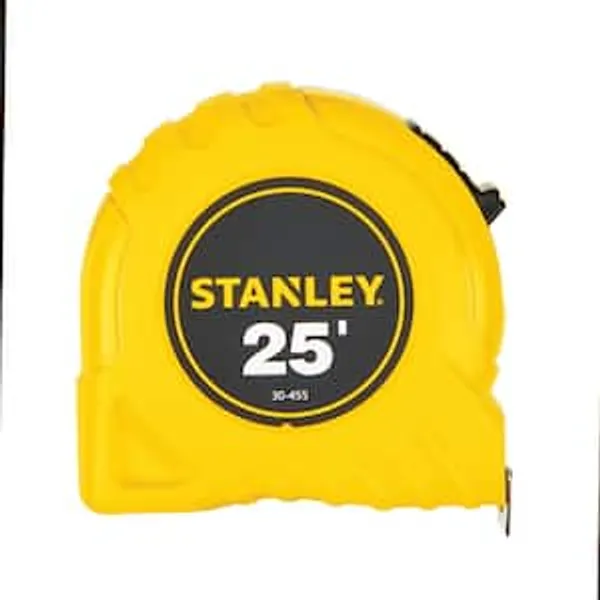
25 ft. Tape Measure
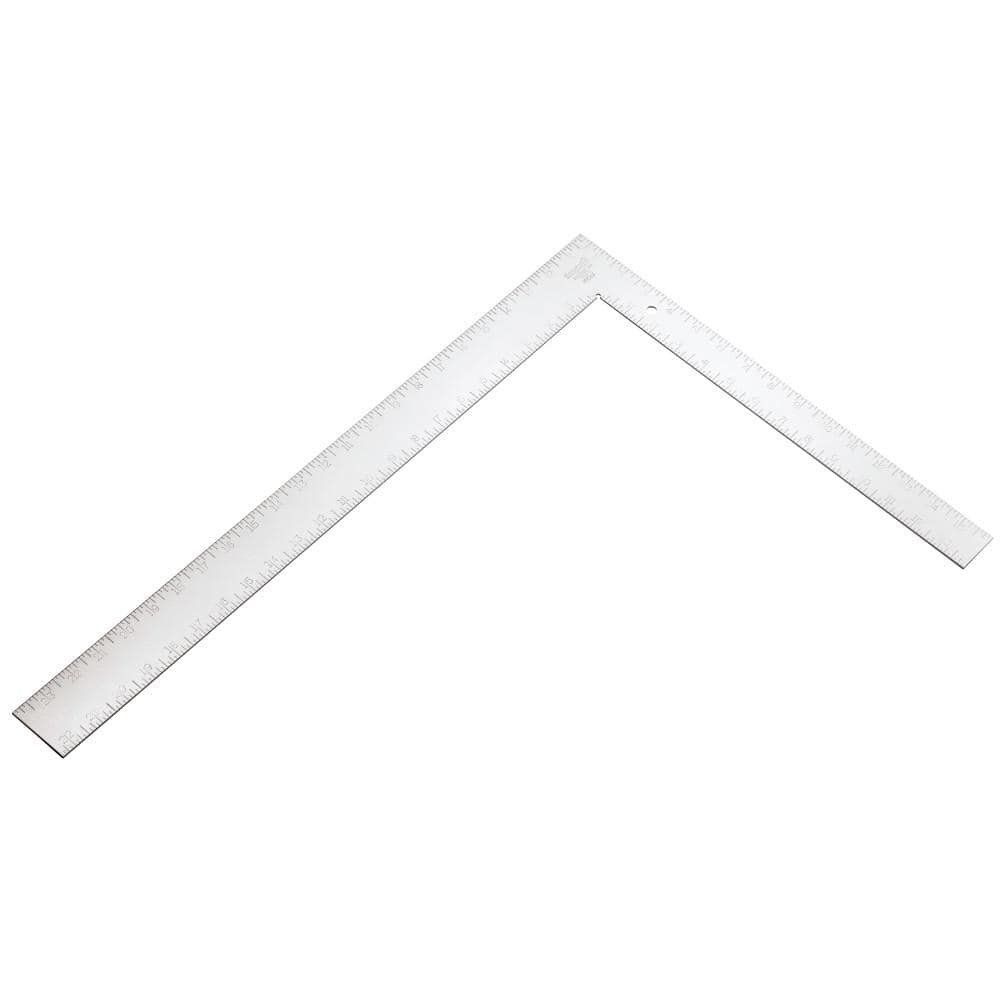
Empire 16 in. x 24 in. Steel Framing Square 1110

Milwaukee 100 ft. Bold Line Chalk Reel Kit with Blue Chalk 48-22-3982

CE TOOLS Chalk Reel 3lb. Mean Green Premium Hydrophobic Water Repellent Marking Chalk CET102G3

LUMABASE Battery Operated Wax LED Candles - Lace Leaf (Set of 2) 25502
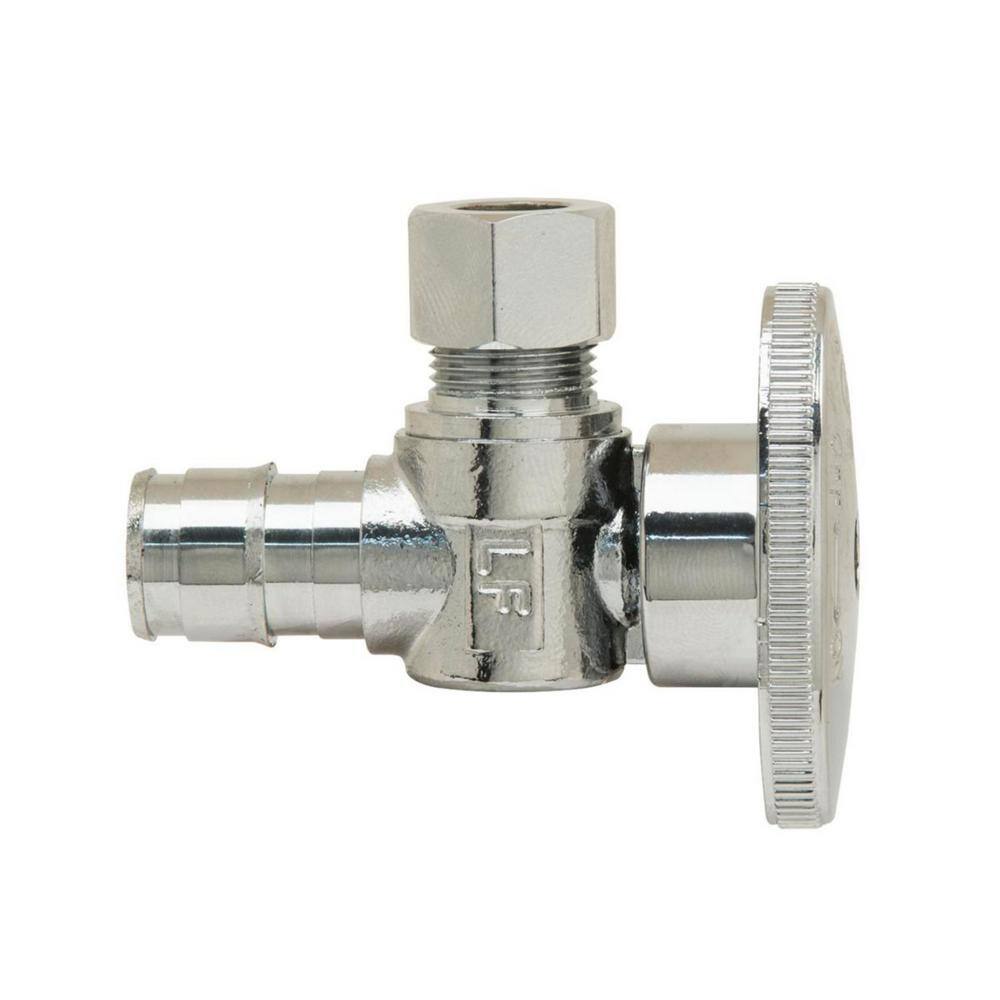
Plumbshop 1/2 in. Cold Expansion Barb (PEX) x 3/8 in. Compression 1/4-Turn Angle Stop PLB107X P
25 ft. Tape Measure
Measure with precision and ease.
Empire 16 in. x 24 in. Steel Framing Square 1110
The Empire Framing Square is ideal for laying out and marking patterns in framing, roofing and stairway work. The Framing Square features permanently stamped numbers and 1/8 in. graduations. 24 in. x 2 in. body, 1/16 in. thick. 16 in. x 1-1/2 in. tongue.
Milwaukee 100 ft. Bold Line Chalk Reel Kit with Blue Chalk 48-22-3982
Milwaukee chalk reels provide users with the most durable and best performing chalk reels on the market today. Featuring exclusive StripGuard clutch combined with power tool inspired planetary gear system,
CE TOOLS Chalk Reel 3lb. Mean Green Premium Hydrophobic Water Repellent Marking Chalk CET102G3
Premium marking chalk as bold as its name. Designed to be best in class, a bold consistent line and intense color make the task of chalking a line much easier. 1 snap leaves a florescent green hydrophobic
LUMABASE Battery Operated Wax LED Candles - Lace Leaf (Set of 2) 25502
Elegant leaves add a garden feel to this set of lovely LED candles. Flameless candles provide an inviting glow that perfectly pairs with any modern, rustic, contemporary or industrial decor. The amber
Plumbshop 1/2 in. Cold Expansion Barb (PEX) x 3/8 in. Compression 1/4-Turn Angle Stop PLB107X P
Plumbshop 1/2 in. Nominal Cold Expansion Barb (PEX) x 3/8 in. O.D. Compression 1/4 in. Turn Angle Stop controls water flow to household plumbing fixtures - faucets, toilets, dishwashers, icemakers, washing
Steps
Planning, Layout, and Permits
4 minsThe first and most critical step is to create a detailed plan and obtain the necessary permits. Based on your finalized bathroom layout, draw a to-scale plumbing plan. This plan should show the exact location of the toilet, sink, and shower drains. Use a tape measure, framing square, and chalk line to transfer these locations onto the concrete floor. Mark the centerlines for each fixture's drain. For the toilet, the standard is 12 inches from the finished wall to the center of the drain. For the sink, it's the center of the vanity. For the shower, it's the center of the shower base. Research your local plumbing codes (e.g., IPC or UPC) to understand requirements for pipe sizing, drain slope (typically 1/4 inch per foot), and venting distances. Submit your plans to your local building department to secure a plumbing permit before any demolition begins.

Break Concrete and Dig Trenches
6 minsThis is the most physically demanding step. Wearing full personal protective equipment (safety glasses, hearing protection, dust mask, gloves, steel-toed boots) is non-negotiable. Use the chalk lines from the previous step as your guide to cut the perimeter of the trenches with a concrete saw for cleaner edges (optional but recommended). Then, use an electric demolition hammer or jackhammer to break up the concrete within the marked trench lines. A sledgehammer can be used to break up larger pieces. Use a pry bar and shovel to remove the broken concrete and a wheelbarrow to transport it out of the basement. Dig the trench deep enough to accommodate the diameter of your drain pipe (e.g., 3-inch pipe), plus a bed of gravel underneath, while maintaining a consistent slope of 1/4 inch per foot towards the main drain line.

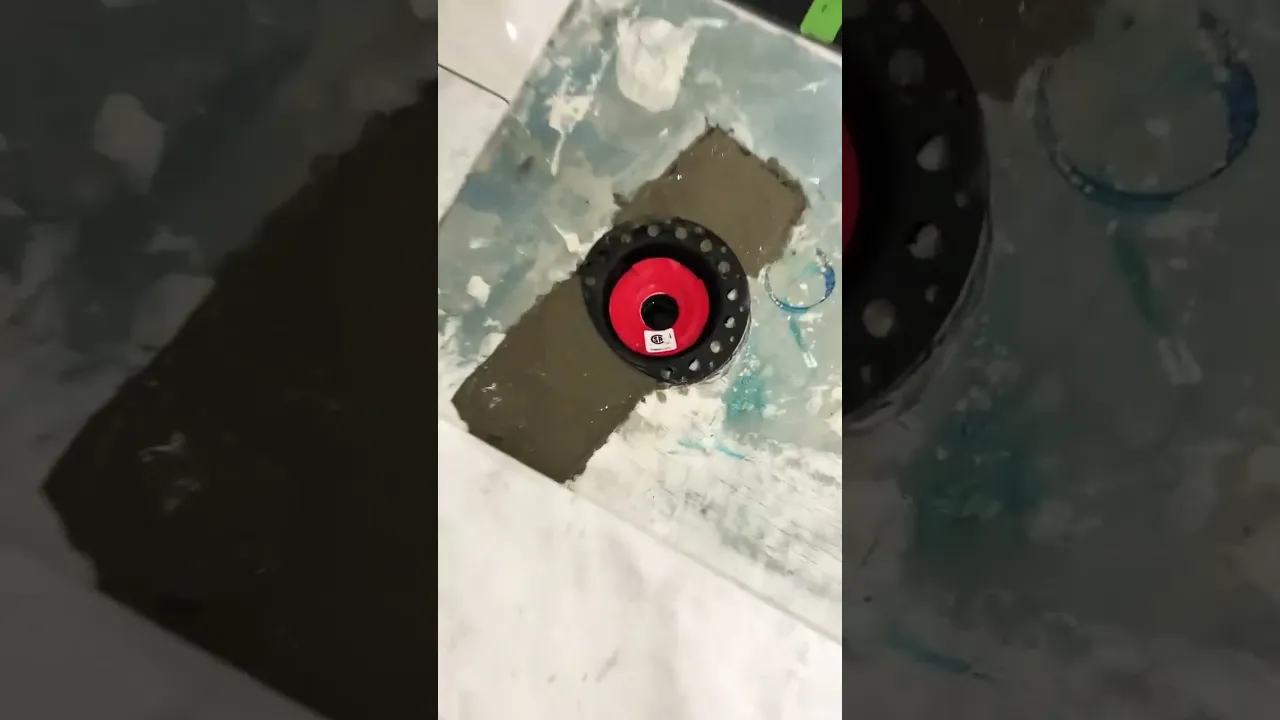
Install Underground DWV Pipes
5 minsThis step involves laying the pipes that will carry waste away. Begin by locating and exposing a section of the main sewer line. Cut into the main line and install a wye fitting that will accept your new 3-inch drain line. Use a PVC pipe cutter for clean cuts. Before using any PVC primer or cement, lay out all your pipes and fittings in the trench—this is called a 'dry fit'. Assemble the 3-inch line for the toilet, connecting to a toilet flange set at the correct height. Run 2-inch pipe from the main line to the shower and sink locations, installing the appropriate shower drain assembly and a sanitary tee for the sink drain arm. Use a 4-foot level to constantly check your slope, ensuring it is at least 1/4 inch of fall for every foot of run. Once you are certain everything fits perfectly, disassemble and re-assemble the system permanently using PVC primer (usually purple) followed immediately by PVC cement. Add a layer of pea gravel under and around the pipes for support.

Install Vent Lines
4 minsEvery drain trap needs a vent to function. Extend the drain pipes vertically up into the wall cavities after the trap for each fixture. The sink drain arm (stub-out) will typically be 18-20 inches off the finished floor. Above the sanitary tee for the sink drain, a 1.5-inch or 2-inch pipe continues upward as the vent. The shower and toilet also need to be vented. Often, you can tie all the new bathroom vents together in the wall or ceiling into a single, larger vent pipe (e.g., 2-inch). This main vent line must then be connected to your home's existing main vent stack or, if that's not feasible, run independently up through the roof. Use a drill with hole saw or auger bits to run the pipes through wall studs and ceiling joists. Secure the pipes with pipe straps. Code dictates the maximum distance a fixture's trap can be from its vent, so consult your local code.

Backfill and Pour Concrete
4 minsBefore this step, you must have your under-slab plumbing inspected and approved. Once you have the green light from the inspector, carefully backfill the trenches with the excavated soil and gravel. Use a tamper or the end of a 2x4 to compact the fill in layers (every 6 inches) to prevent future settling. Lay down a plastic sheeting vapor barrier over the fill to match the rest of the basement floor. Mix ready-mix concrete in a wheelbarrow or mixer according to the manufacturer's directions. Pour the concrete into the trenches, ensuring it fills all voids. Use a trowel or screed board to level the new concrete with the existing slab, and a concrete float for a smooth finish. Allow the concrete to cure fully, which can take several days.

Run Water Supply Lines
4 minsWith the framing in place, you can run the hot and cold water supply lines. Turn off the main water supply to the house and drain the system. Tap into the main hot and cold water lines (usually 3/4-inch) with tee fittings. From these tees, run new 1/2-inch PEX tubing to each fixture location. Red PEX is for hot, blue is for cold. PEX is flexible and can be snaked through studs and joists easily. For the shower, secure a drop-ear elbow to a wood block between the studs at the correct height for the shower arm. Run separate hot and cold lines to the shower valve location. For the sink and toilet, run the tubing to the stub-out location and secure it to the framing. Use a PEX crimp tool to attach PEX fittings and shut-off valves (angle stops). Install stud guards (nail plates) over the framing wherever pipes pass through to protect them from future drywall screws.

Rough-In Inspection
2 minsThe final step before you can insulate and hang drywall is the rough-in inspection. The plumbing inspector will return to check all of your work. They will verify that the DWV and supply lines are installed correctly, properly supported, and meet all code requirements. They will likely require a pressure test on both the DWV and the supply lines. For the DWV system, this involves sealing the system with a test ball or inflatable plug and filling it with water up to a certain level (or pressurizing it with air) to check for leaks. The supply lines will be tested under normal house pressure. Do not proceed with wall coverings until you have passed this final plumbing inspection.
Common Problems
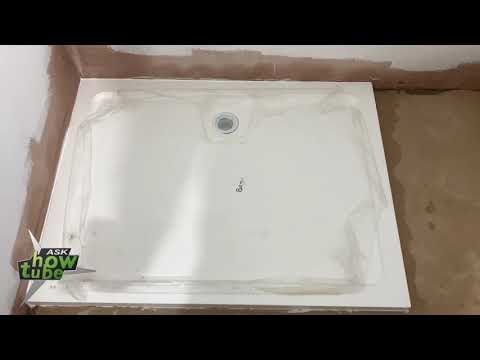
The entire bottom of the shower base must be in contact with the subfloor for proper support.
Solution: To avoid this issue: Be mindful of this warning and take appropriate precautions.
This is the most crucial step for a low-profile installation. An incorrect drain position is very difficult to fix once the concrete has cured.
Solution: To avoid this issue: Be mindful of this warning and take appropriate precautions.
Uneven concrete pour will lead to crooked pipes.
Solution: Mark the final height of the concrete on the wall as a reference to guide your installation.
Uneven floors cause poor drainage and can crack shower pans.
Solution: A perfectly level floor is critical for proper drainage and to prevent the shower pan from cracking.
A sloped shower pan will cause water to pool, leading to drainage issues and potential leaks.
Solution: If the pan isn't level during the dry fit, use wood shims or a full shingle to raise the low side.
Mortar falling through subfloor cracks ruins the installation.
Solution: Place paper on the subfloor before applying mortar to prevent it from falling through cracks in the floorboards.
Wiggle the pan when setting it in mortar to ensure it makes good contact with both the mortar and any shims used for leveling.
Solution: To avoid this issue: Be mindful of this warning and take appropriate precautions.
Frequently Asked Questions
How difficult is roughing in basement bathroom plumbing for a DIYer, and how long does it typically take?
This project is rated intermediate due to the need for precise measurements, concrete work, and understanding plumbing codes. For an experienced DIYer, it can take 3-5 full days of work, not including permit acquisition and inspection wait times. Beginners should consider professional help for critical steps like concrete cutting and main line tie-ins.
What permits do I need, and how do I ensure my rough-in plumbing passes inspection?
You will almost certainly need a plumbing permit and possibly a building permit. Contact your local building department early in the planning phase to understand all requirements, necessary inspections (like the rough-in inspection), and specific code regulations for pipe sizing, slope, and venting to avoid costly rework.
What's the best way to break up the concrete floor, and what safety precautions should I take?
A demolition hammer or electric jackhammer is highly recommended for efficiency, which can often be rented. Wear heavy-duty work gloves, steel-toed boots, eye protection, hearing protection, and a dust mask to protect against concrete dust and flying debris. Be mindful of existing utility lines marked during the planning phase.
What are the most common mistakes when installing the underground DWV pipes, and how can I avoid them?
Common mistakes include incorrect pipe slope, inadequate solvent welding, and insufficient depth for drain lines. Ensure a consistent slope of at least 1/4 inch per foot for proper drainage, use proper primer and cement for strong, leak-free joints, and confirm all pipes are securely bedded in gravel to prevent shifting.
Why is PEX often recommended for water supply lines in a basement bathroom rough-in, and what tools do I need for it?
PEX is flexible, easier to install than copper, corrosion-resistant, and less prone to bursting from freezing. For PEX, you'll need a PEX crimping tool or expansion tool, a PEX cutter, and the appropriate fittings and manifolds. Its flexibility significantly reduces the number of connections needed, lowering potential leak points.
What's a realistic budget estimate for the materials needed for a basement bathroom plumbing rough-in?
Material costs for a basement bathroom rough-in can vary widely, but typically range from $1,000 to $3,000, depending on the size of the bathroom, local material prices, and the quality of fixtures. This estimate includes pipes, fittings, glue, shower pan, toilet flange, and concrete patching materials. Don't forget permit fees, which can add several hundred dollars.
How important is proper venting, and can I connect new vents to existing lines?
Proper venting is critical for preventing siphoning of trap seals and allowing wastewater to drain efficiently. All fixtures must be correctly vented according to local codes. While it may be possible to tie into existing vent stacks, consult your local plumbing code or a professional to ensure the existing stack can handle the additional load and remains adequately sized.


