

How to Replace Grey Polybutylene Pipe with PEX
About This Project
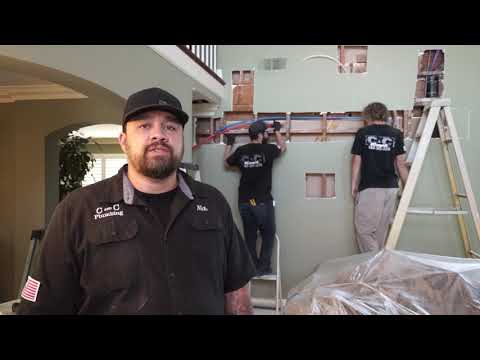
This is a comprehensive, step-by-step guide for a whole-house repipe project, detailing the process of removing problematic grey polybutylene (PB) plumbing and replacing it with a modern, reliable PEX (cross-linked polyethylene) system. The instructions assume the use of a central PEX manifold and the crimp/clamp connection method, which is common for DIY and professional installations.
Best for advanced DIYers and professionals with basic plumbing knowledge and familiarity with power tools. Requires Flame King High Intensity Propane Torch Head with Ultra Swirl Flame Compatible with 1 lb. Cylinders, MAPP and MAP-PRO FK4500CGA and Safety Glasses and 3M 8210 N95 Drywall Sanding Performance Disposable Respirator (2-Pack) 8210DA1-A.
Tools & Materials
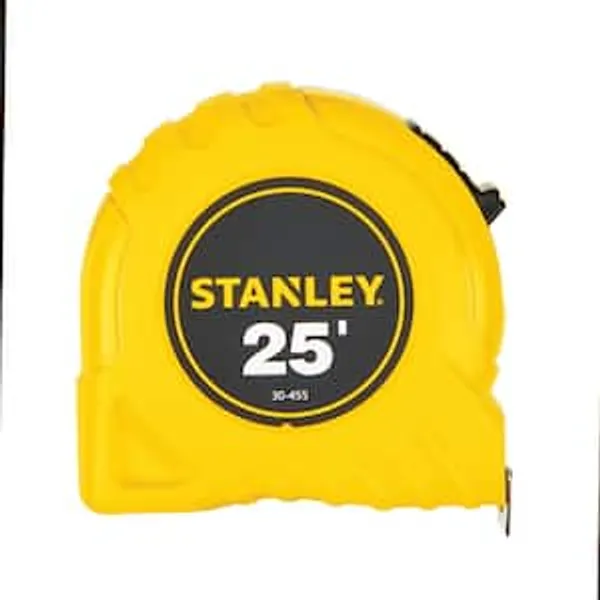
25 ft. Tape Measure
Pencil
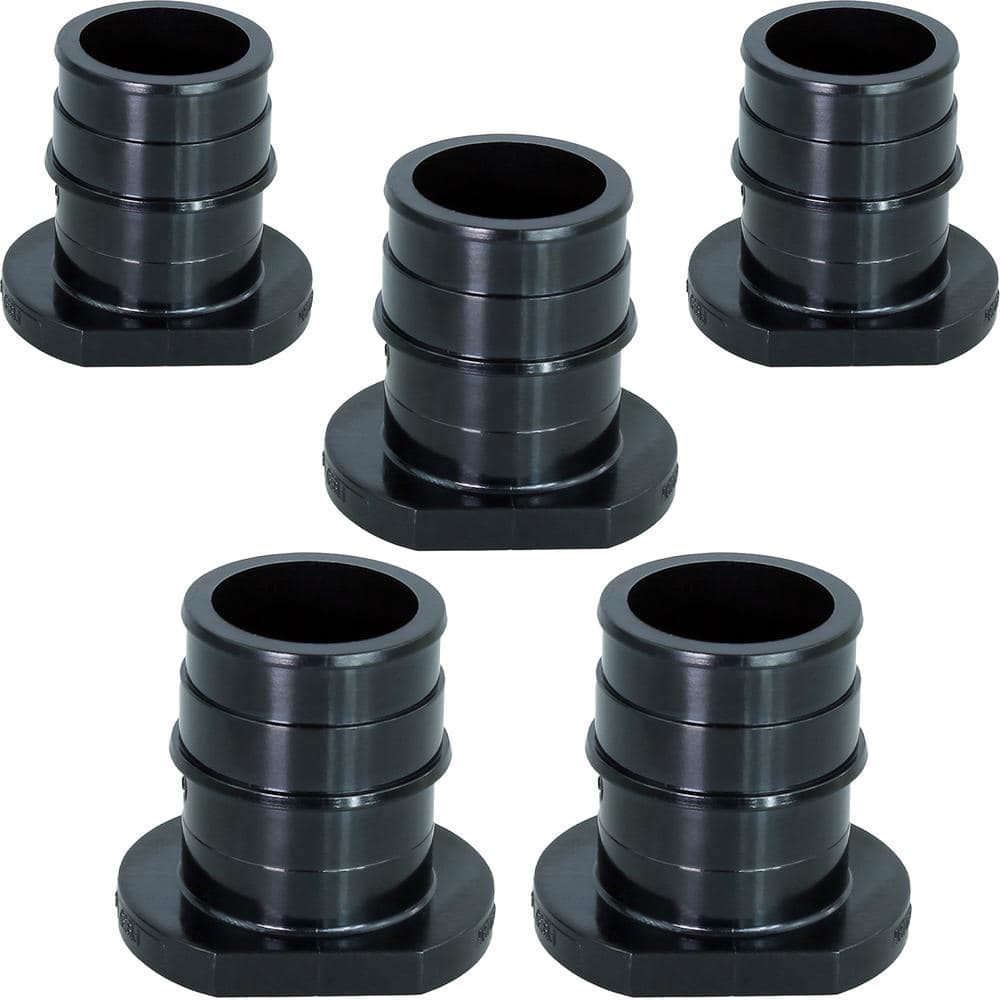
PLUMBFLEX 1/2 in. Expansion Barb Black PEX-A Plug End Cap for Pipe Plastic Poly Alloy (Pack of 5) 2234C-GQQM-5
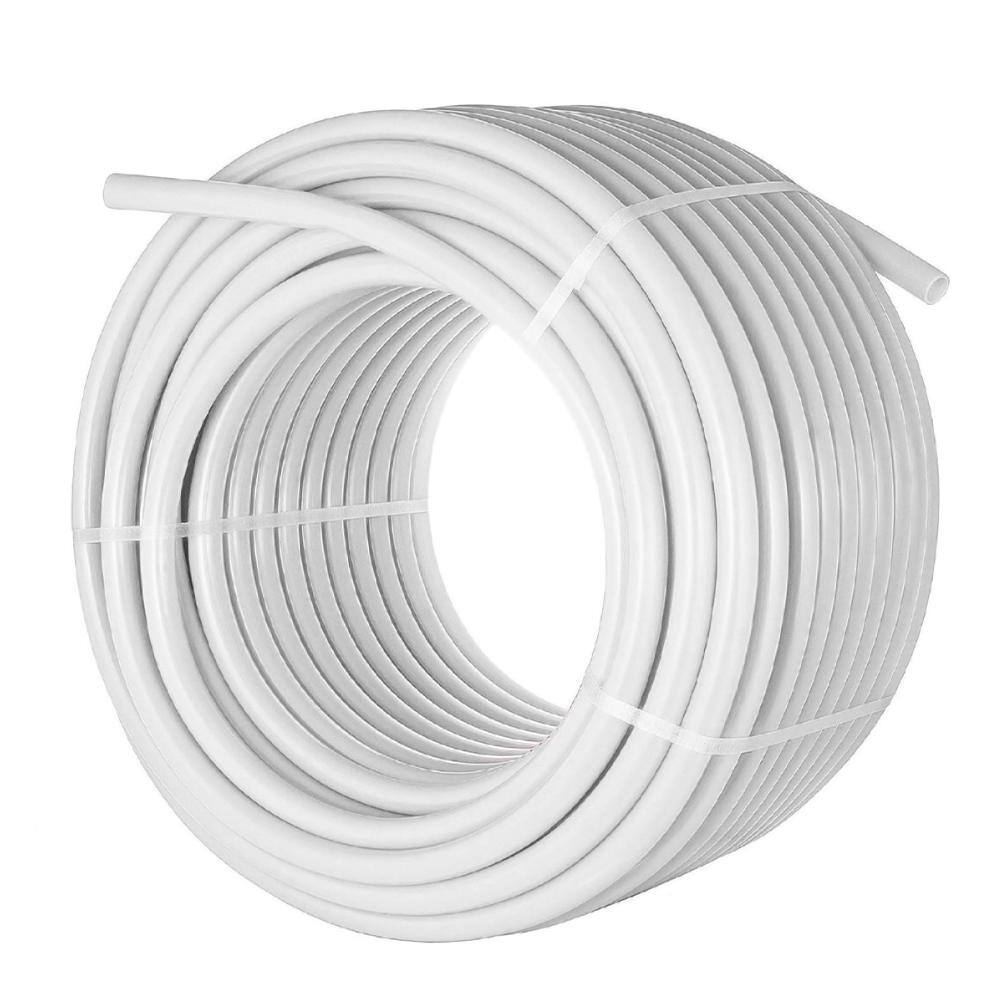
The Plumber's Choice Oxygen Barrier 1/2 in. x 1000 ft. White Pex-A Tubing for Hydronic Radiant Floor Heating, Flexible W121000-A-PFR

Apollo 24-Port Plastic PEX-A Manifold with 1/2 in. Poly Alloy Valves EPXMANI24P
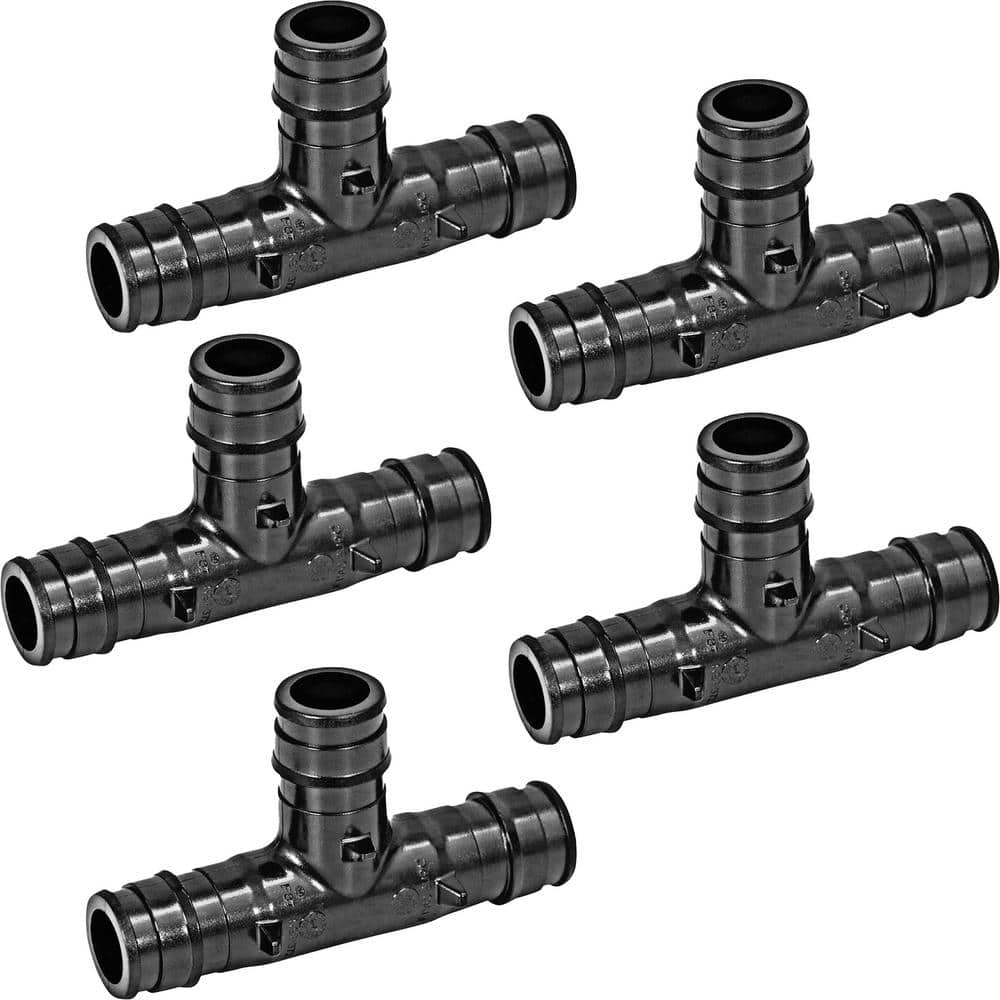
PLUMBFLEX 2 in. PEX-A Tee Pipe Fitting Plastic Poly Alloy Expansion Barb in Black (Pack of 5) 2422C-GQUF-5
25 ft. Tape Measure
Measure with precision and ease.
Pencil
Marks and draws with ease.
PLUMBFLEX 1/2 in. Expansion Barb Black PEX-A Plug End Cap for Pipe Plastic Poly Alloy (Pack of 5) 2234C-GQQM-5
The Plumber's Choice Pipe Fitting Is the Ideal Choice for Joining Tubes in Your PEX Pipelines. It Features a Solid Construction, Secure Connections, Multiple Approvals and Lead Free Certification. Manufactured
The Plumber's Choice Oxygen Barrier 1/2 in. x 1000 ft. White Pex-A Tubing for Hydronic Radiant Floor Heating, Flexible W121000-A-PFR
Expansion PEX pipe provides superior durability, corrosion resistance and flexibility for the most demanding environments. It is available in red, white and blue for easy and simple identification of hot, cold and main water lines. It is manufactured by crosslinking during the manufacturing proccess. It is compatible with both expansion and crimp, clamp or sleeve methods of joining. Meets or exceeds all neccesary and applicable standards: ASTM F876, F877, F1807, F1960, F2080 and F2174.
Apollo 24-Port Plastic PEX-A Manifold with 1/2 in. Poly Alloy Valves EPXMANI24P
The Apollo 24-Port PEX Manifold with 1/2 in. Poly Alloy Valves is simple to install. Think of it as the circuit breaker for your water delivery system. The installation of an Apollo manifold provides a single point flow control over each outlet. Apollo manifolds are designed for implementation within "home-run" type expansion PEX-A piping systems eliminating the need for additional fittings or connections between the water source and the point of use fixture. Apollo manifolds are a key component of the most economical potable water piping systems. Apollo piping runs must be secured into place using Apollo pipe or comparable cold expansion tubing using Apollo sleeves or comparable expansion-type sleeve or ring (all sold separately). The Apollo system is a comprehensive cold expansion piping system comprised of brass fittings, poly alloy fittings, manifolds, valves, fasteners, tools and tubing designed for implementation in water delivery systems, simple or complex. A cold-expansion tool (sold separately) is required for installation.
PLUMBFLEX 2 in. PEX-A Tee Pipe Fitting Plastic Poly Alloy Expansion Barb in Black (Pack of 5) 2422C-GQUF-5
The Plumber's Choice pipe fitting is the ideal choice for joining tubes in your PEX pipelines. It features a solid construction, secure connections, multiple approvals and lead free certification. Manufactured
Steps

Planning and Permitting
4 minsThe first and most critical step is to create a detailed plan and obtain the necessary permits. Begin by drawing a schematic of your home's plumbing system. Identify the location of every fixture (sinks, toilets, showers, washing machine, etc.), noting both hot and cold water lines. Decide on a central, accessible location for the PEX manifold, such as a utility room or basement wall. Plan the route for each PEX line from the manifold to its respective fixture, aiming for the most direct path with the fewest bends. Based on this plan, create a comprehensive materials list including the total footage of 1/2-inch and 3/4-inch PEX tubing, the number and types of fittings (elbows, tees, adapters), valves, pipe hangers, and the manifold itself. With your plan in hand, contact your local building department to apply for a plumbing permit. Do not begin work until the permit is approved.

Shut Off Water and Drain System
30 minsBefore any pipes are cut, you must completely shut off and drain the water system. Locate your home's main water shutoff valve, which is typically found where the water service line enters the house, near the water meter, or at the street in a utility box. Turn the valve clockwise until it is fully closed. Next, open every faucet in the house, both hot and cold, starting with the highest fixture (e.g., an upstairs shower) and ending with the lowest (e.g., a basement sink or outdoor spigot). This allows air to enter the system and ensures all water drains out. Flush all toilets to empty their tanks and cisterns. Connect a garden hose to a low-point drain valve or spigot to direct the remaining water outside or into a floor drain.

Accessing the Pipes
2 minsTo replace the pipes, you must first access them. Use a stud finder to locate the wall studs on either side of where the pipes run. This allows you to make clean cuts and provides a solid surface for reattaching the drywall later. Using a drywall saw or utility knife, carefully cut rectangular sections of drywall to expose the polybutylene pipes. Make your cuts neat and try to save the removed pieces. Be extremely cautious of any electrical wiring or other utilities that may be hidden in the wall cavities. Wear safety glasses and a dust mask to protect yourself from dust and debris.

Removing Old Polybutylene Pipes
3 minsWith the pipes exposed, begin removing the old polybutylene system. Wear gloves and safety glasses. It is often easiest to start at the fixtures and work your way back toward the main supply lines. Use a PEX/tubing cutter to cut the grey PB pipe into manageable sections for easy removal. The pipe and its plastic fittings can be very brittle, so expect them to crack or break. Disconnect the pipes from the fixture shutoff valves (these will also be replaced). Carefully pull the old pipes out from the wall and ceiling cavities. Keep a bucket handy to catch any remaining water.

Installing the PEX Manifold
1 minSelect a suitable location for your new PEX manifold, ensuring it is accessible for future maintenance. Mount a piece of 3/4-inch plywood to the wall studs to create a solid backing board. Use a level to position the manifold on the plywood and secure it firmly with screws. The manifold will have a main inlet for the hot water supply and another for the cold. Each fixture in your house will have its own dedicated port on both the hot and cold sides of the manifold, each controlled by a small ball valve.

Running New PEX Lines
6 minsNow it's time to run the new PEX lines. Use blue PEX for cold water and red PEX for hot water to maintain clear identification. Starting at the manifold, unroll and run a continuous PEX line to each fixture location. You can often follow the same paths as the old pipes. If you need to drill new holes through studs or joists, use an auger or spade bit and keep the holes centered to avoid accidental piercing with future nails or screws. To prevent sagging and water hammer noise, secure the PEX tubing with plastic pipe hangers every 32 inches on horizontal runs and every 48 inches on vertical runs. PEX is flexible, so use wide, sweeping turns instead of sharp 90-degree fittings where possible.

Making Crimp Connections
4 minsAt each fixture and at the manifold, you will make your connections. Start by cutting the PEX pipe to the desired length with a PEX cutter, ensuring the cut is perfectly square and clean. Slide a copper crimp ring over the end of the pipe. Fully insert the barbed end of the PEX fitting (e.g., a drop-ear elbow for a shower head or an angle stop for a sink) into the pipe until it seats against the shoulder of the fitting. Position the copper crimp ring so it is 1/8 to 1/4 inch from the end of the pipe, covering the barbed section. Squeeze the handles of the PEX crimp tool completely to compress the ring. Finally, use a go/no-go gauge to verify the crimp's diameter; the 'go' slot should fit over the ring, but the 'no-go' slot should not.

Tying into the Main Supply
1 minThis is the final plumbing step: connecting your new system to the water source. Ensure the main shutoff valve is still closed. Use a tubing cutter to make a clean cut on the main copper supply line after the shutoff valve. Clean and deburr the cut end of the copper pipe. Connect the main line to the hot and cold inlets of your PEX manifold. This is typically done using PEX-to-copper transition fittings. Push-to-connect fittings are a popular DIY option, or you can use PEX-to-copper sweat adapters if you are comfortable soldering. Repeat this process for the hot water outlet from your water heater, connecting it to the hot water inlet on the manifold.

Testing the System
4 minsBefore closing the walls, you must thoroughly test the new system for leaks. Double-check that all fixture shutoff valves and all individual ports on the manifold are in the closed position. Go to the main water shutoff valve and open it only about a quarter of the way. This allows the pipes to fill with water slowly, preventing a sudden pressure surge (water hammer) that could damage fittings. Listen for the sound of running water to stop, indicating the system is full. Then, fully open the main valve. With the system under full pressure, meticulously inspect every single connection you made. Use a flashlight and a dry paper towel to wipe each fitting and check for even the smallest amount of moisture. Let the system remain under pressure for several hours (or as required by your permit inspector) and perform another thorough inspection.
Drywall Repair and Finishing
8 minsOnce you are completely confident that the system is leak-free and has passed any required inspections, you can begin the final phase of the project. If you removed any insulation, replace it now. Re-install the pieces of drywall you carefully cut out earlier, securing them to the studs with drywall screws. Apply drywall tape over all the seams. Using a taping knife, apply several thin coats of joint compound over the tape, feathering the edges to blend with the existing wall. Allow each coat to dry completely and sand it smooth before applying the next. Once the final coat is sanded and smooth, apply a coat of primer, followed by a top coat of paint that matches the rest of the wall.
Common Problems
Improperly cut PEX can lead to leaks.
Solution: Using a proper PEX cutter ensures a clean, square cut which is essential for a good seal.
Improper crimp ring placement leads to leaky connections.
Solution: Ensure the PEX crimp ring is positioned 1/8 to 1/4 inch from the end of the pipe before crimping for a secure seal.
Leaky connections due to insufficient pipe insertion into fittings.
Solution: Ensure the PEX pipe is pushed all the way onto the fitting before crimping the ring.
Excess water pressure damages plumbing and water heaters.
Solution: An expansion tank is often required by code and helps prolong the life of the water heater and plumbing fixtures by absorbing excess pressure.
Trying to connect pipes overhead or in tight spaces leads to frustration and leaks.
Solution: Pre-assembling sections of the bypass on the floor can make the final installation easier.
Ensure pipes are fully seated in the press fittings before crimping to prevent leaks.
Solution: To avoid this issue: Be mindful of this warning and take appropriate precautions.
You might shut off the wrong water supply, causing inconvenience or damage.
Solution: Having a printed chart or diagram of your plumbing layout is extremely helpful for keeping track of which valve controls which fixture.
Frequently Asked Questions
Given the 40-hour estimate, is a whole-house PEX repipe truly an 'intermediate' DIY project, or should I hire a professional?
While labeled intermediate, this project demands significant time, precision, and adherence to plumbing codes. It's suitable for experienced DIYers comfortable with tools and problem-solving, but if you're unsure about the complexity or time commitment, consulting a licensed plumber is advisable, especially for main supply connections and final inspections.
What are the most crucial safety precautions I must take when replacing polybutylene pipes with PEX?
Always shut off and thoroughly drain the main water supply before starting. Wear appropriate PPE, including eye protection, and ensure good ventilation if soldering is required for main tie-ins. Be cautious when cutting into existing lines to prevent accidental damage or uncontrolled water release, and always have a plan for containing potential leaks.
The project lists specific PEX tools like crimp tools and cutters. Are these absolutely essential, or are there budget-friendly alternatives?
Yes, specialized PEX tools such as a PEX pipe cutter and a crimp/clamp tool are essential for making reliable, leak-free connections. While there are different brands and price points, investing in quality PEX-specific tools is crucial for successful installation. Avoid using standard tools for PEX connections, as they can lead to costly leaks and system failures.
What are common mistakes DIYers make during PEX installation, particularly with crimp connections, and how can they be avoided?
Common mistakes include improper crimp ring placement, not fully deburring cut pipes, and over-tightening manifold connections. Always ensure the crimp ring is correctly positioned over the fitting's barb, deburr all pipe ends to prevent leaks, and follow manufacturer guidelines for manifold valve torque. Testing sections of the system as you go can help catch issues early.
This guide focuses on PEX-B with crimp connections and a manifold. Are there other PEX types or connection methods I should consider?
Yes, PEX-A is another popular type known for its expansion connections, which offer high flow rates but require a specialized expansion tool. Push-to-connect fittings (like SharkBite) offer tool-free connections but can be more expensive. Your choice depends on budget, comfort with specialized tools, and desired flow characteristics, but crimp connections with PEX-B are a robust and cost-effective DIY method.
What kind of planning and permits are typically required before undertaking a whole-house plumbing repipe?
Permitting is almost always required for a plumbing repipe project. You'll need to check with your local building department for specific requirements, which usually include submitting detailed plans, obtaining a permit, and scheduling inspections at various stages (e.g., rough-in, final). Proper planning of your new PEX runs is critical for compliance and efficiency.


