
How to Replace a Well Pressure Tank
About This Project
This guide provides comprehensive, step-by-step instructions for safely removing an old well pressure tank and installing a new one. The process includes de-energizing the system, draining the water, disconnecting plumbing and electrical components, preparing the new tank with the correct air pre-charge, installing new fittings, and testing the system for leaks and proper operation.
Best for experienced DIYers and homeowners with some experience with basic plumbing knowledge and familiarity with power tools. Requires Voltage / Circuit Tester and mount-it! 330 lbs. Capacity Steel Stair Climbing Dolly Hand Truck MI-924 and Milwaukee 800 lb. Capacity Appliance Hand Truck HDA700.
Tools & Materials
Klein Tools Non Contact Voltage Tester Pen, 50 1000V AC (NCVT1PR) NCVT1PR
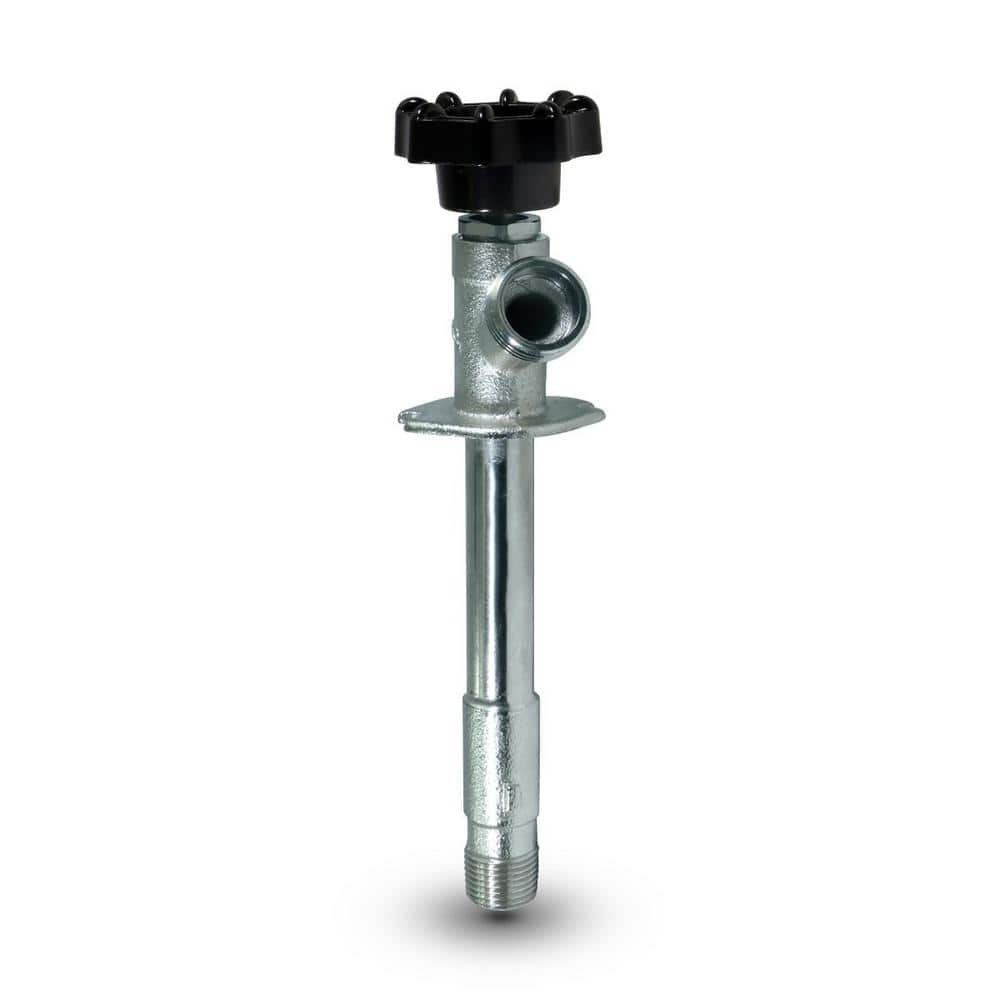
The Plumber's Choice 8 in. L Sillcock Frost Free Outdoor Faucet with 1/2 in. MIP/Sweat Connection and 3/4 in. Hose Bib SILL8

Unger 6 Gal. Heavy-Duty Plastic Bucket DB02
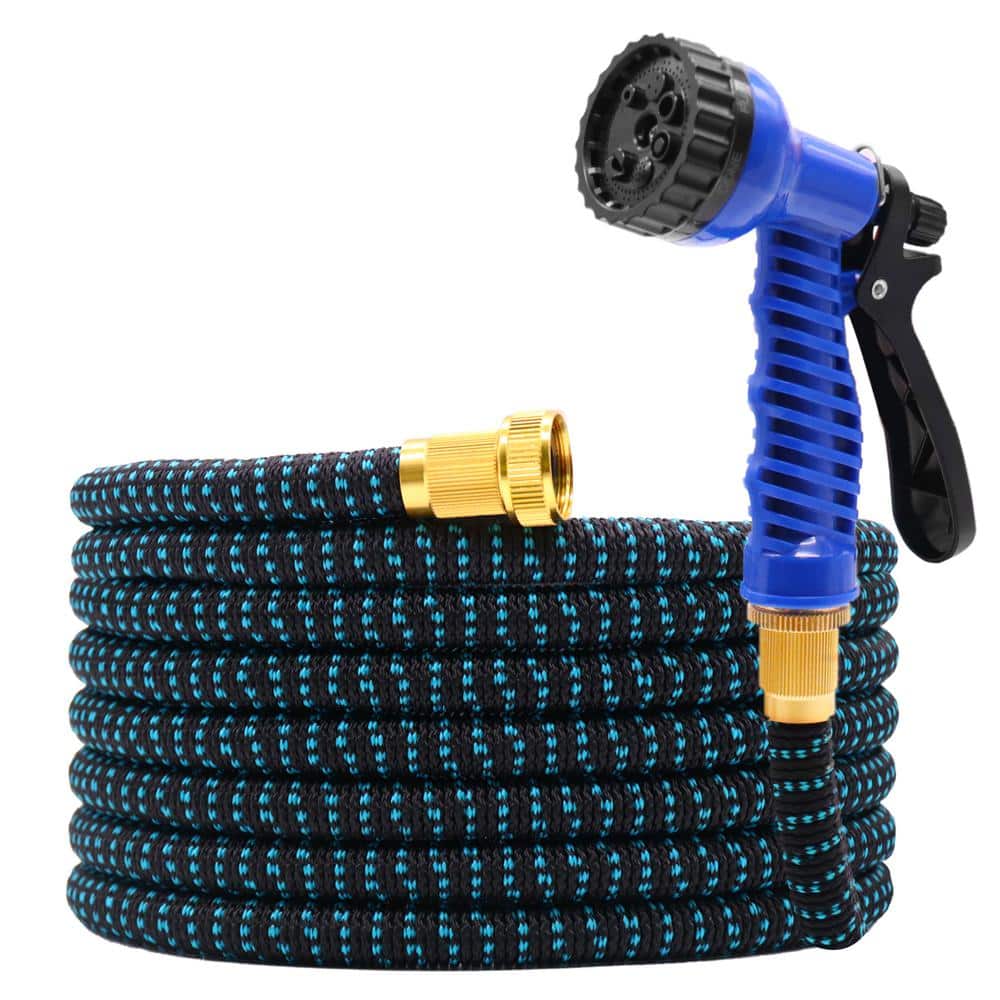
GardenJoy Expandable Garden Hose 3/4 in. x 50 ft. with 7 Function Spray Nozzle Magic Hose GEHBM50

Screwdriver
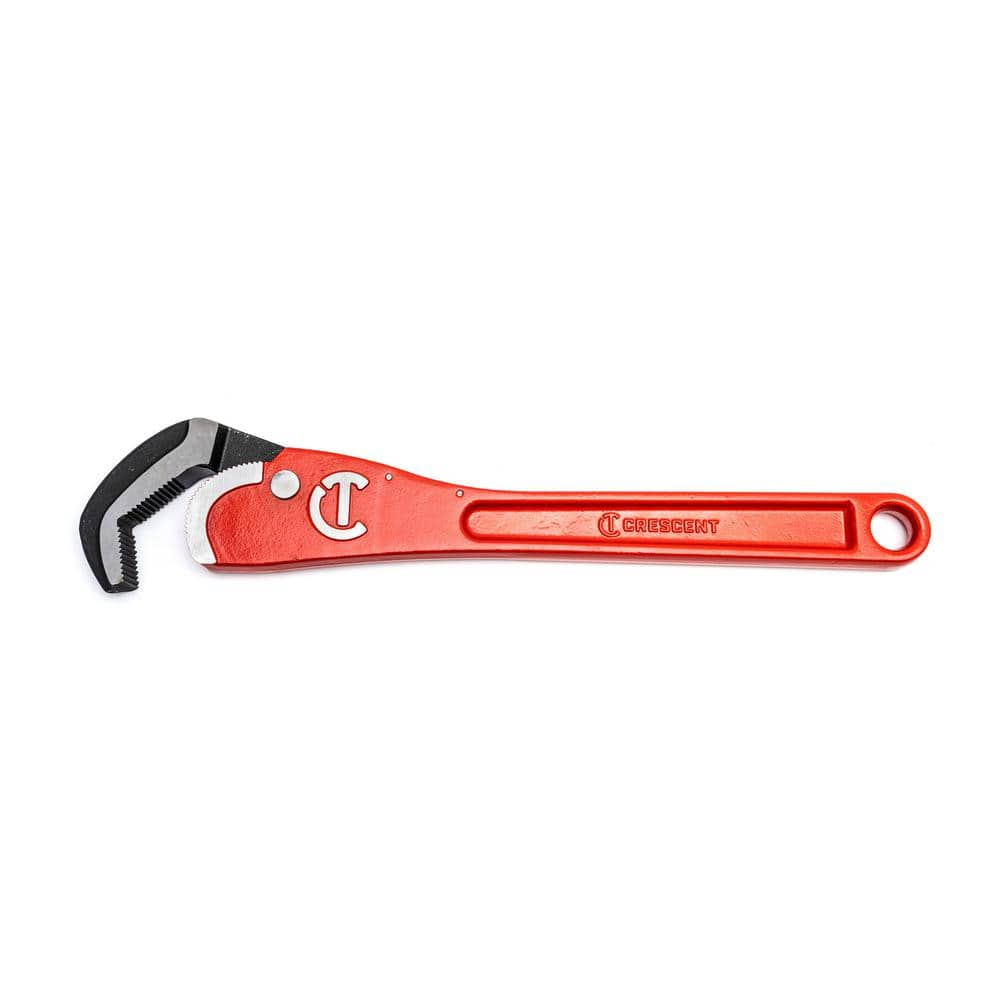
Crescent 16 in. Self Adjusting Pipe Wrench CPW16S
Klein Tools Non Contact Voltage Tester Pen, 50 1000V AC (NCVT1PR) NCVT1PR
Klein Tools Non-Contact Voltage Tester detects standard voltage in cables, cords, circuit breakers, lighting fixtures, switches, non tamper-resistant outlets and wires. A bright green LED indicates the
The Plumber's Choice 8 in. L Sillcock Frost Free Outdoor Faucet with 1/2 in. MIP/Sweat Connection and 3/4 in. Hose Bib SILL8
This 8 in. L outdoor faucet is the ideal choice for transferring water from your indoor water supply to the outside of your house. It connects to 3/4 in. garden hose, allowing the water to be sprayed at any distance and direction. Great for watering your lawn and for all other outdoor water needs.
Unger 6 Gal. Heavy-Duty Plastic Bucket DB02
The Unger 6-Gallon Heavy-Duty Professional Cleaning Bucket holds more than 6 Gal. of liquid. The bucket can accommodate a scrubber up to 14 in. L. This bucket features measurement marks and 2-pour spouts
GardenJoy Expandable Garden Hose 3/4 in. x 50 ft. with 7 Function Spray Nozzle Magic Hose GEHBM50
A expandable hose suitable for multiple purposes: Garden hose comes with 1 in. x 50 ft. Garden Hose, 1 x Water Hose Nozzle. Easy to store on the provided hanger or in the custom drawstring bag. Great for house/car/floor/yard washing, garden watering, pet cleaning, having fun or business use.
Screwdriver
A tool used to turn screws.
Crescent 16 in. Self Adjusting Pipe Wrench CPW16S
The Crescent Self-Adjusting Pipe Wrench features a unique head design that instantly grips and releases pipes and other types of fasteners with a fast ratcheting action. It is ideal for most surfaces including black iron, galvanized, PVC, and copper pipes, as well as nuts, bolts, and couplings. The spring-loaded head features a quick-grip and quick-release function that allows the wrench to be used with one hand.
Steps
Turn Off Power to Well Pump
5 minsLocate the dedicated circuit breaker for your well pump in your home's main electrical panel. The breaker is typically labeled 'Well Pump', 'Pump', or something similar. Flip the breaker to the 'OFF' position. To be absolutely certain, test a faucet; if the power is off, the water will run until the pressure is gone and will not restart. For an added layer of safety, use a non-contact voltage tester on the wires at the pressure switch to confirm there is no live current.

Drain the System
15 minsOpen a faucet at the lowest level of your house, such as in the basement or an outdoor spigot. This will allow gravity to help drain the water from the plumbing system and the pressure tank. Let the water run until it slows to a trickle. Place a bucket under the tank's drain valve (if it has one) or the main connection point to catch residual water.

Disconnect Plumbing and Electrical
20 minsFirst, carefully disconnect the electrical wires from the pressure switch. Use a screwdriver to loosen the terminal screws and pull the wires free. Next, use two pipe wrenches or a pipe wrench and channel-lock pliers to disconnect the main water line from the tank tee. Use one wrench on the fitting and the other on the tank tee itself, applying opposing force to prevent twisting the pipes. For PVC, you may need to cut the pipe with a hacksaw or PVC cutter if it is cemented in place.

Remove the Old Tank
15 minsWith all connections severed, carefully tilt the old pressure tank to drain any remaining water into your bucket. These tanks are awkward and can be very heavy. If it's a larger tank, use a hand truck or dolly to move it out of the work area. Place rags on the floor to absorb any spills.

Prepare and Pre-charge the New Tank
10 minsBefore installing the new tank, you must set its internal air pressure. Locate the air valve on top of the tank, which looks like a tire valve stem. Use a tire pressure gauge to check the factory pre-charge. It must be set to 2 PSI *below* your pump's cut-in pressure. For a 30/50 PSI switch, the cut-in is 30 PSI, so you must set the tank's pre-charge to 28 PSI. Use an air compressor or bicycle pump to add air, or press the pin in the valve to release air until you reach the correct pressure. The tank must be empty of water when you perform this check.
Prepare and Install New Tank Tee Assembly
20 minsPrepare the threads of your new tank tee, pressure gauge, and any other threaded fittings. Wrap the male threads with 3-4 layers of Teflon tape in a clockwise direction (the same direction you will tighten the fitting). After wrapping with tape, apply a thin layer of pipe dope over the tape. Screw the new tank tee into the threaded connection at the bottom of the pressure tank and tighten it securely with a pipe wrench. Then, install the pressure switch, pressure gauge, and pressure relief valve onto the appropriate ports of the tank tee, tightening each one.

Position and Connect the New Tank
20 minsCarefully move the new, fully assembled pressure tank into its final position. Align the tank tee with the main water line coming from the pump. Reconnect the plumbing. If using threaded connections, apply Teflon tape and pipe dope. If using PVC, clean the pipe end and the fitting with PVC primer, then apply a liberal amount of PVC cement and push the two pieces together with a quarter-turn, holding for 30 seconds. Ensure the tank is stable and level on its base.

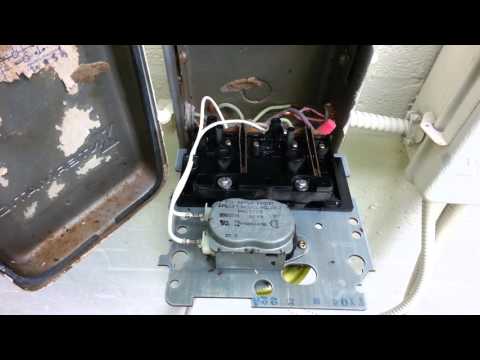
Reconnect Electrical Wiring
10 minsOpen the cover of the pressure switch. Referencing the photos you took earlier, reconnect the electrical wires to the correct terminals. Typically, there are two terminals for the power from the breaker and two for the wires going to the pump. Ensure the copper wire is securely under the screw heads and tighten them firmly. A loose connection can overheat and fail. Replace the pressure switch cover.

Pressurize System and Check for Leaks
15 minsEnsure the faucet you opened earlier is still open. Close any other faucets. Go to the main shut-off valve near the tank and open it SLOWLY. This allows the system to fill gradually, preventing a violent 'water hammer' effect. Once water is flowing steadily from the open faucet, go to the electrical panel and turn the breaker for the well pump back to the 'ON' position. The pump should start. Immediately check all new pipe connections and fittings for any drips or leaks. Use a flashlight to get a clear view. If you see a leak, turn the power off, drain the system, and tighten or re-do the leaky connection.

Final Checks and System Purge
15 minsWith the pump running, watch the pressure gauge. The pressure should rise until it reaches the cut-out pressure (e.g., 50 PSI), at which point the pump should shut off. Now, close the faucet you had open. The system should hold pressure. Open a faucet elsewhere in the house and watch the gauge again. The pressure will drop, and when it hits the cut-in pressure (e.g., 30 PSI), the pump should turn back on. Let the pump run through a few cycles to confirm it is working correctly. Go around the house and open faucets one by one to purge any air trapped in the lines until they run smoothly.
Common Problems
This test is a critical safety step and is typically required for inspection by local authorities.
Solution: To avoid this issue: Be mindful of this warning and take appropriate precautions.
Constant hissing indicates a significant leak.
Solution: A hissing or rushing water sound when all outlets are closed is a strong indicator of a significant leak.
Water level drops or tank doesn't build pressure due to a leak back into the well.
Solution: Check that the leak isn't going back down the well by isolating the well pipe and checking for suction or pressure loss.
Closed systems may experience pressure spikes without a separate expansion tank.
Solution: This test is for open water systems where the regulator has a built-in thermal expansion bypass. Closed systems require a separate thermal expansion tank.
Failing to flush the tank can result in sediment and debris entering your water supply.
Solution: For the first use, you need to open the 1/2 water valve and rinse for at least 15 minutes.
Air trapped in the filter can cause system malfunctions.
Solution: Press the red button to expel the air from the filter.
Incorrect pressure gauge readings lead to improper system function.
Solution: The pressure displayed on the pressure gauge should match your incoming water pressure.
Frequently Asked Questions
What are the most critical safety steps I must take before beginning to replace my well pressure tank?
Absolutely always turn off the power to your well pump at the main electrical panel first. Then, fully drain the entire water system to relieve all pressure. This prevents electric shock, water damage, and injury from pressurized components.
How long should I expect this well pressure tank replacement to take, and what's the approximate material cost for a DIYer?
For a beginner, plan for 2-4 hours, assuming you have all tools and materials ready. The material cost, primarily for the new pressure tank and fittings, can range from $200 to $600, depending on the tank size and brand, plus a few dollars for tape and rags.
Why is correctly pre-charging the new well pressure tank so important, and what pressure should I set it to?
Pre-charging with air prevents the tank from becoming 'waterlogged' and ensures your pump cycles efficiently, extending its lifespan. Set the tank's air pressure (when empty) to 2 PSI below your well pump's 'cut-in' pressure (the pressure at which your pump turns on).
Which specialized tools are absolutely essential for replacing a well pressure tank, beyond basic household tools?
You'll definitely need a sturdy pipe wrench (like the 16-inch self-adjusting one mentioned) for plumbing connections, a tire pressure gauge to check the tank's pre-charge, and a water pressure gauge to monitor system pressure. Slip-joint pliers are also very helpful for various fittings.
What common mistakes do beginners make during a well pressure tank replacement, and how can I avoid them?
Common mistakes include not fully draining the system, neglecting to pre-charge the new tank correctly, or improperly sealing threaded connections (leading to leaks). Always use Teflon tape on all threaded plumbing connections, and double-check your tank's pre-charge before introducing water.
What should I do if the new well pressure tank system leaks or doesn't build proper pressure after installation?
If there's a leak, immediately turn off the power and water, then re-tighten or re-seal all connections, paying close attention to Teflon tape application. If pressure isn't building, verify your tank's pre-charge is correct and check the pressure switch settings and wiring, ensuring the well pump is receiving power and operating.
Do I need to purchase the exact same size and brand of well pressure tank as my old one?
You don't necessarily need the exact same brand, but it's important to match or exceed the old tank's volume capacity to maintain efficient pump operation. Ensure the new tank's inlet/outlet connections are compatible with your existing plumbing, or plan to use appropriate adapters and fittings like a new tank tee assembly.


