

How to Replace a Water Heater's T&P Relief Valve
About This Project
This guide provides comprehensive, step-by-step instructions for safely replacing a faulty temperature and pressure (T&P) relief valve on a residential water heater. The process involves shutting down the heater, draining it partially, removing the old valve and discharge pipe, installing the new valve with proper sealing, and then refilling and testing the system.
Best for experienced DIYers and homeowners with some experience with basic plumbing knowledge and familiarity with power tools. Requires FLUKE 1AC-A1-II VoltAlert Non-Contact Voltage Tester 2432932 and MCR Safety BearKat Safety Glasses MCSCRWBK110 and Heavy Duty Latex Gloves.
Tools & Materials

Energizer Vision HD Pro 550 Lumen LED Headlamp ENHDEB32H
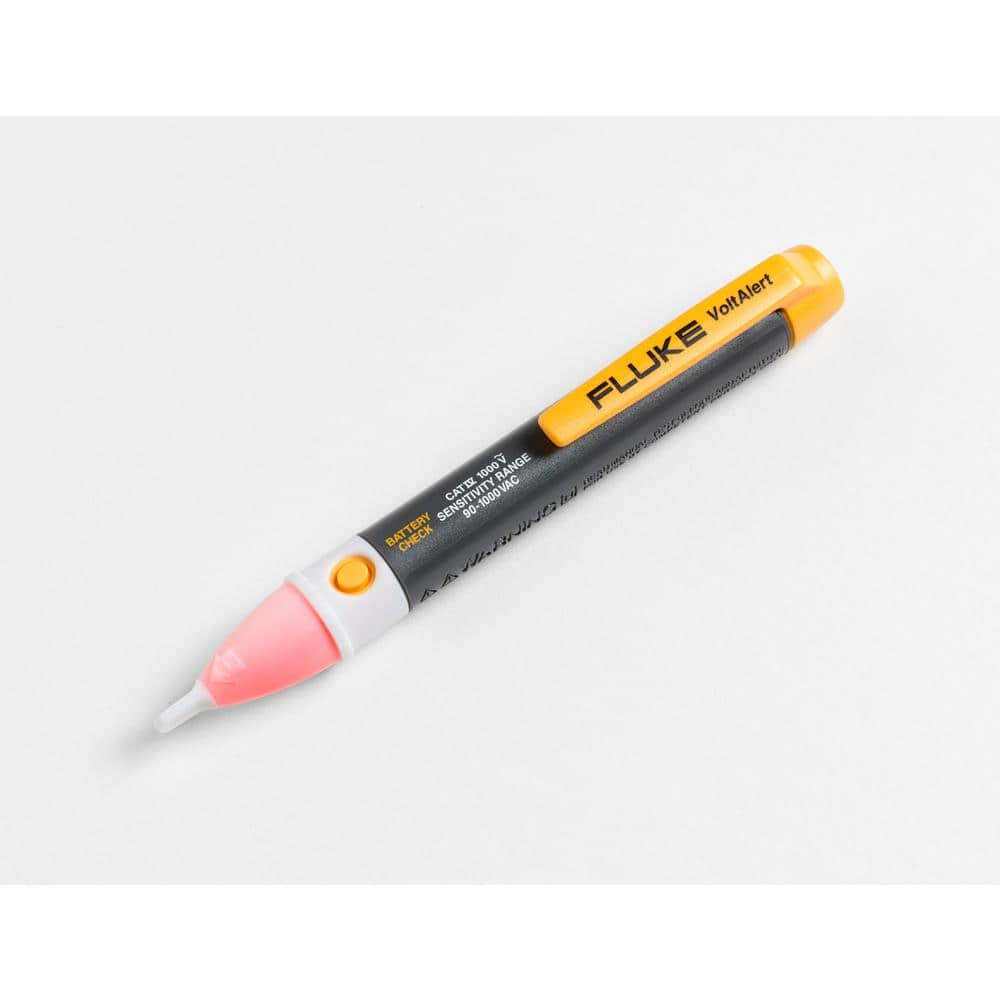
FLUKE 1AC-A1-II VoltAlert Non-Contact Voltage Tester 2432932
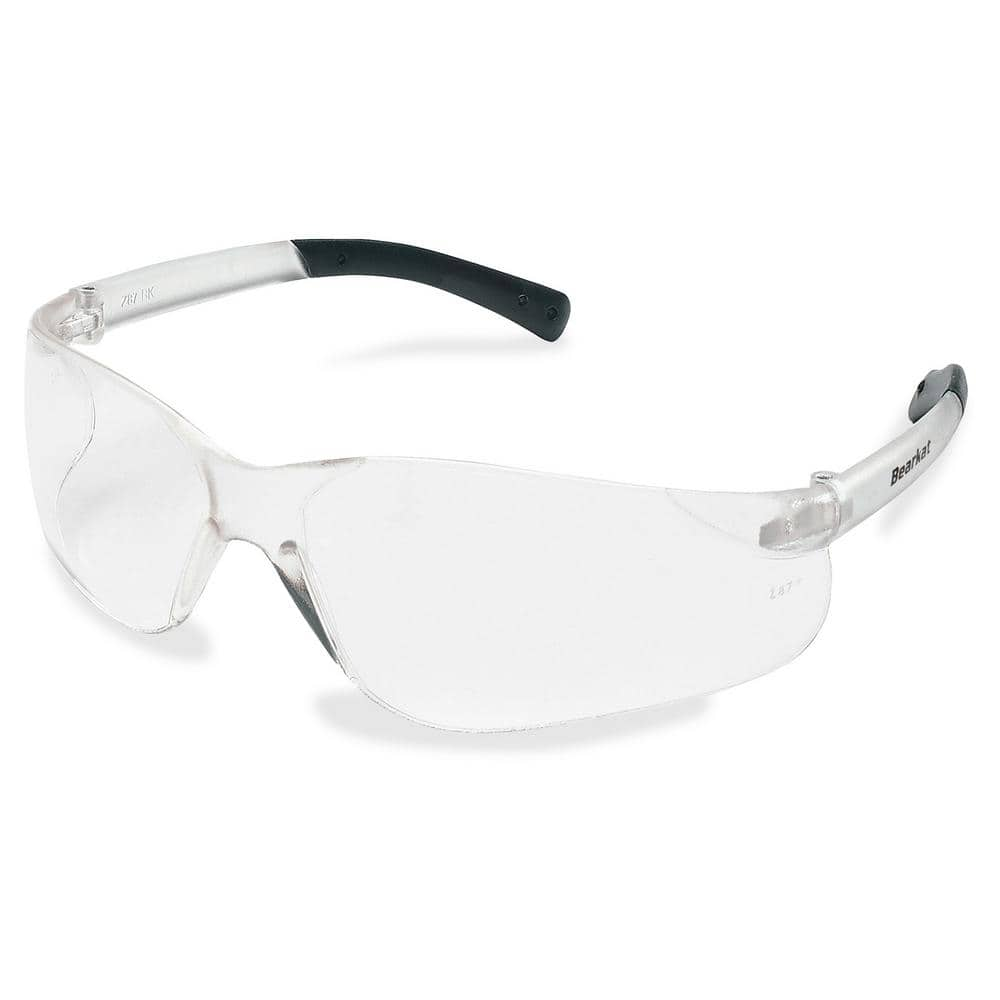
MCR Safety BearKat Safety Glasses MCSCRWBK110

Heavy Duty Latex Gloves
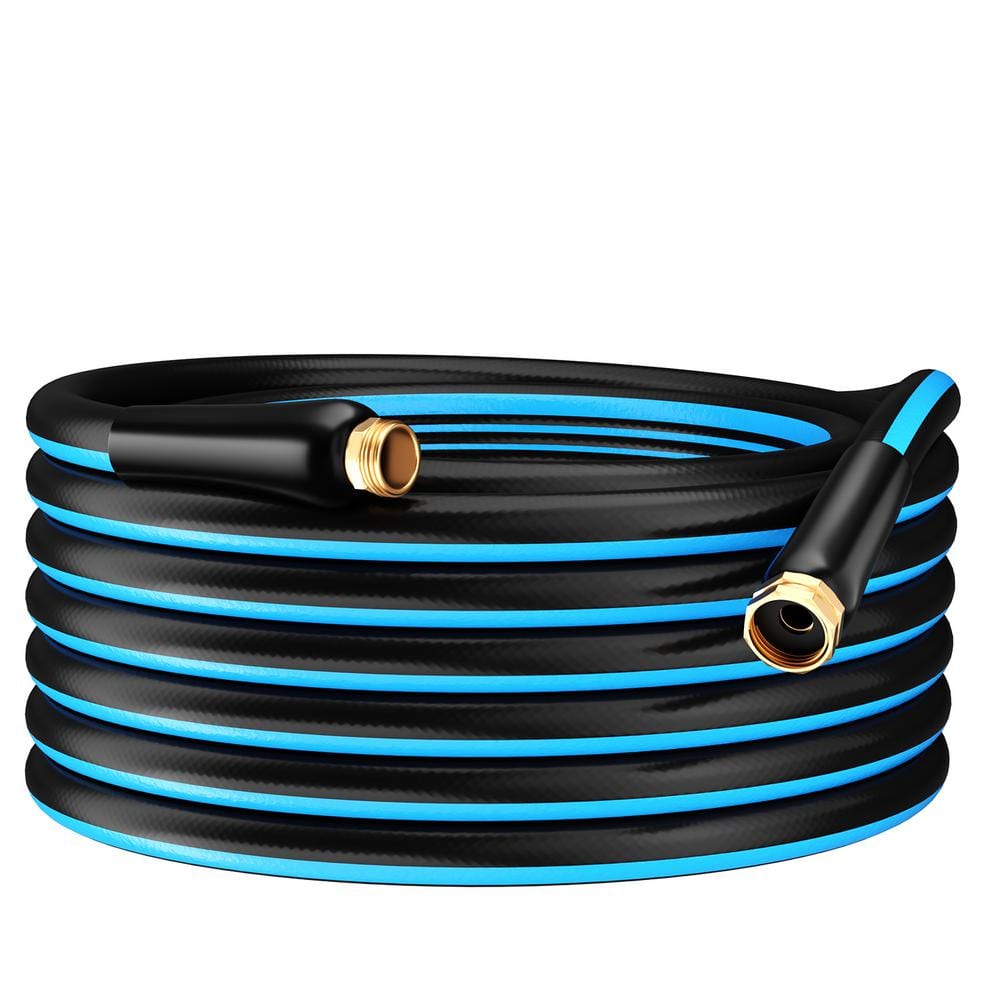
GardenJoy PVC Garden Hose 5/8 in. x 75 ft. Heavy-Duty Durable Hose Outdoor Water Hose LG-GHB5875
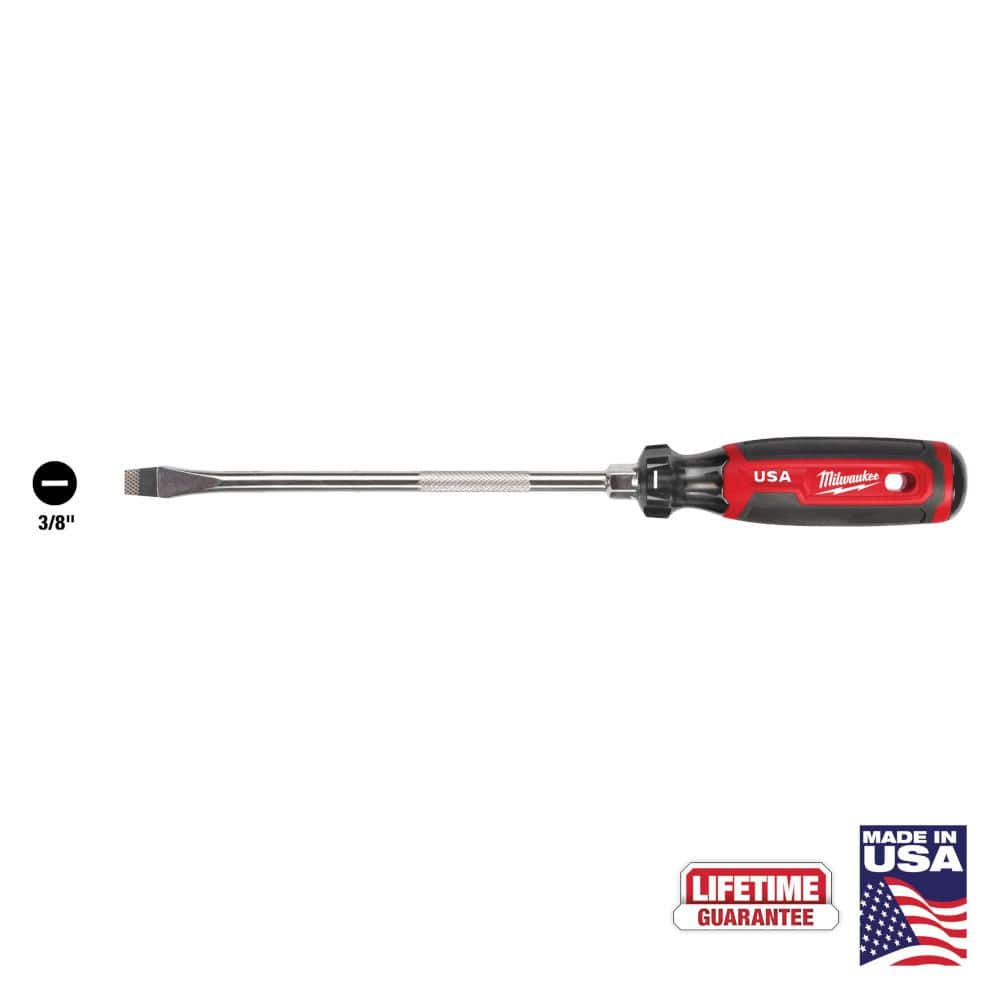
Milwaukee 8 in. x 3/8 in. Slotted Flat Head Screwdriver with Cushion Grip MT209
Energizer Vision HD Pro 550 Lumen LED Headlamp ENHDEB32H
Energizer Vision HD Pro 550-Lumen LED Headlamp packs outstanding performance into a compact LED headlamp with innovative features. Aim bright light onto your projects or activities-indoors or outdoors-from
FLUKE 1AC-A1-II VoltAlert Non-Contact Voltage Tester 2432932
The portable 1 AC II non-contact voltage tester from Fluke are easy to use - just touch the tip to a terminal strip, outlet or supply cord. When the tip glows red and the unit beeps, you know there's voltage present. Electricians, maintenance, service, safety personnel and homeowners can quickly test for energized circuits in the workplace or at home and even detect miswires of an electrical outlet.
MCR Safety BearKat Safety Glasses MCSCRWBK110
Safety glasses feature a well thought-out construction that combines the best in safety, comfort and affordability. Your vision is unobstructed by the 1-piece wraparound lens which, by its tight fit, provides for maximum safety. Flexible temples enhance your comfort during extended use. Nonslip rubber head grips are notched for a clip-on breakaway cord.
Heavy Duty Latex Gloves
Protection during intense tasks.
GardenJoy PVC Garden Hose 5/8 in. x 75 ft. Heavy-Duty Durable Hose Outdoor Water Hose LG-GHB5875
Light-weight and Flexible: Made from premium PVC, our garden hose is both light-weight and durable, allowing for easy handling without kinks or tangles, ideal for all your watering and cleaning needs.
Milwaukee 8 in. x 3/8 in. Slotted Flat Head Screwdriver with Cushion Grip MT209
The Milwaukee® 3/8" Slotted 8" Cushion Grip Screwdrivers (USA) are manufactured to give the professional the best-fitting screwdriver with max grip. These screwdriver tips are custom machined to deliver
Steps

Turn Off Power and Water Supply
5 minsFor an electric water heater, locate the corresponding double-pole circuit breaker in your home's main electrical panel and switch it to the 'OFF' position. For a gas heater, find the gas shutoff valve on the supply line leading to the heater's gas control valve and turn it to the 'OFF' position (the handle should be perpendicular to the pipe). Next, locate the cold water inlet pipe at the top of the water heater and turn its shutoff valve clockwise until it stops. This isolates the heater from power and water, ensuring a safe working environment.

Drain the Water Heater Partially
30 minsAttach a standard garden hose to the drain valve located near the bottom of the water heater tank. Route the other end of the hose to a floor drain, utility sink, or outside, ensuring the exit point is lower than the drain valve itself. To allow air into the tank and prevent a vacuum, open a hot water faucet at a sink somewhere in your house. Then, fully open the drain valve on the water heater (this may require a flathead screwdriver or a handle). You only need to drain enough water so the level is below the T&P valve you are replacing, not the entire tank.

Remove the Discharge Pipe
5 minsThe T&P valve has a discharge pipe, typically made of copper or CPVC, that directs water towards the floor. Using a pipe wrench or a large adjustable wrench, grip the fitting that connects this pipe to the T&P valve's outlet and turn it counter-clockwise to loosen and remove it. Be prepared for a small amount of trapped water to spill out; having a small bucket and rag handy is useful.

Unscrew the Old T&P Valve
10 minsPlace a large pipe wrench over the hexagonal body of the old T&P valve itself. Position the wrench so you can apply force in a counter-clockwise direction. This may require significant leverage, as the valve is often sealed tightly. Pull firmly on the wrench to break the seal and unscrew the valve completely from the water heater tank. Keep a bucket underneath to catch any remaining water that spills from the opening.

Install the New T&P Valve
10 minsUse a clean rag to wipe the female threads on the water heater tank, removing any old sealant or debris. Take your new T&P relief valve and wrap the male threads with 3 to 4 layers of Teflon tape. It is crucial to wrap the tape in a clockwise direction (the same direction you will tighten the valve). This prevents the tape from unravelling during installation. Carefully thread the new valve into the tank opening by hand to avoid cross-threading. Once it's hand-tight, use the pipe wrench to tighten it another 1-2 full turns, until it is snug and the outlet is pointing downwards. Do not overtighten.

Reattach the Discharge Pipe
5 minsThread the discharge pipe back onto the outlet of the newly installed T&P valve. If the connection requires it, apply new Teflon tape to the male threads of the pipe. Tighten the connection using your pipe wrench or adjustable wrench until it is secure. Per plumbing codes, the pipe must be made of an approved material (like copper or CPVC), be the same diameter as the valve outlet, and terminate within 6 inches of the floor or an approved indirect receptor. The end of the pipe must not be capped or threaded.

Refill Tank and Check for Leaks
15 minsEnsure the water heater's drain valve is fully closed. Double-check that the hot water faucet you opened earlier is still open. Go to the cold water inlet valve and slowly turn it counter-clockwise to open it. You will hear water begin to fill the tank. Keep the hot water faucet open until you have a steady, air-free stream of water coming out. This indicates the tank is full and all air has been purged. Once full, close the hot water faucet. Thoroughly inspect the new T&P valve and the discharge pipe connection for any drips or leaks.
Restore Power and Test Operation
5 minsOnce you have confirmed that there are no leaks and the tank is full, go to the electrical panel and switch the water heater's circuit breaker back to the 'ON' position. For a gas heater, follow the manufacturer's instructions to relight the pilot light. Allow the heater 30-60 minutes to heat the water. As a final check, place a bucket under the discharge pipe and briefly lift the test lever on the T&P valve. A burst of hot water should discharge, and the valve should snap shut cleanly when you release it. This confirms it is functioning correctly.
Common Problems
Do not overtighten the valve, as this can damage the threads or the valve itself.
Solution: To avoid this issue: Be mindful of this warning and take appropriate precautions.
Do not over-tighten the valve, as this can damage the threads or the tank.
Solution: To avoid this issue: Be mindful of this warning and take appropriate precautions.
Teflon tape unravels, causing leaks when tightening.
Solution: Wrapping Teflon tape in the same direction as you tighten the fitting helps prevent it from unraveling during installation.
Damaged threads from over-tightening the T&P valve.
Solution: In many cases, hand-tightening followed by a quarter-turn with a wrench is sufficient. Over-tightening can damage the threads.
Be careful not to cross-thread the new valve when installing it.
Solution: To avoid this issue: Be mindful of this warning and take appropriate precautions.
Stuck T&P valve due to infrequent exercise.
Solution: The new valve packaging indicates it should be exercised once a year, but doing it once a month can help prevent future issues.
This compression nut is reverse-threaded. Turn it clockwise to loosen.
Solution: To avoid this issue: Be mindful of this warning and take appropriate precautions.
Frequently Asked Questions
Is replacing a T&P relief valve a safe DIY project for a beginner, or should I call a professional?
This is a beginner-level plumbing task, but only if you strictly follow all safety procedures, especially shutting off power/gas and water completely. If you are uncomfortable working with basic plumbing, or especially electrical/gas connections, it's always safer to consult a qualified professional. Your safety is paramount.
Do I really need specialized pipe wrenches, or can I get by with regular adjustable wrenches for this job?
While it might be tempting to use adjustable wrenches, specialized pipe wrenches (like the 12-inch or 16-inch options listed) are highly recommended. They provide a much stronger, non-slip grip on rounded pipes and fittings, which is crucial for loosening a potentially corroded old T&P valve without damaging the water heater connections. This prevents frustration and potential leaks.
What's the most common mistake people make when replacing a T&P valve, and how can I avoid it?
The most common mistake is not properly sealing the new valve's threads, which leads to leaks after refilling the tank. To avoid this, always apply 3-5 layers of Teflon tape (clockwise) to the threads of the new T&P valve before screwing it into the tank. Also, ensure the discharge pipe is snug but not overtightened, especially if it's plastic, to prevent stripping.
How much time should I realistically set aside for this project, and what's the typical cost for parts?
While estimated at 3 hours, it's wise to set aside a half-day (4-5 hours) for this project to account for unexpected challenges like stubborn old valves or thorough draining/refilling. The primary cost is the new T&P valve itself, which usually ranges from $15-$30, plus a few dollars for Teflon tape and rags if you don't already have them.
What are the absolute critical safety precautions I must take before starting this project?
The two most critical safety steps are completely shutting off the power (or gas) supply to the water heater and turning off the main cold water supply line to the water heater. Failing to do so can result in serious injury from electrocution or scalding water, and significant property damage. Always verify both power/gas and water are off before beginning any work.
How do I ensure I purchase the correct replacement T&P valve for my specific water heater?
Most residential water heaters use a standard 3/4-inch NPT (National Pipe Thread) T&P valve, but it's essential to confirm this. Before buying, check your existing valve for any stamped specifications regarding size and temperature/pressure ratings. The Rheem PROTECH SP8346 listed is a common, widely compatible option for many electric and gas models.
After installing the new valve and refilling the tank, I'm still seeing drips from the discharge pipe. What should I check?
First, confirm that the new T&P valve is fully tightened into the tank and that Teflon tape was applied correctly to its threads. If the dripping is persistent from the end of the discharge pipe, it could indicate a faulty new valve, or there might be an underlying issue with excessive pressure or temperature in your water heater. Double-check your water heater's thermostat setting and consider if your home's water pressure is too high.


