
How to Replace a Water Heater's T&P Relief Valve
About This Project
This guide provides comprehensive, step-by-step instructions for safely replacing a faulty or leaking Temperature and Pressure (T&P) relief valve on a residential water heater. The process involves shutting down the unit, draining it partially, removing the old valve, installing a new one with proper sealant, and restoring the system to full operation.
Best for experienced DIYers and homeowners with some experience with basic plumbing knowledge. Requires Work Gloves and Voltage / Circuit Tester and Eaton CH Circuit Breaker Padlocking Device CHPLCS.
Tools & Materials
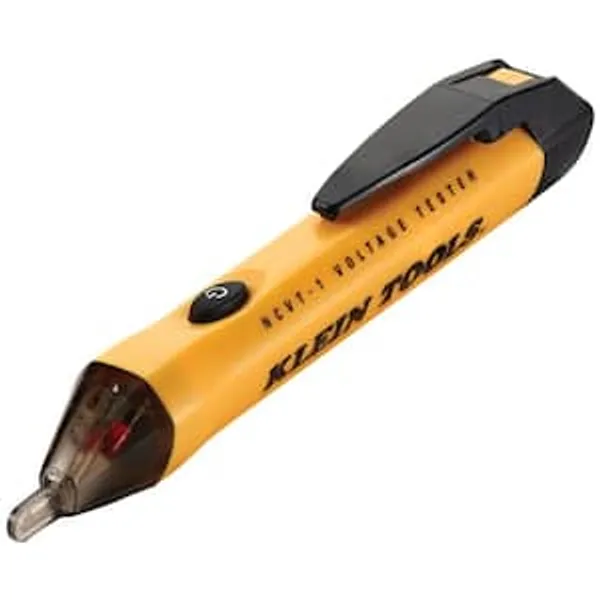
Voltage / Circuit Tester
Eaton CH Circuit Breaker Padlocking Device CHPLCS

GardenJoy PVC Garden Hose 5/8 in. x 50 ft. Heavy-Duty Durable Hose Outdoor Water Hose LG-GHB5850

Work Gloves
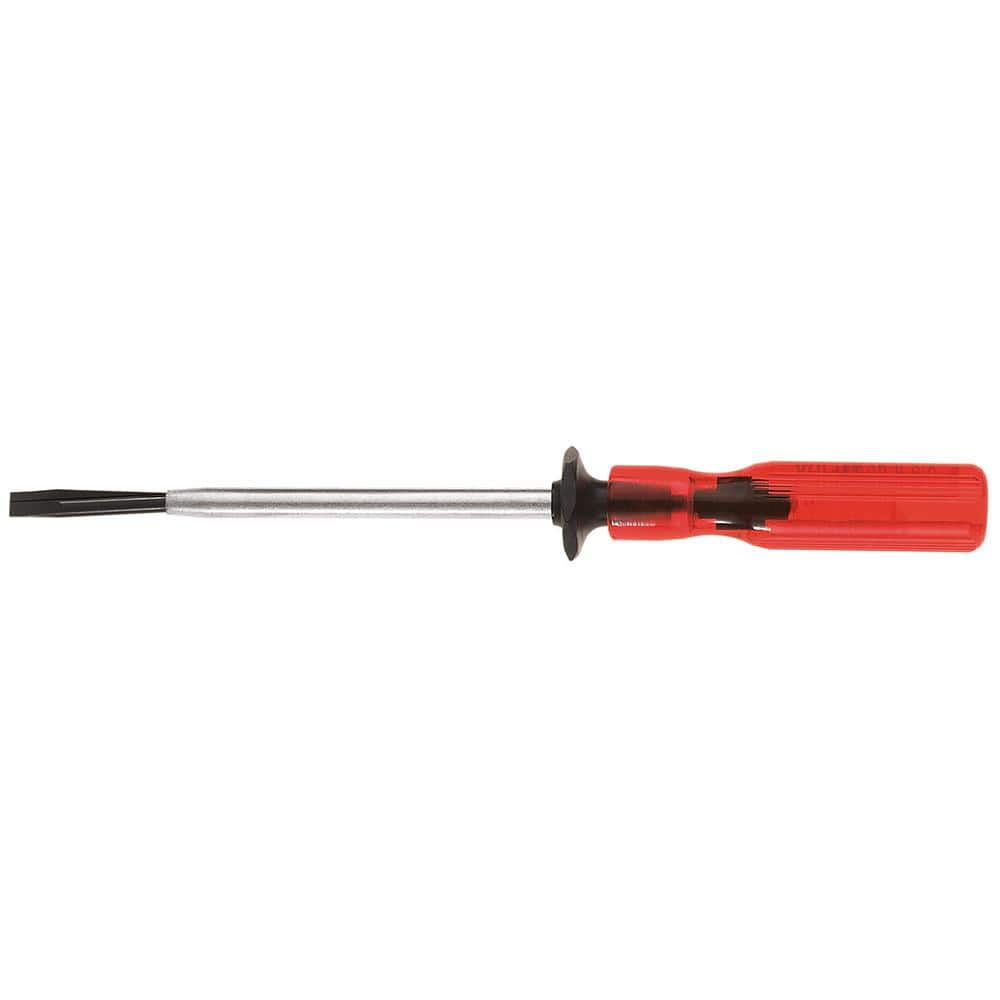
Klein Tools 3/16 in. Slotted Screw-Holding Flat Head Screwdriver with 3 in. Round Shank K23
TradesPro 14 in. HD Pipe Wrench 830914
Voltage / Circuit Tester
Detects electrical voltage presence.
Eaton CH Circuit Breaker Padlocking Device CHPLCS
The Eaton Type-CH Circuit Breaker Padlocking Device is used to lock the handle of a breaker in the on or off position. Compatible with 1, 2 and 3-pole breakers, this padlock device requires 1 additional
GardenJoy PVC Garden Hose 5/8 in. x 50 ft. Heavy-Duty Durable Hose Outdoor Water Hose LG-GHB5850
Light-weight and Flexible: Made from premium PVC, our garden hose is both light-weight and durable, allowing for easy handling without kinks or tangles, ideal for all your watering and cleaning needs.
Work Gloves
Protects hands during tasks.
Klein Tools 3/16 in. Slotted Screw-Holding Flat Head Screwdriver with 3 in. Round Shank K23
Getting that screw to stay put while you get it in place is much easier with Klein's Slotted Screw-Holding screwdriver. Positive gripping action holds, starts, and drives slotted screws in awkward, hard-to-reach
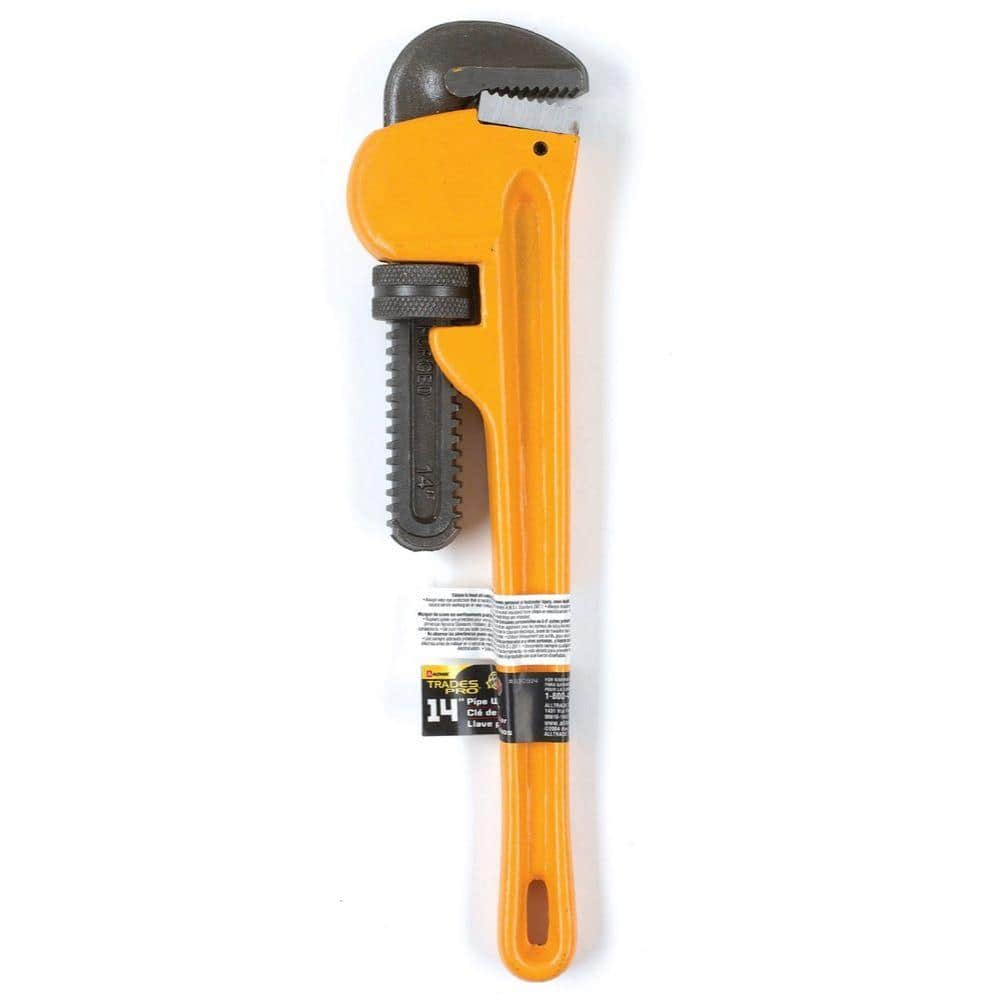
TradesPro 14 in. HD Pipe Wrench 830914
A simple tool that's simply irreplaceable around the house, yard, garage and worksite. Nothing works better at biting, clamping and turning stubborn pipes, fittings and more. This wrench has all the essentials
Steps
Shut Down Power and Water
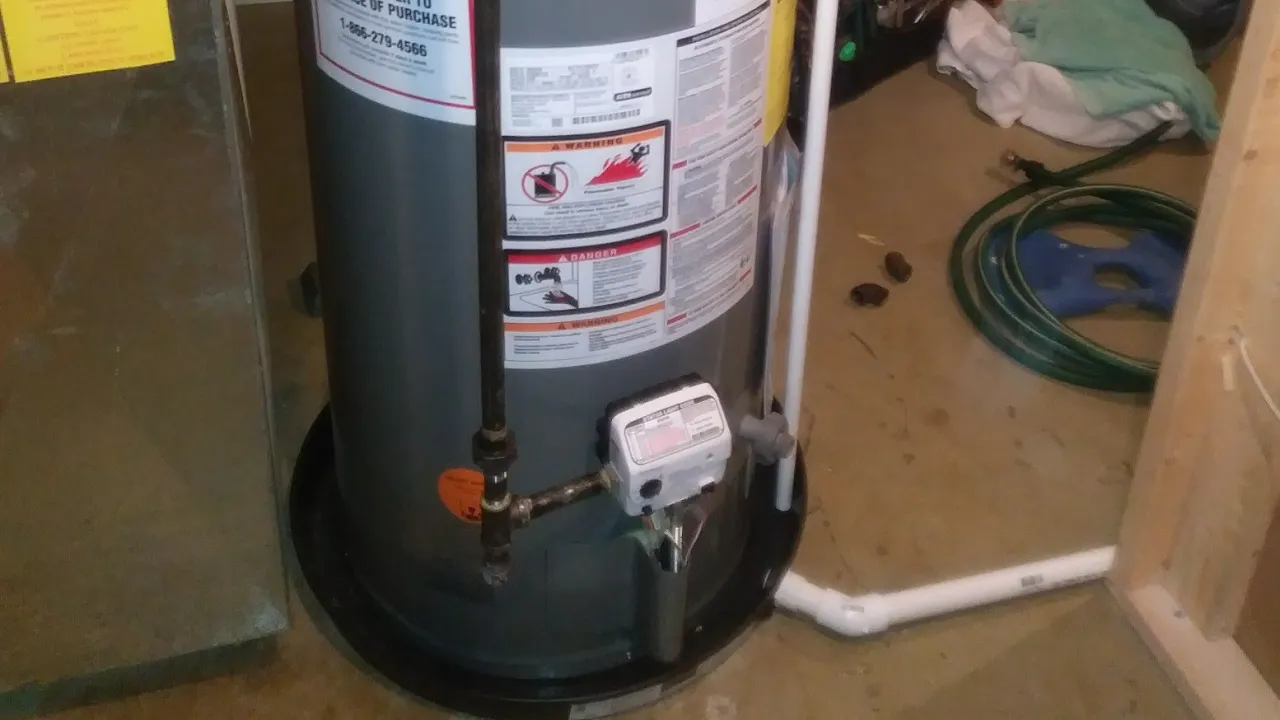
5 minsBefore any work begins, you must isolate the water heater from its power and water sources. Go to your home's main electrical panel and locate the circuit breaker dedicated to the water heater. Switch this breaker to the 'OFF' position. To be certain, you can use a voltage tester at the heater's electrical connection. Next, locate the cold water inlet pipe on the water heater, usually marked with a blue ring or handle. Turn the shut-off valve on this pipe clockwise until it stops, cutting off the water supply to the tank.

Drain the Tank Partially
20 minsTo access the T&P valve without a major flood, you must lower the water level inside the tank. Connect a standard garden hose to the drain valve spigot located near the bottom of the water heater. Route the other end of the hose to a floor drain, utility sink, or outside. To prevent a vacuum from forming and to speed up the draining process, open a hot water faucet in a nearby sink or tub. Now, open the drain valve on the water heater. Since the T&P valve is on the side, you only need to drain a few gallons until the water level is below the valve's location.

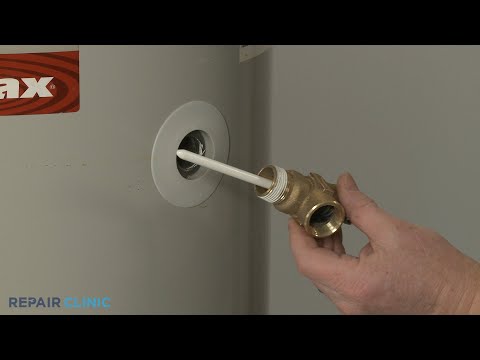
Disconnect Discharge Pipe
5 minsThe T&P valve has a discharge pipe that directs released water safely toward the floor. This pipe must be removed before you can access the valve itself. Using a large pipe wrench or adjustable wrench, grip the fitting where the copper discharge pipe connects to the T&P valve's outlet. Turn the fitting counter-clockwise to unscrew it. Have a rag or small bucket ready to catch any residual water trapped in the pipe.
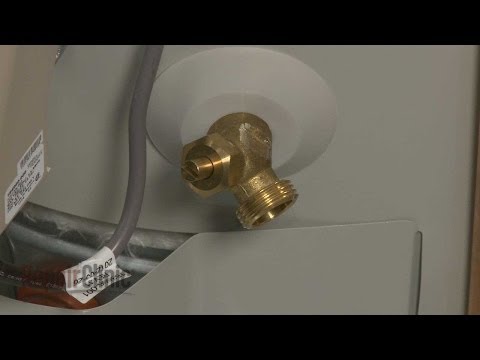
Remove Old T&P Valve
5 minsWith the discharge pipe removed, you can now remove the valve itself. Position a bucket or rags beneath the valve to catch any remaining water. Firmly attach the pipe wrench to the hexagonal body of the old T&P relief valve. Apply steady pressure in a counter-clockwise direction to break the seal and unscrew the valve from the threaded port on the water heater tank. Once loosened, you should be able to finish removing it by hand.

Install New T&P Valve
10 minsPrepare the new T&P valve for installation. Take the roll of Teflon tape and wrap it clockwise around the male threads of the new valve 3 to 4 times. Wrapping in this direction ensures the tape tightens as you screw the valve in, rather than unraveling. Carefully thread the new valve into the port on the water heater by hand to avoid cross-threading. Once it is hand-tight, use the pipe wrench on the valve body to tighten it another 1 to 2 full turns, until it is snug and the outlet is pointing directly downwards towards the floor.

Re-connect Discharge Pipe
5 minsWith the new valve in place, you must re-install the discharge pipe. If desired, clean the threads on the pipe and apply fresh Teflon tape. Screw the discharge pipe into the outlet of the new T&P valve. Tighten it using your pipe wrench or adjustable wrench until it is secure. Per universal plumbing code, the pipe must extend down to within 6 inches of the floor and its end must not be capped, threaded, or otherwise obstructed to ensure a safe path for water discharge.
Refill and Restart
15 minsIt is time to return the water heater to service. First, ensure the drain valve at the bottom of the tank is fully closed. Go to the hot water faucet you previously opened and leave it open. Slowly turn the cold water supply valve counter-clockwise to begin refilling the tank. Air will hiss and sputter from the open hot water faucet. Keep the water filling until you have a steady, air-free stream of water coming from the faucet, then turn the faucet off. Meticulously inspect the new T&P valve and discharge pipe connection for any signs of leaks. If everything is dry, return to the electrical panel and switch the water heater's circuit breaker back to the 'ON' position.

Test the New Valve
5 minsThe final step is to verify the mechanical operation of the new valve. Allow the water heater some time to heat the water. Place a bucket under the end of the discharge pipe. Wearing gloves to protect from hot water, carefully lift the manual release lever on the top of the new T&P valve. A gush of hot water should exit the pipe. Let it run for 2-3 seconds, then release the lever. It should snap back into its original position, and the water flow must stop completely. If the valve continues to drip, lift the lever again briefly to flush any potential debris from the seal. If it still leaks, the new valve may be defective and should be replaced.
Common Problems
It is critical to ensure the tank is completely full before restoring power to prevent destroying the new element.
Solution: To avoid this issue: Be mindful of this warning and take appropriate precautions.
Water spills during T&P valve replacement, causing water damage.
Solution: Have absorbent towels ready to clean up any spilled water.
Water drains out and could cause damage if the new valve isn't ready.
Solution: Have the new valve ready with any thread sealant already applied (if needed by the valve type) to minimize the time the tank is open.
It can be very difficult to start threading the new valve against the pressure of the flowing water. Be careful not to cross-thread the valve, which would cause a much larger problem.
Solution: To avoid this issue: Be mindful of this warning and take appropriate precautions.
Failure to relieve pressure by opening a faucet can cause water to spray out when you disconnect the pipes.
Solution: To avoid this issue: Be mindful of this warning and take appropriate precautions.
The PRV is directional. Installing it backward will cause it to not function correctly.
Solution: To avoid this issue: Be mindful of this warning and take appropriate precautions.
The Teflon tape unravels, leading to leaks.
Solution: Apply Teflon tape in the same direction you will be tightening the fitting (clockwise) to prevent it from unraveling.
Frequently Asked Questions
What are the most critical safety steps I must take before starting to replace my water heater's T&P valve?
Always shut off the power (or gas) supply to the water heater and turn off the cold water inlet valve to the tank. This prevents electric shock, burns from hot water, and water damage. Wear work gloves to protect your hands from potential scalding water or sharp edges.
How long does this T&P valve replacement project typically take for a beginner, and what's the approximate cost of a new valve?
For a beginner, this project generally takes 1-2 hours, including draining and refilling the tank. A new T&P relief valve typically costs between $15 and $30, depending on the brand and specific features.
What are the common signs that my water heater's T&P relief valve needs to be replaced, and why is it important not to delay?
If you notice a continuous drip from the discharge pipe connected to the T&P valve, or if it leaks during normal operation, it's likely faulty. Replacing it is crucial because a malfunctioning T&P valve can lead to dangerous pressure buildup, risking tank explosion.
Are there any common mistakes beginners make when replacing a T&P valve, and how can I avoid them?
A common mistake is not fully draining enough water from the tank, leading to a messy spill. Another is overtightening the new valve, which can damage the tank's threads, or not using enough Teflon tape for a proper seal. Ensure you apply 3-5 wraps of Teflon tape clockwise on the valve threads.
Do I really need specialized tools like a pipe wrench for this project, or can I get by with an adjustable wrench only?
While an adjustable wrench might work for some parts, a pipe wrench (like the TradesPro 14 in. HD Pipe Wrench 830914) provides a much stronger grip and leverage for loosening potentially seized or overtightened old T&P valves. It's highly recommended for easier and safer removal without damaging the tank fitting.
When installing the new T&P valve, should I use anything other than Teflon tape to ensure a watertight seal?
Teflon tape is usually sufficient and recommended for sealing the threads of a T&P valve. For an extra layer of security and lubrication, you could consider using a non-hardening pipe thread sealant approved for potable water in conjunction with Teflon tape, but ensure both are compatible with your valve and water system.
What's the proper procedure for refilling the water heater and restarting it after the new T&P valve is installed?
First, open a hot water faucet in your house to allow air to escape. Then, slowly open the cold water inlet valve to the water heater. Once water flows steadily from the hot faucet (indicating the tank is full and air is purged), turn off the faucet and restore power (or gas) to the water heater.


