
How to Replace a Two-Handle Shower Faucet
About This Project
This guide provides comprehensive, step-by-step instructions for removing an old two-handle shower faucet and installing a new one. The process covers shutting off the water, accessing the valve within the wall, disconnecting the old valve, soldering the new valve into place, testing for leaks, and installing the new trim.
Best for advanced DIYers and professionals with basic plumbing knowledge and familiarity with power tools. Requires First Alert General Purpose Fire Extinguisher 1-A:10-B:C - in Red FE1A10GOA and HDX Clear Indoor Safety Glasses (1-Pack) VS-9300, clear and 3M 8210 N95 Drywall Sanding Performance Disposable Respirator (2-Pack) 8210DA1-A.
Tools & Materials
Drop Cloth
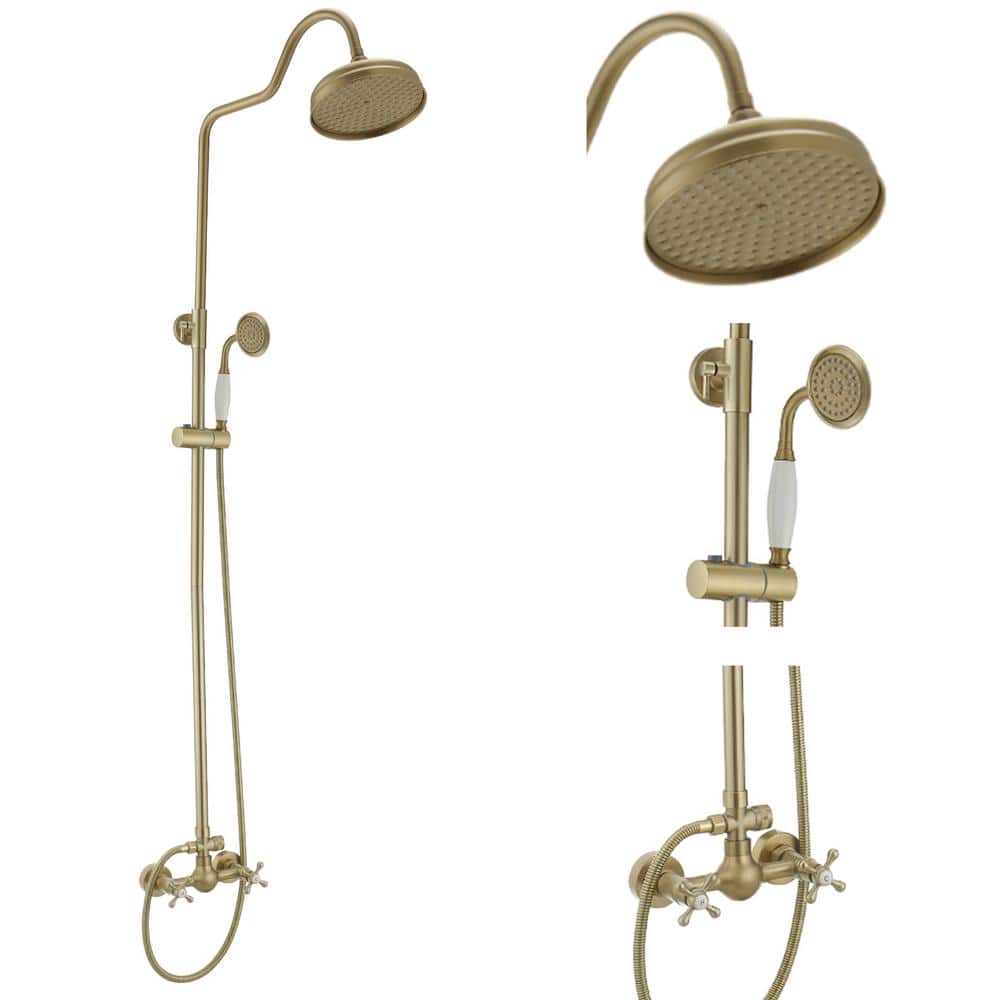
BWE Double Handle 2-Spray Shower Faucet Round Wall Bar Shower Kit 2.5 GPM with High Pressure 2 Cross Handles in Brushed Gold B-98022-BG
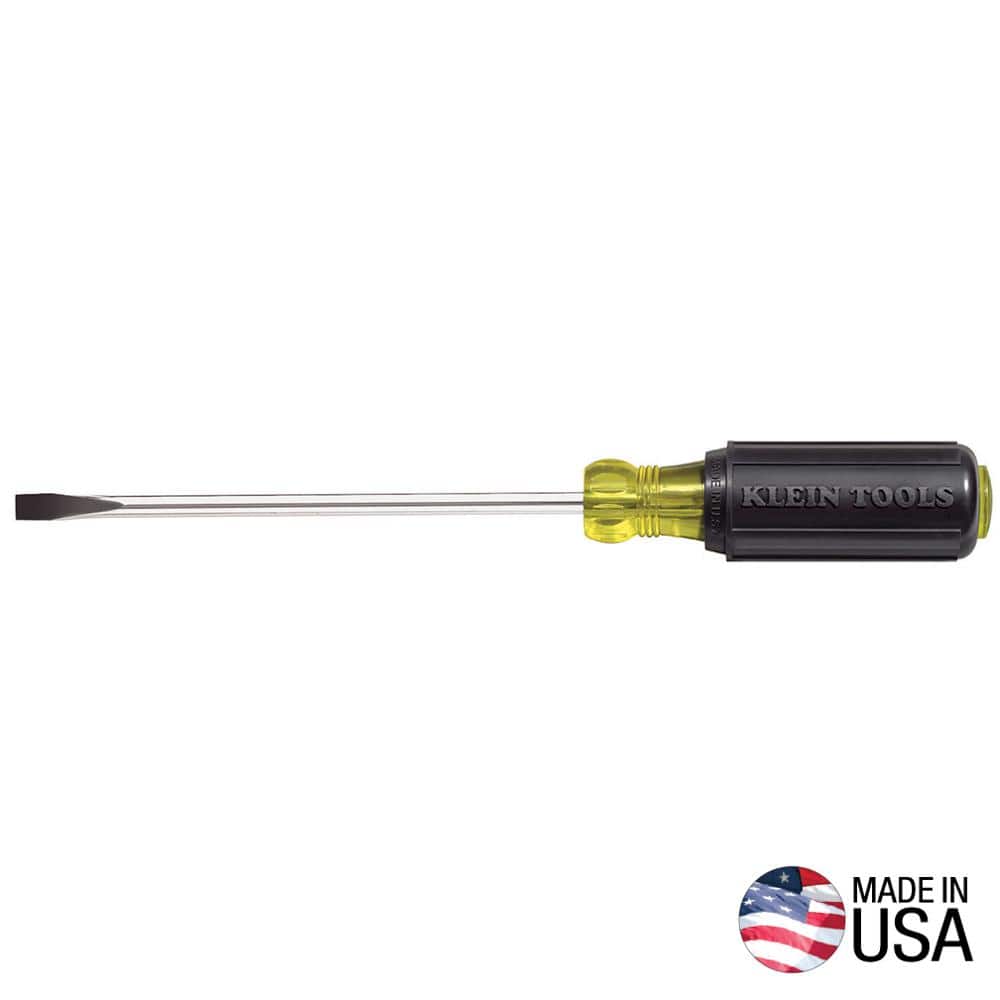
Klein Tools 1/4 in. Cabinet-Tip Flat Head Screwdriver with 10 in. Heavy-Duty Round Shank 605-10
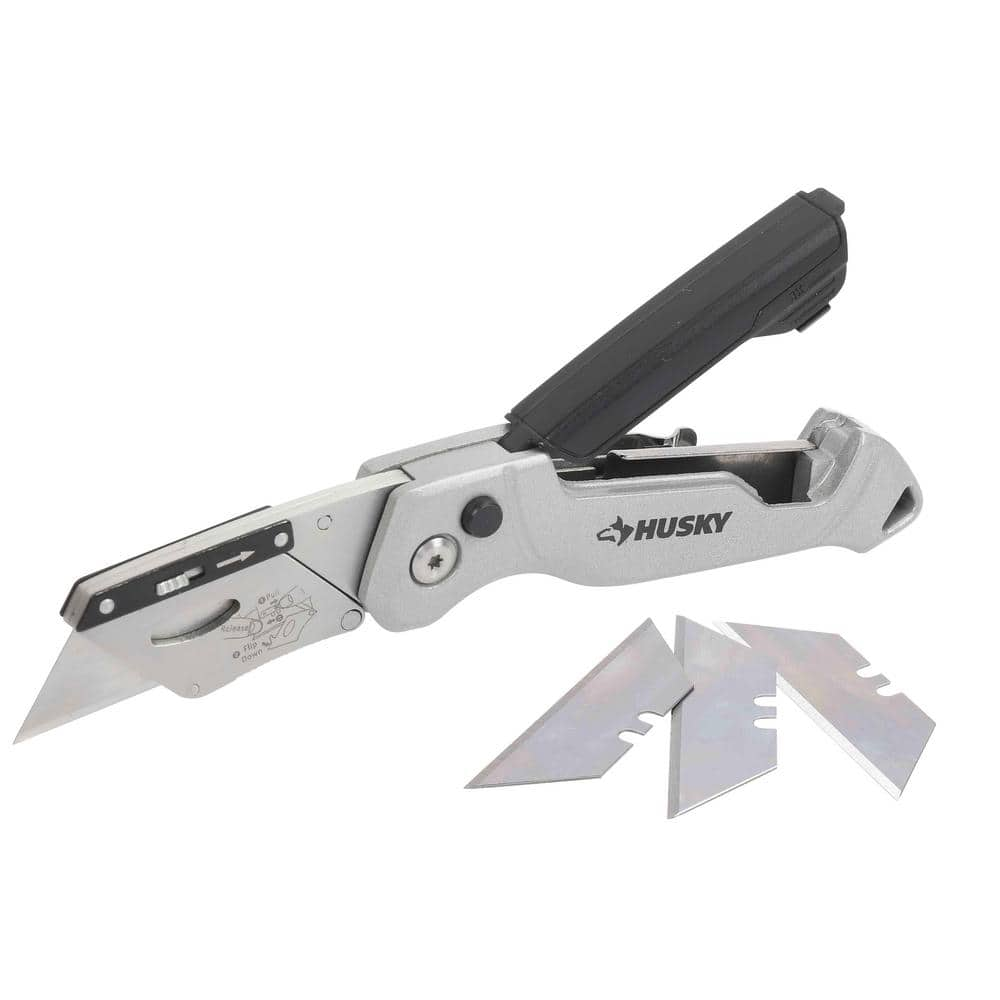
Husky Pro Utility Knife 00004

Alaterre Furniture Alburgh All-Weather 5-Piece Outdoor Bistro Set with 4 Rope Chairs with Light Gray Cushions and 30 in. H Bistro Table AWWK0115KK
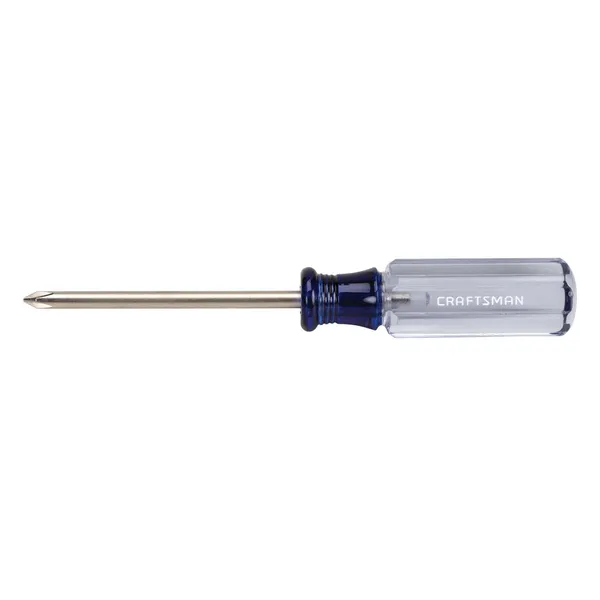
Phillips head screwdriver
Drop Cloth
Protects surfaces from unwanted spills.
BWE Double Handle 2-Spray Shower Faucet Round Wall Bar Shower Kit 2.5 GPM with High Pressure 2 Cross Handles in Brushed Gold B-98022-BG
Wall Mounted Classic Brushed Gold Exposed Shower Brass Pipe Shower Faucet Bathroom Combo Set with Vintage Double Cross Knobs Remodel your bathroom with this shower system. Featuring a refined style with
Klein Tools 1/4 in. Cabinet-Tip Flat Head Screwdriver with 10 in. Heavy-Duty Round Shank 605-10
The Klein Tools 1/4-Inch (6 mm) Cabinet Tip Screwdriver 10-Inch (254 mm) with heavy-duty round-shank has a narrow cabinet tip that permits blade access where space is limited. It meets or exceeds applicable
Husky Pro Utility Knife 00004
Offering a precise cut every time, Husky Pro Folding Utility Knife lets you easily adjust the blade to multiple angles to tackle a wide range of jobs. Aluminum die casting handle with plastic spraying
Alaterre Furniture Alburgh All-Weather 5-Piece Outdoor Bistro Set with 4 Rope Chairs with Light Gray Cushions and 30 in. H Bistro Table AWWK0115KK
Create a statement on your patio or porch with this stylish conversation set. The chairs have aluminum frames that are wrapped with textured polypropylene rope and topped with a water-resistant polyester
Phillips head screwdriver
This is a type of screwdriver that has a cross-shaped tip.
Steps

Preparation and Water Shut-Off
20 minsBegin by protecting the work area. Lay a drop cloth or old towels in the bottom of the tub or shower stall to prevent scratches from dropped tools. The most critical action is to shut off the water to the entire house using the main water shut-off valve, typically located in a basement, crawlspace, or utility closet. Once off, open the faucet you are replacing and another faucet at a lower level (like a basement sink) to completely drain the water from the system. Gather all necessary tools and the new faucet kit so they are readily available.

Remove Old Faucet Trim
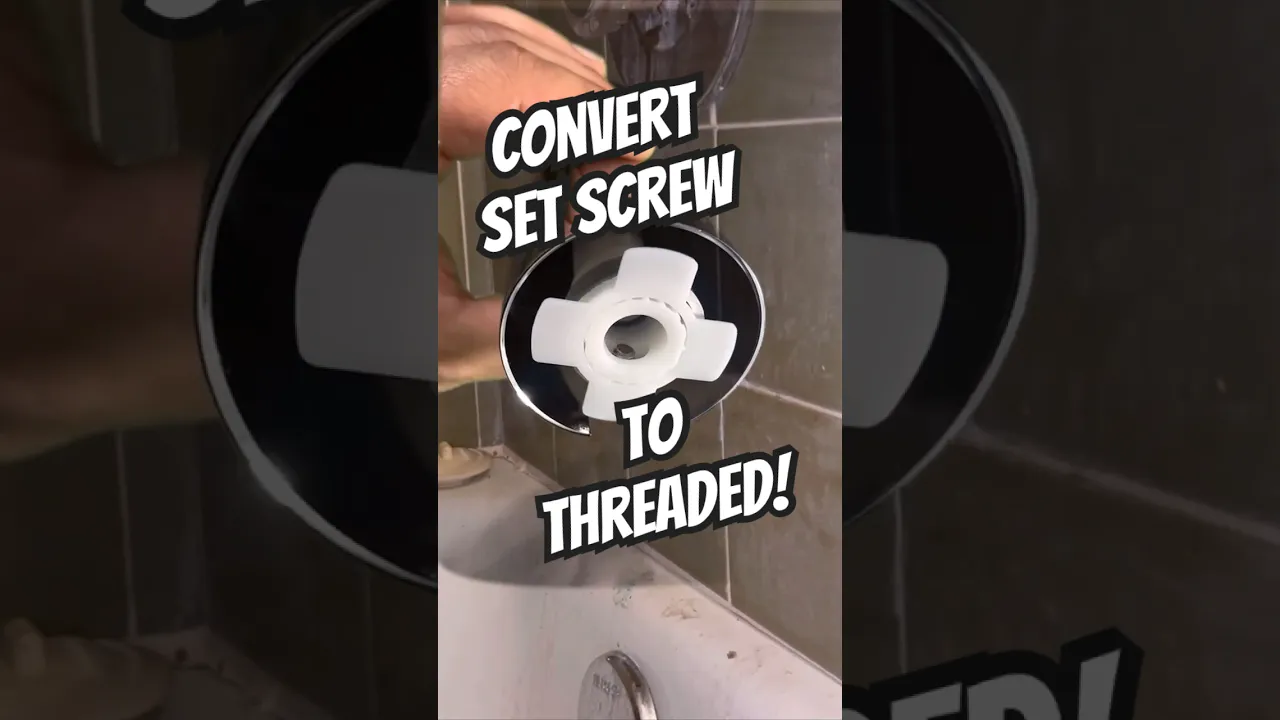
25 minsFrom inside the shower, remove the visible parts of the old faucet. Start by prying off the decorative caps on the handles with a small flathead screwdriver or utility knife. This will expose a set screw, which can be removed with an Allen wrench or Phillips screwdriver. Pull the handles straight off. Next, unscrew the escutcheons (the chrome flange plates behind the handles). They may be threaded on or held by screws. If they are stuck, you may need to carefully cut the old caulk seal with a utility knife. Finally, unscrew the tub spout. If it doesn't unscrew, it may have a set screw on the underside that needs to be loosened.
Access the Valve Body
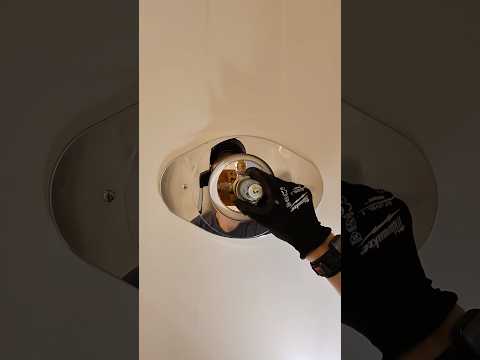
30 minsSince we've assumed there is no pre-existing access panel, one must be created. Locate the wall directly behind the shower faucet. Use a stud finder to locate the studs on either side of the plumbing. Plan to cut an opening large enough to comfortably work in, typically about 12x12 inches. Mark your cut lines on the drywall using a pencil and a level. Use a drywall saw to carefully cut along the lines. Be cautious not to cut too deep and damage any pipes or wires that may be inside the wall. Once the square is cut, remove the piece of drywall to expose the faucet valve and plumbing.

Disconnect and Remove Old Valve
45 minsWith access to the valve, you can now remove it. The valve body is likely soldered to three copper pipes: hot inlet, cold inlet, and the shower riser outlet. Use a tubing cutter to make clean cuts on all three pipes, leaving a few inches of pipe extending from the valve. Have a small bucket and rags ready to catch any residual water. Once the pipes are cut, the valve may also be screwed to a wooden support beam (a stringer) between the studs. Unscrew the valve from this support and remove it from the wall.

Install New Valve Body
90 minsPrepare the new valve for installation. Following the manufacturer's instructions, set the valve's depth relative to the finished wall (the tile). This is a critical measurement. Secure the new valve to the wood stringer, ensuring it is level. Now, prepare the pipes for soldering. Thoroughly clean the outside of the existing pipe ends and the inside of the new copper slip couplings using emery cloth and a wire fitting brush until they are shiny. Apply a thin, even layer of flux to all surfaces to be soldered. Fit the couplings onto the existing pipes and then fit short new pieces of pipe to bridge the gap to the new valve. Heat the joint with a propane torch until the flux sizzles, then touch the lead-free solder to the joint. Capillary action will draw the molten solder into the joint, creating a permanent seal. Repeat for all three connections (hot, cold, shower riser).

Test for Leaks
15 minsThis is a critical step that must not be rushed. Ensure the new valve is in the 'off' position. Go to the main water shut-off valve and turn it on SLOWLY. Listen for the sound of rushing water filling the pipes. Once the sound stops, return to the access panel. With a bright flashlight, carefully inspect every single soldered joint for any signs of moisture. Look for even the smallest bead of water or a slow drip. Check the connections for a full five to ten minutes to ensure they are completely watertight. If you find a leak, you must shut off the water, drain the system, and re-solder the faulty joint.

Install New Faucet Trim
30 minsWith the plumbing confirmed to be leak-free, you can install the new faucet trim from the shower side. Re-install the cartridges or stops into the valve body if you removed them for soldering. Slide the new escutcheons over the valve stems and secure them to the wall. Apply a bead of silicone caulk around the top and sides of the escutcheons to prevent water from getting behind them, but leave the bottom open to allow any trapped moisture to escape. Push the new handles onto the valve stems and tighten the set screws. Finally, apply plumber's putty to the base of the new tub spout or use Teflon tape on its threads, and screw it into place until it is snug and flush against the wall.
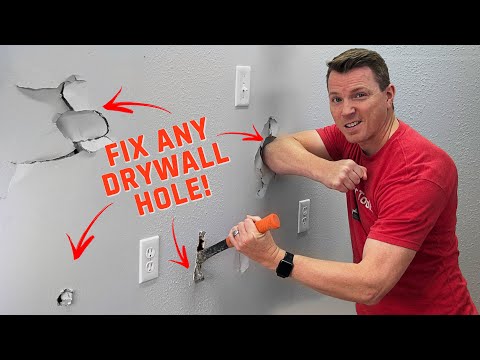
Repair Access Hole and Clean Up
60 minsThe final step is to close the access hole. The highly recommended method is to install a manufactured access panel, which can be purchased at any home improvement store. They are easy to install and provide simple access for any future plumbing work. Alternatively, you can patch the drywall by re-inserting the piece you cut out, securing it with drywall screws to new wood backing, taping the seams with joint tape, applying several coats of joint compound, sanding smooth, priming, and painting to match the existing wall. Once the wall is repaired, clean up all tools, dust, and debris from the work area.
Common Problems
Lost screws during faucet repair can halt your project and require replacement parts.
Solution: Keep all screws and small parts in a container so they don't get lost.
Small parts and screws can fall down the drain, causing them to be lost.
Solution: Place a towel or cloth over the drain to prevent screws or small parts from falling in.
Losing small screws and parts during faucet replacement can halt the project.
Solution: Keep all screws and small parts in a container to avoid losing them.
Use caution with the utility knife to avoid scratching the finish of the plate or the shower surround.
Solution: To avoid this issue: Be mindful of this warning and take appropriate precautions.
Lost screws down the drain during faucet repair.
Solution: Place a rag over the drain to catch any dropped screws.
Incorrectly connecting hot and cold water lines results in scalding or freezing water.
Solution: Ensure the hot inlet is connected to the hot supply line and the cold inlet to the cold supply. Most valves are marked 'H' and 'C'.
Do not overtighten threaded connections, as this can crack the valve body.
Solution: To avoid this issue: Be mindful of this warning and take appropriate precautions.
Frequently Asked Questions
Is this project truly 'intermediate,' and what specific skills do I need to successfully replace my two-handle shower faucet?
Yes, this project is rated intermediate primarily because it involves soldering copper pipes, which requires practice and a steady hand. You'll also need basic carpentry skills for opening and repairing the access hole, and a good understanding of how to properly shut off and drain your home's water supply. If you're new to soldering, practice on scrap copper pipe first to gain confidence before working on the live plumbing.
What are the most critical safety precautions I should take when working with a propane torch and soldering pipes inside a wall?
Always ensure proper ventilation to dissipate fumes, and keep a fire extinguisher or bucket of water nearby in case of accidental ignition. Clear the work area of all flammable materials like insulation, wood studs, and plastics before beginning to solder. Wear appropriate safety glasses and heat-resistant gloves, and never point the torch flame at anything other than the pipe connection you are working on.
How can I prevent leaks after installing the new valve, and what should I do if I discover one during the initial test?
To prevent leaks, ensure all pipe ends and fittings are clean, properly fluxed, and heated evenly for the solder to flow completely around each joint. After soldering, perform a thorough leak test by slowly turning the water back on and checking every new connection with a dry paper towel for at least 15-30 minutes. If you find a leak, turn off the water immediately, drain the line, and re-solder the faulty joint after inspecting it for imperfections.
Do I really need specific tools like a propane torch and plumbing solder, or are there alternative connection methods for a DIYer?
This project, as detailed, requires soldering for a professional and durable connection, which necessitates a propane torch, lead-free solder wire, and flux paste. While alternatives like push-to-connect (e.g., SharkBite) or press-fit fittings exist and don't require a torch, they often cost more per fitting and require different specialized tools. Soldering is a reliable and common method for copper plumbing, offering a secure, long-lasting seal.
How long should I realistically expect this project to take, especially if I'm new to plumbing or have limited soldering experience?
For someone new to plumbing and soldering, you should allocate a full day (6-8 hours) for the entire process, including preparing the access hole, removing the old valve, installing and soldering the new one, and thorough leak testing. Rushing the soldering or leak testing phases can lead to costly mistakes. Experienced DIYers might complete it in 4-6 hours, but always factor in extra time for unexpected issues.
What's the best way to access the valve body within the wall without causing excessive damage, and how do I patch it afterward?
The best approach is to cut an access hole in the drywall on the opposite side of the shower wall, if accessible and practical, to avoid damaging shower tiles. Use a utility knife to make precise, rectangular cuts slightly larger than needed for working space. For patching, cut a new piece of drywall to fit, secure it with wood blocking (like the included 2x4 stud) screwed to the existing studs, then apply joint compound, tape, sand, and paint for a seamless finish.
Beyond the new faucet, what are the primary material costs I should budget for when replacing a two-handle shower valve?
In addition to the new shower valve body and trim kit, you'll need to budget for essential plumbing materials like copper pipe (e.g., Type L), copper pressure slip couplings, lead-free solder wire, and lead-free solder flux paste. You should also account for inexpensive supplies for the wall repair, such as drywall, joint compound, tape, and paint. Expect material costs, excluding the faucet itself, to range from $50-$150 depending on your specific needs and what you already own.


