

How to Replace a Two-Handle Kitchen Faucet
About This Project
This guide provides comprehensive, step-by-step instructions for removing an old two-handle kitchen faucet and installing a new one. The process covers everything from initial preparation and shutting off the water supply, to disconnecting the old hardware, cleaning the sink surface, mounting the new faucet and sprayer, connecting all water lines, and performing a thorough leak check to ensure a successful installation.
Best for advanced DIYers and professionals with basic plumbing knowledge and familiarity with power tools. Requires HDX Clear Indoor Safety Glasses (1-Pack) VS-9300, clear and Work Gloves.
Tools & Materials

Unger 6 Gal. Heavy-Duty Plastic Bucket DB02

Towel
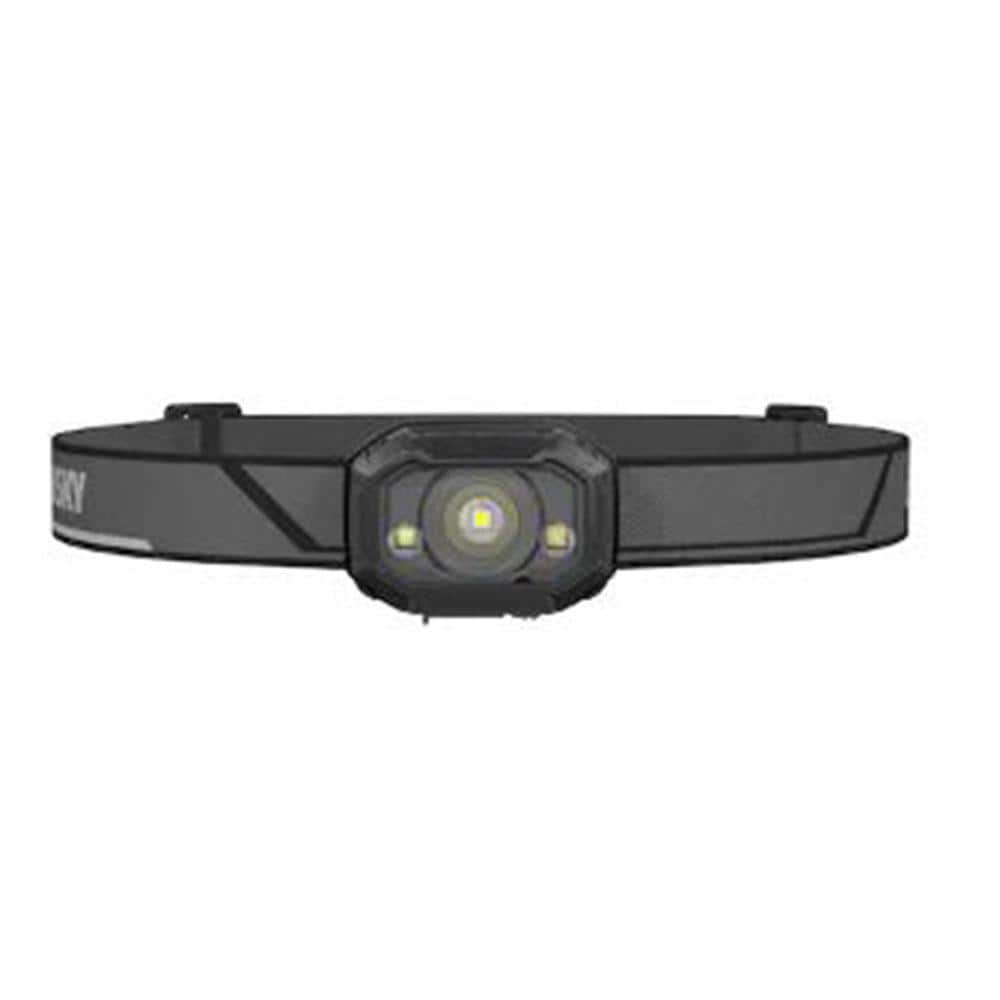
Husky 400 Lumens LED Micro Rechargeable Headlamp PVL-HLP-0004

Adjustable Wrench
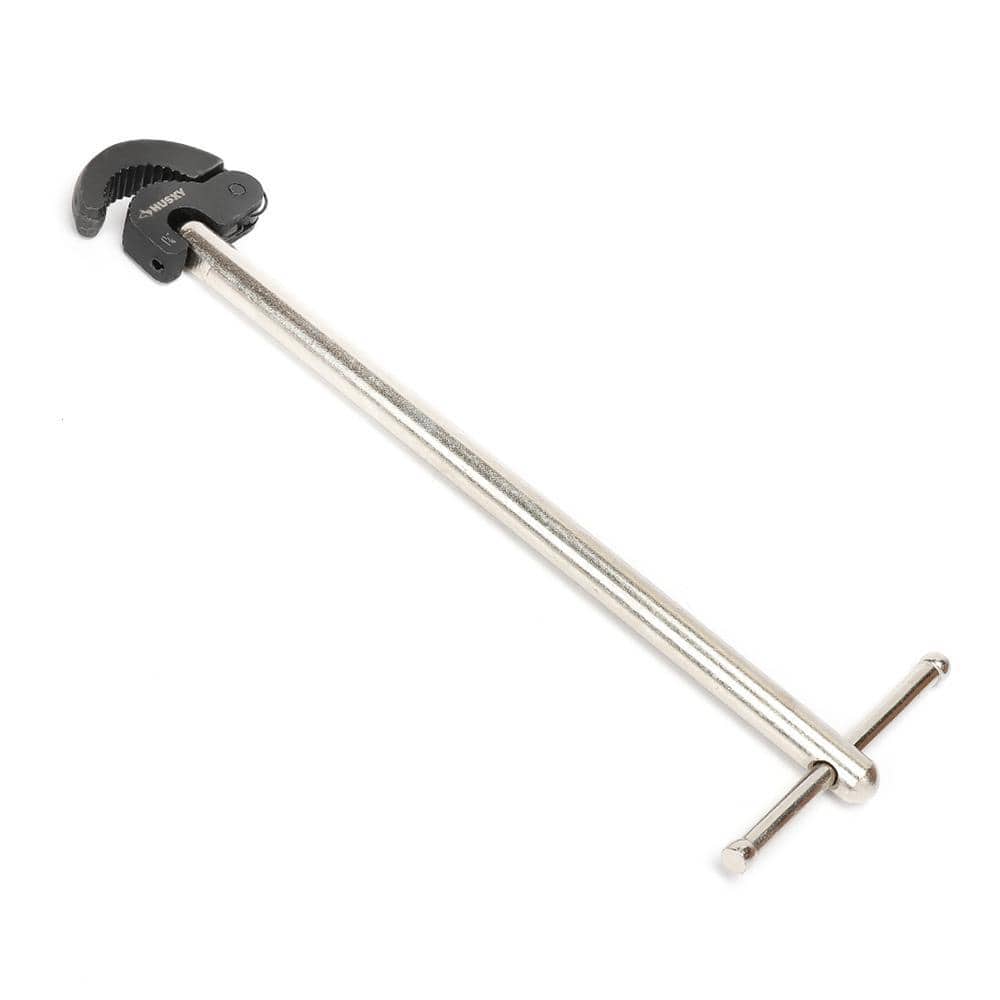
Husky Basin Wrench 16PL0127

Energizer Vision HD Pro 550 Lumen LED Headlamp ENHDEB32H
Unger 6 Gal. Heavy-Duty Plastic Bucket DB02
The Unger 6-Gallon Heavy-Duty Professional Cleaning Bucket holds more than 6 Gal. of liquid. The bucket can accommodate a scrubber up to 14 in. L. This bucket features measurement marks and 2-pour spouts
Towel
Absorbs moisture and dries surfaces.
Husky 400 Lumens LED Micro Rechargeable Headlamp PVL-HLP-0004
The Husky 400 Lumens Micro Rechargeable Headlamp packs superior brightness in a compact size. This rechargeable headlamp provides crisp, clean color illumination. The headlamp has 8-light modes, including
Adjustable Wrench
Fits various nut and bolt sizes with its adjustable jaw.
Husky Basin Wrench 16PL0127
Husky's 11 in. Basin Wrench is made from heavy-duty steel and has a reversible head for accessing faucet nuts in tight spaces. The 180 pivoting head holds its position at any angle to access hard-to-reach
Energizer Vision HD Pro 550 Lumen LED Headlamp ENHDEB32H
Energizer Vision HD Pro 550-Lumen LED Headlamp packs outstanding performance into a compact LED headlamp with innovative features. Aim bright light onto your projects or activities-indoors or outdoors-from
Steps

Prepare Workspace and Shut Off Water
15 minsBegin by completely clearing out the cabinet underneath the kitchen sink to create a clean and accessible workspace. Place a bucket directly under the faucet's plumbing connections to catch any residual water. Lay down several old towels to absorb any spills. Locate the two water shutoff valves on the wall or floor of the cabinet—one for hot water and one for cold. Turn the handles clockwise until they are fully closed. Then, go to the sink and turn both faucet handles to the 'on' position to release any remaining water and pressure in the lines. A headlamp is highly recommended to illuminate the dark, cramped workspace.

Disconnect Water and Sprayer Lines
20 minsWith the bucket in position, use an adjustable wrench or basin wrench to disconnect the two water supply lines from the threaded shanks of the old faucet. The hot line is typically on the left and the cold on the right. Turn the nuts counter-clockwise to loosen. Be prepared for a small amount of water to drain from the lines into the bucket. Next, locate the hose for the side sprayer connected to the underside of the main faucet body. This may have a threaded fitting or a clip-on connector. Unscrew or unclip it to disconnect the sprayer hose.

Remove Old Faucet Mounting Hardware
30 minsIdentify the large mounting nuts that secure the faucet handles and spout to the underside of the sink. They are often made of brass or plastic. Use a basin wrench to grip these nuts and turn them counter-clockwise to loosen and remove them. These can be very difficult to remove if they are old and corroded. If a nut is stuck, spray it with penetrating oil and let it sit for 15-20 minutes before trying again. Once the nuts and any accompanying washers are removed, the faucet is free.

Remove Old Faucet and Clean Sink Surface
20 minsFrom above the sink, carefully lift the entire old faucet assembly—handles, spout, and sprayer—out of the sink holes. Set it aside. You will likely find a ring of old, hardened plumber's putty or a deteriorated gasket. Use a plastic putty knife to scrape away the bulk of this old sealant. Then, use an all-purpose cleaner and some rags or a non-abrasive scrub pad to thoroughly clean the sink surface where the new faucet will sit. Ensure the area is completely clean and dry.

Prepare and Position the New Faucet
15 minsUnpack your new faucet kit. Following the manufacturer's instructions, prepare the faucet for installation. This usually involves placing the included plastic or rubber gasket onto the base of the faucet spout and handles. If no gasket is provided and the instructions call for it, apply a 1/4-inch thick rope of plumber's putty to the underside of the faucet base pieces. Carefully feed the faucet's flexible lines and threaded shanks down through the appropriate holes in the sink deck, ensuring the gasket is seated properly and makes even contact with the sink surface.

Secure the New Faucet
20 minsFrom underneath the sink, slide the provided friction washers (if any) and then the mounting nuts onto the faucet's threaded shanks. Hand-tighten the nuts until they are snug. Before the final tightening, have someone look at the faucet from above to ensure it is perfectly aligned and centered. Once aligned, use the basin wrench (or a special socket tool that often comes with new faucets) to tighten the mounting nuts. Tighten them firmly to secure the faucet, but do not overtighten, as this can damage the faucet or the sink.

Install Sprayer and Connect Hose
10 minsTake the new side sprayer and feed its hose down through the fourth hole in the sink deck. From underneath the sink, pull the hose down and connect it to the designated sprayer port on the main faucet body. Most modern faucets use a simple quick-connect fitting that clicks into place. Give it a gentle tug to ensure it's secure. If your faucet kit includes a counterweight, clip it onto the sprayer hose at the location indicated in the instructions. This weight helps the sprayer head retract smoothly back into its holder.
Connect New Water Supply Lines
15 minsConnect the new (or existing) flexible water supply lines to the hot and cold water inlets on the new faucet. The inlets are usually clearly marked with red for hot and blue for cold. Thread the nuts on by hand to avoid cross-threading. Once hand-tight, use an adjustable wrench to give them an additional quarter- to half-turn. Do not overtighten, as the rubber seals inside the connectors can be damaged. Now, connect the other ends of the supply lines to the corresponding hot and cold shutoff valves on the wall, tightening them in the same manner.
Turn On Water and Check for Leaks
10 minsDouble-check that all connections are tight. Place a dry paper towel under each connection point to make leaks easier to spot. Turn both shutoff valves back on by rotating them counter-clockwise slowly. Do not open them abruptly, as the sudden pressure can damage components. With the water on, use your flashlight to meticulously inspect every connection you made: where the supply lines meet the faucet, where they meet the shutoff valves, and the sprayer hose connection. Look and feel for any drips of water.

Final Test and Cleanup
10 minsWith no leaks detected under the sink, turn the new faucet handles on, one at a time. Let the water run for a minute to flush any air or debris from the lines. Test the sprayer function. While the water is running, perform one final leak check under the sink. If everything is dry, the installation is complete. Wipe up any water in the cabinet, remove your tools and bucket, and replace the items you stored under the sink.
Common Problems
A leaky faucet base due to an incomplete plumber's putty seal.
Solution: Ensure the plumber's putty forms a continuous, unbroken ring around the faucet base to guarantee a complete, watertight seal.
Uneven tightening can warp the flange or cause leaks.
Solution: Tighten the three screws in an alternating pattern to ensure even pressure on the flange.
Leaky faucet connections due to debris on the mounting surface.
Solution: A clean surface is the most important factor for preventing future leaks.
Struggling to connect water lines in tight under-sink space.
Solution: Attaching the lines before mounting the faucet is much easier than doing it in the cramped space under the sink.
Do not cross-thread the plastic nuts. Ensure they are threaded on straight before tightening to prevent leaks.
Solution: To avoid this issue: Be mindful of this warning and take appropriate precautions.
Difficulty connecting supply lines in the cramped space under the sink after faucet installation.
Solution: Attach the supply lines before mounting the faucet, as it's much easier than doing it in the tight space under the sink.
Be careful not to over-tighten the supply line connections, as this can damage the seals.
Solution: To avoid this issue: Be mindful of this warning and take appropriate precautions.
Frequently Asked Questions
What are the most crucial tools for a first-timer replacing a two-handle kitchen faucet, especially for reaching tight spaces?
A basin wrench (like the Husky 16PL0127) is indispensable for reaching and loosening mounting nuts under the sink. An adjustable wrench, a headlamp or flashlight (like the Energizer Vision HD Pro), and a putty knife are also critical for an easier, more efficient installation. Don't forget a bucket and towels for spills.
What are the most important safety steps and preparations I should take *before* I even start disconnecting my old faucet?
Always begin by shutting off both hot and cold water supply lines underneath the sink. Turn on the old faucet to drain any residual water and depressurize the lines. Place a bucket (like the Unger 6 Gal. Heavy-Duty Plastic Bucket) and towels under the work area to catch drips and spills, and consider wearing safety glasses.
As a beginner, how long should I realistically expect this two-handle kitchen faucet replacement project to take, and what's the overall difficulty level?
For a beginner, this project is rated as 'beginner' difficulty but can still take 1 to 3 hours, especially if you encounter stubborn nuts or need extra time for cleaning. Patience is key, and taking your time to ensure proper connections will prevent leaks later. The cost typically involves just the new faucet and some basic supplies like Teflon tape.
What are the most common mistakes DIYers make during faucet replacement that lead to leaks, and how can I prevent them?
A common mistake is forgetting to use Teflon tape on threaded pipe connections, or overtightening/undertightening supply lines. Always apply Teflon tape clockwise on male threads, hand-tighten connections first, then give an extra quarter to half turn with a wrench. Thoroughly check all connections for leaks after turning the water back on, and be prepared to tighten slightly if needed.
My old faucet's mounting nuts feel impossible to loosen. Are there any tricks for removing stubborn old hardware?
For stubborn nuts, apply a penetrating oil (not explicitly listed but common in DIY) and let it sit for 15-20 minutes to help loosen rust or corrosion. A basin wrench provides better leverage and grip in tight spaces. Sometimes, applying gentle, steady pressure rather than sudden force works best to avoid stripping.
Is it really necessary to thoroughly clean the sink surface after removing the old faucet, and what should I use?
Yes, cleaning is crucial. Residual grime, old caulk, or mineral deposits can prevent the new faucet's base from sealing properly, leading to leaks or instability. Use a putty knife to scrape off old caulk, then a degreasing cleaner (like Mr. Clean Clean Freak) and a non-scratch scour pad (Scotch-Brite) to thoroughly clean the area.


