
How to Replace a Toilet's Flexible Water Supply Line
About This Project
This guide provides comprehensive, step-by-step instructions for replacing a toilet's flexible water supply line. The process involves shutting off the water, removing the old, potentially leaking or damaged line, and installing a new braided stainless steel supply line to ensure a secure, leak-free connection between the shut-off valve and the toilet tank.
Best for homeowners and DIY enthusiasts with basic plumbing knowledge.
Tools & Materials

Unger 6 Gal. Heavy-Duty Plastic Bucket DB02

Adjustable Wrench

Towel

Channellock 10 in. Tongue and Groove Plier 430

NEBO Big Larry Rechargeable Flashlight/Worklight NEB-FLT-0036

FRESHFOLDS Orange 6-Piece Cotton Quick-Dry Bath Towel Set EC100706
Unger 6 Gal. Heavy-Duty Plastic Bucket DB02
The Unger 6-Gallon Heavy-Duty Professional Cleaning Bucket holds more than 6 Gal. of liquid. The bucket can accommodate a scrubber up to 14 in. L. This bucket features measurement marks and 2-pour spouts
Adjustable Wrench
Fits various nut and bolt sizes with its adjustable jaw.
Towel
Absorbs moisture and dries surfaces.
Channellock 10 in. Tongue and Groove Plier 430
The Channellock 10 in. Straight Jaw Tongue and Groove Pliers are constructed with high-carbon steel and fashioned with laser heat-treated teeth for strong, nonslip jaw action. Undercut tongue-and-groove
NEBO Big Larry Rechargeable Flashlight/Worklight NEB-FLT-0036
Introducing the Big Larry 600, the ultimate work light and flashlight that goes beyond the basics. This 3-in-1 powerhouse combines the functionality of a flashlight, work light, and task light, raising
FRESHFOLDS Orange 6-Piece Cotton Quick-Dry Bath Towel Set EC100706
This cotton towel is quick-drying, absorbent and features a soft cotton popcorn texture. These towels are low-twist and two-ply, so the fibers are thicker and more durable. The weave allows for more air
Steps

Gather Tools and Prepare Work Area
5 minsFirst, gather all the necessary tools and materials. Place an old towel or a small bucket on the floor directly below the toilet's water supply line connection to the shut-off valve and the toilet tank. This will protect your floor and catch any water that drips out during the replacement process. Ensure your work area is well-lit and clear of obstructions.

Shut Off Water and Drain Toilet Tank
5 minsLocate the water shut-off valve, typically an oval-handled valve on the wall or floor behind the toilet. Turn the handle clockwise until it stops to shut off the water supply. Do not force it. Next, flush the toilet and hold the flush handle down to drain as much water as possible from the tank. Use a sponge or towel to soak up the remaining inch or so of water from the bottom of the tank.
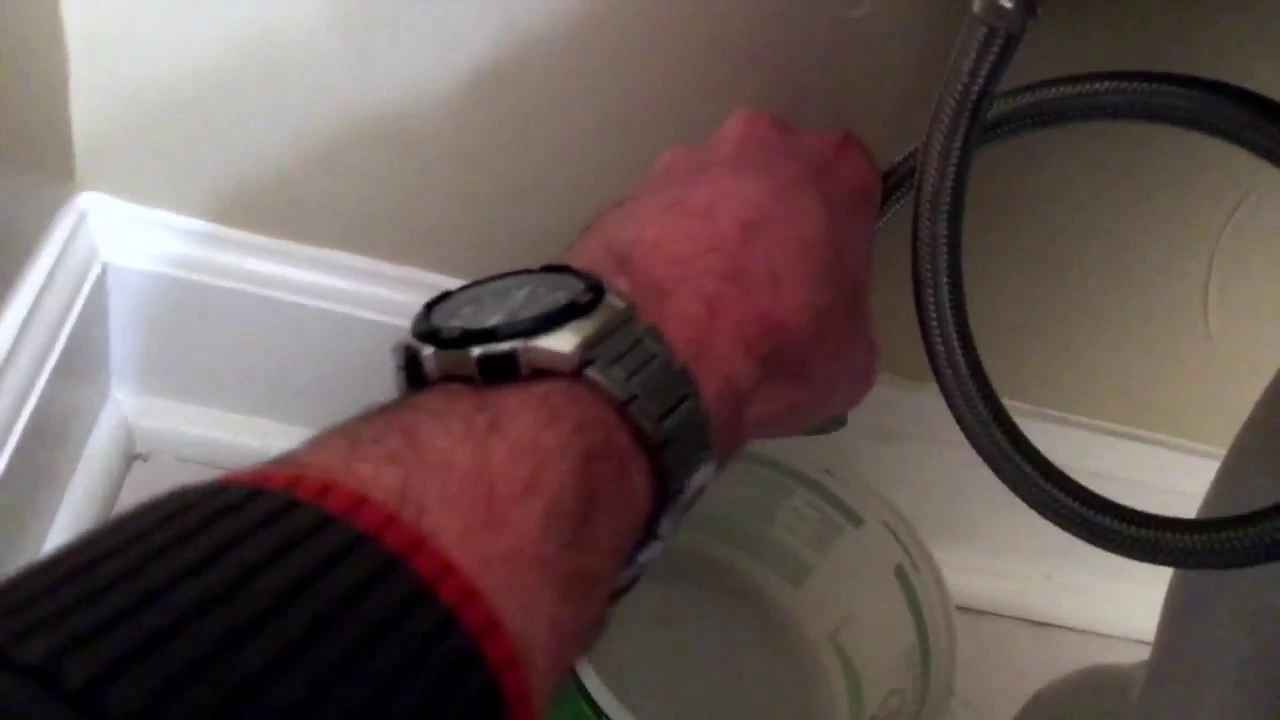
Disconnect and Remove Old Supply Line
10 minsWith your bucket and towel in place, start by unscrewing the coupling nut that connects the supply line to the plastic threads of the toilet's fill valve (the bottom of the tank). This is typically a plastic nut and can often be loosened by hand. If it's tight, use an adjustable wrench or pliers gently. Next, use the adjustable wrench to loosen and unscrew the nut connecting the supply line to the shut-off valve on the wall. Once both ends are disconnected, remove the old supply line.

Prepare and Position New Supply Line
5 minsTake your new Braided Stainless Steel Toilet Supply Line. Ensure the rubber cone washers are properly seated inside both coupling nuts. The larger nut (typically 7/8-inch ballcock) connects to the toilet fill valve, and the smaller nut (typically 3/8-inch compression) connects to the shut-off valve. Position the new line, making sure it isn't kinked or twisted, and that it reaches both connection points without being stretched.

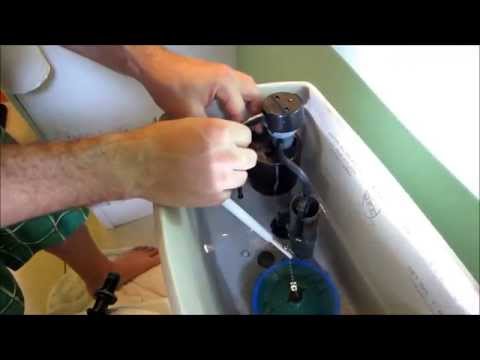
Install New Supply Line
5 minsFirst, thread the larger coupling nut onto the plastic threads of the toilet's fill valve. Tighten it by hand until it is snug. Be careful not to cross-thread it. Next, thread the smaller coupling nut onto the shut-off valve. Hand-tighten this nut as well. Once both are hand-tight, use your adjustable wrench to give each nut an additional quarter-turn to a half-turn. Do not overtighten, especially the plastic connection on the fill valve.

Restore Water and Inspect for Leaks
5 minsEnsure the connections are dry by wiping them with a paper towel. Slowly turn the shut-off valve handle counter-clockwise to turn the water back on. Listen for the tank to start filling. As it fills, carefully inspect both the upper and lower connections for any signs of dripping. Use a dry paper towel or your fingers to feel around the nuts for moisture. If you detect a leak, turn the water off and tighten the leaking nut slightly (about an eighth of a turn), then test again. Once the tank is full and the connections are dry, flush the toilet once to put the system under pressure and perform a final check for leaks.
Common Problems
Forgetting to turn off the water supply will result in a flood.
Solution: The video uses a dry demo toilet, but this step is essential for any toilet connected to a water supply.
The tank is made of porcelain and can be heavy and fragile. Handle it with care to avoid dropping or cracking it.
Solution: To avoid this issue: Be mindful of this warning and take appropriate precautions.
The porcelain tank can be heavy and is very fragile. Handle it with care to avoid dropping or cracking it.
Solution: To avoid this issue: Be mindful of this warning and take appropriate precautions.
Water spills onto the floor when disconnecting the old supply line.
Solution: A small bucket or towel placed under the connection will catch any remaining water in the line or tank.
Be gentle when loosening the nuts to avoid cracking the porcelain tank.
Solution: To avoid this issue: Be mindful of this warning and take appropriate precautions.
Be gentle when using a wrench on the plastic nut to avoid cracking the toilet tank.
Solution: To avoid this issue: Be mindful of this warning and take appropriate precautions.
Ensure a towel is placed underneath the connection to catch any drips.
Solution: To avoid this issue: Be mindful of this warning and take appropriate precautions.
Frequently Asked Questions
What specific type of new water supply line should I use, and what size do I need for my toilet?
You should use a braided stainless steel or polymer supply line for durability and burst protection; plastic ones can degrade. The most common size is 3/8 inch compression for the shut-off valve by 7/8 inch ballcock nut for the toilet tank, often 12-20 inches long depending on the distance between your valve and tank. Always measure your existing line or the distance to be sure.
What's the most critical first step to prevent a flood when starting this project?
The most critical first step is to completely shut off the water supply to the toilet. Locate the shut-off valve behind or near the base of the toilet and turn it clockwise until it stops. After shutting it off, flush the toilet to drain the tank and relieve pressure, ensuring no water will flow when you disconnect the old line.
How long does this toilet supply line replacement project typically take for a beginner, and what's its difficulty level?
This project is considered beginner-level and typically takes most DIYers only 15-30 minutes to complete. The most time-consuming part might be gathering your tools and preparing the work area. With the right tools and preparation, it's a quick and straightforward task.
What should I do if the new supply line leaks after I've installed it and turned the water back on?
If you notice a leak, immediately shut off the water supply to the toilet again. Check both connections to ensure they are hand-tightened, then use your adjustable wrench to give them an additional quarter to half-turn, being careful not to overtighten. Also, confirm the rubber washers are properly seated inside the nuts.
Can I repair a leaking flexible water supply line, or do I always need to replace it?
Flexible water supply lines are generally not designed to be repaired; if they're leaking, they should always be replaced. Attempting to patch a flexible line can lead to a more significant burst or flood later on. Replacement is the safest and most reliable solution to ensure a leak-free connection.
How tight should I fasten the connections on the new supply line to ensure it's secure but not damaged?
First, hand-tighten both ends of the supply line until they are snug. Then, use an adjustable wrench to carefully tighten each connection an additional quarter to half a turn. Over-tightening can strip threads or crush the internal washer, leading to leaks or damage to the toilet tank inlet or shut-off valve.


