

How to Replace a Shower Drain in an Existing Shower Base
About This Project
This guide provides comprehensive instructions for removing an old, potentially leaking shower drain from an existing shower base and installing a new one. The process involves accessing the plumbing from below, disconnecting the old drain, cleaning the surfaces, and installing the new drain assembly with proper sealing to prevent future leaks.
Best for experienced DIYers and homeowners with some experience with basic plumbing knowledge and familiarity with power tools. Requires HDX Indoor Safety Glasses Clear (1-Pack) VS-9300, clear and StoneBreaker X-Large Operator Work Gloves SB_AM_OPE_BR_XL and Safety Glasses.
Tools & Materials
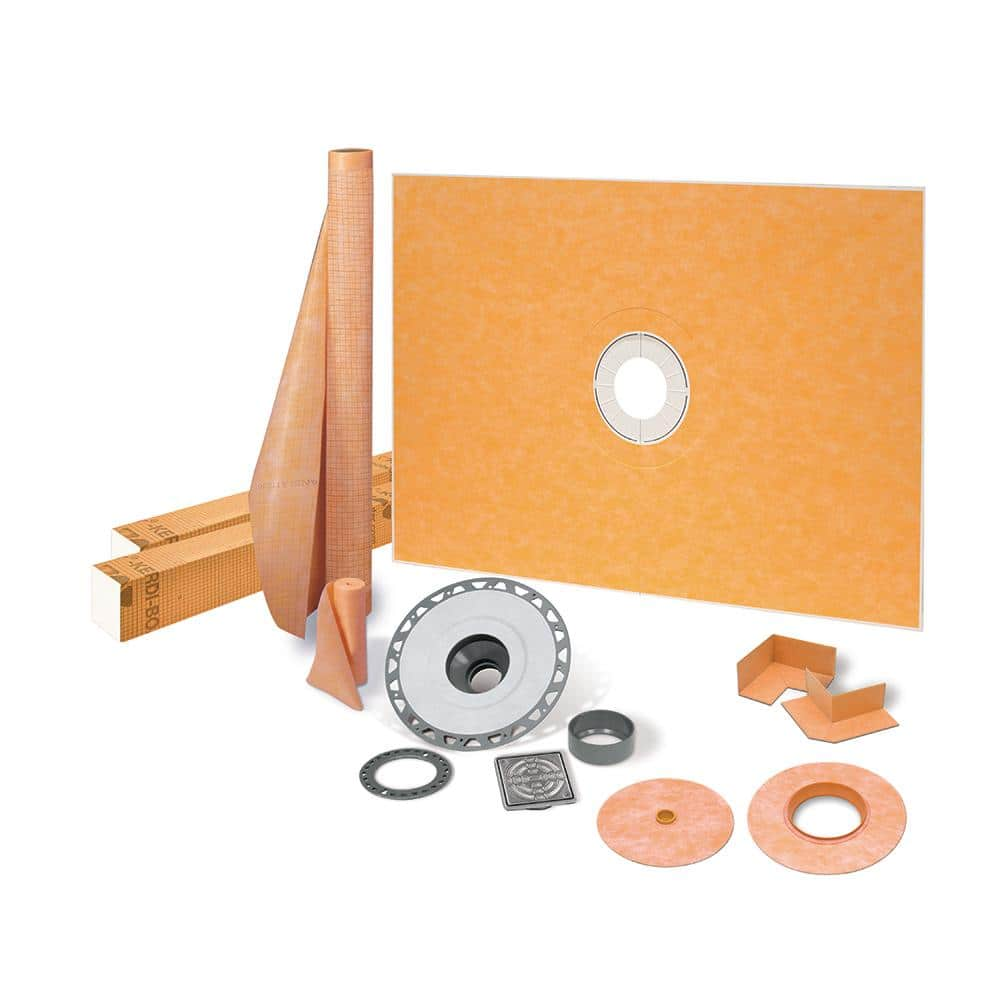
Schluter Kerdi-Shower-Kit 38 in. x 60 in. Shower Kit in PVC with Stainless Steel Drain Grate KSK9651525PVCE

Unger 6 Gal. Heavy-Duty Plastic Bucket DB02
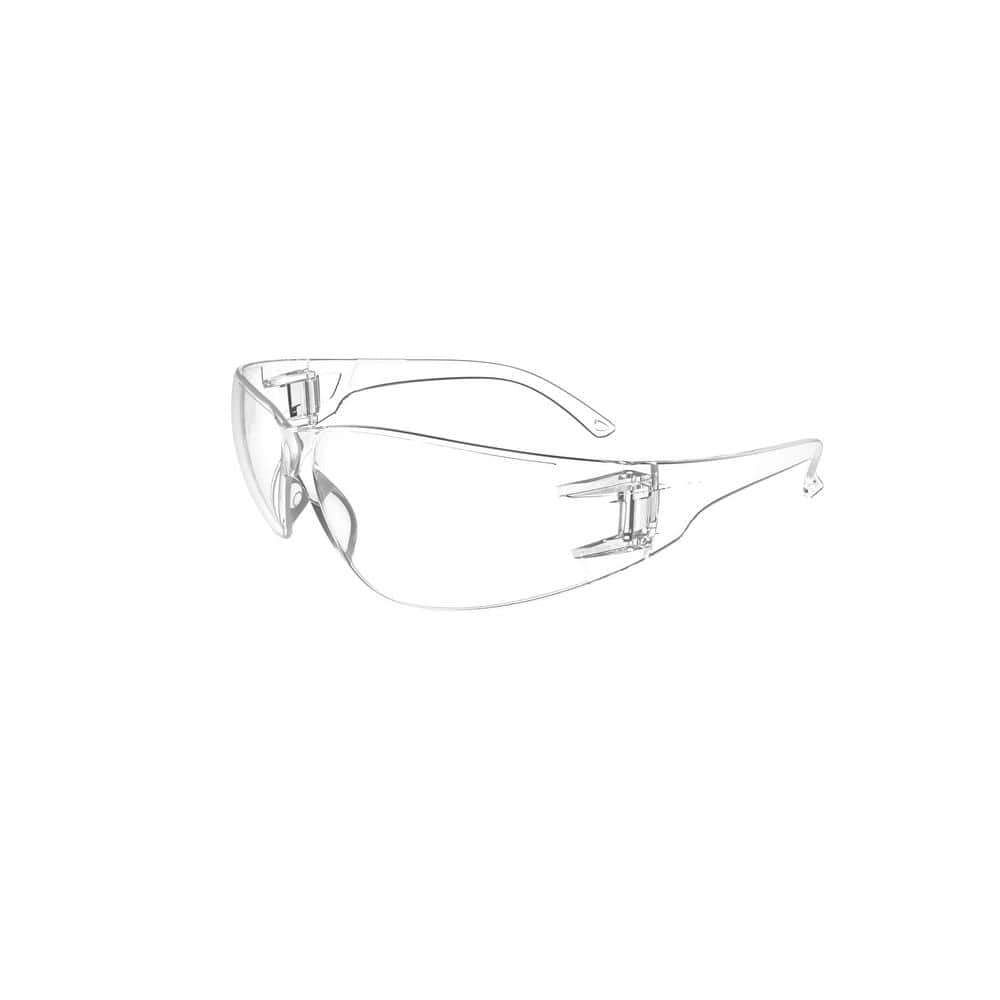
HDX Indoor Safety Glasses Clear (1-Pack) VS-9300, clear

StoneBreaker X-Large Operator Work Gloves SB_AM_OPE_BR_XL
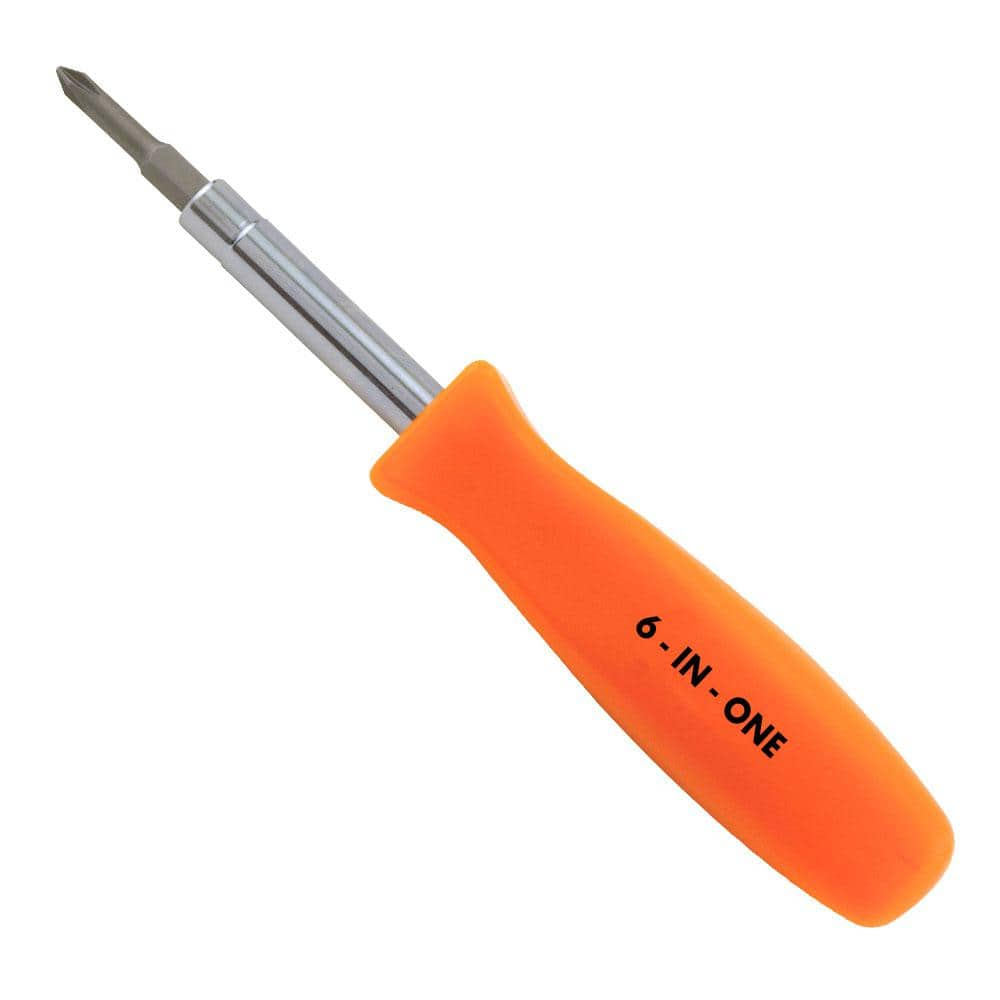
HDX 3-1/4 in. 6-in-1 Screwdriver 120SD12D
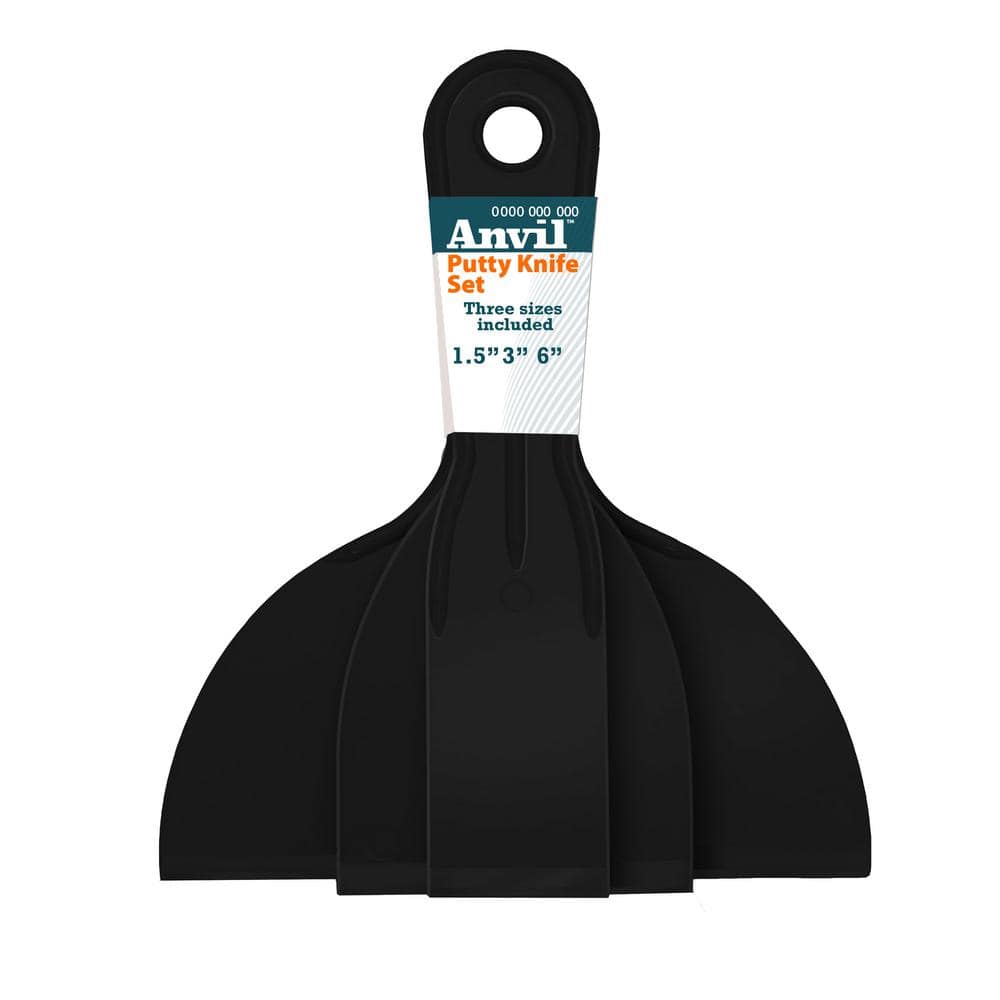
Anvil 1.5/3/6 in. Plastic Putty Knife Set, 3 Pack DS-3PKLHD
Schluter Kerdi-Shower-Kit 38 in. x 60 in. Shower Kit in PVC with Stainless Steel Drain Grate KSK9651525PVCE
The Kerdi-Shower-Kit is an all-inclusive package containing the components required to create a watertight shower assembly. The prefabricated sloped shower tray with integrated Kerdi waterproofing eliminates
Unger 6 Gal. Heavy-Duty Plastic Bucket DB02
The Unger 6-Gallon Heavy-Duty Professional Cleaning Bucket holds more than 6 Gal. of liquid. The bucket can accommodate a scrubber up to 14 in. L. This bucket features measurement marks and 2-pour spouts
HDX Indoor Safety Glasses Clear (1-Pack) VS-9300, clear
Indoor safety glasses with anti-scratch lenses absorb UV lights and protect the eyes from particles, airborne debris and most commonly encountered eye hazards. Strong wraparound, light weight PC lens offer great and comfortable eye protection for indoor projects. Meet the requirements of ANZI Z87.1.
StoneBreaker X-Large Operator Work Gloves SB_AM_OPE_BR_XL
Each StoneBreaker glove is created to fit the hand and fit the task. Combining our patented pattern with superior materials and task-specific features, we create gloves for the job that are Fit To Work.
HDX 3-1/4 in. 6-in-1 Screwdriver 120SD12D
The HDX 3-1/4 in. 6-in-1 Screwdriver features double-sided bits with the four most common screwdriver tip styles, including a #1 Phillips bit, a #2 Phillips bit, a 3/16 in. flathead bit and a 1/4 in. flathead bit. Both ends of the shaft can be used as 1/4 in. nut drivers when the bits are removed, offering convenient, versatile use. The high-visibility orange handle makes the handy tool easy to find on a job site or in a toolbox.
Anvil 1.5/3/6 in. Plastic Putty Knife Set, 3 Pack DS-3PKLHD
Putty knife set is solvent proof and disposable for your convenience. Durable polypropylene construction provides long lasting strength. Perfect for filling and patching holes and cracks, scraping and
Steps
Prepare Workspace and Gather Tools
15 minsBegin by clearing all items out of the shower stall. Gather all your tools and the new shower drain kit. Place a bucket under the P-trap beneath the shower to catch any residual water when you disconnect the drain. Put on your safety glasses and gloves to protect against debris and sharp edges.
Remove the Drain Strainer
5 minsFrom inside the shower, examine the drain cover (strainer). Most modern strainers are either snap-in or held by one or two screws. If there are screws, use the appropriate screwdriver to remove them. If it's a snap-in type, carefully use a small flathead screwdriver or a putty knife to pry it up and out of the drain body.
Disconnect P-Trap from Drain Body
10 minsMove to the area below the shower. Identify the P-trap connected to the bottom of the shower drain. Place your bucket underneath it. Using channel-lock pliers, grip the large compression nut (slip nut) that connects the P-trap pipe to the drain's tailpiece. Turn it counter-clockwise to loosen and remove it. Pull the P-trap down and away from the drain body. Some water will spill out into the bucket.
Remove Drain Body Locking Nut
15 minsWith the P-trap disconnected, you can now access the large locking nut that holds the drain body to the shower base. This nut is threaded onto the outside of the drain body from underneath. Grip this nut with channel-lock pliers and turn it counter-clockwise to unscrew it completely. Also remove the friction washer and rubber gasket that are between the nut and the underside of the shower base.
Remove the Main Drain Body from Shower
15 minsReturn to the inside of the shower. The drain body should now be loose. Try to pull it straight up and out. If it is stuck by old putty, you may need to twist it. If it won't budge or is a screw-in type, use a drain wrench (also called a dumbbell wrench). Insert the appropriately sized end of the wrench into the crossbars of the drain and use a large wrench or screwdriver for leverage to turn it counter-clockwise, unscrewing it from the lower assembly.
Clean Shower Base and Drain Pipe
20 minsOnce the old drain is removed, it is crucial to clean all surfaces thoroughly. Use a putty knife or plastic scraper to carefully remove all of the old plumber's putty or silicone from the top surface of the shower base around the drain hole. Also, clean the underside of the shower base. Use a rag with denatured alcohol or mineral spirits to wipe the surfaces clean, ensuring a perfect seating for the new drain. Also, wipe the inside and end of the P-trap pipe.
Apply Sealant to New Drain Flange
5 minsTake the new drain flange (the top piece with the strainer threads). If using plumber's putty, warm it in your hands and roll it into a snake about 3/8-inch thick. Apply this rope of putty to the underside of the drain flange. If your shower base is acrylic or the drain instructions recommend it, apply a continuous bead of 100% silicone caulk instead of putty.
Install New Drain Body
5 minsFrom inside the shower, carefully lower the new drain body, with the sealant applied, into the clean drain opening. Press down firmly and evenly to seat the drain. A consistent amount of putty or silicone should squeeze out around the entire perimeter of the flange. Have a helper hold the drain in place from above for the next step, or use a weight like a small bucket of water.
Install Gasket and Locking Nut
15 minsMove back to the area below the shower. Slide the new rubber gasket up the threads of the drain body until it sits flush against the underside of the shower base. Follow this with the friction washer (a cardboard or plastic washer that helps the nut turn without grabbing the rubber gasket). Finally, thread on the large locking nut. Hand-tighten the nut as much as you can, then use channel-lock pliers to give it another quarter to half turn until it is snug. Do not overtighten.
Reconnect P-Trap to New Drain
10 minsAlign the P-trap with the bottom tailpiece of the new shower drain. Make sure the slip nut and the tapered plastic compression washer are on the P-trap pipe (tapered end facing the drain). Push the P-trap up to meet the drain and hand-tighten the slip nut. Use channel-lock pliers to give it a final quarter-turn to ensure it's snug and the connection is watertight.
Final Cleanup and Strainer Installation
10 minsReturn to the inside of the shower. Use a putty knife or your finger to remove the excess plumber's putty that squeezed out around the drain flange. If you used silicone, smooth the bead with a wet finger or caulking tool, and then clean up the excess with a rag and mineral spirits before it cures. Finally, screw in or snap on the new drain strainer.
Test for Leaks
30 minsThis is the most important step. Wait for any silicone to cure per the manufacturer's instructions (typically 12-24 hours). If you used putty, you can test immediately. Use a drain plug to stop the new drain. Fill the shower base with 2-3 inches of water. Let it stand for at least 15-20 minutes. Go below the shower with a flashlight and meticulously inspect the locking nut and the P-trap connection for any sign of drips. After the standing test, remove the plug and let all the water rush out, again checking for leaks while the water is flowing.
Common Problems
Water leaks under the shower base.
Solution: For a real installation, apply a bead of silicone caulk under the lip of this flange before screwing it down.
Drain won't tighten properly without the right tool.
Solution: Some drain assemblies come with a specific tool for tightening, but pliers can work if used carefully.
Be careful not to over-tighten the plastic nuts, as this could cause them to crack.
Solution: To avoid this issue: Be mindful of this warning and take appropriate precautions.
Leaky shower drain due to insufficient tightening.
Solution: Hand-tightening may be sufficient for very low-pressure applications, but using pliers is recommended to ensure a leak-proof repair.
Unsanitary water and debris can make removing a shower drain messy and hazardous.
Solution: Wear protective gloves, as the trapped water and debris can be unsanitary.
If the plastic slip nuts are too tight to loosen by hand, you can use channel-lock pliers, but apply gentle pressure to avoid cracking them.
Solution: To avoid this issue: Be mindful of this warning and take appropriate precautions.
Leaking showerhead persists after tightening, suggesting a seal issue.
Solution: If a leak is present, turn off the water and tighten the showerhead slightly. If it persists, you may need to re-apply the Teflon tape.
Frequently Asked Questions
How difficult is replacing a shower drain for a beginner, and how long does it typically take?
This project is rated as 'beginner' difficulty, but requires careful attention to detail for proper sealing. For someone new to plumbing, it can typically take 2-4 hours, allowing time for preparation, removal, installation, and thorough testing for leaks. Patience and following instructions carefully are key to success.
Are there any specific tools that are essential for successfully replacing a shower drain, especially for drain removal?
Yes, some specialized tools are highly recommended. A Husky Double Ended Tub Drain Wrench is crucial for safely removing and installing the drain body without damage. Channellock Tongue and Groove Pliers (e.g., 10 in. or 16-1/2 in.) are also indispensable for gripping and turning plumbing connections. Don't forget a putty knife for old sealant and a good flashlight like the NITECORE P20iX for visibility.
What are the most important safety precautions I should take when replacing a shower drain, especially when working in confined spaces or with sealants?
Always wear HDX Over the Glass Indoor Safety Glasses and Garden Chem Reusable Nitrile Gloves to protect your eyes and hands from debris and chemicals. Ensure the work area is well-ventilated, especially if using Klean-Strip Odorless Mineral Spirits for cleaning or applying strong sealants. Use a reliable flashlight like the NITECORE P20iX to clearly see your work in dark, confined spaces under the shower.
What are the most common mistakes that lead to leaks after installing a new shower drain, and how can I prevent them?
The most common mistakes include not thoroughly cleaning the shower base opening and drain pipe before installing the new drain, inadequate application of sealant (like silicone) around the drain flange, and not tightening the locking nut sufficiently. To prevent leaks, ensure all surfaces are dry and clean, apply a continuous bead of sealant, and tighten the locking nut firmly but without over-tightening which can crack the base. Always perform a thorough leak test.
Should I use plumber's putty or silicone sealant for the drain flange, and does the type of drain assembly matter?
For the drain flange, silicone sealant generally provides a more durable and water-tight seal than plumber's putty, which can dry out and crack over time. The type of drain assembly (e.g., PVC or brass) absolutely matters, as you need to ensure compatibility with your existing plumbing and proper sealing for the material. Always use the recommended sealant for your specific drain and base materials.
What if I can't easily access the P-trap and the underside of the shower drain from below?
If you lack direct access to the plumbing beneath your shower (e.g., from a basement or an existing access panel), this project becomes significantly more challenging. You might need to create an access panel in a ceiling or wall below the shower, which adds complexity and may require professional help. Confirm access before starting the project.
How do I know if I need to replace the entire shower drain assembly versus just repairing a minor leak?
You should replace the entire drain assembly if the drain body itself is cracked, heavily corroded, or if leaks persist even after tightening connections and attempting to replace gaskets or sealant. If the leak is clearly from a loose connection or a worn rubber washer that can be easily accessed and replaced, a repair might suffice. However, for persistent issues or visible drain damage, full replacement is the most reliable solution.


