
How to Replace a Section of Galvanized Pipe with PEX
About This Project
This guide provides comprehensive, step-by-step instructions for replacing an old, corroded, or leaking section of galvanized steel water pipe with modern, flexible PEX (cross-linked polyethylene) tubing. The process involves shutting off the water supply, cutting out the problematic galvanized section, preparing the remaining pipe ends, and connecting the new PEX pipe using appropriate transition fittings.
Best for advanced DIYers and professionals with basic plumbing knowledge and familiarity with power tools. Requires HDX Over the Glass Indoor Safety Glasses VS-265 and Work Gloves and MCR Safety BearKat Safety Glasses MCSCRWBK110.
Tools & Materials

Unger 6 Gal. Heavy-Duty Plastic Bucket DB02
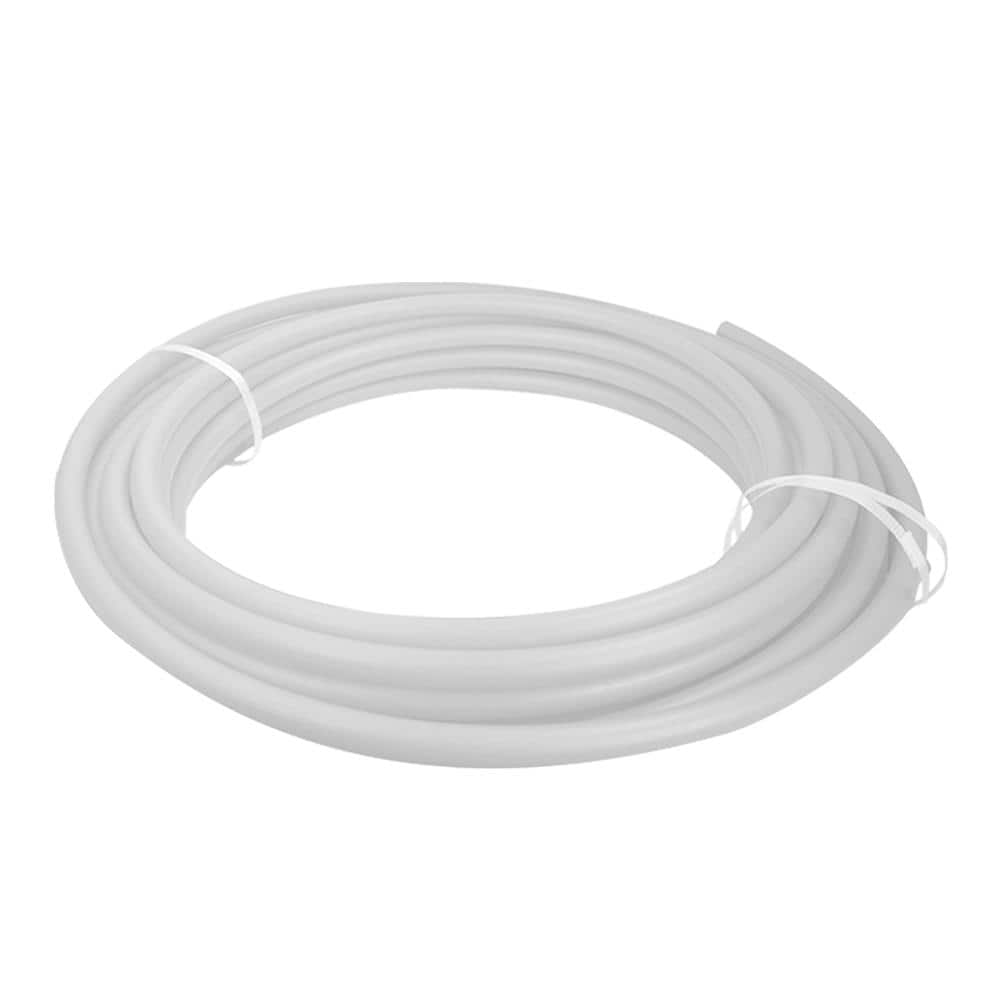
The Plumber's Choice Oxygen Barrier 3/4 in. x 100 ft. White Pex-A Tubing for Hydronic Radiant Floor Heating, Flexible W34100-A-PFR
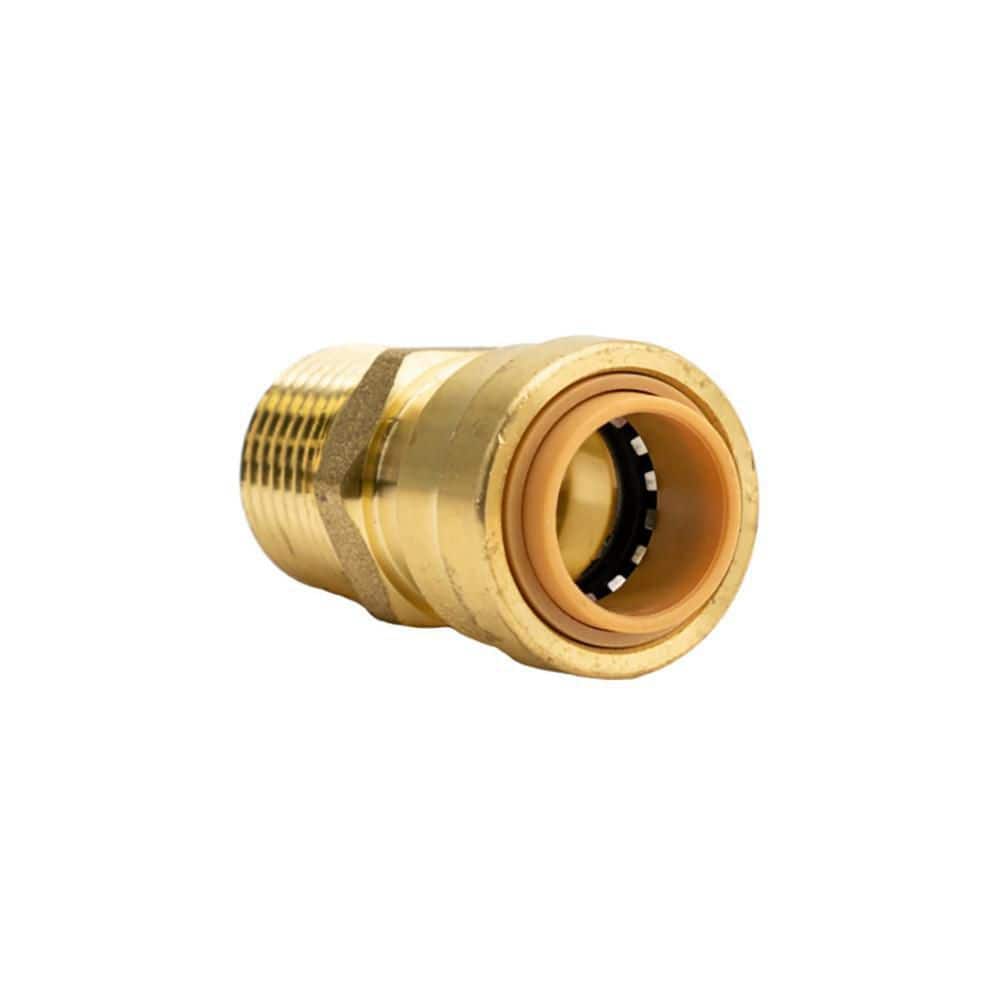
QUICKFITTING 1/2 in. Push-to-Connect x MIP Brass Adapter Fitting LF812MR
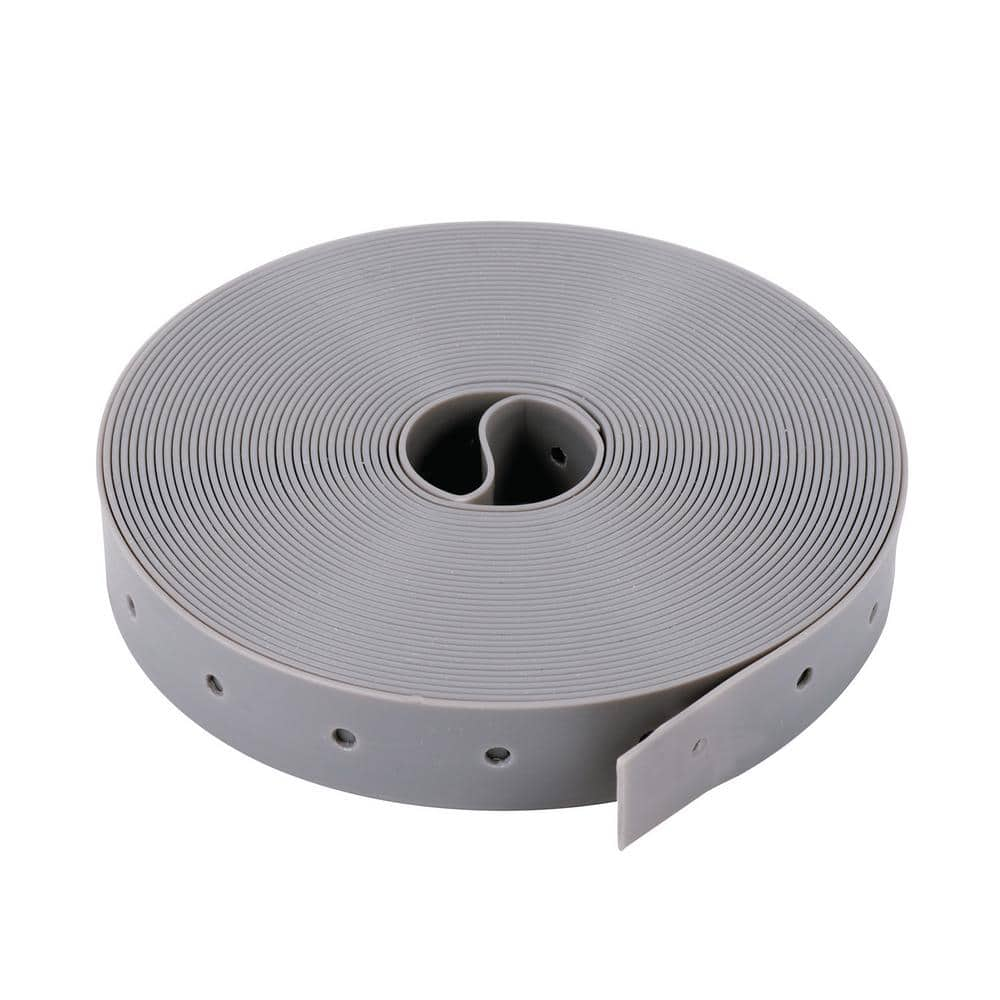
Oatey 3/4 in. x 100 ft. Plastic Pipe Hanger Strap 33528
Rag
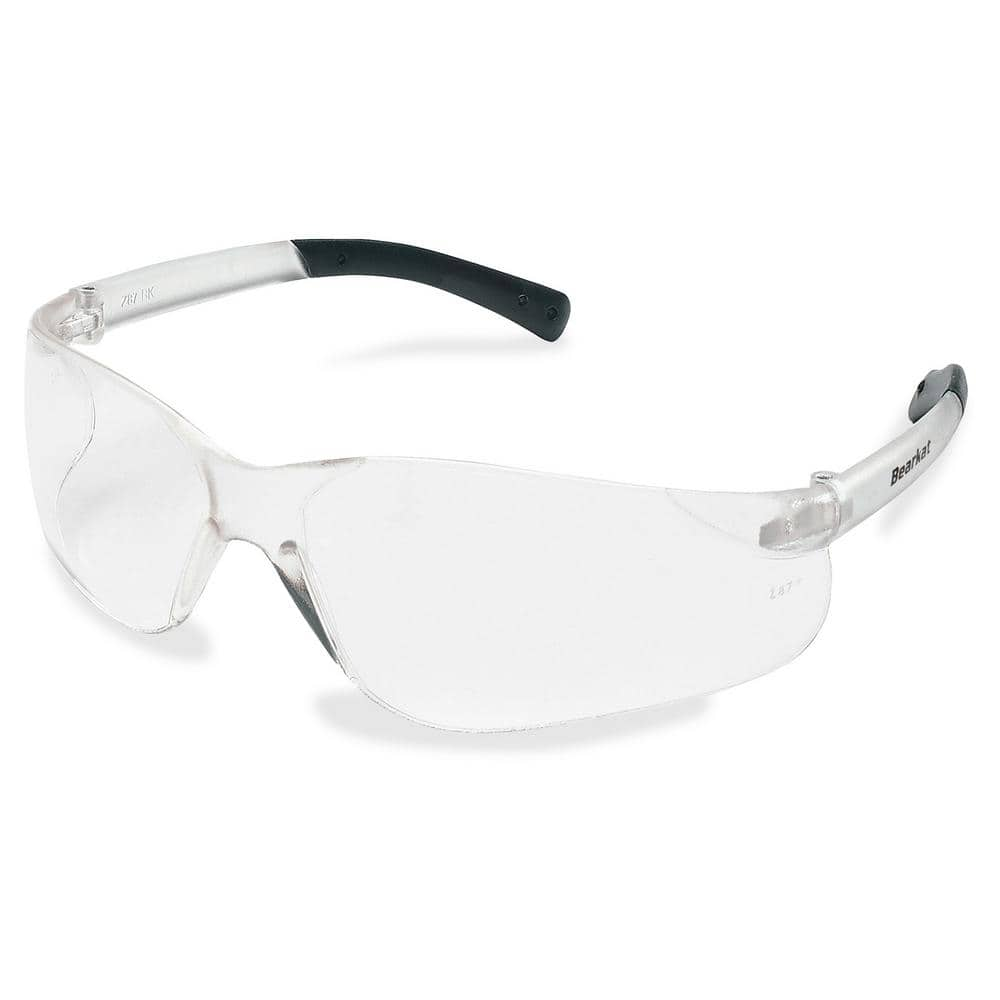
MCR Safety BearKat Safety Glasses MCSCRWBK110
Unger 6 Gal. Heavy-Duty Plastic Bucket DB02
The Unger 6-Gallon Heavy-Duty Professional Cleaning Bucket holds more than 6 Gal. of liquid. The bucket can accommodate a scrubber up to 14 in. L. This bucket features measurement marks and 2-pour spouts
The Plumber's Choice Oxygen Barrier 3/4 in. x 100 ft. White Pex-A Tubing for Hydronic Radiant Floor Heating, Flexible W34100-A-PFR
Expansion PEX pipe provides superior durability, corrosion resistance and flexibility for the most demanding environments. It is available in red, white and blue for easy and simple identification of hot, cold and main water lines. It is manufactured by crosslinking during the manufacturing proccess. It is compatible with both expansion and crimp, clamp or sleeve methods of joining. Meets or exceeds all neccesary and applicable standards: ASTM F876, F877, F1807, F1960, F2080 and F2174.
QUICKFITTING 1/2 in. Push-to-Connect x MIP Brass Adapter Fitting LF812MR
QUICKFITTING's patented technologies offer a full range of high-quality plumbing fittings and valves that are quick and easy to install. Our push-on fittings are reusable, durable, permanent plumbing connections, and get the job done 90% faster than traditional methods, including soldering. Our quick connection technology provides a simpler, safer, and a more cost-effective solution for connecting Copper, PEX and CPVC piping in plumbing and heating applications. No open flames or sealants needed, just quickly clean and debur the end of the pipe, then push to connect the fitting. We raise the industry bar for push connect technology by continuing to develop and test our products to provide superior performance. Removal of our push fittings is effortless with our disconnect tool. QuickFitting is a US-based company with a portfolio of over 100 patents and counting, and our products are backed by a 75-year warranty.
Oatey 3/4 in. x 100 ft. Plastic Pipe Hanger Strap 33528
Oatey Plastic Hanger Straps are available in a variety of lengths and offer a quick and inexpensive way to hang PVC, ABS, galvanized, black iron or cast iron piping from joists or rafters. Made of durable
Rag
Handy for cleaning or wiping tasks.
MCR Safety BearKat Safety Glasses MCSCRWBK110
Safety glasses feature a well thought-out construction that combines the best in safety, comfort and affordability. Your vision is unobstructed by the 1-piece wraparound lens which, by its tight fit, provides for maximum safety. Flexible temples enhance your comfort during extended use. Nonslip rubber head grips are notched for a clip-on breakaway cord.
Steps

Plan and Gather Materials
30 minsThe first and most critical step is to prepare your work area and ensure the water is completely off. Locate the main water shutoff valve for your home, which is typically found where the water service pipe enters the house, often in a basement, crawlspace, or utility closet. Turn the valve clockwise until it is fully closed. Next, relieve the pressure and drain the water from the system by opening the faucets at the highest point (e.g., an upstairs bathroom sink) and the lowest point (e.g., a basement slop sink or outdoor hose bibb) in your home. Allow the water to drain completely. Place a bucket directly under the section of galvanized pipe you will be replacing to catch any residual water that will spill out during the cutting process. Finally, gather and lay out all your tools and materials so they are within easy reach.

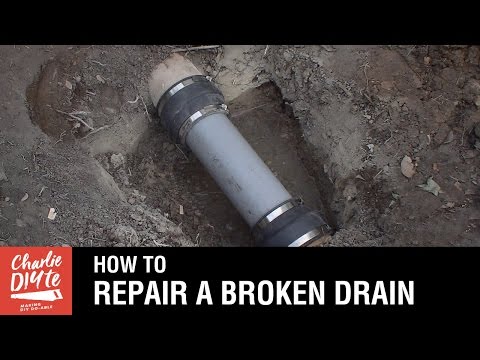
Cut and Remove Old Pipe
30 minsIdentify the exact section of galvanized pipe you wish to remove. Measure and clearly mark your cut lines with a permanent marker. The most effective way to cut old galvanized pipe is with a reciprocating saw equipped with a blade designed for cutting metal. Hold the saw firmly with two hands and make a clean, straight cut through the pipe at your marks. Be prepared for the pipe to vibrate and for some water to spill into your bucket. An alternative for tighter spaces is a close-quarters tubing cutter designed for steel pipe. If you have access to a threaded joint and prefer to unscrew it, you must use two large pipe wrenches. Place one wrench on the fitting or pipe you want to remain in place to act as a back-up, preventing it from turning. Place the second wrench on the pipe section you are removing and apply steady, strong force to unscrew it (counter-clockwise). This can be very difficult due to age and corrosion.
Prepare Pipe Ends
15 minsThis step is crucial for ensuring a watertight seal. Inspect the cut ends of the remaining galvanized pipe. They will likely have sharp edges or burrs from the cutting process. Use a metal file or a dedicated pipe deburring tool to smooth the inside and outside edges of the pipe ends. Any sharp edge can damage the O-ring inside a push-to-connect fitting, leading to a failure. Once the edges are smooth, take a piece of emery cloth or medium-grit sandpaper and thoroughly clean the outer surface of the pipe, extending about 1-2 inches from the end. You need to remove all rust, paint, scale, and grime to create a smooth, clean surface for the fitting to seal against.

Install Transition Fittings
15 minsWith the galvanized pipe ends prepared, you can now install the transition fittings. Since we are using push-to-connect fittings, take the fitting and the small plastic depth gauge that came with it. Hold the gauge against the end of the cleaned pipe and use a marker to make a line on the pipe at the edge of the gauge. This mark shows how far the pipe must be inserted into the fitting for a secure connection. Now, take the push-to-connect coupling and push it firmly and squarely onto the end of the galvanized pipe. You may need to twist it slightly as you push. Continue pushing until the fitting reaches the depth mark you made. You should feel a distinct 'click' as the internal grab ring seats properly. Repeat this process on the other end of the galvanized pipe.

Measure and Cut PEX
10 minsNow measure the distance required for the new PEX section. Use a flexible tape measure to find the distance between the faces of the two transition fittings you just installed. It's important to account for the depth the PEX will insert into each fitting. A good practice is to measure the full distance between the fittings and then add the insertion depth for each end (typically about 1 inch per fitting, but check the fitting specifications). This ensures the PEX will be fully seated. Once you have your final measurement, use a dedicated PEX cutter to make the cut. Place the cutter on your mark and squeeze the handles firmly to get a clean, square cut. Do not use a hacksaw or utility knife, as this will create a rough, angled cut that will not seal correctly in the fitting.

Connect PEX Section
10 minsWith the PEX pipe cut to length, the final connection is simple. As you did with the galvanized pipe, you can optionally use the depth gauge to mark the insertion depth on both ends of the PEX tube. Take the cut PEX section and insert one end into one of the open transition fittings. Push it straight in with firm pressure until it seats fully against the internal pipe stop and you feel the 'click'. The end of the PEX should meet the depth mark you made. Now, flex the PEX pipe slightly and align the other end with the second fitting. Push it in firmly until it also clicks and is fully seated. Give a gentle pull on both ends of the PEX pipe to confirm that the grab rings have engaged and the connections are secure.
Test for Leaks
15 minsThe final step is to check your work for leaks. Ensure all faucets that you opened earlier are now fully closed. Go back to the main water shutoff valve and turn it on *very slowly*. Turning it on too fast can cause a 'water hammer' effect that can damage pipes and fittings. As you slowly open the valve, listen for the sound of pipes filling and for any abrupt hissing or spraying noises. Once the valve is fully open, return to your work area. Carefully and thoroughly inspect the new fittings on both the galvanized and PEX sides. Look for any signs of dripping or moisture. For a definitive check, wipe each connection point with a dry paper towel and then observe the paper towel for any damp spots. If all connections are dry after several minutes, open a nearby faucet to test flow and flush out any air or debris in the line. Your replacement is complete.
Common Problems
Ensure the pipe is pushed in straight to avoid damaging the internal O-ring seal.
Solution: To avoid this issue: Be mindful of this warning and take appropriate precautions.
The plastic stiffener must remain inside the fitting when connecting to PEX or CPVC pipe. Do not remove it.
Solution: To avoid this issue: Be mindful of this warning and take appropriate precautions.
Pipes may not be fully inserted, leading to leaks.
Solution: Using the depth gauge tool to mark the pipe before insertion is the best way to ensure it's fully seated.
Fittings won't seat properly, leading to leaks.
Solution: A slight twisting motion while pushing can sometimes help the fitting slide on more easily.
Difficulty inserting PEX into fittings without lubricant.
Solution: Applying a small amount of lubricant to the pipe end can ease insertion.
Forgetting pipe connections can lead to improper reassembly and leaks.
Solution: Taking a photo of the plumbing setup before you start is a great way to remember how everything connects.
Ensure the water is completely shut off before cutting any pipes to avoid water damage.
Solution: To avoid this issue: Be mindful of this warning and take appropriate precautions.
Frequently Asked Questions
How difficult is this project for a DIY beginner, and how long should I expect it to take?
This project is rated for beginners, but it requires careful attention to detail and precision. For replacing a small section, a DIY beginner should realistically budget 2-4 hours, accounting for material gathering, preparation, and thorough leak testing. Factors like pipe accessibility and unexpected issues can extend this timeframe.
What are the most critical safety precautions I need to take when cutting old galvanized pipe and working with water?
Always shut off the main water supply and drain the lines completely before attempting any cuts. Wear appropriate personal protective equipment (PPE), including safety glasses, work gloves, and hearing protection, especially when using a reciprocating saw. Be prepared for residual water and rust flakes to emerge from the old galvanized pipe, and have a bucket and rags ready.
Do I need all the specialized tools listed, or can I use more common alternatives for this PEX replacement?
While specific tools like a PEX pipe cutter and depth gauge are highly recommended for clean, accurate, and reliable PEX connections, some alternatives can be used. A reciprocating saw with a metal-cutting blade is ideal for galvanized pipe, but a pipe cutter can work if space allows. Avoid using a hacksaw for PEX as it can create burrs, hindering a proper seal. Investing in the correct tools minimizes common mistakes.
What are common mistakes DIYers make when connecting PEX to galvanized pipe, and how can I ensure a leak-free joint?
A common mistake is not properly preparing the galvanized pipe end (e.g., failing to clean threads thoroughly, not applying enough pipe dope/Teflon tape) or not fully seating the PEX into push-to-connect fittings. Ensure the existing galvanized pipe end is clean, dry, and free of burrs. For push-to-connect fittings, use a depth gauge to mark the PEX, and push it firmly until it bottoms out inside the fitting, then give it a slight pull to confirm engagement. Test all new connections meticulously before finishing.
What should I be aware of when cutting into old, potentially corroded galvanized pipes?
Old galvanized pipes can be extremely corroded internally, often reducing the effective pipe diameter and making them brittle. Expect significant rust flakes and dirty, potentially smelly water to be released when the pipe is cut. Position a heavy-duty bucket directly under your cut area to catch debris and water. The pipe's condition might also affect how easily fittings screw on, potentially requiring extra thread cleaning or pipe reaming.
Why choose PEX over other materials like copper for this repair, and are there situations where PEX might not be suitable?
PEX is chosen for its flexibility, ease of installation (no soldering needed), corrosion resistance, and lower cost compared to copper, making it ideal for DIY repairs. It's also less prone to bursting from freezing. However, PEX can be susceptible to UV degradation if exposed to direct sunlight for extended periods, and it's not typically used for outdoor or main service lines unless specifically rated for those applications. Copper or CPVC might be preferred in certain commercial or high-pressure situations.


