
How to Replace a Mobile Home Garden Tub Faucet
About This Project
This guide provides comprehensive, step-by-step instructions for replacing a garden-style tub faucet, which is a common fixture in mobile homes. The process involves shutting off the water supply, accessing the plumbing connections via a panel, removing the old faucet assembly, installing the new one, and thoroughly testing for leaks.
Best for experienced DIYers and homeowners with some experience with basic plumbing knowledge and familiarity with power tools.
Tools & Materials

Unger 6 Gal. Heavy-Duty Plastic Bucket DB02
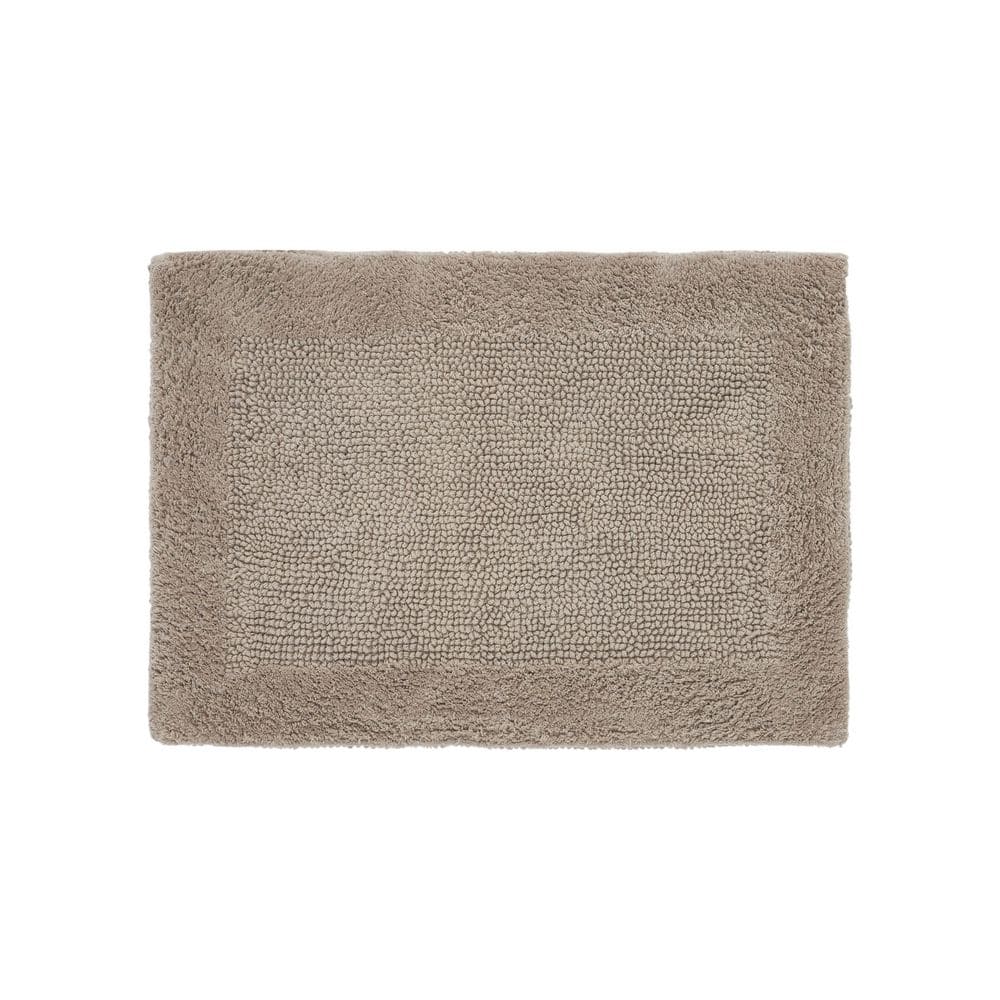
Better Trends Edge Collection 17 in. x 24 in. Brown 100% Cotton Rectangle Bath Rug BAEG1724SD
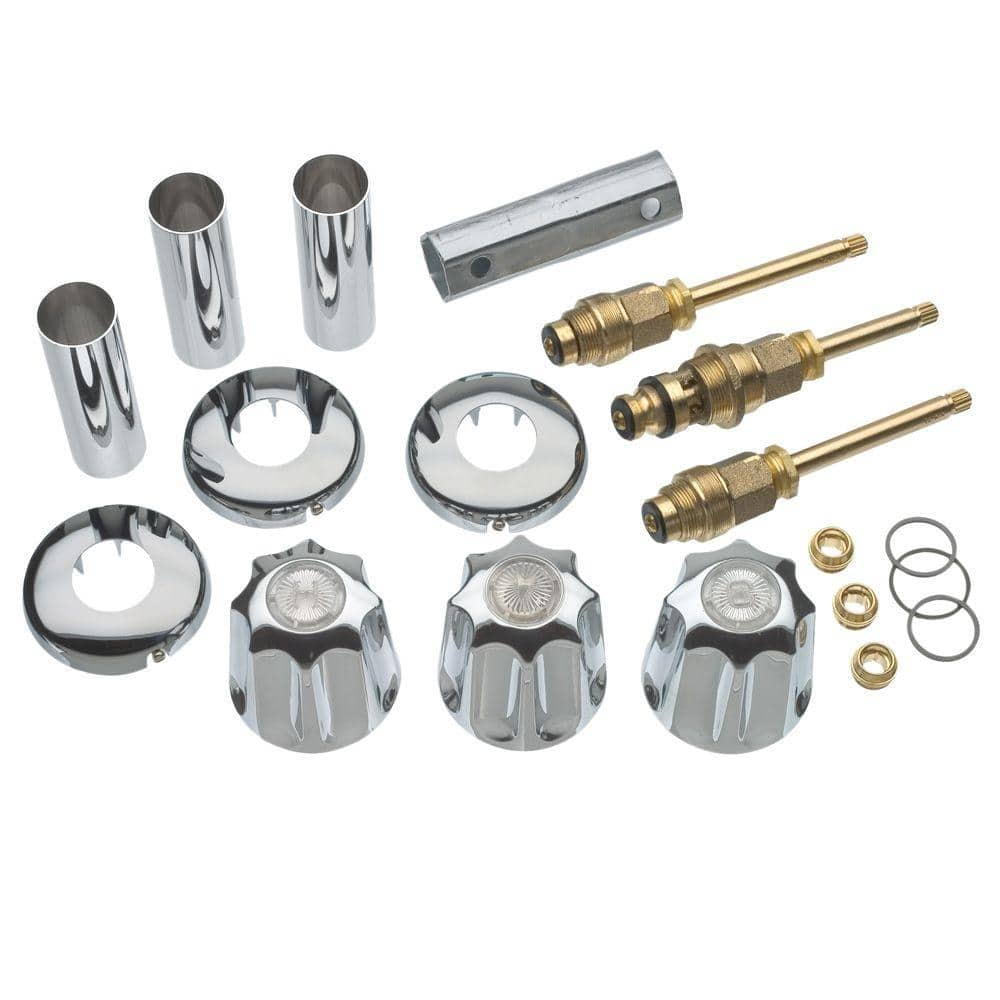
DANCO Tub and Shower Trim Kit for Gerber Faucets 39617
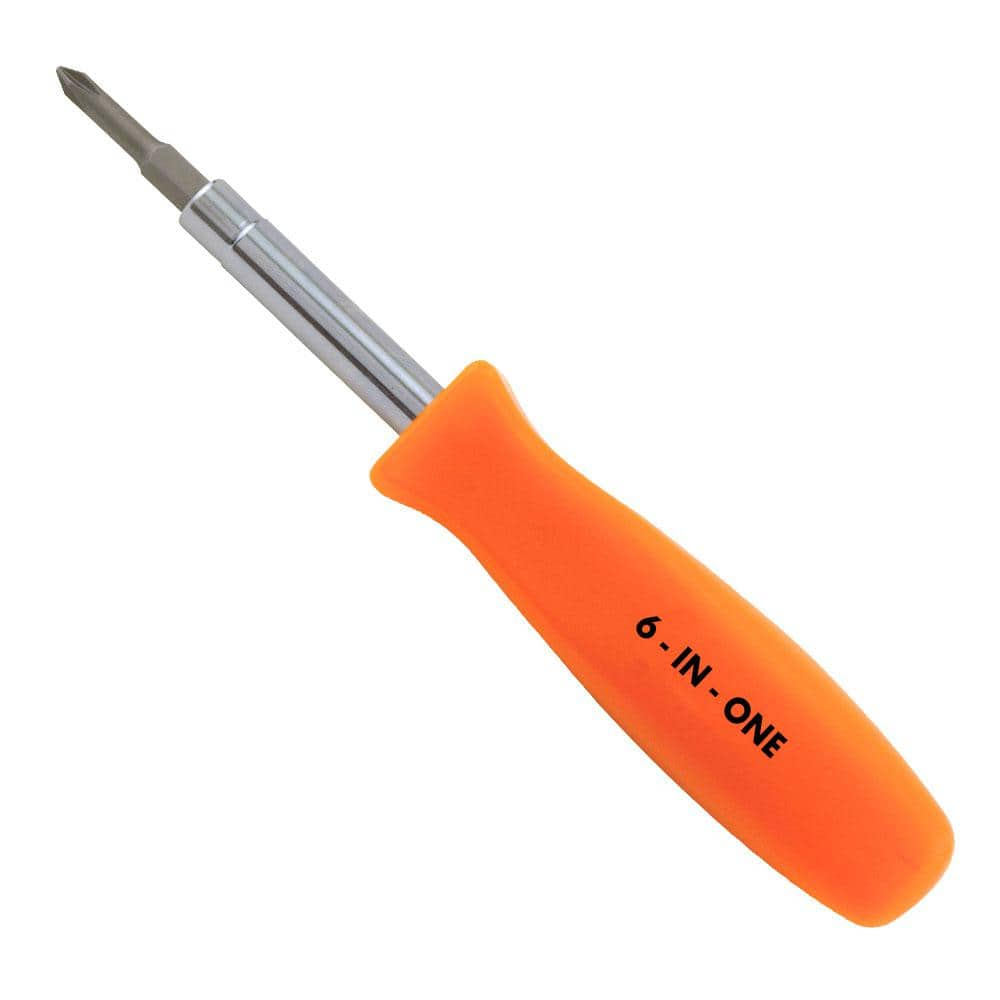
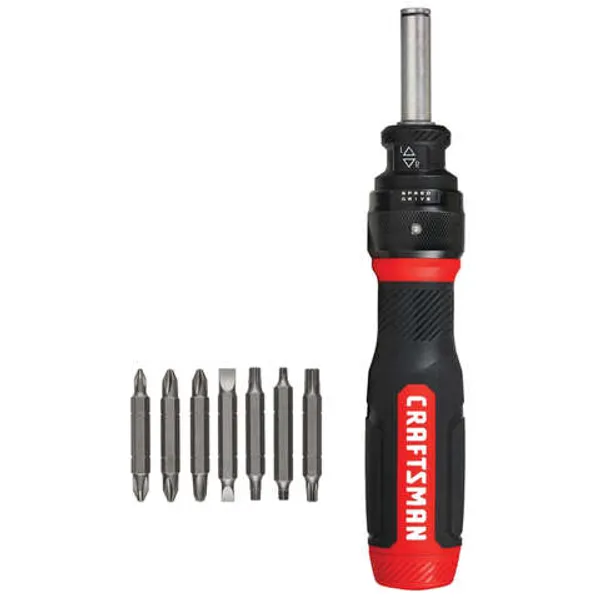
HDX 3-1/4 in. 6-in-1 Screwdriver 120SD12D
Screwdriver
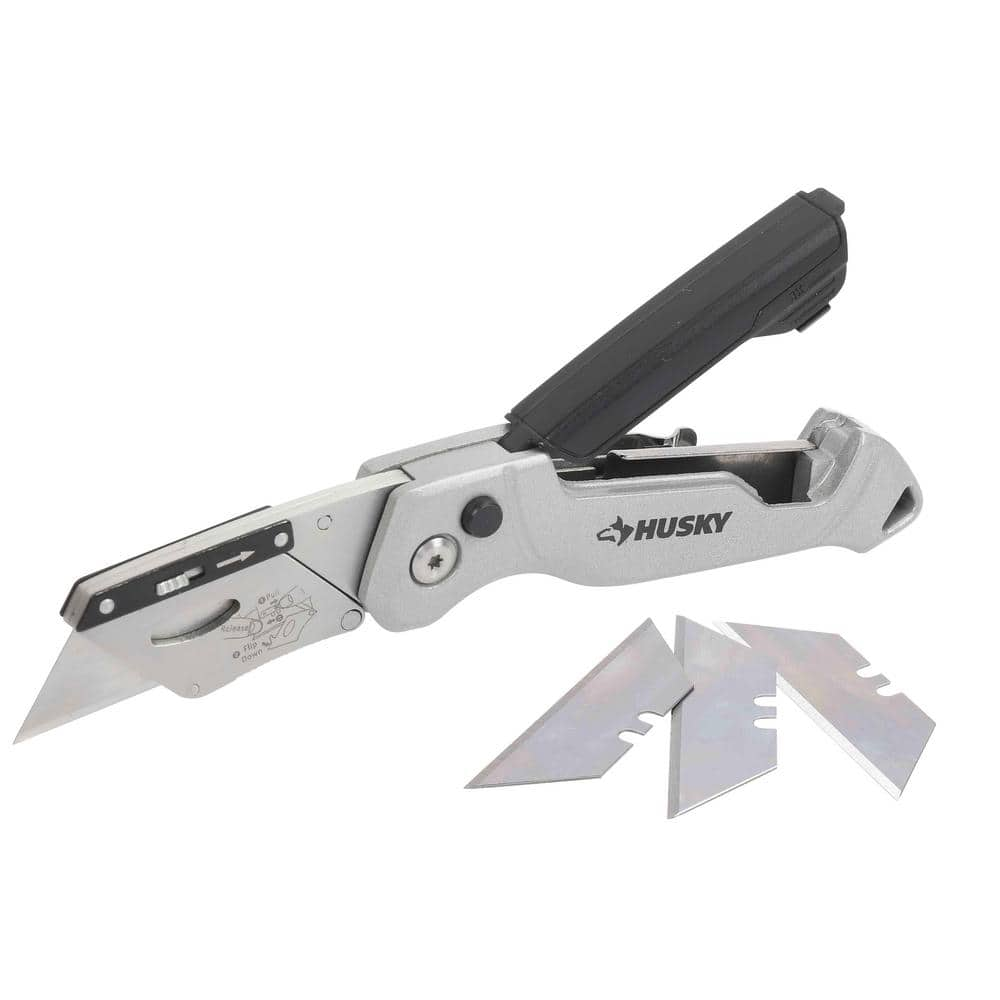
Husky Pro Utility Knife 00004
Unger 6 Gal. Heavy-Duty Plastic Bucket DB02
The Unger 6-Gallon Heavy-Duty Professional Cleaning Bucket holds more than 6 Gal. of liquid. The bucket can accommodate a scrubber up to 14 in. L. This bucket features measurement marks and 2-pour spouts
Better Trends Edge Collection 17 in. x 24 in. Brown 100% Cotton Rectangle Bath Rug BAEG1724SD
This one is a perfect option if you are looking for a highly durable and sustainable rug for the bathroom. This collection of bathroom mats and rugs sets is a worth investing offer from Better Trends.
DANCO Tub and Shower Trim Kit for Gerber Faucets 39617
If your tub and shower is leaking water and is not functioning properly, you can easily repair it with the complete faucet rebuild kit by Danco. Replacing worn-out stems and handles will help restore your tub/shower faucet valve to "like new" condition and fix the water leak. The handles and flanges have a timeless knob style and is designed specifically to fit Gerber 3-Handle shower faucets. This simple DIY installation is a cost-effective repair solution allowing you to fix damaged parts without having to replace the entire tub/shower fixture.
HDX 3-1/4 in. 6-in-1 Screwdriver 120SD12D
The HDX 3-1/4 in. 6-in-1 Screwdriver features double-sided bits with the four most common screwdriver tip styles, including a #1 Phillips bit, a #2 Phillips bit, a 3/16 in. flathead bit and a 1/4 in. flathead bit. Both ends of the shaft can be used as 1/4 in. nut drivers when the bits are removed, offering convenient, versatile use. The high-visibility orange handle makes the handy tool easy to find on a job site or in a toolbox.
Screwdriver
A tool used to turn screws.
Husky Pro Utility Knife 00004
Offering a precise cut every time, Husky Pro Folding Utility Knife lets you easily adjust the blade to multiple angles to tackle a wide range of jobs. Aluminum die casting handle with plastic spraying
Steps

Preparation and Water Shutoff
20 minsBegin by preparing your work area. The first and most critical action is to shut off the water to the entire mobile home. The main shutoff valve is typically located where the water line enters the home, often in a utility closet, under the home near the water heater, or at the water meter outside. Once the valve is closed, open the hot and cold handles on the tub faucet and another faucet in the home to relieve any remaining water pressure and drain the lines. Gather all your tools, the new faucet kit, and place a bucket and some old rags or towels under the work area inside the access panel to catch any residual water.
Accessing the Plumbing
15 minsTo access the faucet's plumbing, you must get behind the tub deck. Locate the access panel on the wall behind the faucet handles. These are common in mobile homes and are usually held in place with screws or clips. Use a screwdriver to remove the screws and set the panel aside. If no panel exists, you will need to carefully cut one using a utility knife or drywall saw. Measure a rectangle large enough for your hands and tools (e.g., 12x12 inches) and cut carefully, trying to avoid any pipes or wires behind the wall. You can re-install the cut piece later with clips or a frame.

Disconnecting the Old Faucet
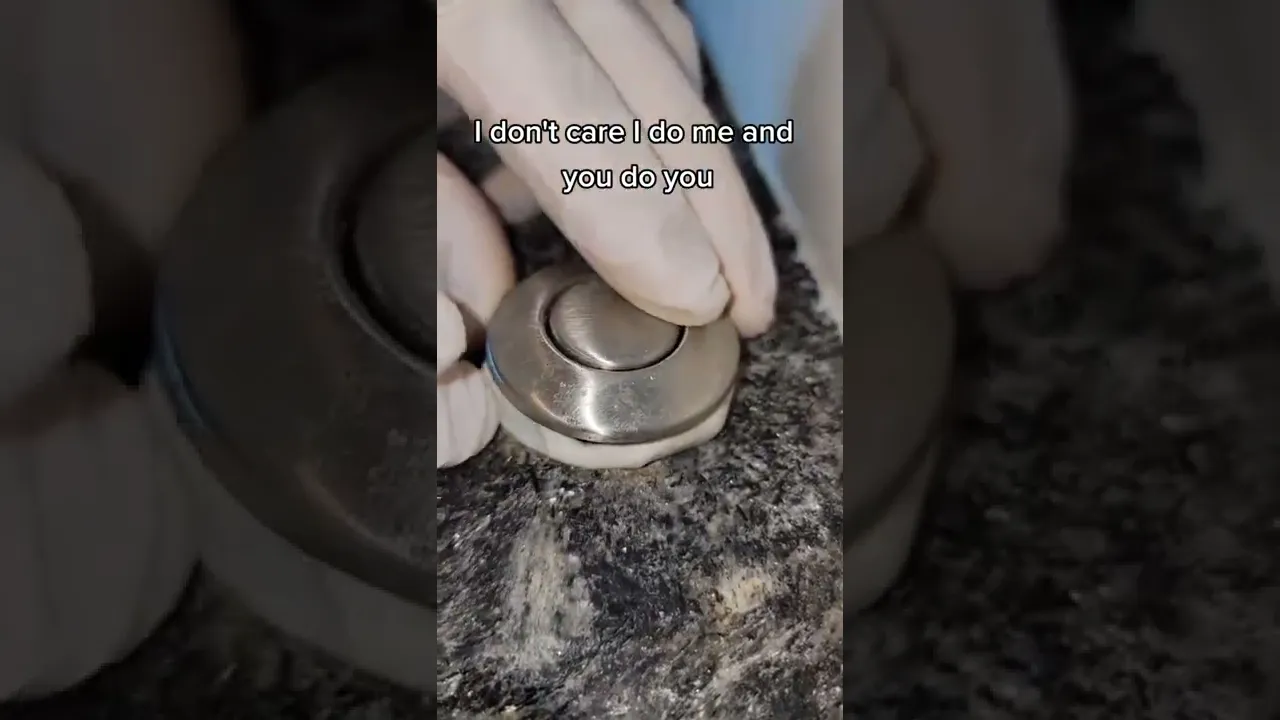
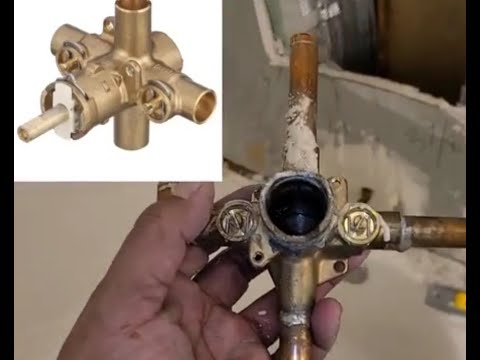
30 minsWorking through the access panel, identify the hot (usually red PEX or on the left) and cold (usually blue PEX or on the right) supply lines connected to the faucet valve bodies. Place your bucket underneath them. Use channel-lock pliers or an adjustable wrench to loosen the coupling nuts connecting the supply lines to the faucet. Be prepared for some water to spill out. Next, locate and disconnect the hose leading to the handheld sprayer and the connection to the tub spout. These are also typically secured with threaded plastic nuts.

Removing the Old Faucet Assembly
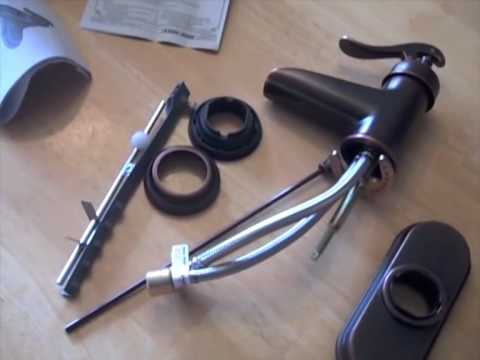
25 minsAfter all the water lines are disconnected, you can remove the faucet assembly. Each component (hot handle, cold handle, spout, sprayer holder) is held to the tub deck with a large mounting nut and washer on its underside. Reach in through the access panel and use your channel-lock pliers or a basin wrench to unscrew these mounting nuts. It may be helpful to have a second person hold the faucet components from the top to prevent them from spinning as you loosen the nuts. Once all nuts are removed, simply lift the old faucet components off the top of the tub deck.

Cleaning the Tub Deck
15 minsWith the old faucet removed, thoroughly clean the surface of the tub deck. Use a plastic putty knife or scraper to gently remove any old, hardened plumber's putty or silicone sealant. Be careful not to scratch the acrylic or fiberglass surface of the tub. Once the bulk of the residue is gone, use an all-purpose cleaner or a specialized mineral deposit remover on a rag to wipe the area clean. A clean, dry, and smooth surface is essential for the new faucet's gaskets to create a watertight seal.

Installing the New Faucet Assembly
30 minsCarefully unpack your new faucet kit, laying out all the parts. Following the manufacturer's instructions, begin the installation. This usually involves placing a rubber gasket or a bead of plumber's putty around the base of each faucet component. Insert the new handles, spout, and sprayer holder through their respective holes from the top of the tub deck. From underneath, slide on any included washers and then hand-tighten the new mounting nuts. Once hand-tight, use your pliers to give them another quarter to half turn to secure them. Do not overtighten.

Connecting Water Lines and Sprayer
25 minsWith the new faucet mounted, it's time to connect the plumbing. Working from the access panel, connect the flexible hose between the hot and cold valve bodies. Then, connect the hose that leads to the tub spout. Finally, reconnect the main hot and cold water supply lines to their respective inlets on the faucet valves (Hot on the left, Cold on the right). Hand-tighten the nuts first, then use pliers to give them a final quarter-turn to ensure a snug, leak-proof fit. If your faucet has a handheld sprayer, connect its hose to the designated port on the diverter valve. If your new faucet requires it, wrap the male threads with Teflon tape before making connections, but do not use tape on connections that use a rubber gasket.
Testing for Leaks
15 minsThis is the most important step. Go back to the main water shutoff valve and turn it on very slowly. This prevents a sudden, high-pressure surge (water hammer) that could damage fittings. As the pipes fill, listen for any unusual noises. Return to the access panel with a powerful flashlight and a dry paper towel. Meticulously inspect every single connection you made: where the hot and cold supply lines connect to the faucet, the hose to the spout, and the sprayer hose connection. Run the dry paper towel around each joint to reveal even the smallest, slowest drip. Turn the faucet handles on and let water run through the spout and sprayer, then re-check all connections while the system is under pressure. If you find a leak, turn the main water off and gently tighten the leaking connection (about an 1/8 turn) before testing again.

Final Assembly and Cleanup
10 minsOnce you are completely confident that there are no leaks after repeated checks, you can complete the job. Re-install the access panel using the screws you set aside earlier. If you had to cut a new panel, install it using mounting clips or a frame for a clean look. Clean up all your tools, remove the protective towel from the tub, and wipe down the new faucet and surrounding area.
Common Problems
Do not over-tighten the bonnet nut. It should be snug enough to prevent leaks but still allow the handle to turn smoothly.
Solution: To avoid this issue: Be mindful of this warning and take appropriate precautions.
Tight spaces make faucet assembly difficult and error-prone.
Solution: Assembling these parts now is easier than doing it in the tight space under the sink later.
Hidden leaks can cause water damage if connections aren't checked for moisture.
Solution: Have a dry cloth or paper towel ready to wipe connections and easily spot any moisture from slow drips.
Overtightening mounting nuts can crack the acrylic tub.
Solution: Don't overtighten the mounting nuts, as this could crack the acrylic tub.
Leaking faucet due to improperly seated waterlines.
Solution: Make sure the waterlines are fully inserted to prevent leaks. You should feel them seat properly.
Incorrectly connected hot and cold water lines can lead to scalding or a lack of hot water.
Solution: Ensure the hot line from the wall connects to the 'Hot In' port and the cold line from the wall connects to the 'Cold In' port.
Failing to shut off the water supply before disassembling the faucet will result in significant water spray and potential flooding.
Solution: To avoid this issue: Be mindful of this warning and take appropriate precautions.
Frequently Asked Questions
What specialized tools, beyond basic pliers and screwdrivers, are crucial for this mobile home garden tub faucet replacement?
A powerful flashlight, like the Panther Vision FLATEYE, is essential for illuminating the confined, often dark, plumbing access area. Husky soft-jaw pliers are also highly recommended to prevent scratching the new faucet's finish during tightening. Don't forget a sturdy bucket, such as the Unger 6 Gal. Heavy-Duty Plastic Bucket, to catch any residual water.
What are the most critical safety precautions I should take before and during this project, especially in a mobile home setting?
Always begin by completely shutting off the main water supply to your mobile home and draining the lines to prevent unexpected water damage. Exercise caution when working in tight, enclosed spaces, ensuring you have proper lighting and ventilation. Have plenty of paper towels readily available for immediate cleanup of spills to protect your subfloor.
The project is rated 'beginner' but has an estimated time of 6 hours. What aspects contribute to this duration, and what common challenges might a beginner face?
While the individual plumbing steps are straightforward, much of the time is spent accessing the plumbing through a potentially tight access panel and meticulously disconnecting old, possibly corroded fittings. A beginner might also spend extra time ensuring proper sealing with plumber's putty and Teflon tape, and then thoroughly testing for leaks, which are critical steps for a successful outcome.
What are the most common mistakes beginners make when replacing a tub faucet, particularly concerning leaks, and how can I prevent them?
A frequent mistake is inadequate sealing. Always apply Teflon tape clockwise to all threaded pipe connections and a generous bead of Oatey Plumber's Putty around the base of the faucet before securing it to the tub deck. Ensure connections are snug—don't overtighten plastic fittings, but make metal ones firm—and double-check all connections for drips during your leak test.
How do I typically access the plumbing connections for a garden tub faucet in a mobile home, and what should I expect to see?
Mobile home garden tubs usually feature an access panel, often located on an adjacent wall or built into the tub surround itself. You'll likely need a screwdriver to remove the W-Cut cabinet screws holding this panel in place. Expect a confined space, potentially dusty, with various water lines, making a flashlight crucial for visibility.
My existing faucet is leaking. Can I just use a Faucet Repair Kit, or should I plan to replace the entire faucet assembly?
If only the handles or spout are leaking, a Faucet Repair Kit (or a specific trim kit like the DANCO Tub and Shower Trim Kit, if applicable) might fix the issue, provided it matches your faucet's brand. However, if the main faucet body is corroded, or the leak originates from the underlying connections, replacing the entire assembly is usually the more reliable and durable solution for long-term peace of mind.
How can I prevent scratching or damaging my new faucet and the surrounding tub deck during installation?
To protect your new faucet's finish, use soft-jaw pliers like the Husky 10 in. Soft Jaw Pliers, or wrap regular pliers with a cloth when tightening nuts. Place an old towel or a protective mat on the tub deck around your work area to prevent accidental scratches from dropped tools or the faucet assembly itself during handling and installation.


