
How to Replace a Leaky Angle Stop (Shutoff Valve) Under Your Sink
About This Project
This project involves replacing a leaking shutoff valve (angle stop) under a sink. The process includes shutting off the main water supply, removing the old valve from the copper pipe stub-out, cleaning the pipe, installing a new compression-style angle stop, and reconnecting the faucet supply line, followed by a thorough leak test.
Best for advanced DIYers and professionals with basic plumbing knowledge.
Tools & Materials

Unger 6 Gal. Heavy-Duty Plastic Bucket DB02

FRESHFOLDS Combed Cotton Absorbent Textured 6 Piece Hand Towel Set EC100757
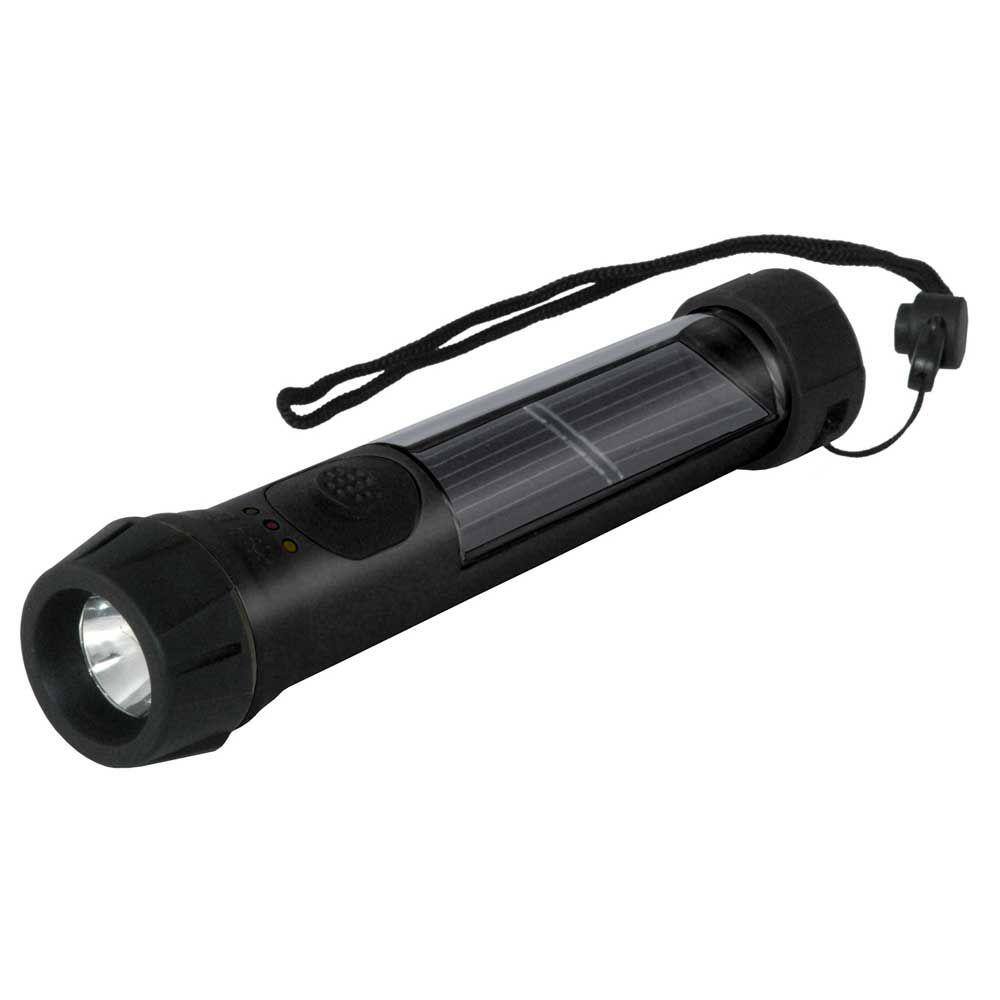
Hybrid Light Solar Flashlight - Black 001175

Adjustable Wrench

Bucket

Brondell Omigo Reusable Bidet Dry Towels in Multicolor Handheld Bidet Attachment with 6 Towels Included OM-TWL-10
Unger 6 Gal. Heavy-Duty Plastic Bucket DB02
The Unger 6-Gallon Heavy-Duty Professional Cleaning Bucket holds more than 6 Gal. of liquid. The bucket can accommodate a scrubber up to 14 in. L. This bucket features measurement marks and 2-pour spouts
FRESHFOLDS Combed Cotton Absorbent Textured 6 Piece Hand Towel Set EC100757
Versatile, stylish, and functional are only a few ways to describe these bath towels. These towels are made with long cotton fibers that are looped to create a soft feel while still offering optimal absorbency
Hybrid Light Solar Flashlight - Black 001175
The Hybrid Solar Light uses revolutionary technology that generates power from any light source, indoor lighting or sun light and stores it for later use. The Hybrid Solar Light is always collecting power
Adjustable Wrench
Fits various nut and bolt sizes with its adjustable jaw.
Bucket
Ideal for carrying or storing liquids.
Brondell Omigo Reusable Bidet Dry Towels in Multicolor Handheld Bidet Attachment with 6 Towels Included OM-TWL-10
Our perfectly soft bamboo towels. The most eco-friendly way to dry off after a wash with your bidet. Your behind's best fried, thoughtfully crafted.
Steps

Shut Off Main Water Supply and Drain Lines
10 minsFirst, you must completely stop the flow of water to your home's plumbing system. Locate the main water shutoff valve, which is typically found in a basement, crawl space, or garage near where the water service line enters the house. It will have a wheel handle or a lever handle. Turn the handle clockwise until it is fully closed. To drain the remaining water from the pipes, open a faucet on the highest floor of your house (e.g., a second-floor bathroom) and another one at the lowest point (e.g., a basement utility sink). This allows air into the system and lets the water drain out, minimizing spillage when you remove the old valve. Place a bucket and towels under the sink where you will be working.

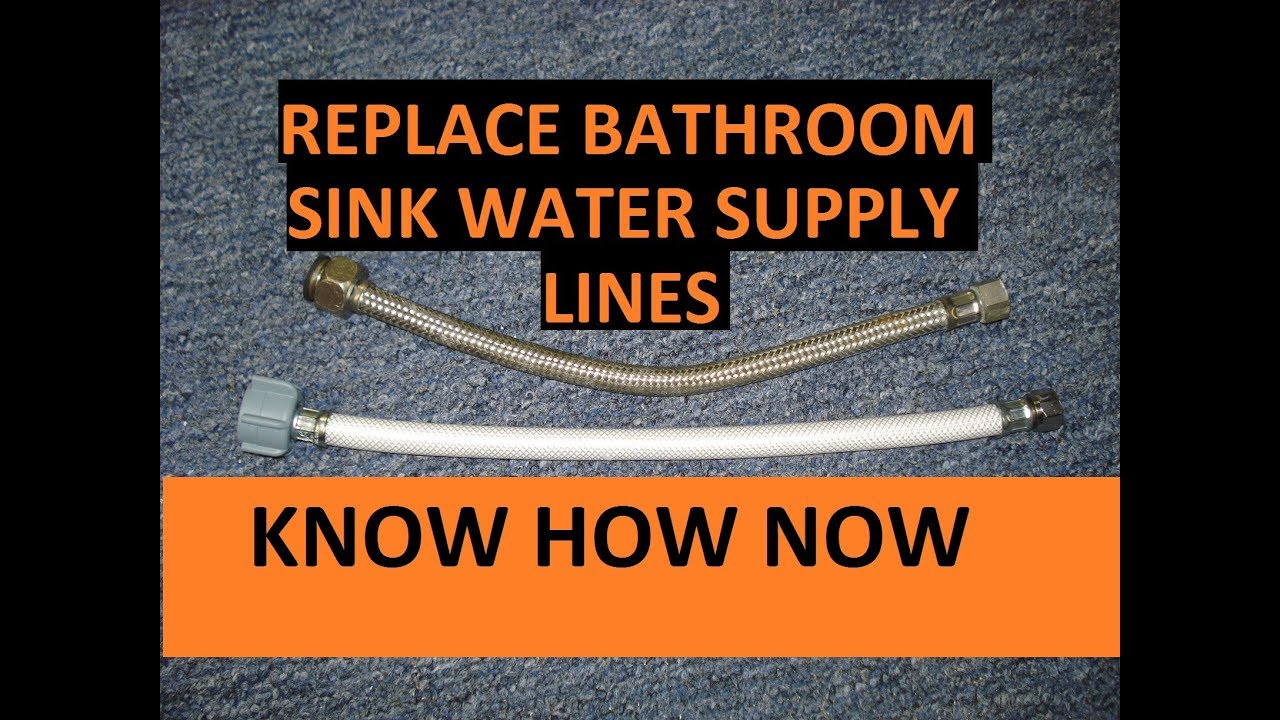
Disconnect Faucet Supply Line
5 minsWith a bucket in place, the next step is to disconnect the faucet supply line from the angle stop. This is the flexible or rigid tube that runs from the valve to the faucet's threaded tailpiece. Using an adjustable wrench, grip the nut connecting the supply line to the top outlet of the angle stop. Turn the nut counter-clockwise to loosen it. Be prepared for a small amount of water to drip out. Once fully loosened, pull the supply line away from the valve.

Remove the Old Angle Stop
10 minsThis step requires two wrenches to prevent damaging the pipe. Place one adjustable wrench or a pair of channel-lock pliers on the body of the angle stop to hold it steady. This counter-acts the twisting force. Place a second adjustable wrench on the large compression nut located where the valve meets the copper pipe coming out of the wall (the stub-out). Turn this nut counter-clockwise. It may be tight from years of compression and corrosion. Once you break it loose, you should be able to unscrew it the rest of the way. Pull the old valve straight off the pipe.

Remove Old Ferrule and Clean Pipe
15 minsAfter removing the valve, the old compression nut and the small brass ring, called a ferrule, will remain on the pipe. Both must be removed. Slide the old nut off. The ferrule is often compressed tightly onto the pipe. The best tool for this is a dedicated ferrule puller, which safely pulls it off without damaging the pipe. If you don't have one, you can very carefully cut a slot into the ferrule with a mini hacksaw (being careful not to cut into the copper pipe itself) and then pry it open with a flathead screwdriver. Once the ferrule is off, use a piece of emery cloth or fine-grit sandpaper to thoroughly clean the end of the copper pipe. Remove all mineral deposits, old putty, and oxidation until the copper is shiny and smooth. This ensures the new ferrule will create a perfect, watertight seal.

Install the New Angle Stop
5 minsTake the new angle stop and disassemble it. Slide the new compression nut onto the cleaned pipe first, ensuring the threads face towards the end of the pipe. Next, slide the new brass ferrule onto the pipe, with its tapered end pointing towards the end of the pipe (where the valve will sit). Push the body of the new angle stop firmly over the pipe until it seats snugly against the ferrule. Slide the compression nut forward and hand-tighten it onto the valve's threads. Now, use the two-wrench technique again: one wrench to hold the valve body stationary, and the second to tighten the compression nut. Tighten the nut about one-half to three-quarters of a full rotation past the point where it was hand-tight. Ensure the valve's handle is in the 'off' position (handle perpendicular to the outlet for a quarter-turn valve).

Reconnect Supply Line and Test for Leaks
10 minsReconnect the faucet supply line to the threaded outlet on the new angle stop. Hand-tighten the nut, then give it a gentle snug with an adjustable wrench (usually about a quarter-turn). Make sure all other faucets in the house that you opened earlier are now closed. Go to the main water shutoff valve and turn it on SLOWLY. Opening it slowly prevents a sudden surge of pressure (water hammer) that could damage pipes. Return immediately to the sink and closely inspect the new valve. Look and feel for any water dripping from either the large compression nut at the wall or the smaller supply line nut. Wipe the entire valve and connections with a dry paper towel to make any moisture instantly visible. If there are no leaks, slowly turn the handle on the new angle stop to open it and restore water to the faucet. Check for leaks one more time with the water flowing.
Common Problems
Difficulty reaching and loosening corroded nuts in tight spaces.
Solution: A basin wrench is specifically designed for reaching these tight spaces. An extendable model can make this easier.
Water spills onto the floor when disconnecting the old valve.
Solution: Place a towel under the sink to catch any residual water.
Difficulty reaching and loosening the shutoff valve nut under the sink.
Solution: A basin wrench is specifically designed for reaching these difficult nuts and is highly recommended for this step.
Ensure both the hot and cold water lines are fully shut off before proceeding to the next step.
Solution: To avoid this issue: Be mindful of this warning and take appropriate precautions.
Confirm that the water is completely off by checking a faucet inside the house before proceeding to cut any pipes.
Solution: To avoid this issue: Be mindful of this warning and take appropriate precautions.
Failing to shut off the water will result in uncontrolled water flow when you disassemble the faucet.
Solution: To avoid this issue: Be mindful of this warning and take appropriate precautions.
Make sure you know where your main water shutoff is before you start any plumbing project.
Solution: To avoid this issue: Be mindful of this warning and take appropriate precautions.
Frequently Asked Questions
How long should I expect this project to take for a beginner, and what's the overall difficulty level?
This is a beginner-friendly plumbing project, typically taking 30-60 minutes once you have all the tools and materials ready. The most crucial steps involve ensuring the water supply is off and achieving a watertight seal.
What's the most crucial safety step I need to take before starting to avoid major water damage?
The most crucial step is to fully shut off the main water supply to your home before you begin any work. After turning it off, open a faucet on a lower level to confirm water flow has completely stopped and to drain the lines.
Do I really need a specific type of adjustable wrench, or will any adjustable wrench work for this project?
While the 12-inch adjustable wrench listed provides good leverage, any sturdy adjustable wrench that can securely grip the compression nuts will work. Ensure it's in good condition to prevent slipping and damage.
What is the most common mistake beginners make when installing a new compression angle stop, and how can I avoid it?
The most common mistake is overtightening or undertightening the compression nut, leading to leaks or damaging the valve/pipe. Tighten the nut until it feels snug, then give it an additional quarter to half turn, being careful not to strip threads.
My project mentions a 'Push Connect' angle stop. Are there alternative types of angle stops, and is one easier for a beginner?
Yes, while compression-style is common, 'push-connect' angle stops are a beginner-friendly alternative. They often don't require wrenches for attachment to the pipe stub-out, simplifying installation and reducing the risk of improper tightening.
I've reconnected everything, but the new angle stop is still leaking slightly. What should I check first?
First, reconfirm that the compression nut (if applicable) is adequately tightened – snug, but not excessively so. Then, check the pipe end for any burrs or rough spots that might prevent a good seal, and ensure the ferrule is seated correctly.
Roughly how much should I expect to spend on materials for this project if I already own basic tools?
The material costs are relatively low. The new angle stop typically costs between $10-$20, plus a few dollars for sandpaper or thread sealant. Your total material expenditure, excluding tools, should generally be under $30-$40.


