
How to Replace a Leaky Angle Stop (Shutoff Valve) Under Your Sink
About This Project
This guide provides comprehensive, step-by-step instructions for replacing a leaky angle stop (the shutoff valve under a sink) connected to a copper pipe. The process involves shutting off the main water supply, removing the old valve and its compression fittings, preparing the pipe, and installing a new quarter-turn compression-style angle stop.
Best for advanced DIYers and professionals with basic plumbing knowledge. Requires Adjustable Wrench.
Tools & Materials

Unger 6 Gal. Heavy-Duty Plastic Bucket DB02
WYPALL L40 Towels, Dry Up Towels, 19-1/2 in. x 42 in., White, 200 Towels/Roll KCC05860

FRESHFOLDS Combed Cotton Absorbent Textured 6 Piece Towel Set EC100755
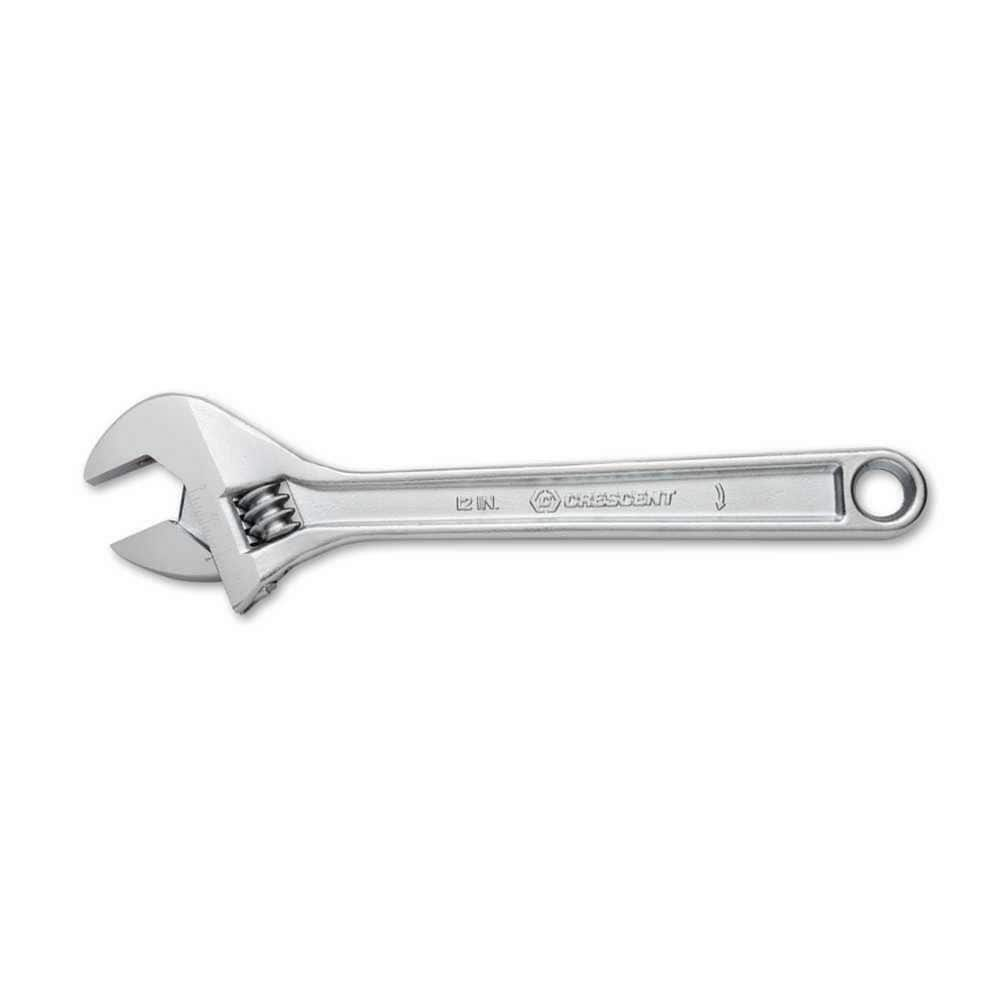
Crescent 12 in. Chrome Adjustable Wrench AC212VS
Better Trends Edge Collection 24 in. x 40 in. Brown 100% Cotton Rectangle Bath Rug BAEG2440SD
Husky Basin Wrench 16PL0127
Unger 6 Gal. Heavy-Duty Plastic Bucket DB02
The Unger 6-Gallon Heavy-Duty Professional Cleaning Bucket holds more than 6 Gal. of liquid. The bucket can accommodate a scrubber up to 14 in. L. This bucket features measurement marks and 2-pour spouts
WYPALL L40 Towels, Dry Up Towels, 19-1/2 in. x 42 in., White, 200 Towels/Roll KCC05860
WYPALL L40 Wipers are effective wipers that absorb liquids lightning-fast. These wipes are made of bonded cellulose using DRC (double re-creped) technology for strength, softness and absorbency. As a wiping cloth, it soaks up liquids fast, but all you'll feel is softness, thanks to a plush, touchable outer layer. In fact, it's a popular choice for patient wiping in healthcare industries, for bathing and patient drying. These utility wipes are specially designed to absorb liquids, lubricants and oils (in restaurants for wiping counters, in mechanic shops, industrial and commercial factories and more), yet they're soft enough for use on face and hands. Experience the difference in superior absorbency and cleaning at your home or office today. Towel/Wipe Type: Dry Wipes; Application: Bathrooms; Material(s): Cloth-Like; Number of Plies: 1.
FRESHFOLDS Combed Cotton Absorbent Textured 6 Piece Towel Set EC100755
Versatile, stylish, and functional are only a few ways to describe these bath towels. These towels are made with long cotton fibers that are looped to create a soft feel while still offering optimal absorbency
Crescent 12 in. Chrome Adjustable Wrench AC212VS
Since the introduction of the original Crescent wrench in the early 1900s, the Crescent brand has become synonymous with adjustable wrenches. Crescent Adjustable Wrenches feature a large knurl for easy
Better Trends Edge Collection 24 in. x 40 in. Brown 100% Cotton Rectangle Bath Rug BAEG2440SD
This one is a perfect option if you are looking for a highly durable and sustainable rug for the bathroom. This collection of bathroom mats and rugs sets is a worth investing offer from Better Trends.
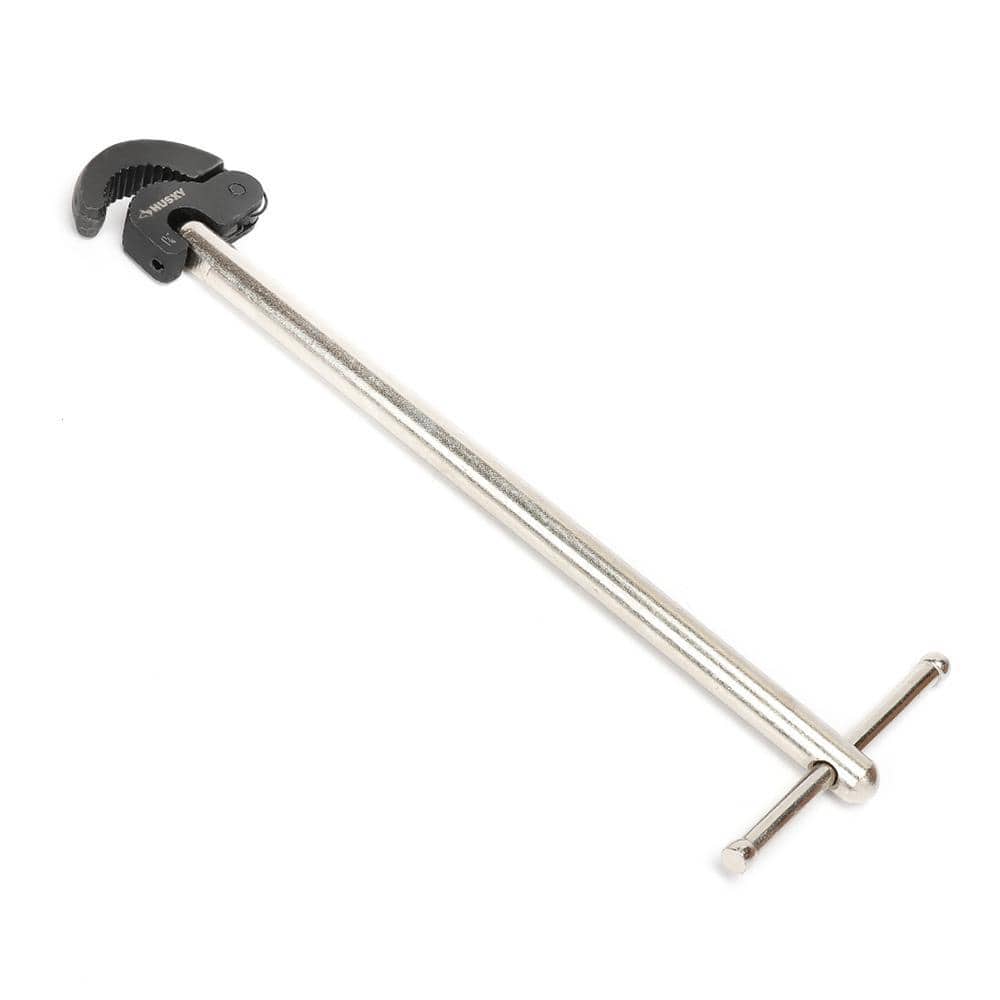
Husky Basin Wrench 16PL0127
Husky's 11 in. Basin Wrench is made from heavy-duty steel and has a reversible head for accessing faucet nuts in tight spaces. The 180 pivoting head holds its position at any angle to access hard-to-reach
Steps
Shut Off Main Water and Relieve Pressure
10 minsThe first critical action is to completely stop the flow of water to your entire house. Locate your main water shutoff valve, which is typically found in the basement, a crawl space, a utility closet, or outside near the water meter. Turn the valve handle clockwise until it is fully closed. For a lever-style valve, turn it so the handle is perpendicular to the pipe. Once closed, relieve the pressure in the pipes by opening a faucet on the lowest level of your home (like a basement sink or outdoor spigot) and the faucet connected to the valve you are replacing. Let them run until the water stops flowing.

Prepare the Work Area
5 minsPrepare your work area. Clear everything out from under the sink to give yourself ample room to work. Place a bucket directly under the angle stop you are replacing to catch residual water that will drain from the pipes. Lay down several old towels around the bucket to protect the cabinet from water damage.

Disconnect Faucet Supply Line
5 minsUse an adjustable wrench or basin wrench to disconnect the faucet supply line from the outlet of the old angle stop. Turn the coupling nut counter-clockwise to loosen. Be prepared for a small amount of water to drip out. Tuck the disconnected supply line out of the way.

Remove the Old Angle Stop
15 minsThis is the most critical step. You must use two wrenches. Place one wrench on the body of the angle stop and turn counter-clockwise. At the same time, use a second wrench to grip the copper pipe coming from the wall (the stub-out) to hold it firmly in place, preventing it from turning. Loosen the large compression nut that secures the valve to the pipe. Once loose, you can finish unscrewing it by hand and slide the old valve off the pipe.

Remove Old Compression Nut and Ferrule
15 minsWith the valve removed, you will see the old compression nut and a brass ring called a ferrule on the copper pipe. Both must be removed. The nut should slide off. The ferrule can be stubborn. The best method is to use a dedicated ferrule puller tool, which grips behind the ferrule and pulls it off without damaging the pipe. Alternatively, you can carefully cut a slot into the ferrule with a small hacksaw or rotary tool, being extremely careful not to cut into the copper pipe itself. Once cut, you can pry it open with a flathead screwdriver and remove it.

Clean and Prepare the Copper Pipe
5 minsOnce the old fittings are off, thoroughly clean the end of the copper pipe stub-out. Use a piece of emery cloth or fine-grit sandpaper to polish the outside of the pipe where the new ferrule will sit. The goal is to remove any old pipe dope, corrosion, or burrs, creating a perfectly smooth surface for a watertight seal. Wipe the pipe clean with a dry rag when finished.

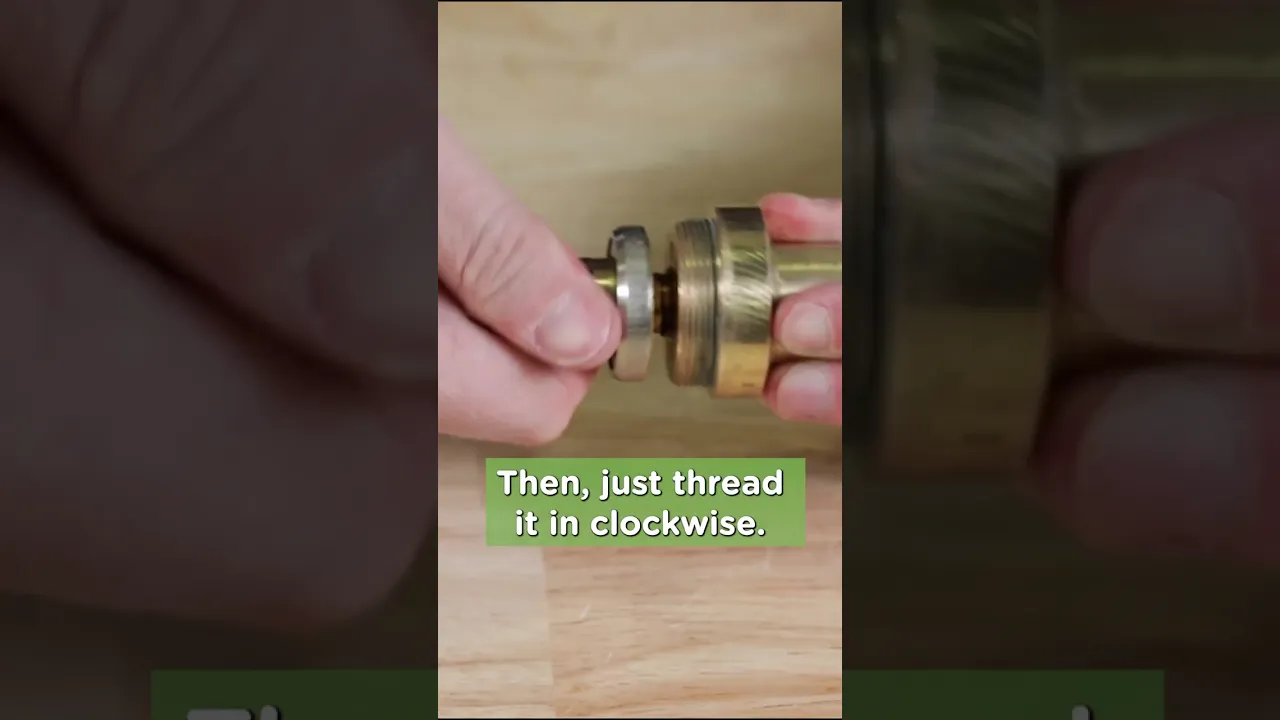
Install the New Angle Stop
10 minsTake your new angle stop and disassemble the compression fitting. Slide the new compression nut onto the cleaned pipe first, ensuring the threads face towards the end of the pipe. Next, slide the new brass ferrule onto the pipe. Push the body of the new angle stop onto the pipe until it seats firmly against the ferrule. The pipe should go about 1/2 inch into the valve body. Hand-tighten the compression nut onto the valve body until it is snug.

Tighten Connections
10 minsUsing the same two-wrench technique as before, tighten all connections. Use one wrench to hold the body of the new angle stop steady, preventing it from turning. Use the second wrench to tighten the compression nut onto the valve. After hand-tight, give it one-half to one full turn with the wrench. Do not overtighten, as this can damage the ferrule or the valve. Next, reconnect the faucet supply line to the outlet of the new valve. Hand-tighten the coupling nut, then give it a gentle quarter-turn with a wrench.
Restore Water and Check for Leaks
15 minsDouble-check that the new angle stop's handle is in the closed (off) position. Go back to your main water shutoff and turn it on SLOWLY. Let the pipes fill with water gradually to prevent water hammer. Listen for any sounds of rushing water. Go back to the sink and meticulously inspect the new valve for any signs of water, no matter how small. Check around the large compression nut and the faucet supply line nut. If everything is dry, place a dry paper towel under the valve, then slowly turn the handle on the new angle stop to open it. Let the water run at the faucet for a minute to clear out any air. Perform one final check for leaks at all connections.

Final Cleanup
5 minsOnce you are confident there are no leaks, dry the entire area, including the pipes, valve, and cabinet floor. Remove the bucket and wet towels. Organize your tools and return any unused supplies. It's a good practice to check on the new valve again after an hour and then a day later to ensure no slow leaks have developed.
Common Problems
Be careful not to damage the supply lines.
Solution: To avoid this issue: Be mindful of this warning and take appropriate precautions.
Difficulty reaching and loosening the old angle stop nut in tight spaces.
Solution: A basin wrench is specifically designed for reaching these tight spaces. An extendable model can make this easier.
Sudden water pressure surges can cause pipe damage or noisy pipes.
Solution: Turn the water on slowly to prevent a sudden pressure surge, known as a water hammer.
Turn the water supply on slowly to avoid a sudden surge of pressure that could damage connections.
Solution: To avoid this issue: Be mindful of this warning and take appropriate precautions.
This is a critical step. A small, unnoticed leak can cause significant water damage over time.
Solution: To avoid this issue: Be mindful of this warning and take appropriate precautions.
New angle stop leaks after initial fix.
Solution: Check the unit again after one hour for leaks.
Do not overtighten the plastic union nuts, as this can cause them to crack.
Solution: To avoid this issue: Be mindful of this warning and take appropriate precautions.
Frequently Asked Questions
What should I do if the old compression nut and ferrule are seized onto the copper pipe?
Apply penetrating oil, like Blaster PB Penetrating Oil, directly to the nut and ferrule. Allow it to soak for 15-30 minutes before attempting to loosen it again with your adjustable wrench. If it's still stuck, you may need to carefully cut the old ferrule off with a small hacksaw or specialized tool, taking care not to damage the copper pipe itself.
How can I prevent leaks after installing the new angle stop?
Ensure the copper pipe is clean, smooth, and free of burrs or scratches where the new ferrule will sit. Hand-tighten the compression nut first, then use your adjustable wrench to tighten it an additional half to three-quarters of a turn. Avoid overtightening, as this can damage the ferrule or pipe, but ensure it's snug enough to prevent drips.
Do I really need to shut off the main water supply for this project?
Yes, absolutely. Shutting off the main water supply is crucial to prevent significant flooding when you remove the old valve. Always relieve any remaining water pressure by opening a nearby faucet after shutting off the main supply, before starting work under the sink.
How long should this project typically take for a beginner?
For a DIY beginner, expect this project to take approximately 1 to 2 hours. This accounts for time to gather tools, carefully follow each step, and troubleshoot minor issues like a stubborn old valve or initial small leaks. Taking your time will help ensure a successful installation.
Can I use a push-fit (SharkBite-style) angle stop instead of a compression fitting?
Yes, push-fit angle stops are a great alternative, especially for beginners, as they often simplify the installation process. They eliminate the need for compression nuts and ferrules, requiring only proper preparation of a clean, deburred, and unmarred copper pipe for a secure connection. Ensure the pipe is fully inserted into the fitting.
What are the most crucial materials I need to have on hand for potential water spills?
You will absolutely need a heavy-duty bucket, like the Unger 6 Gal. Heavy-Duty Plastic Bucket, positioned directly under the work area. Additionally, have an abundance of absorbent towels, such as WYPALL L40 Towels or Scott Rags, ready to quickly soak up any residual water from the pipes, even after the main supply is off.
Is it necessary to replace both the compression nut and the ferrule when installing a new angle stop?
Yes, it is highly recommended to always use the new compression nut and ferrule that come with your new angle stop. Reusing old parts significantly increases the risk of leaks because they may have been deformed, worn, or compromised during previous tightening, preventing a proper seal with the new valve.


