
How to Replace a Leaky Angle Stop (Shutoff Valve) Under Your Sink
About This Project
This guide provides comprehensive, step-by-step instructions for replacing a leaky angle stop (the small shutoff valve under a sink) connected to a copper pipe. The process involves shutting off the main water supply, removing the old compression-style valve, cleaning the pipe, and installing a new, more reliable quarter-turn valve.
Best for advanced DIYers and professionals with basic plumbing knowledge.
Tools & Materials

NITECORE 4000 Lumens USB-C LED Rechargeable Tactical Flashlight P20iX

Adjustable Wrench

Unger 6 Gal. Heavy-Duty Plastic Bucket DB02

FRESHFOLDS Orange 6-Piece Cotton Quick-Dry Bath Towel Set EC100706
Crescent 12 in. Chrome Adjustable Wrench AC212VS
KNIPEX 7-1/4 in. Pliers Wrench in Black 86 01 180
NITECORE 4000 Lumens USB-C LED Rechargeable Tactical Flashlight P20iX
The NITECORE P20iX is unrivaled when it comes to performance. NITECORE took the beloved P20i frame and maintained the compact size, ergonomics and doubled the power with 4 LEDs. This Xtreme high lumen
Adjustable Wrench
Fits various nut and bolt sizes with its adjustable jaw.
Unger 6 Gal. Heavy-Duty Plastic Bucket DB02
The Unger 6-Gallon Heavy-Duty Professional Cleaning Bucket holds more than 6 Gal. of liquid. The bucket can accommodate a scrubber up to 14 in. L. This bucket features measurement marks and 2-pour spouts
FRESHFOLDS Orange 6-Piece Cotton Quick-Dry Bath Towel Set EC100706
This cotton towel is quick-drying, absorbent and features a soft cotton popcorn texture. These towels are low-twist and two-ply, so the fibers are thicker and more durable. The weave allows for more air
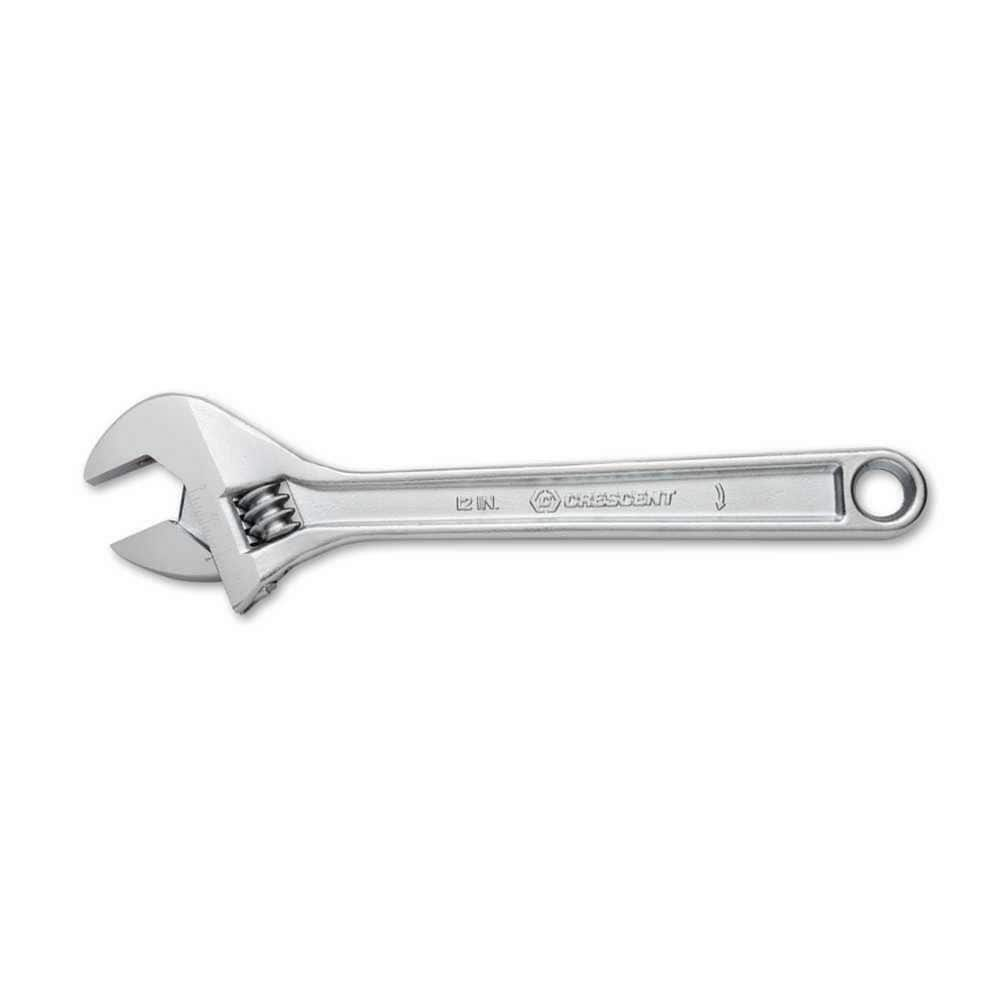
Crescent 12 in. Chrome Adjustable Wrench AC212VS
Since the introduction of the original Crescent wrench in the early 1900s, the Crescent brand has become synonymous with adjustable wrenches. Crescent Adjustable Wrenches feature a large knurl for easy
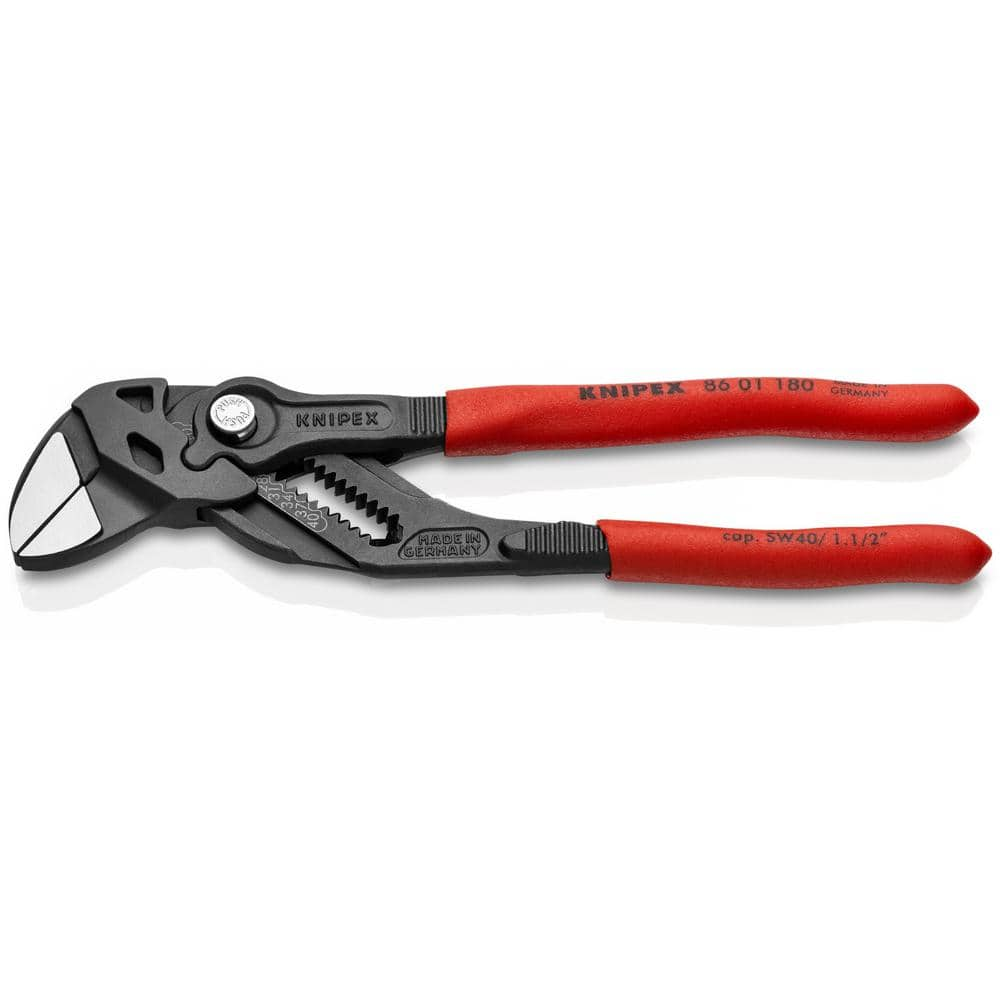
KNIPEX 7-1/4 in. Pliers Wrench in Black 86 01 180
KNIPEX Tools is the world's largest manufacturer of professional pliers since 1882. KNIPEX Pliers, Cutters, Insulated Tools and other products have been the tools of choice for Professional Tradesmen and end users who are serious about their hand tools and demand industrial quality. KNIPEX Tools are made from start to finish utilizing the highest quality materials. Based in Germany, KNIPEX Tools are German engineered to produce a tool unmatched in the industry in terms of features, comfort, design and performance.
Steps
Shut Off Main Water Supply and Drain Lines
15 minsLocate the main water shutoff valve for your entire home. This is often found in a basement, crawl space, garage, or on an exterior wall. Turn the valve handle clockwise until it is fully closed. For a lever-style valve, turn it so the handle is perpendicular to the pipe. To ensure the water is off and to relieve pressure, go to the lowest faucet in the house (like a basement sink or outdoor spigot) and open it. Let the water drain until it stops flowing. Then, open the faucet connected to the angle stop you are replacing to drain any remaining water from that specific line.
Disconnect Faucet Supply Line
5 minsPlace a small bucket or bowl directly underneath the angle stop to catch any water that spills out. Using an adjustable wrench, turn the coupling nut on the faucet supply line (the flexible tube going up to the faucet) counter-clockwise to loosen it. Once loose, you can typically finish unscrewing it by hand. Have a towel ready to catch drips and wipe the area.
Remove Old Angle Stop
15 minsThis is a critical step. Use two wrenches. Place one wrench on the valve body itself to hold it steady and prevent it from moving. Place the second wrench on the larger compression nut located at the back of the valve where it meets the copper pipe. Turn the compression nut counter-clockwise to loosen it. The first wrench's only job is to provide counter-torque so that the copper pipe in the wall does not twist. Once the nut is loose, unscrew it completely and slide the old valve off the pipe.
Remove Old Compression Ring and Nut
20 minsAfter removing the valve, the old compression nut and the small brass ring (called a ferrule or compression sleeve) will remain on the pipe. Slide the old nut off. The ferrule is often stuck fast. The best way to remove it is with a dedicated 'compression sleeve puller' tool, which pulls it off without harming the pipe. Alternatively, you can very carefully cut a slot into the ferrule with a small hacksaw or a mini tubing cutter, being extremely careful not to cut into or score the copper pipe itself. Once slotted, you can pry it open with a flathead screwdriver and remove it.
Clean the Copper Pipe
5 minsTake a piece of emery cloth or fine-grit sandpaper and thoroughly clean the last inch of the copper pipe stub-out. Rub around the pipe until it is bright, shiny, and completely smooth. This removes any corrosion, old sealant, or small imperfections, ensuring the new ferrule can create a perfect, watertight seal. Wipe away any dust or debris with a clean, dry rag.
Install New Angle Stop
5 minsTake the new angle stop and disassemble it. Slide the new compression nut onto the cleaned copper pipe first, ensuring the threads face outwards, towards you. Next, slide the new brass ferrule (compression ring) onto the pipe. The tapered end of the ferrule should face away from you, towards the wall and the valve body. Push the new angle stop valve body firmly onto the pipe until it bottoms out against the ferrule. The pipe should extend about 1/2 to 3/4 inch into the valve.
Tighten Compression Nut
10 minsSlide the compression nut up to the valve body and hand-tighten it by turning it clockwise. Once it's snug, use two wrenches again, just like during removal. Hold the valve body steady with one wrench to prevent any stress on the pipe. Use the second wrench to tighten the compression nut. The standard is to tighten one-half to three-quarters of a turn past hand-tight. You will feel the ferrule compress and bite into the pipe. Do not overtighten, as this can crack the nut or damage the valve.
Reconnect Supply Line and Test for Leaks
15 minsWith the new angle stop still in the closed position, reconnect the faucet supply line to the valve's outlet and tighten it with your adjustable wrench until snug. Go back to the main water shutoff valve and turn it on slowly to allow the pipes to fill without causing a water hammer. Return to the sink and use a flashlight and a dry paper towel to inspect the connection where the valve meets the copper pipe. Wipe it thoroughly; if the paper towel stays dry, there are no leaks. Now, slowly open the new angle stop by turning the handle. Check for leaks again at the main connection, the faucet supply line connection, and around the valve's handle/stem. If everything is dry, your replacement is complete.
Common Problems
Pipes can bend or break if you don't back-hold the valve.
Solution: Always use a second wrench to back-hold the valve body. This prevents the force from being transferred to the copper pipe, which could bend or break it.
Do not overtighten the compression nut, as this can damage the fitting or crush the pipe.
Solution: To avoid this issue: Be mindful of this warning and take appropriate precautions.
Leaky connections due to worn-out nuts and ferrules.
Solution: While reusing the old nut and ferrule can work if they're in excellent condition, it's often best practice to replace them with the new ones provided to ensure a perfect seal.
Ensure both the hot and cold water lines are fully shut off before proceeding to the next step.
Solution: To avoid this issue: Be mindful of this warning and take appropriate precautions.
Ensure the valve is turned off completely before proceeding to the next steps.
Solution: To avoid this issue: Be mindful of this warning and take appropriate precautions.
Water continues to flow when replacing an angle stop because local shut-off valves are missing.
Solution: If you cannot find local shut-off valves under the sink, you will need to shut off the main water supply to the house.
Failure to shut off the water and relieve pressure will result in a significant water spray when the pipe is cut.
Solution: To avoid this issue: Be mindful of this warning and take appropriate precautions.
Frequently Asked Questions
What are the most crucial tools I'll need for this job, and are there any that might not be obvious to a beginner?
Beyond the obvious adjustable wrench and bucket for catching water, a pliers wrench (like the KNIPEX listed) is invaluable for securing the pipe or holding the new valve steady while tightening. Sandpaper is also essential for properly cleaning the copper pipe to ensure a leak-free seal. While not a tool, having plenty of absorbent towels on hand is always a good idea for any plumbing task.
What's the most common mistake beginners make when replacing an angle stop, and how can I avoid it?
The most common mistake is not fully shutting off and draining the water supply, leading to unexpected leaks or a bigger mess. Another frequent error is overtightening the compression nut, which can damage the new valve or the copper pipe itself. Always ensure the main water supply to your home is off and the lines are depressurized before starting.
The project is rated 'beginner' with an estimated time of 3 hours. Is this realistic, and what factors could make it take longer?
The 3-hour estimate is generous for a beginner, allowing time for preparation, unexpected issues, and cleanup. Factors like corroded or stubborn old compression nuts, difficulty in accessing the workspace, or needing to make multiple trips for supplies can extend the duration. Don't rush the process; proper preparation and careful work ensure a successful outcome.
What should I do immediately if the new push-to-connect angle stop leaks after installation?
First, turn off the water supply again immediately. Check that the copper pipe end was clean, smooth, and fully inserted into the push-to-connect valve. Ensure there are no burrs or scratches on the pipe that could compromise the seal. Sometimes, simply removing the valve, re-cleaning the pipe, and re-inserting it firmly can resolve the issue.
Why is a 'push-to-connect' valve recommended for this project, and are there other installation methods?
Push-to-connect valves, like the Tectite model mentioned, are highly recommended for their ease of installation, especially for beginners, as they don't require soldering or specialized compression tools. The alternative is a standard compression fitting valve, which uses a ferrule and nut tightened onto the pipe, or a sweat (solder) connection, which is more complex and less common for DIYers. Push-to-connect offers a reliable and quick connection.
Beyond shutting off the main water, what other safety precautions should I take for this plumbing project?
Always wear eye protection to guard against unexpected water spray or debris. Lay down plenty of towels and have a bucket ready to contain any residual water, minimizing potential water damage to your cabinets. Ensure good lighting in your workspace, such as with a bright flashlight, to clearly see connections and avoid fumbling.
My old compression nut is really stuck on the copper pipe. What's the best way to remove it without damaging the pipe?
Apply a penetrating oil to the threads and let it sit for a few minutes to help loosen rust or corrosion. Use two wrenches: one to hold the old angle stop steady or brace the copper pipe, and the other to turn the compression nut. Apply firm, steady pressure rather than sudden jerks to avoid bending or twisting the copper pipe.