
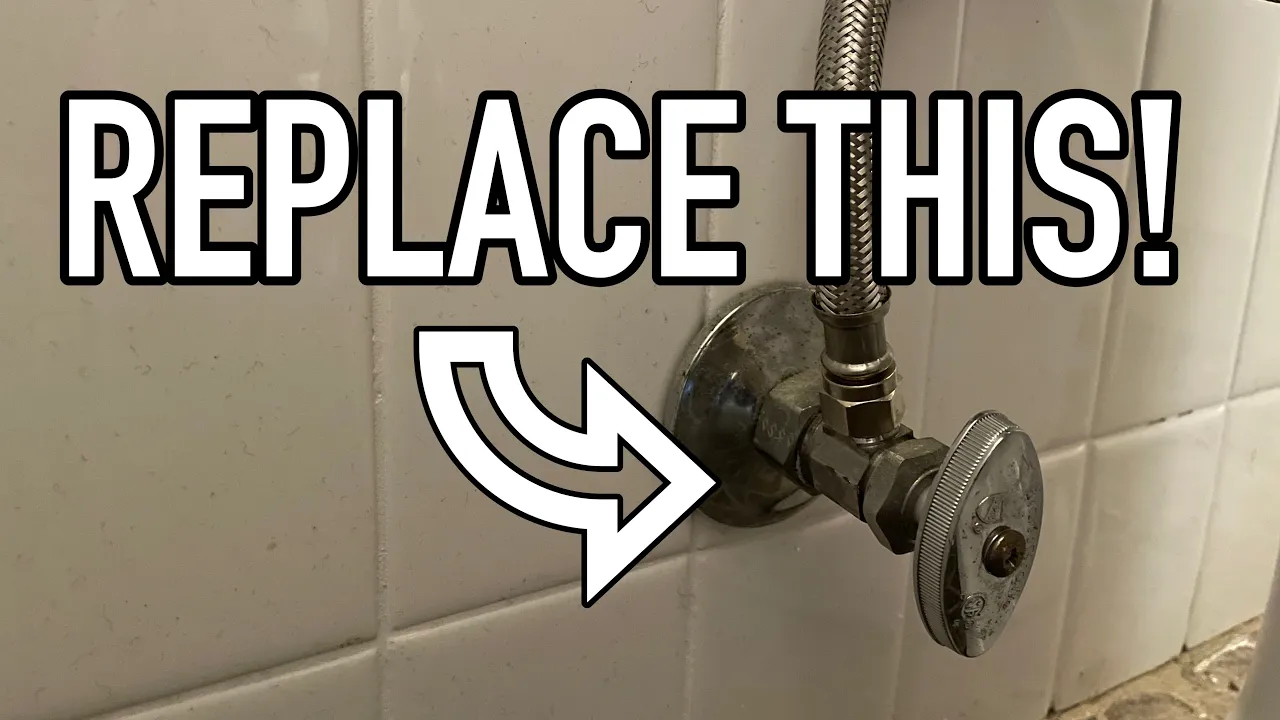
How to Replace a Leaky Angle Stop (Shutoff Valve) Under Your Sink
About This Project
This guide provides comprehensive, step-by-step instructions for replacing a leaky compression-style angle stop valve located under a sink. The process covers shutting off the main water supply, removing the old valve and its compression fittings from a copper pipe, preparing the pipe surface, and installing a new, more reliable quarter-turn angle stop. The final steps involve reconnecting the faucet supply line and carefully checking for leaks to ensure a durable, water-tight repair.
Best for advanced DIYers and professionals with basic plumbing knowledge.
Tools & Materials

Bucket
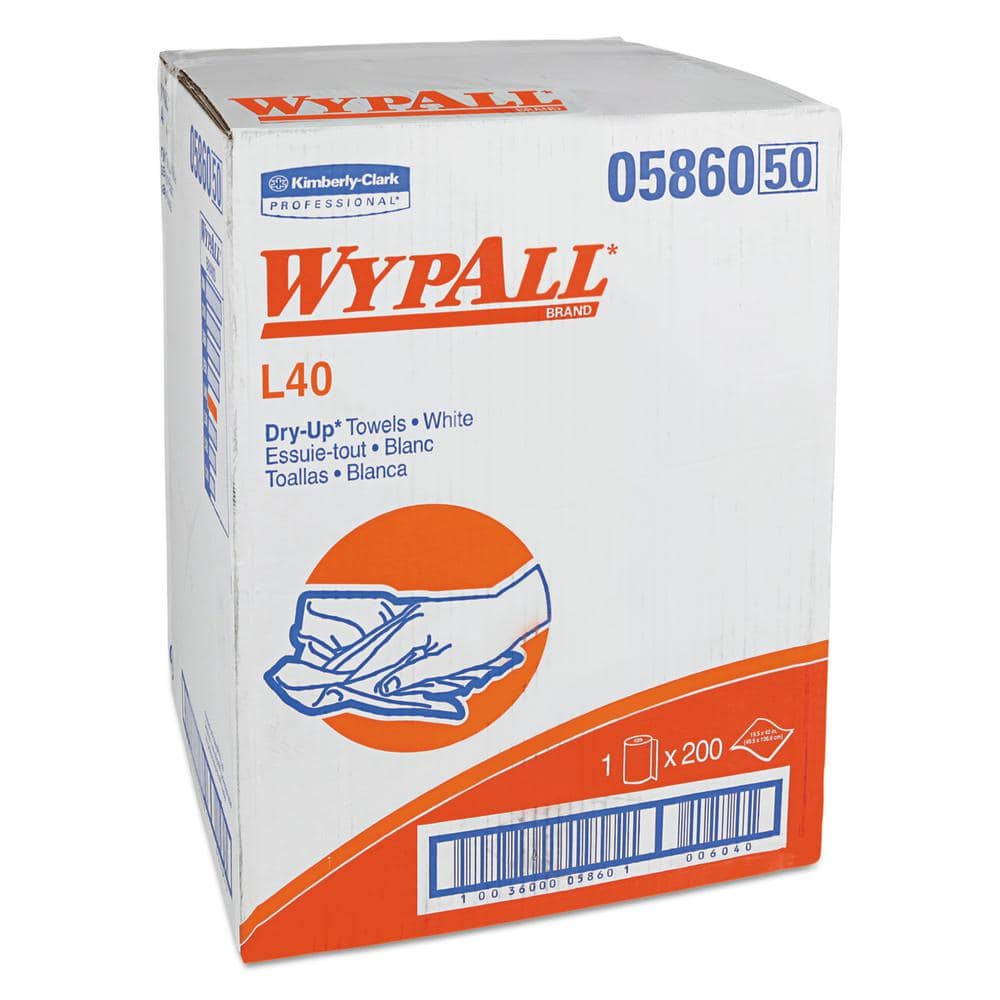
WYPALL L40 Towels, Dry Up Towels, 19-1/2 in. x 42 in., White, 200 Towels/Roll KCC05860
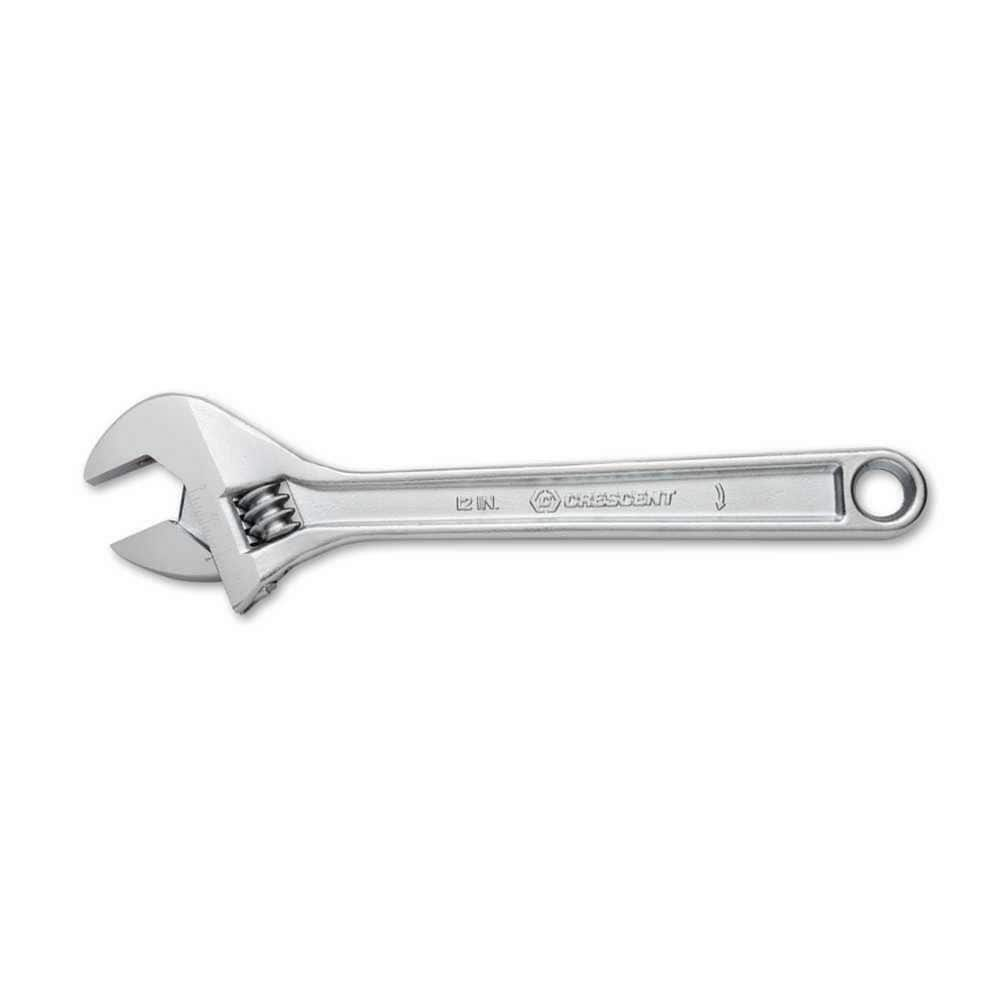
Crescent 12 in. Chrome Adjustable Wrench AC212VS

Channellock 10 in. Tongue and Groove Plier 430
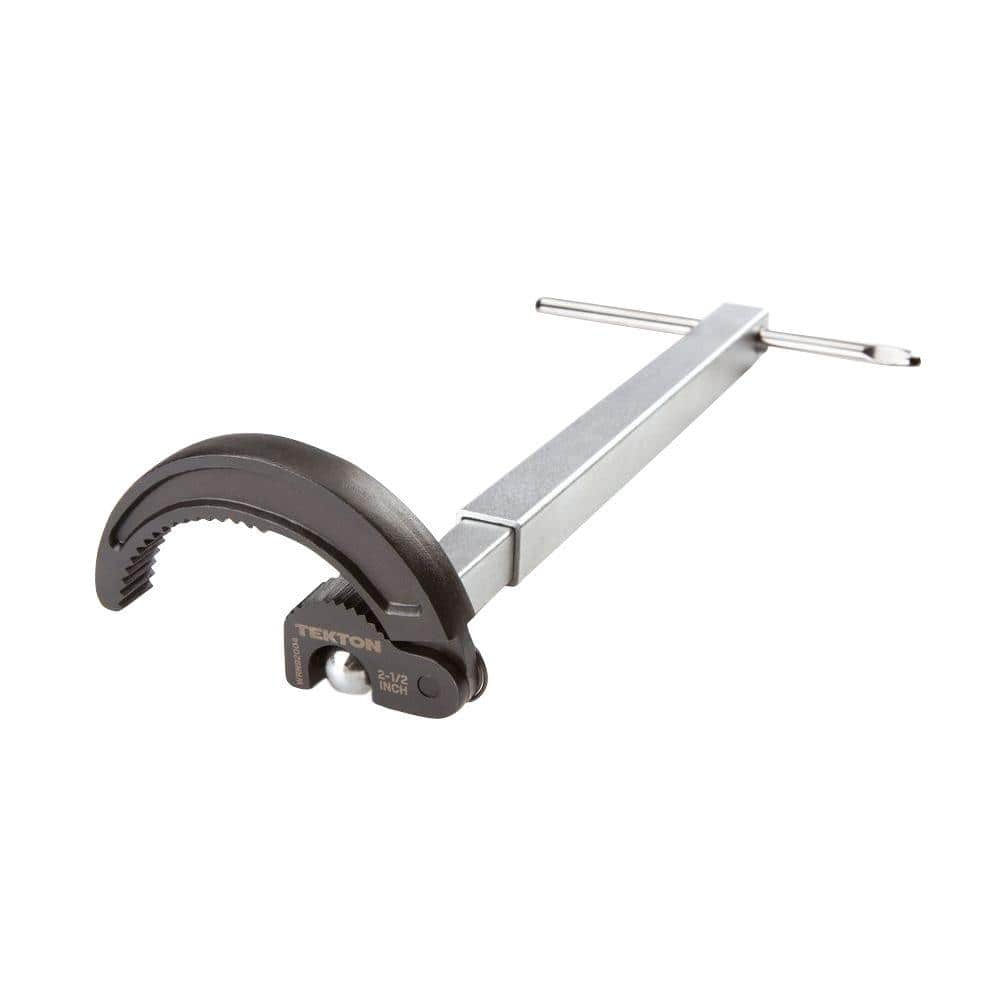
TEKTON 10 in. to 17 in. Telescoping 7/8 - 2-1/2 in. Basin Wrench WRN92004

HDX 5 qt. Small Mixing Bucket 05QHDX55024
Bucket
Ideal for carrying or storing liquids.
WYPALL L40 Towels, Dry Up Towels, 19-1/2 in. x 42 in., White, 200 Towels/Roll KCC05860
WYPALL L40 Wipers are effective wipers that absorb liquids lightning-fast. These wipes are made of bonded cellulose using DRC (double re-creped) technology for strength, softness and absorbency. As a wiping cloth, it soaks up liquids fast, but all you'll feel is softness, thanks to a plush, touchable outer layer. In fact, it's a popular choice for patient wiping in healthcare industries, for bathing and patient drying. These utility wipes are specially designed to absorb liquids, lubricants and oils (in restaurants for wiping counters, in mechanic shops, industrial and commercial factories and more), yet they're soft enough for use on face and hands. Experience the difference in superior absorbency and cleaning at your home or office today. Towel/Wipe Type: Dry Wipes; Application: Bathrooms; Material(s): Cloth-Like; Number of Plies: 1.
Crescent 12 in. Chrome Adjustable Wrench AC212VS
Since the introduction of the original Crescent wrench in the early 1900s, the Crescent brand has become synonymous with adjustable wrenches. Crescent Adjustable Wrenches feature a large knurl for easy
Channellock 10 in. Tongue and Groove Plier 430
The Channellock 10 in. Straight Jaw Tongue and Groove Pliers are constructed with high-carbon steel and fashioned with laser heat-treated teeth for strong, nonslip jaw action. Undercut tongue-and-groove
TEKTON 10 in. to 17 in. Telescoping 7/8 - 2-1/2 in. Basin Wrench WRN92004
Uniquely designed for easy, one-handed operation in confined areas, the TEKTON Telescoping Basin Wrench takes the frustration out of under-sink work. Ideal for larger nuts and retaining collars on faucets,
HDX 5 qt. Small Mixing Bucket 05QHDX55024
Use the HDX Plastic bucket to serve all painting, mixing and storage needs. The bucket's compact size is ideal for large or small jobs and allows for easy storage. This reusable plastic bucket is made
Steps

Shut Off Main Water Supply and Drain Lines
5 minsThe first and most critical step is to prevent water from flowing to the work area. Locate your home's main water shutoff valve, which is often found in the basement, a crawl space, or on an exterior wall. Turn the valve clockwise until it is fully closed. To confirm the water is off and to relieve pressure, go to the lowest faucet in the house (like a basement sink) and the faucet you are working on, and open both the hot and cold taps. Let the water drain until it stops flowing. Place a small bucket and some rags under the angle stop you will be replacing to catch any remaining water.

Disconnect the Faucet Supply Line
5 minsThe faucet supply line is the flexible or rigid tube that runs from the angle stop up to the faucet. Using an adjustable wrench or basin wrench, carefully loosen the compression nut that connects this supply line to the top or side outlet of the angle stop. Turn the nut counter-clockwise. Hold the body of the angle stop with your other hand or a pair of channel lock pliers to prevent it from turning while you loosen the nut. Once loose, unscrew it by hand and gently pull the supply line away from the valve.

Remove the Old Angle Stop
5 minsNow you will remove the entire valve assembly. Place one adjustable wrench on the main body of the angle stop. Place a second adjustable wrench or pipe wrench on the pipe or nut behind it for counter-torque. This is crucial to avoid damaging the pipe in the wall. Hold the second wrench steady and use the first wrench to turn the compression nut on the angle stop counter-clockwise. It may require significant force to break it loose. Once it's loose, you should be able to unscrew the entire valve from the compression nut and slide it off the copper pipe.

Remove Old Compression Nut and Ferrule
5 minsWith the valve body removed, the old compression nut and the brass compression ring (ferrule) will remain on the copper pipe. Slide the old nut off. The ferrule is often stuck firmly in place. Sometimes you can carefully pry it off with two screwdrivers or by gripping it with pliers and twisting. If it won't budge, the safest method is to use a dedicated ferrule puller tool. As a last resort, you can very carefully cut a slot in it with a small hacksaw or rotary tool, being extremely careful not to cut into the copper pipe itself, and then split it off with a flathead screwdriver.

Clean and Prepare Pipe
5 minsOnce the old fittings are off, inspect the end of the copper pipe. It must be clean, smooth, and perfectly round for the new valve to seal. Use some emery cloth or fine-grit sandpaper to clean off any corrosion, old plumber's putty, or burrs from the last inch of the pipe. Wipe it clean with a dry rag to remove any dust or debris. The surface where the new ferrule will sit must be pristine.

Install the New Angle Stop
5 minsTake your new angle stop and unscrew the compression nut. Slide the new nut onto the cleaned copper pipe first, with its threads facing towards you. Then, slide the new brass ferrule onto the pipe, with its tapered end facing away from you (towards the wall). Push the new angle stop body onto the pipe until it seats firmly against the ferrule. Slide the nut up to the valve body and hand-tighten it. Now, using two wrenches again (one for counter-torque), tighten the compression nut an additional one-half to three-quarters of a turn past hand-tight. Do not overtighten, as this can crush the ferrule and pipe, causing a leak.

Reconnect Faucet Supply Line
5 minsWith the new angle stop securely installed, it's time to reconnect the faucet supply line. Align the supply line with the outlet port on the new valve and thread the compression nut on by hand. Make sure it's not cross-threaded. Once hand-tight, use an adjustable wrench to snug it up, typically another quarter to half turn. Again, hold the valve body with your other hand or pliers to prevent it from moving.
Restore Water and Test for Leaks
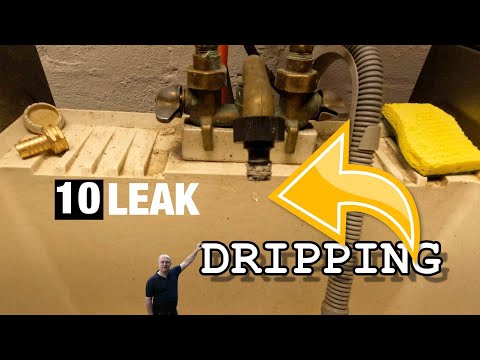
10 minsThe final step is to check your work. Ensure the new angle stop is in the closed position (for a quarter-turn valve, the handle will be perpendicular to the pipe). Go back to your main water shutoff and turn it on slowly, counter-clockwise, until it is fully open. Return to the sink and carefully inspect both connections on the new angle stop (the one at the wall and the one to the supply line) for any drips. Use a dry paper towel to wipe the connections; it will make even the smallest drop of water visible. If there are no leaks, slowly turn the handle on the new angle stop to the open position. Then, check for leaks again. Finally, turn on the faucet to let any air out of the lines and check for proper flow.
Common Problems
Stuck shutoff valves can break if forced, causing major water damage.
Solution: If the shutoff valves are stuck, do not force them. You may need to shut off the main water supply to the house instead.
If the shutoff valves are seized or do not fully stop the water flow, you will need to turn off the main water supply to your home before proceeding.
Solution: To avoid this issue: Be mindful of this warning and take appropriate precautions.
If you cannot find or operate the shutoff valves under the sink, you will need to shut off the main water valve for the entire house.
Solution: To avoid this issue: Be mindful of this warning and take appropriate precautions.
Water spills and a wet floor during valve replacement.
Solution: Keep a towel handy to clean up any spills immediately.
Failure to open the valve after shutting off the water can lead to damage during disassembly, as pressure can still be trapped inside.
Solution: To avoid this issue: Be mindful of this warning and take appropriate precautions.
Turn the water back on slowly. A sudden burst of pressure could cause a loose connection to fail.
Solution: To avoid this issue: Be mindful of this warning and take appropriate precautions.
Sudden water surges can damage plumbing when replacing an angle stop.
Solution: Turn the valves on slowly to prevent a sudden surge of water pressure, which could damage the plumbing.
Frequently Asked Questions
What's the most critical safety step before beginning the angle stop replacement?
The most critical step is always to shut off the main water supply to your house completely, not just the valve under the sink. This prevents potential flooding and ensures no water pressure is present while you're working on the pipe.
How long should a beginner expect this project to take, and what is the approximate cost?
For a beginner, this project typically takes 1 to 2 hours, allowing time for preparation and careful leak checks. The material cost is relatively low, mainly for the new angle stop and a new supply line, usually ranging from $20 to $40.
What tools do I need beyond basic wrenches for this project?
While adjustable wrenches and pliers are essential, 150-grit sandpaper is crucial for cleaning the copper pipe to ensure a good seal. You'll also need a bucket for draining water and plenty of absorbent towels (like WYPALL L40 or Scott Rags) to manage spills.
What's a common mistake beginners make that can lead to leaks after installation?
A common mistake is not thoroughly cleaning and preparing the copper pipe surface before installing the new compression fitting. Ensure the pipe is smooth, free of burrs, and clear of old compression ring residue using 150-grit sandpaper for a watertight seal.
Are there easier alternative valve types if I'm worried about compression fittings leaking?
Yes, push-fit (like SharkBite) or crimp-style angle stops are excellent alternatives to traditional compression fittings. They can be easier to install for beginners as they typically don't require precise tightening and significantly reduce the risk of leaks due to improper compression.
After everything is reconnected, what's the best way to ensure there are no leaks?
Slowly turn on the main water supply, then open the faucet to release air and normalize pressure. Carefully inspect all connections, especially around the new angle stop and supply line, using dry paper towels. Check periodically over the next hour to ensure no slow drips appear.


