

How to Replace a Leaky Angle Stop (Shutoff Valve) Under Your Sink
About This Project
This guide provides step-by-step instructions for replacing a leaky angle stop (shutoff valve) under a sink. The process involves shutting off the main water supply, removing the old valve from the pipe stub-out, cleaning the pipe, installing a new quarter-turn angle stop with a compression fitting, and carefully checking for leaks.
Best for experienced DIYers and homeowners with some experience with basic plumbing knowledge. Requires Energizer Vision HD Pro 550 Lumen LED Headlamp ENHDEB32H.
Tools & Materials
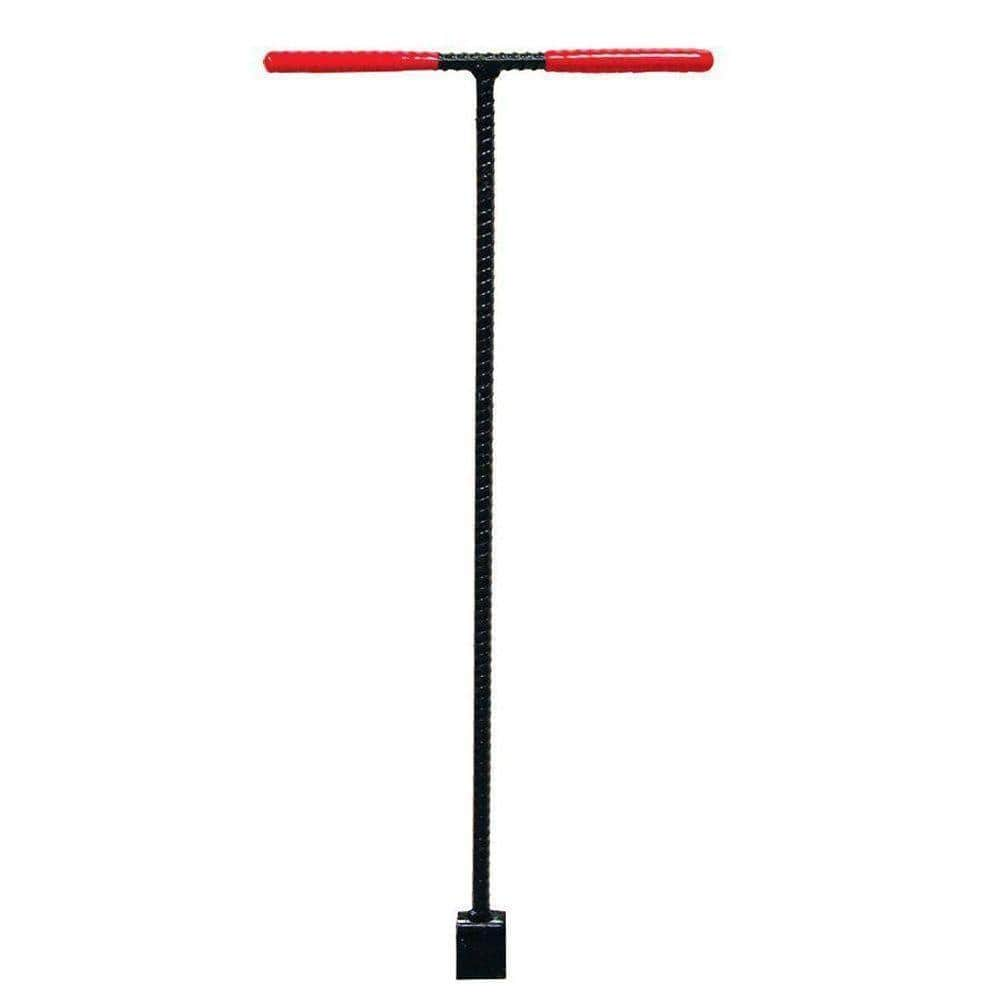
36 in. Solid Steel Water Meter Valve Key with Grips 410-303-0111

Energizer Vision HD Pro 550 Lumen LED Headlamp ENHDEB32H

Adjustable Wrench

Bucket
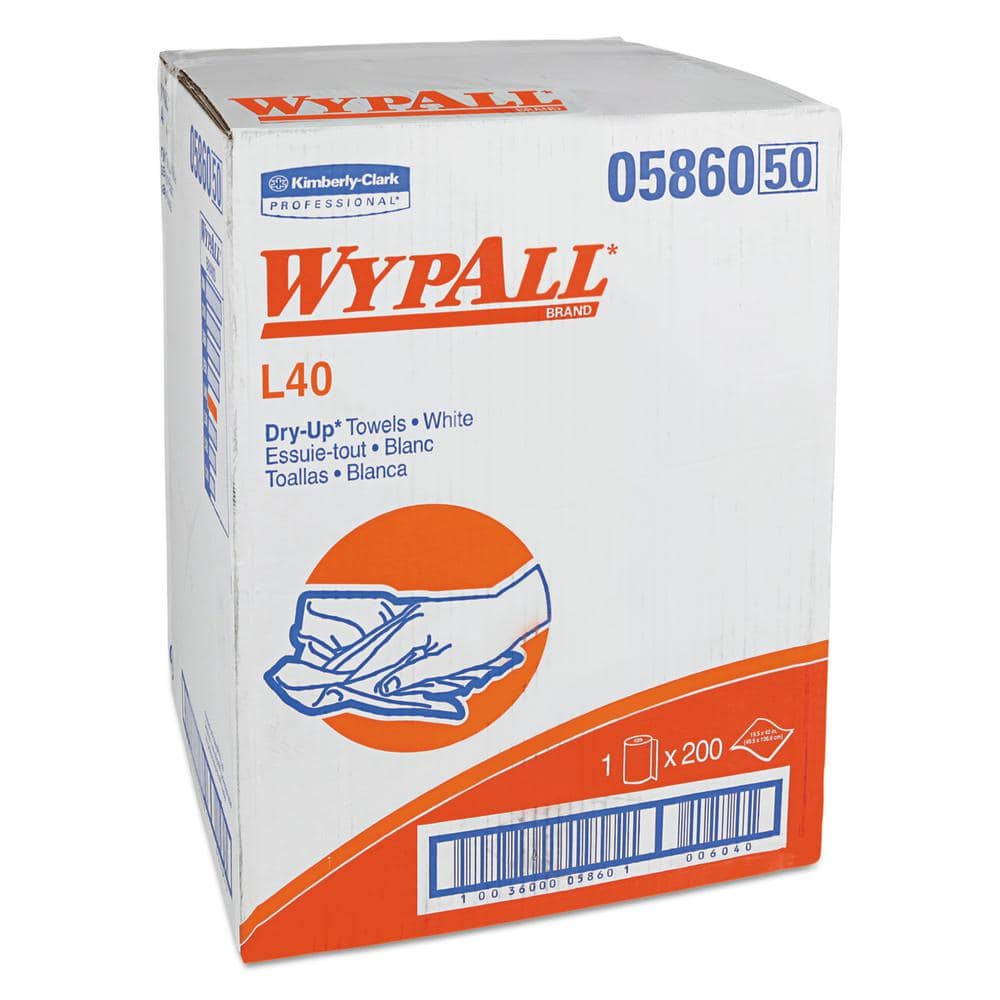
WYPALL L40 Towels, Dry Up Towels, 19-1/2 in. x 42 in., White, 200 Towels/Roll KCC05860

Channellock 12 in. V-Jaw Tongue and Groove Pliers 442
36 in. Solid Steel Water Meter Valve Key with Grips 410-303-0111
This water meter valve wrench turns on and off the main water supply valve for a house or building. Its extended 36 in. length is ideal for reaching into shallow meter/valve boxes that are less than 30
Energizer Vision HD Pro 550 Lumen LED Headlamp ENHDEB32H
Energizer Vision HD Pro 550-Lumen LED Headlamp packs outstanding performance into a compact LED headlamp with innovative features. Aim bright light onto your projects or activities-indoors or outdoors-from
Adjustable Wrench
Fits various nut and bolt sizes with its adjustable jaw.
Bucket
Ideal for carrying or storing liquids.
WYPALL L40 Towels, Dry Up Towels, 19-1/2 in. x 42 in., White, 200 Towels/Roll KCC05860
WYPALL L40 Wipers are effective wipers that absorb liquids lightning-fast. These wipes are made of bonded cellulose using DRC (double re-creped) technology for strength, softness and absorbency. As a wiping cloth, it soaks up liquids fast, but all you'll feel is softness, thanks to a plush, touchable outer layer. In fact, it's a popular choice for patient wiping in healthcare industries, for bathing and patient drying. These utility wipes are specially designed to absorb liquids, lubricants and oils (in restaurants for wiping counters, in mechanic shops, industrial and commercial factories and more), yet they're soft enough for use on face and hands. Experience the difference in superior absorbency and cleaning at your home or office today. Towel/Wipe Type: Dry Wipes; Application: Bathrooms; Material(s): Cloth-Like; Number of Plies: 1.
Channellock 12 in. V-Jaw Tongue and Groove Pliers 442
CHANNELLOCK 442 12" Tongue & Groove Pliers feature a unique v-jaw design that creates more points of contact on round stock and tubing. These pliers are built to last with a PERMALOCK fastener to eliminate
Steps
Shut Off Main Water Supply
10 minsBefore starting any work, you must shut off the water to the entire house. Locate your main water shutoff valve, which is typically found in a basement, crawl space, or utility closet near where the water service enters your home. Turn the valve handle clockwise until it is fully closed. To drain the water remaining in the system, open a faucet on the lowest level of your home (like a basement sink) and another on the highest level. This will relieve pressure and minimize water spillage when you remove the old valve.

Prepare Work Area & Disconnect Supply Line
5 minsPrepare your workspace under the sink. Clear out any cleaning supplies or other items to create ample room to maneuver. Place a bucket directly beneath the angle stop you are replacing to catch residual water. Have several old towels ready to absorb any spills. Using an adjustable wrench, grip the nut connecting the flexible faucet supply line to the top of the angle stop. Turn the nut counter-clockwise to loosen it. Once it's loose, you can typically unscrew it the rest of the way by hand and pull the supply line away from the valve.
Remove the Old Angle Stop
10 minsThis step requires two wrenches to avoid damaging the pipe. Use a pair of channel-lock pliers or one adjustable wrench to grip the body of the angle stop firmly to hold it steady. Use a second adjustable wrench to grip the large compression nut that secures the valve to the copper pipe coming out of the wall. Turn the second wrench counter-clockwise to loosen the nut. This may require considerable force. Once the initial seal is broken, you should be able to unscrew the nut by hand and slide the entire old angle stop off the pipe.

Clean Pipe & Remove Old Hardware
15 minsWith the old valve removed, slide the old compression nut off the pipe. You will see a small brass ring, the ferrule (or compression sleeve), on the pipe. It is best practice to remove this and use the new one that comes with your new valve. A dedicated compression sleeve puller is the ideal tool for this, as it removes the sleeve without damaging the pipe. If you don't have one, you can try carefully cutting a slot in it with a small hacksaw (being careful not to cut the pipe) or prying it off. Once the old hardware is removed, take a piece of emery cloth and thoroughly clean the end of the copper pipe until it is bright and smooth. This creates a clean surface for the new seal.

Install New Angle Stop
5 minsTake your new quarter-turn angle stop and disassemble it. Slide the new compression nut onto the cleaned pipe first, making sure the threads are facing out (towards you). Next, slide the new brass ferrule onto the pipe. The tapered end of the ferrule should face towards the valve. Now, push the body of the new angle stop onto the pipe until it fits snugly against the ferrule. Slide the compression nut up to the valve and thread it on by hand until it is finger-tight.

Tighten the Connections
10 minsJust as with removal, use two wrenches for tightening. Hold the body of the new angle stop steady with channel-lock pliers or an adjustable wrench. Use a second adjustable wrench to tighten the compression nut. The general rule is to tighten one full (360-degree) turn past finger-tight. This compresses the ferrule onto the pipe, creating the seal. Do not over-tighten. Once the valve is secure, re-attach the faucet supply line to the outlet on the new angle stop. Hand-tighten the nut, then use an adjustable wrench to give it a final quarter-turn.

Restore Water and Check for Leaks
15 minsFirst, make sure the new angle stop is in the closed position (for a quarter-turn valve, the handle will be perpendicular to the pipe). Go back to the main water shutoff and turn it on *slowly* by rotating the handle counter-clockwise. This prevents a water hammer shock to your pipes. Return to the sink and use a flashlight and a dry paper towel to meticulously inspect the new valve. Wipe down the compression nut and supply line connection; the paper towel will make even a tiny bead of water obvious. If everything is dry, turn the handle on the new angle stop to the open position (parallel to the pipe). Turn on the faucet to bleed air from the line. Check one last time for any leaks around the valve stem and connections.
Common Problems
Failure to completely shut off the water can result in significant water flow and potential flooding when you disassemble the faucet.
Solution: To avoid this issue: Be mindful of this warning and take appropriate precautions.
Failure to shut off the water supply will result in significant water leakage and potential property damage.
Solution: To avoid this issue: Be mindful of this warning and take appropriate precautions.
Failure to depressurize the system can result in significant water spray and potential flooding when you attempt to open the filter housings.
Solution: To avoid this issue: Be mindful of this warning and take appropriate precautions.
If the old ferrule is stuck, you may need a special ferrule puller tool to remove it without damaging the pipe.
Solution: To avoid this issue: Be mindful of this warning and take appropriate precautions.
Twisting or damaging the copper pipe when replacing the angle stop.
Solution: Always use two wrenches in opposition to each other. This prevents twisting or damaging the copper pipe coming out of the wall.
Turn the water on slowly. This reduces the risk of a high-pressure spray if a connection is loose.
Solution: To avoid this issue: Be mindful of this warning and take appropriate precautions.
Do not crimp or bend the copper tubing at a sharp angle, as this can restrict water flow or cause a weak point.
Solution: To avoid this issue: Be mindful of this warning and take appropriate precautions.
Frequently Asked Questions
What's the absolute first thing I should do to ensure safety and prevent water damage before starting?
The most critical first step is to shut off the main water supply to your house. After that, open the nearest faucet (or the faucet above the angle stop you're replacing) to drain any residual water from the lines and relieve pressure, minimizing spills during the replacement.
Is this project genuinely suitable for a beginner, and is the 3-hour estimate realistic for someone new to plumbing?
Yes, this project is considered beginner-friendly as it doesn't require advanced plumbing skills like soldering. The 3-hour estimate is realistic, accounting for preparation, potential challenges like corroded parts, careful installation, and thorough leak checking, which is crucial for a successful outcome.
Do I really need all the specialized wrenches and pliers listed, or can I manage with basic tools?
While an adjustable wrench is essential, the Channellock pliers (like the 12 in. V-Jaw Tongue and Groove) are highly recommended. They provide superior grip, especially on older, potentially rounded or stuck nuts, preventing frustration and potential damage. A good flashlight is also invaluable for seeing into tight, dark spaces under a sink.
What's the most common mistake beginners make that leads to leaks after installing the new angle stop?
The most common mistake is improper installation of the compression fitting. Ensure the pipe stub-out is clean and smooth, and the compression nut is tightened correctly. Tighten it firmly by hand, then use a wrench for another 1/2 to 3/4 turn – overtightening can crush the ferrule, while undertightening will leak.
Why is a 'quarter-turn angle stop with a compression fitting' specifically recommended, and are there other types I should avoid?
The quarter-turn compression fitting is recommended for its ease of installation (no soldering needed), quick operation, and generally better reliability over older multi-turn gate valves. Avoid older multi-turn valves as they can seize up or leak more easily over time. Also, ensure you're getting a compression type, not a sweat (soldered) or push-to-connect fitting unless you're experienced with those.
How do I ensure I buy the correct replacement angle stop size and type before I start disassembling anything?
Before purchasing, carefully inspect your existing angle stop. You'll need to know the diameter of the pipe coming out of the wall (usually 1/2 inch) and the diameter of the supply line that connects to your faucet (commonly 3/8 inch or 1/4 inch). This information will be used to buy a new angle stop with the correct inlet and outlet compression sizes, e.g., '1/2 in. Comp x 3/8 in. Comp'.


