
How to Replace a Kitchen Sink Sprayer and Hose
About This Project
This guide provides comprehensive, step-by-step instructions for removing an old or faulty kitchen sink side sprayer and hose, and installing a new replacement kit. The process involves working underneath the kitchen sink to disconnect the old hose, remove the sprayer assembly, install the new components, and test for leaks.
Best for experienced DIYers and homeowners with some experience with basic plumbing knowledge.
Tools & Materials

Bucket
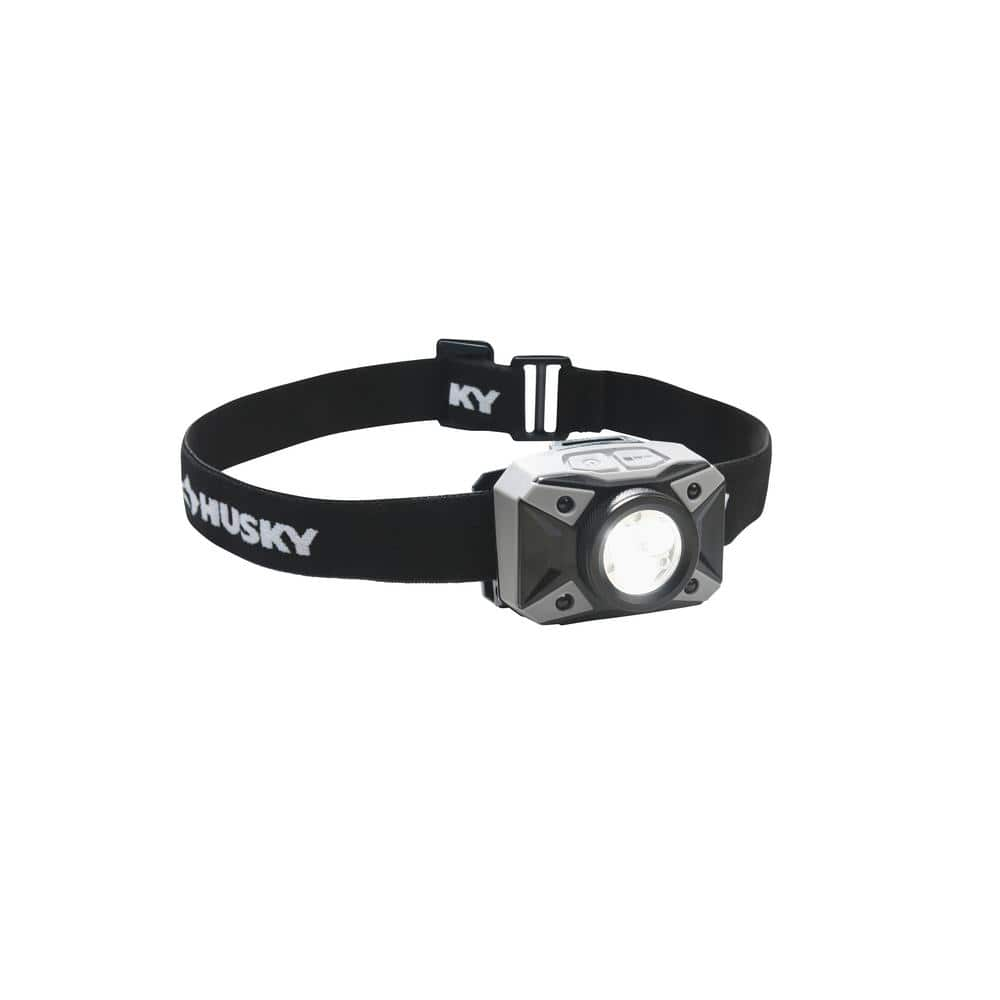
Husky 500-Lumens Dual Beam LED Headlamp 5 modes Impact and Water Resistant with Batteries HSK1PK500LHL
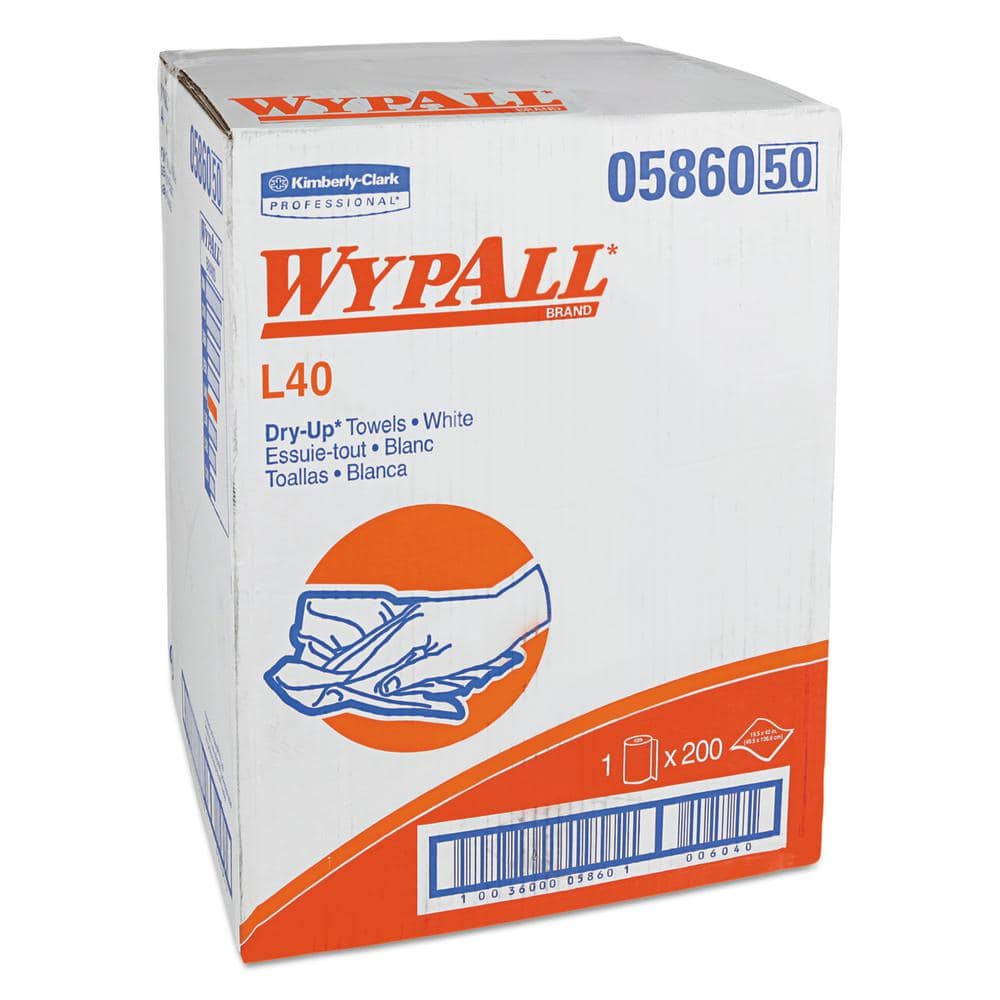
WYPALL L40 Towels, Dry Up Towels, 19-1/2 in. x 42 in., White, 200 Towels/Roll KCC05860

FRESHFOLDS Orange 6-Piece Cotton Quick-Dry Bath Towel Set EC100706
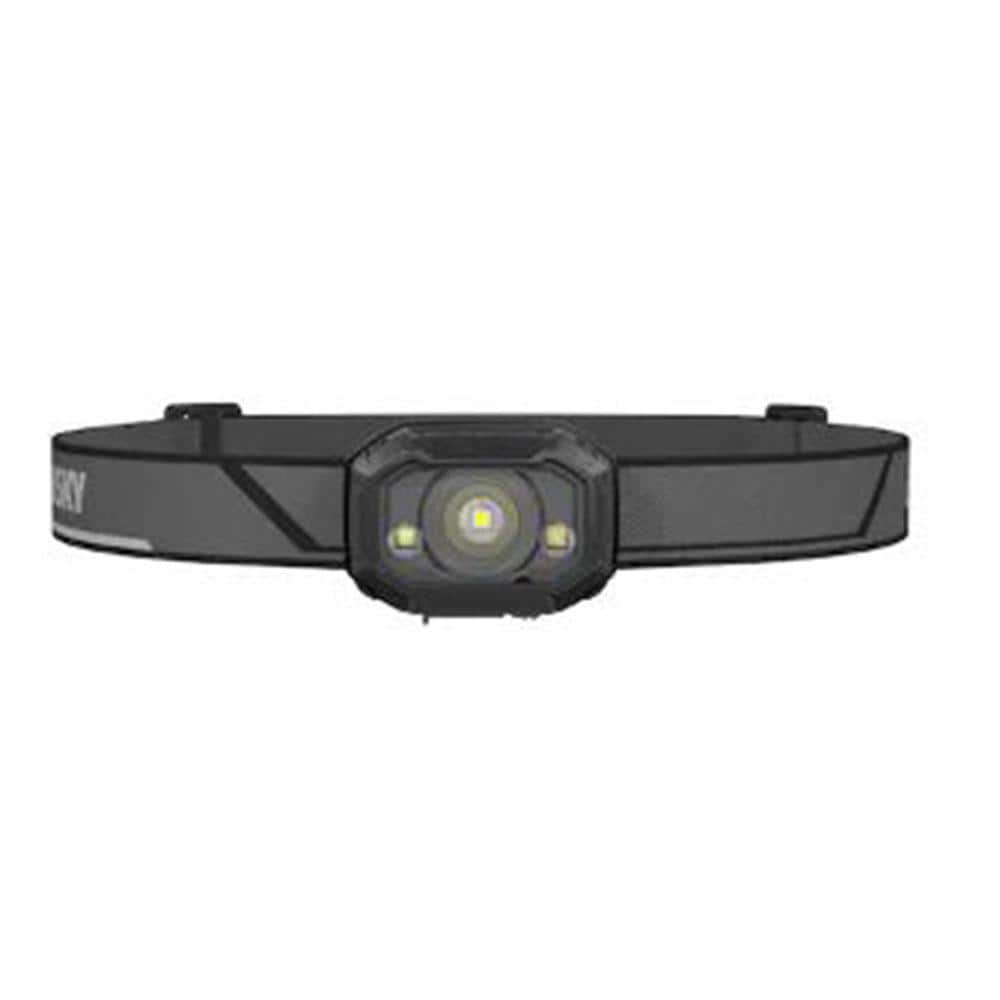
Husky 400 Lumens LED Micro Rechargeable Headlamp PVL-HLP-0004
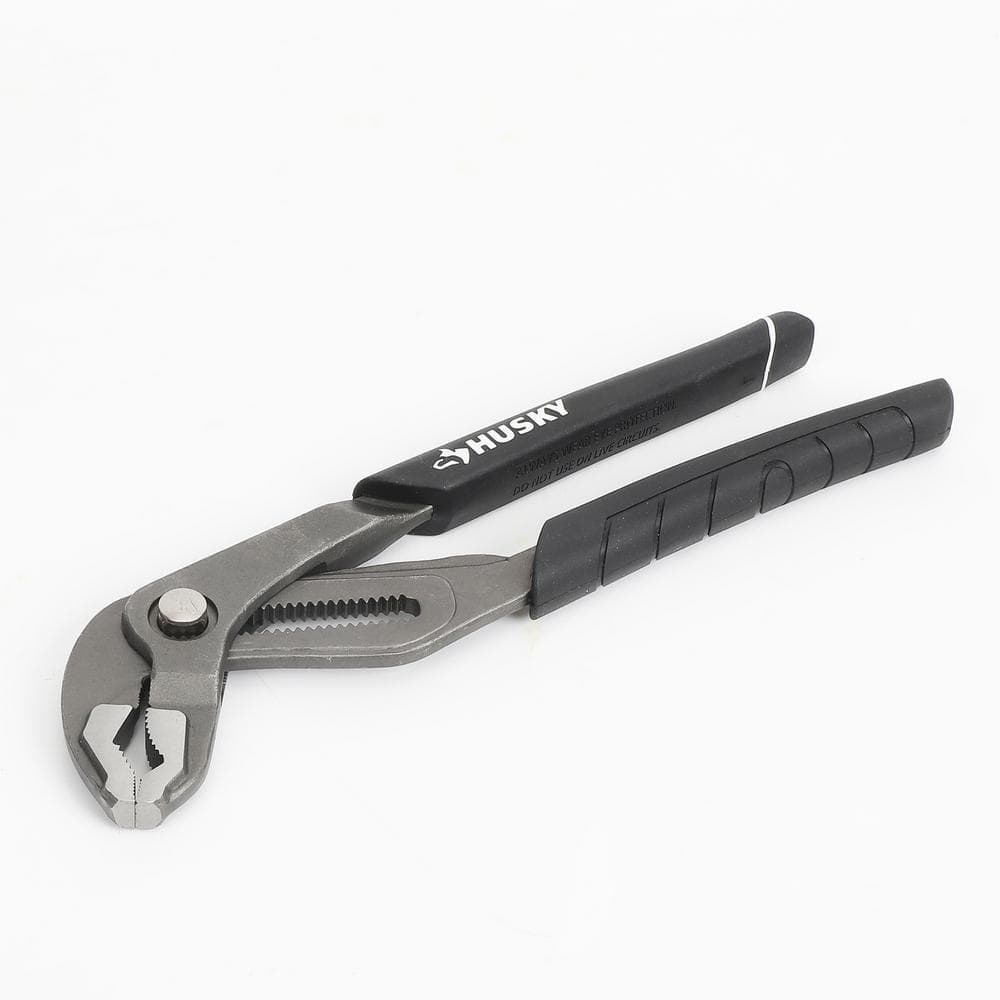
Husky 10 in. Quick Adjusting Groove Joint Pliers with Curved Jaw 90141
Bucket
Ideal for carrying or storing liquids.
Husky 500-Lumens Dual Beam LED Headlamp 5 modes Impact and Water Resistant with Batteries HSK1PK500LHL
The husky 500-lumen dual beam LED headlamp offers both brightness and functionality. It is equipped with multi-color dual beams for any situation. The dual beam switches from flood to spot with a dual
WYPALL L40 Towels, Dry Up Towels, 19-1/2 in. x 42 in., White, 200 Towels/Roll KCC05860
WYPALL L40 Wipers are effective wipers that absorb liquids lightning-fast. These wipes are made of bonded cellulose using DRC (double re-creped) technology for strength, softness and absorbency. As a wiping cloth, it soaks up liquids fast, but all you'll feel is softness, thanks to a plush, touchable outer layer. In fact, it's a popular choice for patient wiping in healthcare industries, for bathing and patient drying. These utility wipes are specially designed to absorb liquids, lubricants and oils (in restaurants for wiping counters, in mechanic shops, industrial and commercial factories and more), yet they're soft enough for use on face and hands. Experience the difference in superior absorbency and cleaning at your home or office today. Towel/Wipe Type: Dry Wipes; Application: Bathrooms; Material(s): Cloth-Like; Number of Plies: 1.
FRESHFOLDS Orange 6-Piece Cotton Quick-Dry Bath Towel Set EC100706
This cotton towel is quick-drying, absorbent and features a soft cotton popcorn texture. These towels are low-twist and two-ply, so the fibers are thicker and more durable. The weave allows for more air
Husky 400 Lumens LED Micro Rechargeable Headlamp PVL-HLP-0004
The Husky 400 Lumens Micro Rechargeable Headlamp packs superior brightness in a compact size. This rechargeable headlamp provides crisp, clean color illumination. The headlamp has 8-light modes, including
Husky 10 in. Quick Adjusting Groove Joint Pliers with Curved Jaw 90141
The Husky quick adjusting groove joint pliers are easier to adjust for the perfect fit. At the touch of a button, the jaws can be moved to quickly fit a fastener without having to guess which the appropriate
Steps

Prepare the Work Area
5 minsBegin by completely clearing out the cabinet underneath your kitchen sink. This will provide you with ample space to work. Place a bucket directly under the area where the sprayer hose connects to the faucet body to catch any residual water. It's also highly recommended to use a flashlight or a headlamp to clearly see the plumbing connections in the dark space. While not always strictly necessary for a sprayer replacement, it is best practice to turn off the hot and cold water supply by turning the handles on the shutoff valves clockwise until they stop.

Disconnect the Old Hose from the Faucet
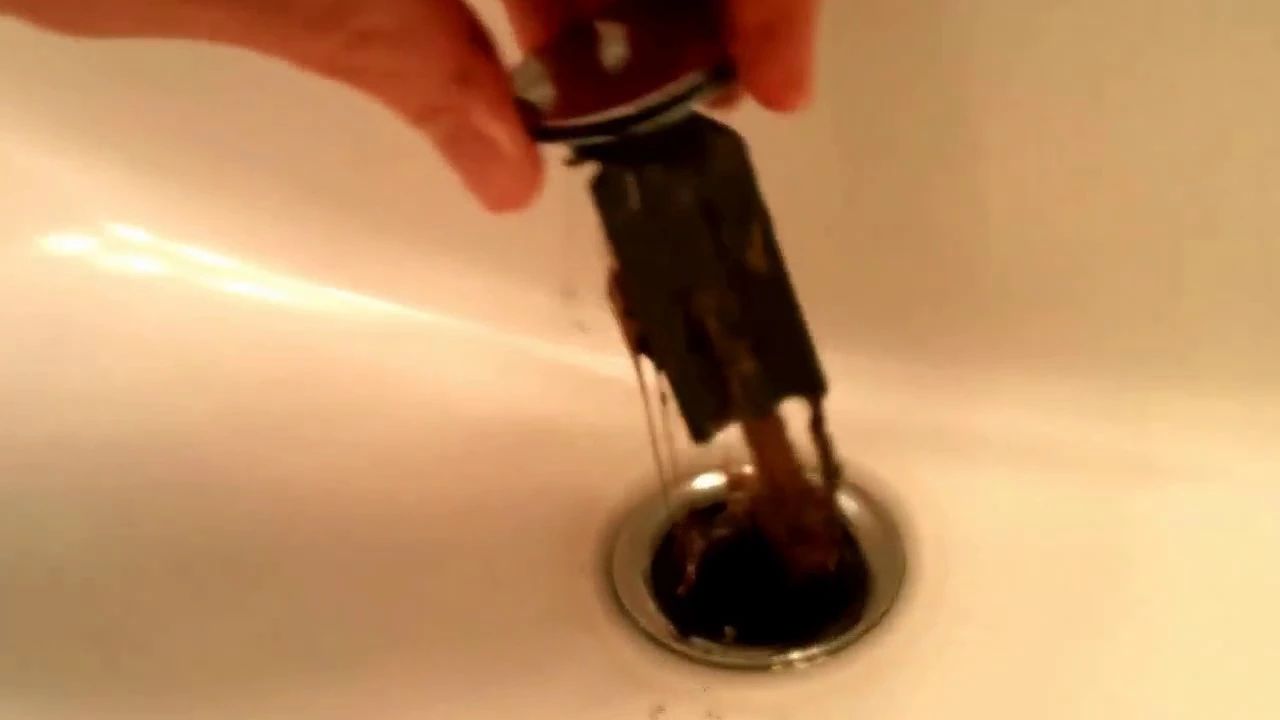
5 minsUnder the sink, locate the sprayer hose. It is typically a thinner, flexible hose connected to a diverter nipple on the main faucet body. Based on our assumption of a quick-connect fitting, you will need to disengage it. This is usually done by squeezing two tabs on the sides of the connector or by pressing down on a colored collar while simultaneously pulling the hose downward. Pull firmly but gently. The hose should detach from the faucet port. Be prepared for the water trapped in the hose to drain into your bucket.

Remove the Sprayer Assembly
10 minsNow trace the sprayer hose up to the underside of the sink deck or countertop. You will find a large plastic or brass mounting nut threaded onto the sprayer's base, holding it in place. Using a pair of adjustable or channel-lock pliers, grip the nut and turn it counter-clockwise to loosen it. If it's hard to reach, a basin wrench may be necessary. Once the nut is completely unthreaded and removed, go to the top of the sink and pull the entire sprayer head and hose assembly up and out through the hole.

Install the New Sprayer Base and Hose
5 minsBefore installing the new unit, take a moment to clean the sink surface around the sprayer hole. Take the new sprayer and hose assembly. From the top of the sink, feed the connection end of the new hose down through the hole until the base of the new sprayer is resting flush on the sink deck. From underneath the sink, slide the included rubber or plastic gasket (if provided) over the hose and up against the underside of the sink. Then, thread the new mounting nut onto the sprayer's base shank. Hand-tighten the nut firmly, then use your adjustable pliers to give it an additional quarter-turn to secure it. Ensure the sprayer head is aligned properly on top before the final tightening.

Connect the New Hose to the Faucet
2 minsTake the quick-connect end of the new hose and align it with the diverter port on the faucet body where you removed the old one. Push the connector firmly onto the port until you hear and/or feel a distinct 'click'. This click confirms that the locking mechanism is fully engaged. After connecting, give the hose a gentle but firm tug downwards to ensure it is securely attached and will not pop off under pressure.

Test the New Sprayer
5 minsWith the new sprayer fully installed, it's time to check your work. Slowly turn the water supply shutoff valves back on by turning the handles counter-clockwise. Turn on the main faucet to cold, then hot. Pull the sprayer out and press the trigger to divert water through the new hose and head. While the water is spraying, use your flashlight to carefully inspect the quick-connect fitting under the sink for any signs of dripping or leaking. Also check around the mounting nut and the base of the sprayer on the sink deck. Using a dry paper towel to wipe the connection point is an excellent way to reveal even the smallest leak.
Common Problems
Hose twists and tangles during sprayer replacement.
Solution: Grip the hose with one hand while turning the sprayer head with the other to prevent the hose from twisting.
Twisted or kinked sprayer hose due to not feeding it through first.
Solution: The reason for feeding the hose through before attaching the head is so the hose can rotate freely while you tighten the connection underneath, preventing it from getting twisted or kinked.
Sprayer hose disconnects unexpectedly during use.
Solution: Tugging gently on the hose after connection confirms the collet has engaged properly.
Hose connection leaks water if not tugged to confirm security.
Solution: Gently tug the hose after connection to ensure it is secure and prevent leaks.
Be careful not to damage the O-rings on the faucet valves when making connections.
Solution: To avoid this issue: Be mindful of this warning and take appropriate precautions.
Sprayer leaks or no water flow due to improperly connected quick-connect fittings.
Solution: Ensure both ends of the quick-connect adapter click firmly to prevent leaks and ensure proper water flow to the sprayer.
Sprayer hose gets tangled, preventing retraction.
Solution: Make sure the hose has a clear path and isn't wrapped around drain pipes or supply lines, which would prevent it from retracting correctly.
Frequently Asked Questions
Do I really need specialized tools like groove joint pliers, or can I use a standard adjustable wrench for this project?
While an adjustable wrench might work for some connections, groove joint pliers (like the Husky or Channellock ones listed) provide a superior grip and leverage, especially in the tight confines under a sink. They help prevent slipping, stripping nuts, and ensure a more secure, leak-free connection, which is crucial for plumbing tasks.
What are the most important safety precautions to take when working under the kitchen sink?
Always turn off the main water supply to your sink at the shut-off valves underneath before beginning any work to prevent accidental flooding. Place a bucket and towels (like the WYPALL or THE CLEAN STORE cloths) directly under your work area to catch residual water. Good lighting, such as a headlamp or flashlight, is essential for clear visibility and safe work in the dark cabinet.
The project is rated as 'beginner' difficulty with an estimated 3 hours. Is this realistic, and what challenges might a beginner face?
Yes, it's generally beginner-friendly as it involves disconnecting and reconnecting parts. The 3-hour estimate is reasonable for most, but working in tight, often uncomfortable spaces under the sink can be challenging. Common beginner hurdles include corroded or overtightened old connections and ensuring new connections are perfectly sealed to prevent leaks.
I've installed everything, but the new sprayer is leaking. What are the most common causes of leaks and how can I troubleshoot them?
The most common causes of leaks are improperly tightened connections or improperly seated/missing rubber washers or gaskets. First, ensure all threaded connections are snug – hand-tighten, then give a quarter to half-turn with pliers. If a leak persists, disassemble the leaking connection, inspect the washer for correct placement and condition, and re-tighten carefully.
Do I always need to replace both the sprayer and the hose, or can I just replace the faulty part?
It's generally recommended to replace both the sprayer and hose together as a kit, as they are designed to work optimally and ensure compatibility. However, if only one component is clearly damaged and you can find an exact, compatible replacement part (e.g., a DANCO Premium Sink Side Spray Hose that matches your existing sprayer), you can replace just that single part.
My old sprayer hose doesn't have a quick-connect fitting like the Valterra kit mentioned. How do I connect the new one?
Many older sprayer hoses use a threaded connection directly to a dedicated port on the faucet, secured by a large nut. You'll simply unscrew this connection to remove the old hose. The new Valterra kit's quick-connect system would then attach to the faucet's sprayer port, which typically has a receiving quick-connect fitting or can be adapted, if needed, to fit your specific faucet model.
What's the best way to prepare the workspace under the sink to make the job easier and cleaner?
Clear out all items from under the sink to create ample room to work. Lay down old towels or the WYPALL/FRESHFOLDS towels mentioned to protect the cabinet base and absorb any drips. Having a bucket readily available for draining hoses and a good headlamp or flashlight will significantly improve visibility and ease of access to connections.


