

How to Replace a Garbage Disposal and Install a Standard Sink Drain
About This Project
This project involves the complete removal of an existing kitchen garbage disposal unit and its mounting hardware, followed by the installation of a new, standard basket strainer and the associated PVC drain plumbing for a double-basin sink, including reconnecting a dishwasher drain line.
Best for experienced DIYers and homeowners with some experience with basic plumbing knowledge and familiarity with power tools. Requires HDX Indoor Safety Glasses Clear (1-Pack) VS-9300, clear and Afoxsos Black Metal Bookends for Shelves Heavy-Duty for Books and Bookend Stopper (3-Pairs) SNPH039IN366 and Safety Glasses and access to electrical panel.
Tools & Materials

Unger 6 Gal. Heavy-Duty Plastic Bucket DB02
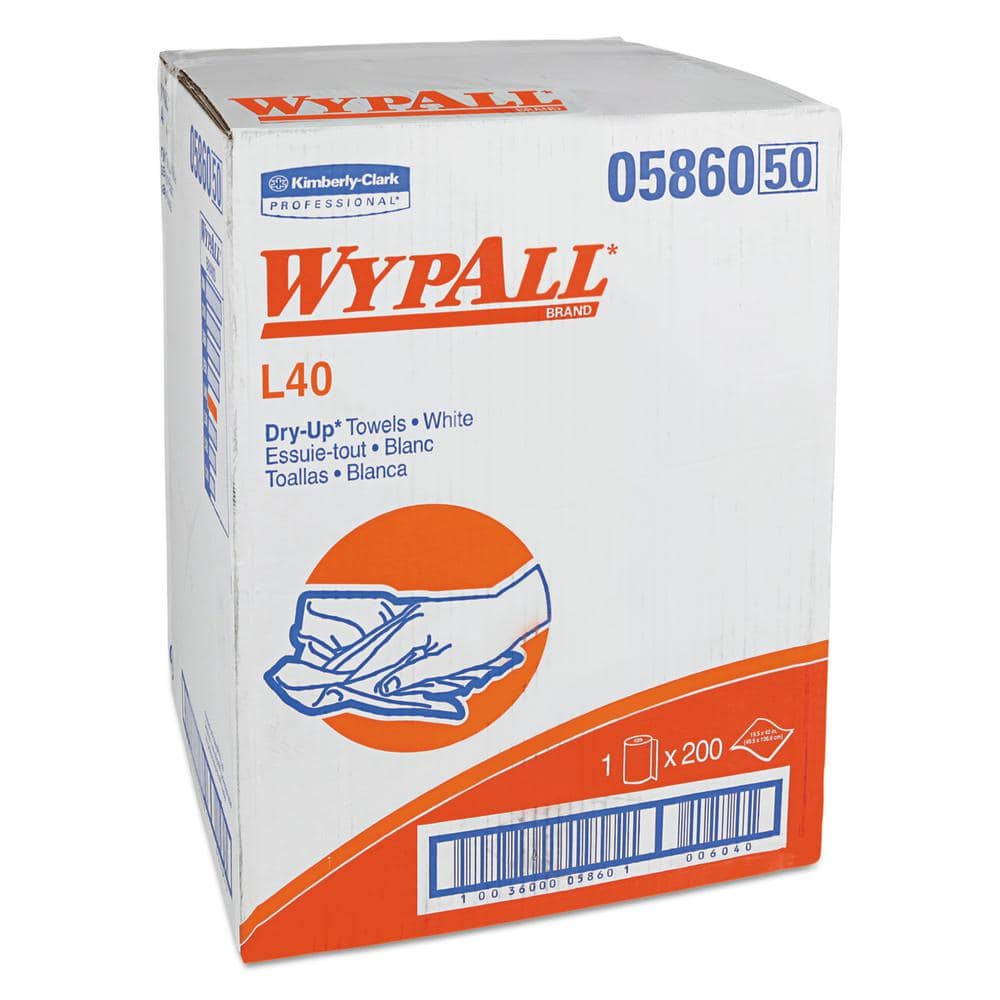
WYPALL L40 Towels, Dry Up Towels, 19-1/2 in. x 42 in., White, 200 Towels/Roll KCC05860

Coast HL27 330 Lumen LED Headlamp with Twist focus 19721

Safety Glasses
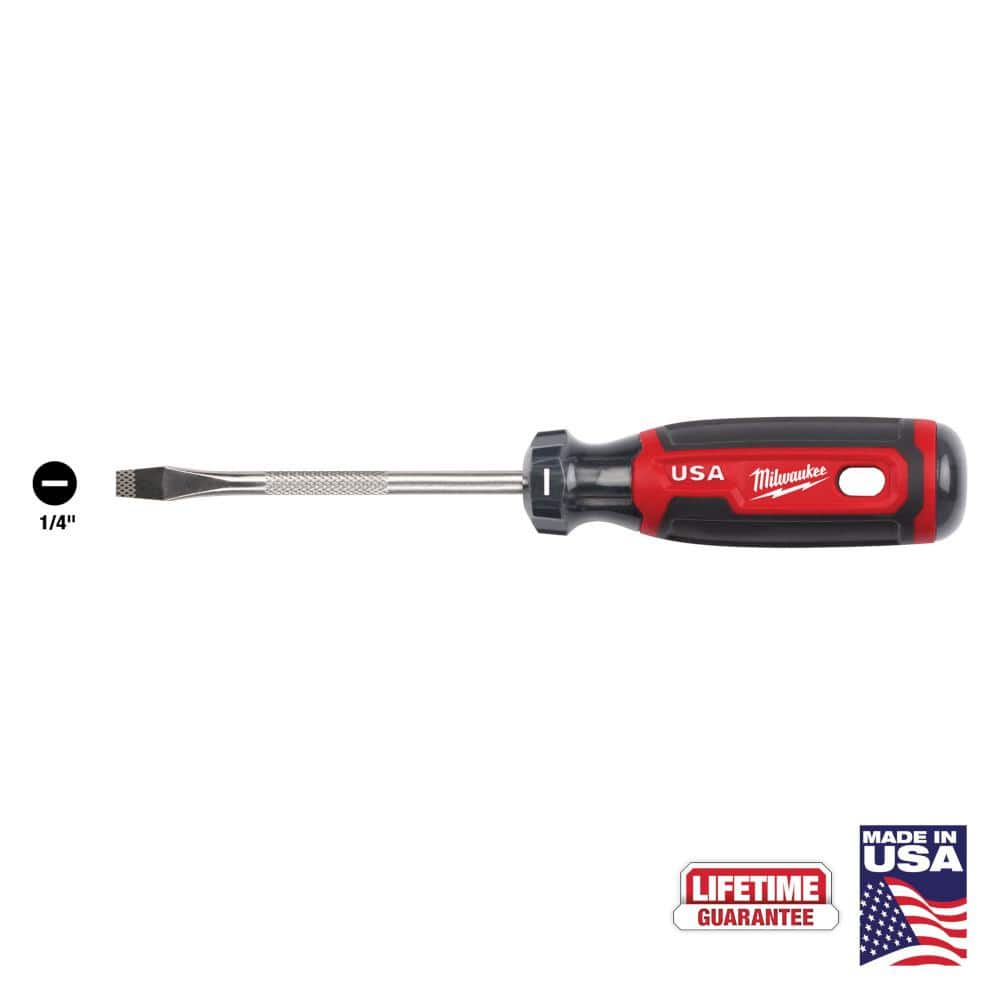
Milwaukee 4 in. x 1/4 in. Slotted Flat Head Screwdriver with Cushion Grip MT206
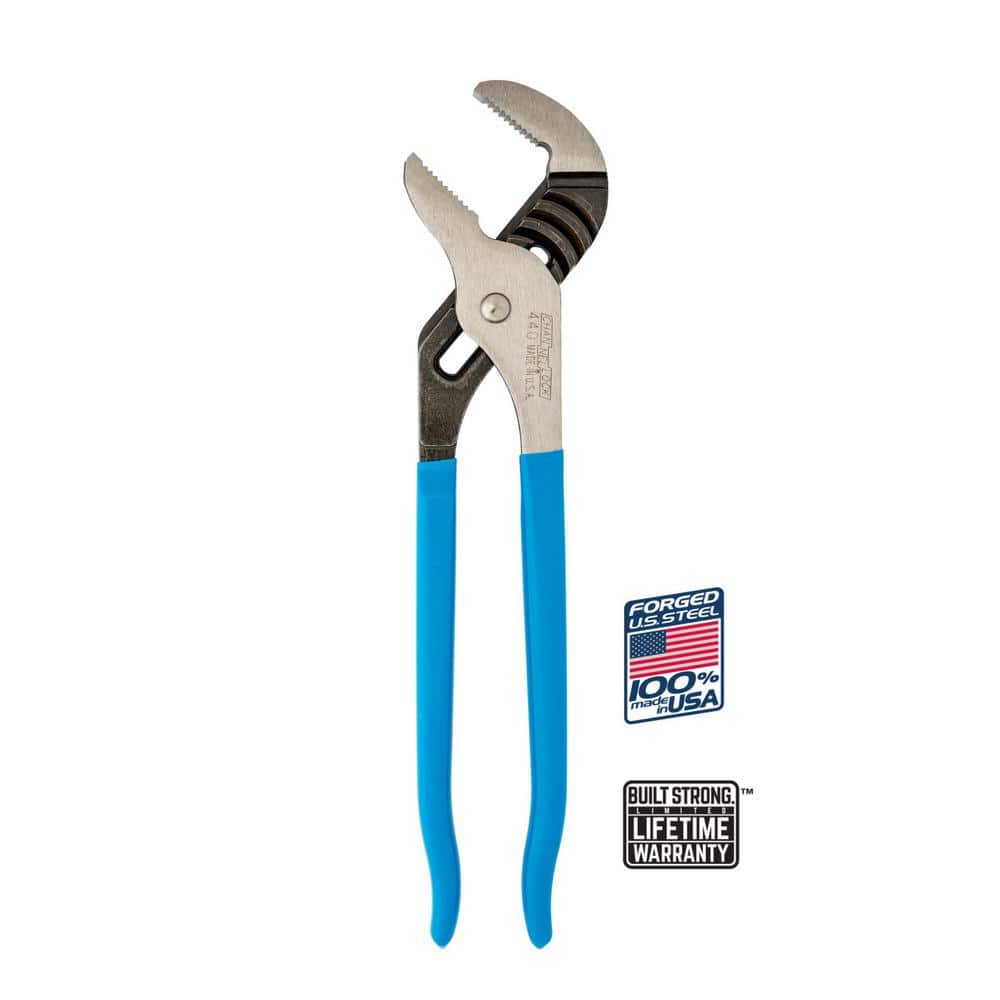
Channellock 12 in. Tongue and Groove Slip Joint Pliers 440
Unger 6 Gal. Heavy-Duty Plastic Bucket DB02
The Unger 6-Gallon Heavy-Duty Professional Cleaning Bucket holds more than 6 Gal. of liquid. The bucket can accommodate a scrubber up to 14 in. L. This bucket features measurement marks and 2-pour spouts
WYPALL L40 Towels, Dry Up Towels, 19-1/2 in. x 42 in., White, 200 Towels/Roll KCC05860
WYPALL L40 Wipers are effective wipers that absorb liquids lightning-fast. These wipes are made of bonded cellulose using DRC (double re-creped) technology for strength, softness and absorbency. As a wiping cloth, it soaks up liquids fast, but all you'll feel is softness, thanks to a plush, touchable outer layer. In fact, it's a popular choice for patient wiping in healthcare industries, for bathing and patient drying. These utility wipes are specially designed to absorb liquids, lubricants and oils (in restaurants for wiping counters, in mechanic shops, industrial and commercial factories and more), yet they're soft enough for use on face and hands. Experience the difference in superior absorbency and cleaning at your home or office today. Towel/Wipe Type: Dry Wipes; Application: Bathrooms; Material(s): Cloth-Like; Number of Plies: 1.
Coast HL27 330 Lumen LED Headlamp with Twist focus 19721
Jumping up to AA batteries, the HL27 Headlamp not only goes up in brightness but also has the light dimming on the front of the headlamp to keep all the controls in one convenient place. It gives you the ability to shine an ultra wide flood beam and then quickly twist the bezel to a long reaching spot beam with transition halo so that you can be ready for anything. With our Variable Light Control Technology onboard you can adjust the light output with the control wheel to any point between the lowest low and the highest high so you can have highly personalized output and runtimes. With Coast's commitment to quality, the HL27 Headlamp is impact resistant, weather resistant and its LED is virtually unbreakable. The HL27 Headlamp is backed by Coast's lifetime warranty against defects in materials and workmanship. Tested and rated to ANSI/FL1 standards.
Safety Glasses
Keeps eyes safe from potential hazards.
Milwaukee 4 in. x 1/4 in. Slotted Flat Head Screwdriver with Cushion Grip MT206
The Milwaukee® 1/4" Slotted 4" Cushion Grip Screwdrivers (USA) are manufactured to give the professional the best-fitting screwdriver with max grip. These screwdriver tips are custom machined to deliver
Channellock 12 in. Tongue and Groove Slip Joint Pliers 440
The Channellock 12 in. Straight Jaw Tongue and Groove Pliers are constructed with high-carbon C1080 steel. The tool is fashioned with laser heat-treated teeth that clamp down perpendicularly for strong,
Steps

Prepare the Work Area and Ensure Safety
15 minsBegin by ensuring the work area is safe and prepared. Turn off the dedicated circuit breaker for the garbage disposal in your home's main electrical panel. As a secondary precaution, unplug the disposal's power cord from the outlet under the sink. Clear out all items from the cabinet under the sink to give yourself ample room to work. Place a bucket directly under the P-trap and disposal drain outlet to catch any residual water. Lay down several old towels to absorb any spills and protect the cabinet floor. Wear your safety glasses to protect your eyes from debris and water drips.

Disconnect Plumbing Connections
20 minsWith the bucket in position, locate the dishwasher drain hose, which is typically a flexible, ribbed hose connected to a side inlet on the garbage disposal. Use a flathead screwdriver or pliers to loosen the hose clamp and carefully pull the hose off the disposal's inlet port. Tuck the hose upward to prevent water from siphoning out. Next, identify the large slip nuts connecting the P-trap assembly to the disposal's discharge pipe and the main drain line in the wall. Using channel-lock pliers, turn these nuts counter-clockwise to loosen and disconnect the P-trap. Some water will drain out, so be ready with your bucket.

Remove the Garbage Disposal Unit
15 minsGarbage disposals are heavy. Support the unit from below with one hand or prop it up on a stack of books or a block of wood. Locate the mounting ring at the very top of the disposal where it connects to the sink flange. Insert the tip of your disposal wrench (or a large flathead screwdriver) into one of the lugs on the lower mounting ring. Turn the ring counter-clockwise about a quarter-turn until it disengages from the ramps on the upper mounting ring. The disposal will drop slightly. Carefully lower the heavy unit and remove it from the cabinet.

Remove Old Mounting Assembly
20 minsFrom underneath the sink, use a screwdriver to loosen the three screws on the mounting assembly. Once loose, use a flathead screwdriver to pry off the metal snap ring that holds the assembly together. Be careful as the ring can be under tension. With the snap ring removed, all parts of the mounting assembly (mounting ring, backup flange) will come off. From inside the sink bowl, push the old sink flange up and out from underneath. Use a putty knife to scrape away all the old, hardened plumber's putty from the sink's drain opening. Clean the area thoroughly with a rag and cleaner to ensure a good seal for the new drain.

Install New Sink Strainer
25 minsTake a generous amount of plumber's putty and roll it between your palms to form a rope about 1/2-inch thick and long enough to circle the drain opening. Apply this rope of putty to the underside of the new sink strainer's flange. From the top of the sink, press the new strainer firmly into the clean drain opening. You should see an even ring of putty squeeze out around the edge. From underneath the sink, slide the rubber gasket, followed by the fiber friction washer, and then the large metal locknut over the strainer's body. Hand-tighten the locknut as much as possible. To fully tighten, insert the handles of your channel-lock pliers or a screwdriver into the lugs on the locknut and turn clockwise while holding the strainer basket steady from above to prevent it from spinning. Tighten until the assembly is snug and secure. Use a putty knife or your finger to remove the excess putty that squeezed out inside the sink bowl.

Assemble New Drain Plumbing
30 minsNow you will assemble the new drain pipes. First, attach the new flanged tailpiece to the bottom of the sink strainer you just installed, securing it with the provided slip nut and washer. For the double-basin sink, you will use a 'continuous waste' or 'branch' tailpiece that has a side inlet. Connect this to the drain on the other sink basin. Connect the dishwasher drain hose to the side inlet port on this branch tailpiece and secure it with the hose clamp. Make sure to create a 'high loop' with the dishwasher hose by securing it as high as possible under the countertop before it connects to the tailpiece; this prevents dirty water from flowing back into the dishwasher. Finally, connect the P-trap to the bottom of the new tailpiece assembly and to the drain pipe in the wall. You may need to dry-fit and cut some of the PVC pipes to the correct length using a tubing cutter or hacksaw. Hand-tighten all slip nuts, then give a final quarter-turn with channel-lock pliers.

Test for Leaks and Final Cleanup
15 minsThe final step is to check your work for leaks. Place a dry towel or paper towel under the entire drain assembly. Turn on the cold water and let it run for a minute, carefully checking every joint and connection point for drips. Then, turn on the hot water and repeat the process, as heat can sometimes expose a loose connection. For a thorough test, close the sink stoppers and fill both sink basins about halfway with water. Then, release the stoppers simultaneously to send a large volume of water through the new plumbing. Inspect carefully for any leaks. If you find a leak, it is likely at a slip nut connection; try tightening it another quarter-turn. Once you are confident there are no leaks, turn the circuit breaker back on. Clean up your tools, remove the bucket and towels, and return items to the cabinet.
Common Problems
Gaps or poor sealing
Solution: Don't be stingy with the plumber's putty; it's better to have too much and clean it up than too little, which will cause a leak.
Prevention: Do not use plumber's putty on natural stone or composite sinks, as it can cause staining. Use silicone sealant instead for those materials.
Water leaking after installation
Solution: Double-check all connections and follow the installation steps carefully.
Prevention: Do not turn the power back on until you are 100% certain there are no water leaks anywhere near the electrical outlet.
Frequently Asked Questions
Is this project truly beginner-friendly, and what's the biggest challenge for a DIYer who hasn't done plumbing before?
Yes, this project is rated as beginner-friendly, primarily involving basic connections and hand tools. The biggest challenge often lies in ensuring all new PVC connections are properly tightened and sealed to prevent leaks, which requires careful application of plumber's putty and snugging fittings without overtightening. Patience and methodical testing are key to success.
The tool list includes several specific screwdrivers and pliers; are all of them absolutely necessary, or can I get by with fewer?
While the Channellock pliers are highly recommended for their grip and leverage on stubborn nuts and pipes, having a range of slotted screwdrivers is crucial for different screw types on the disposal's mounting assembly and hose clamps. A putty knife is also essential for correctly applying plumber's putty for a leak-free seal. Having the right tools prevents stripping screws and makes the job smoother.
What are the most common mistakes people make when replacing a disposal with a standard drain, and how can I avoid leaks?
The most common mistakes are not properly sealing the sink strainer with plumber's putty and overtightening PVC connections, which can lead to cracks. To prevent leaks, apply a generous, even bead of Oatey Plumber's Putty under the sink strainer flange. For PVC, hand-tighten nuts first, then use pliers for a final quarter-turn, ensuring all washers are seated correctly. Always fill the sink and test thoroughly for leaks before concluding the project.
My dishwasher drains into the disposal; how do I ensure it drains correctly after removing the disposal and installing a new drain?
You'll need to reconnect the dishwasher drain hose to the dedicated branch on your new sink drain assembly, such as the one included in the SnappyTrap DK-110 kit for double bowls. Secure the hose firmly with a new stainless steel hose clamp, like the Everbilt 5-7 in. clamp, to ensure a tight, leak-free connection. This ensures your dishwasher continues to drain properly into the new standard drain setup.
Since I'm removing an electrical appliance, what electrical safety precautions should I take even if I'm not installing a new one?
Always ensure the power to the disposal's circuit is completely turned off at your home's main electrical panel or circuit breaker before beginning any work. Confirm there's no power by attempting to turn on the disposal switch. When disconnecting the old disposal's wiring, safely cap off any exposed wires from the wall with wire nuts if the junction box remains, or have an electrician properly remove the circuit entirely if it's no longer needed.
The project mentions SnappyTrap kits for double and single bowls; how do I know which one to use if my sink is different, or if I want traditional PVC parts?
The SnappyTrap DK-110 is specifically designed for double-bowl kitchen sinks, simplifying assembly with flexible, pre-engineered components. If you have a single-bowl sink, you would use the SnappyTrap DK-100. While these kits are beginner-friendly, you can opt for traditional PVC trap and drain components, but this will require more precise measuring, cutting, and potentially gluing, adding complexity for a novice.
What's the trickiest part of removing the old garbage disposal, especially if it's stuck or corroded, and how can I handle it?
The trickiest part can be loosening the old disposal's mounting nuts or rings if they are corroded or seized onto the sink flange. Applying a penetrating oil to rusted threads and allowing it to soak can help. For stubborn rings, use the Channellock pliers for extra leverage or carefully tap the mounting ring counter-clockwise with a hammer and a large flat-head screwdriver, being cautious not to damage the sink itself.


