

How to Replace a Deck-Mount Garden Tub Faucet
About This Project
This project involves the complete removal of an existing deck-mount garden tub faucet and the installation of a new one. The process includes shutting off the water supply, gaining access to the plumbing beneath the tub deck, disconnecting the old faucet's supply lines and mounting hardware, cleaning the surface, installing the new faucet components, connecting all new hoses and supply lines, and thoroughly testing for leaks before closing up the access panel.
Best for advanced DIYers and professionals with basic plumbing knowledge and familiarity with power tools. Requires MCR Safety BearKat Safety Glasses MCSCRWBK110 and Work Gloves and Coast HL40 300 Lumen LED Headlamp with Hardhat Compatibility HL40.
Tools & Materials

CAT 72 in. x 80 in. Non-Woven Utility Blanket 980109N

Coast HL27 330 Lumen LED Headlamp with Twist focus 19721

Panther Vision FLATEYE F-310 High Performance 310-Lumen Unround Flashlight CREE LED Multi Position Waterproof and Shockproof FL-6960
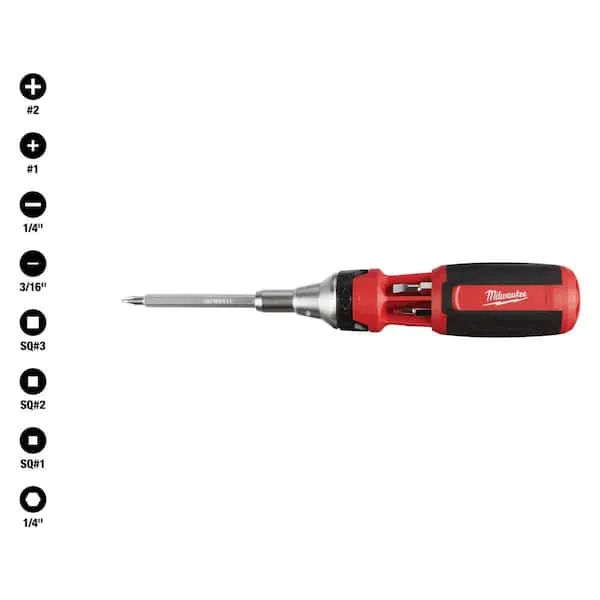
Screwdriver (Multi)
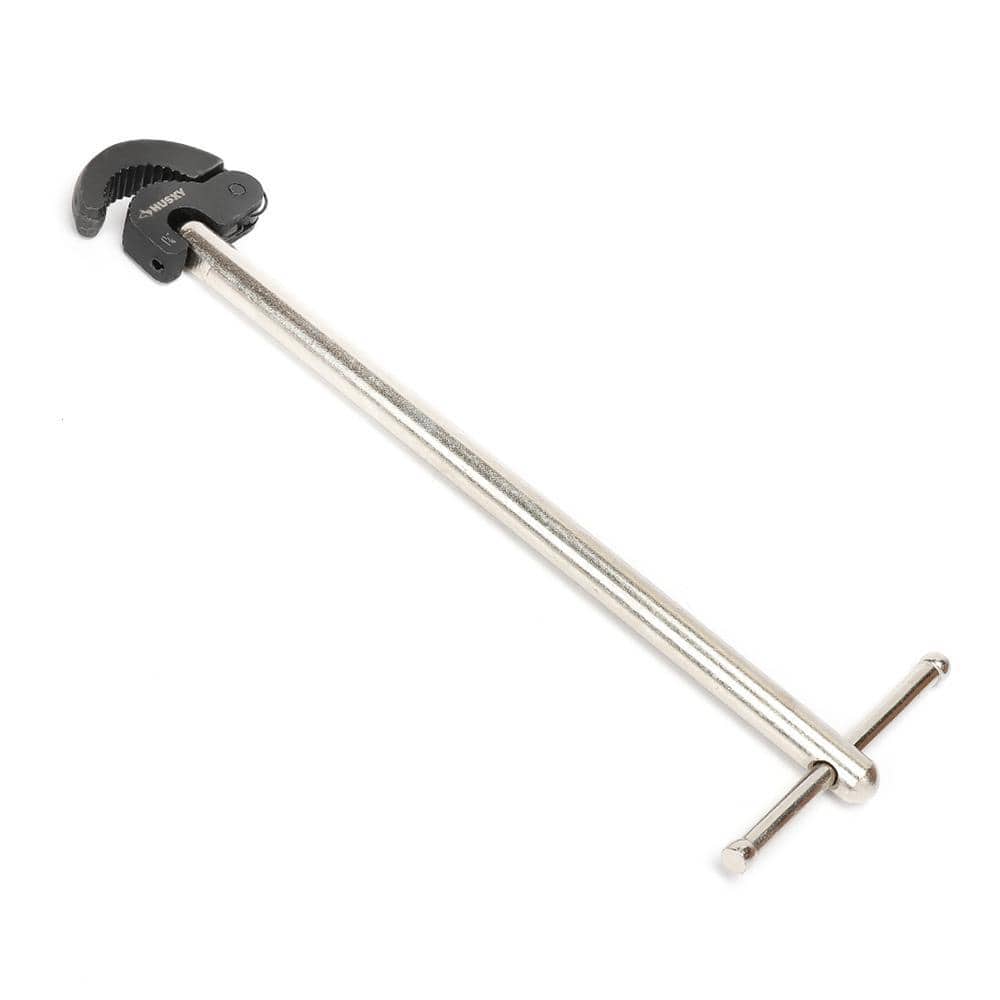
Husky Basin Wrench 16PL0127

Bucket
CAT 72 in. x 80 in. Non-Woven Utility Blanket 980109N
This standard grade non-woven polyester utility blanket is built to take on the toughest tasks day in and day out. Durable polyester fabric and binding and generous padding make it ideal for moving, covering
Coast HL27 330 Lumen LED Headlamp with Twist focus 19721
Jumping up to AA batteries, the HL27 Headlamp not only goes up in brightness but also has the light dimming on the front of the headlamp to keep all the controls in one convenient place. It gives you the ability to shine an ultra wide flood beam and then quickly twist the bezel to a long reaching spot beam with transition halo so that you can be ready for anything. With our Variable Light Control Technology onboard you can adjust the light output with the control wheel to any point between the lowest low and the highest high so you can have highly personalized output and runtimes. With Coast's commitment to quality, the HL27 Headlamp is impact resistant, weather resistant and its LED is virtually unbreakable. The HL27 Headlamp is backed by Coast's lifetime warranty against defects in materials and workmanship. Tested and rated to ANSI/FL1 standards.
Panther Vision FLATEYE F-310 High Performance 310-Lumen Unround Flashlight CREE LED Multi Position Waterproof and Shockproof FL-6960
Every revolution starts with a spark. At 310-Lumens the F-310 has the power to ignite our un-round revolution without overpowering your needs or your wallet. Not your granddads flashlight these bad boys
Screwdriver (Multi)
Multiple bits for versatile use.
Husky Basin Wrench 16PL0127
Husky's 11 in. Basin Wrench is made from heavy-duty steel and has a reversible head for accessing faucet nuts in tight spaces. The 180 pivoting head holds its position at any angle to access hard-to-reach
Bucket
Ideal for carrying or storing liquids.
Steps

Prepare Work Area and Shut Off Water
15 minsBegin by preparing your work environment. Clear all items from the tub and the surrounding deck. Open the access panel to the tub's plumbing. If you don't have a dedicated panel, this job becomes significantly more complex. Place old towels or a blanket on the floor to protect it and to kneel on. The most critical action in this step is to shut off the water. Locate the local shutoff valves for the hot and cold water lines leading to the tub and turn them clockwise until they stop. If no local valves exist, you must shut off the main water supply to the entire house. Once the water is off, open the hot and cold handles of the old faucet to relieve any pressure and drain the remaining water from the lines into the tub.

Disconnect Water Supply Lines
30 minsWorking through the access panel, position a bucket underneath the faucet connections to catch any trapped water. Using a basin wrench or an adjustable wrench, carefully loosen the nuts connecting the hot and cold flexible supply lines to the faucet handle tailpieces. The basin wrench is specially designed for reaching these tight spots. Turn the nuts counter-clockwise to loosen. Once loose, you can usually unscrew them by hand. Be prepared for a small amount of water to drain into the bucket.
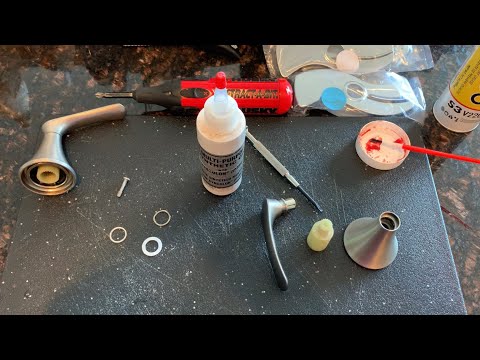
Remove Old Faucet Components
45 minsWith the supply lines detached, the next task is to remove the hardware securing the faucet to the tub deck. Each component (hot handle, cold handle, spout) is held in place by a large mounting nut on its underside. Use the basin wrench to grip these nuts and turn them counter-clockwise to loosen and remove them. This can be the most difficult step due to corrosion and limited leverage. Once all nuts and any associated washers or brackets are removed, have a helper lift the old faucet components straight up and out from the top of the tub deck.

Clean the Tub Deck
15 minsAfter removing the old faucet, the tub deck surface will likely have residue from old plumber's putty, silicone, and mineral deposits. It is crucial to create a clean, smooth, and dry surface for the new faucet to seal properly. Use a plastic putty knife to gently scrape away any old putty or caulk. Avoid metal scrapers that can scratch the acrylic or porcelain finish. Use an all-purpose cleaner and a rag to wipe away all dirt, grime, and oils. Ensure the area is completely dry before proceeding.

Mount New Faucet Spout and Handles
30 minsUnpack your new faucet and carefully read the manufacturer's instructions, as installation can vary. Typically, you will first place the rubber or plastic gasket onto the base of the spout and handles. If no gasket is provided, apply a bead of 100% silicone caulk or a rope of plumber's putty around the base of each component. Carefully set the spout and handles into their respective holes on the tub deck. From underneath, slide on the friction washers and thread the new mounting nuts onto the tailpieces. Hand-tighten the nuts first, ensuring the handles and spout are properly aligned from above before giving them a final tightening with the basin wrench.

Connect Faucet Hoses
15 minsWith the main components mounted, connect the hot and cold water from the handles to the central spout. Your new faucet kit should include two flexible hoses for this purpose. Attach one end of a hose to the outlet port on the bottom of the cold water handle body and the other end to the cold water inlet on the spout's shank. Repeat this process for the hot water side. These connections are typically hand-tightened, followed by a gentle quarter-turn with pliers or an adjustable wrench. Ensure you are connecting hot-to-hot and cold-to-cold; they are often marked.

Connect Water Supply Lines to New Faucet
20 minsNow, reconnect the main water supply. If your flexible supply lines are old or stiff, this is an excellent time to replace them. Wrap the male threads of the hot and cold shutoff valves with 2-3 clockwise wraps of Teflon tape. Connect the hot water supply line to the new hot water handle tailpiece and the cold water supply line to the cold handle tailpiece. Hand-tighten the connection nuts, then use your basin wrench or adjustable wrench to give them a final quarter-turn until snug. Avoid over-tightening.

Turn On Water and Test for Leaks
15 minsThis is the moment of truth. Place a dry paper towel under every connection you made beneath the deck. Go to the shutoff valves and turn them on very slowly, about a quarter turn at a time. This allows the lines to fill gradually and prevents a water hammer. Once the valves are fully open, use your headlamp to meticulously inspect every connection point for any signs of moisture or drips on the paper towel. Turn the faucet handles on top-side to flush any air out of the system. Let the water run for a minute, then turn it off and perform another thorough leak check underneath. Check again in an hour.

Final Cleanup and Close Access
10 minsOnce you are completely confident that there are no leaks, perform the final cleanup. From the top of the tub deck, use a rag to wipe away any excess plumber's putty or silicone caulk that may have squeezed out from under the faucet bases. Polish the new faucet and the deck. Finally, close and secure the access panel. Gather all your tools and enjoy your new garden tub faucet.
Common Problems
Tub spout won't budge when unscrewing.
Solution: Some tub spouts may be secured with a set screw on the underside; check for this before trying to unscrew it.
Pay attention to the alignment of the cartridge as you remove it. There is typically a tab that fits into a slot, and it must be reinstalled in the same orientation.
Solution: To avoid this issue: Be mindful of this warning and take appropriate precautions.
Faucet cartridge is stuck and won't budge.
Solution: If the cartridge is stuck due to mineral buildup, you may need to gently wiggle it back and forth with the pliers to loosen it.
Be prepared for water to spill out of the P-trap as soon as it's disconnected. Keep the bucket positioned directly underneath.
Solution: To avoid this issue: Be mindful of this warning and take appropriate precautions.
Be gentle when loosening the connections to avoid damaging the pipes or valves.
Solution: To avoid this issue: Be mindful of this warning and take appropriate precautions.
The valve shown is heavily corroded, which is why the handle breaks. Be prepared for old parts to be brittle or seized.
Solution: To avoid this issue: Be mindful of this warning and take appropriate precautions.
Always hold the shut-off valve body with a second wrench when loosening the supply line nut to avoid damaging the pipe in the wall.
Solution: To avoid this issue: Be mindful of this warning and take appropriate precautions.
Frequently Asked Questions
Why is a specialized basin wrench necessary for this project, and can I complete it without one?
A basin wrench, like the Husky Basin Wrench 16PL0127, is crucial for reaching and loosening the mounting nuts of a deck-mount faucet from underneath the tub deck, especially in tight, awkward spaces. While some might attempt with long-handled pliers, a basin wrench makes the job significantly easier, prevents stripped nuts, and greatly reduces frustration. Attempting without it can significantly increase the difficulty and time spent on the project.
What are the most common reasons for leaks after installing a new faucet, and how can I prevent them?
Leaks often occur due to improperly tightened connections, missing or improperly seated O-rings/gaskets, or insufficient use of Teflon tape on threaded connections. To prevent this, ensure all supply line connections are hand-tightened first, then snugged with an adjustable wrench. Always apply Teflon tape clockwise to all threaded pipe connections and double-check all washer and gasket placements during installation and before leak testing.
The project is rated 'intermediate' and estimated at 6 hours. What makes it so time-consuming, and how can I potentially speed up the process?
The 'intermediate' rating and 6-hour estimate account for potential challenges such as corroded old fasteners, limited access under the tub deck, and the careful process of thorough leak testing. You can speed it up by having all tools and materials, including penetrating oil like KROIL, readily accessible and by applying the penetrating oil to old fasteners well in advance. Good lighting from a headlamp like the Coast HL40 also saves time by improving visibility in tight spaces.
Is it truly necessary to shut off the main water supply to the house, or can I just turn off the hot and cold valves under a nearby sink?
For a garden tub faucet replacement, you must shut off the main water supply to your house. Unlike sink faucets that often have dedicated shut-off valves, garden tubs typically do not have individual shut-off valves for their supply lines beneath the tub deck. This ensures no water flows during the disconnection process and prevents potential flooding.
What should I do if the old faucet's mounting nuts or supply line connections are corroded and won't budge?
Apply a generous amount of an industrial-grade penetrating oil, such as KROIL, directly to the corroded nuts and let it soak for at least 15-30 minutes, or even longer if possible. Use your basin wrench or adjustable wrench to apply steady, firm pressure, avoiding sudden jerks that could strip the nuts. If extremely stubborn, a second application and longer wait time may be necessary, or carefully consider cutting options if clearance allows and tub damage is avoided.
Why are a drip can/bucket and rags so important for this project, even after the water supply is off?
Even after shutting off the main water supply, there will always be residual water in the hot and cold supply lines that will drain when disconnected from the old faucet. A drip can or bucket is essential to catch this water, preventing it from seeping into your subfloor, causing damage, or creating a mess. Rags and paper towels are crucial for wiping up spills and cleaning the tub deck surface for the new faucet installation.


