

How to Replace a Deck-Mount Garden Tub Faucet
About This Project
This guide provides comprehensive, step-by-step instructions for removing an old deck-mount garden tub faucet and installing a new one. The process involves shutting off the water supply, accessing the plumbing through a panel, disconnecting the old hardware, cleaning the mounting surface, installing the new faucet, and thoroughly checking for leaks.
Best for advanced DIYers and professionals with basic plumbing knowledge and familiarity with power tools.
Tools & Materials

Unger 6 Gal. Heavy-Duty Plastic Bucket DB02

Coast HL40 300 Lumen LED Headlamp with Hardhat Compatibility HL40
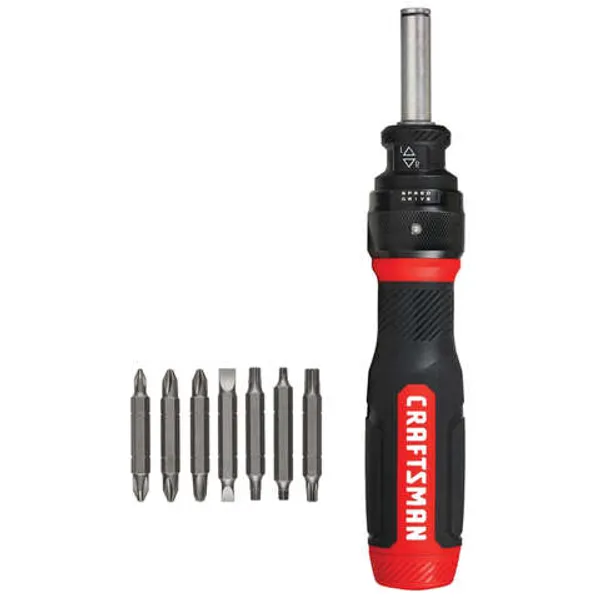
Screwdriver
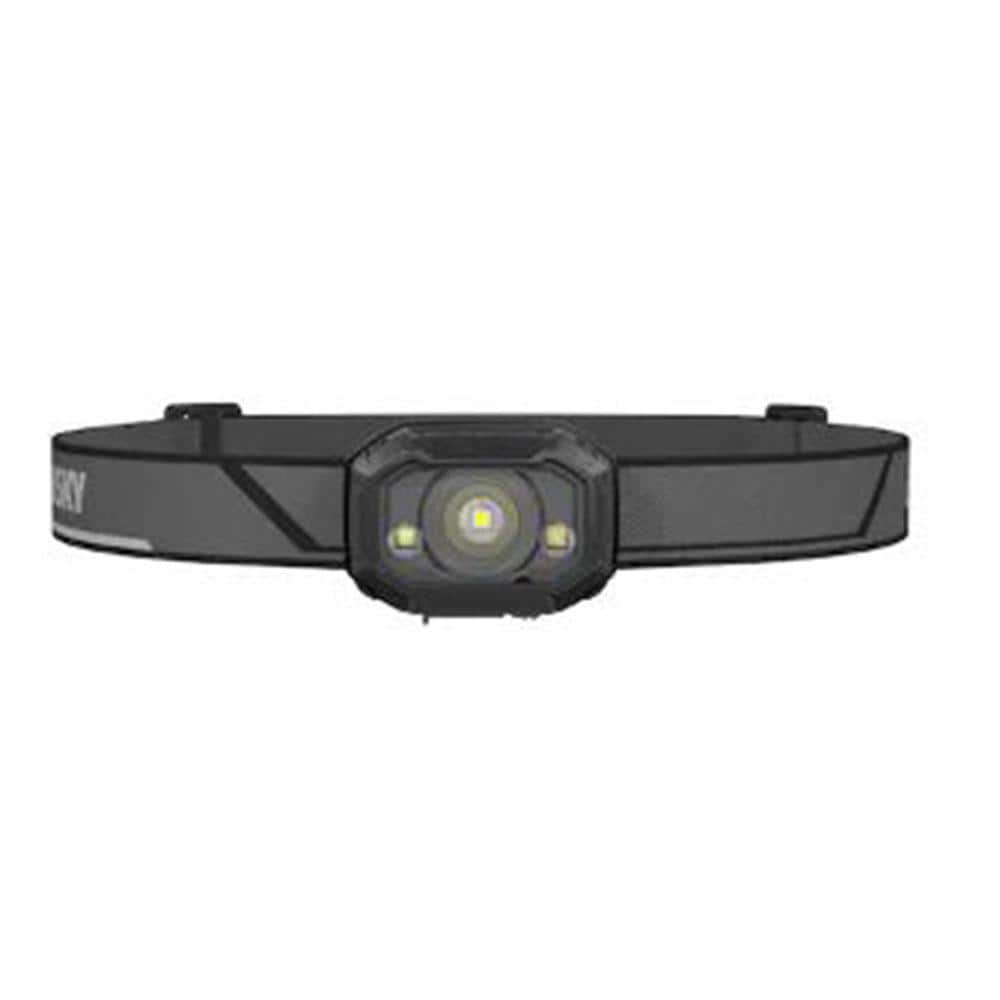
Husky 400 Lumens LED Micro Rechargeable Headlamp PVL-HLP-0004
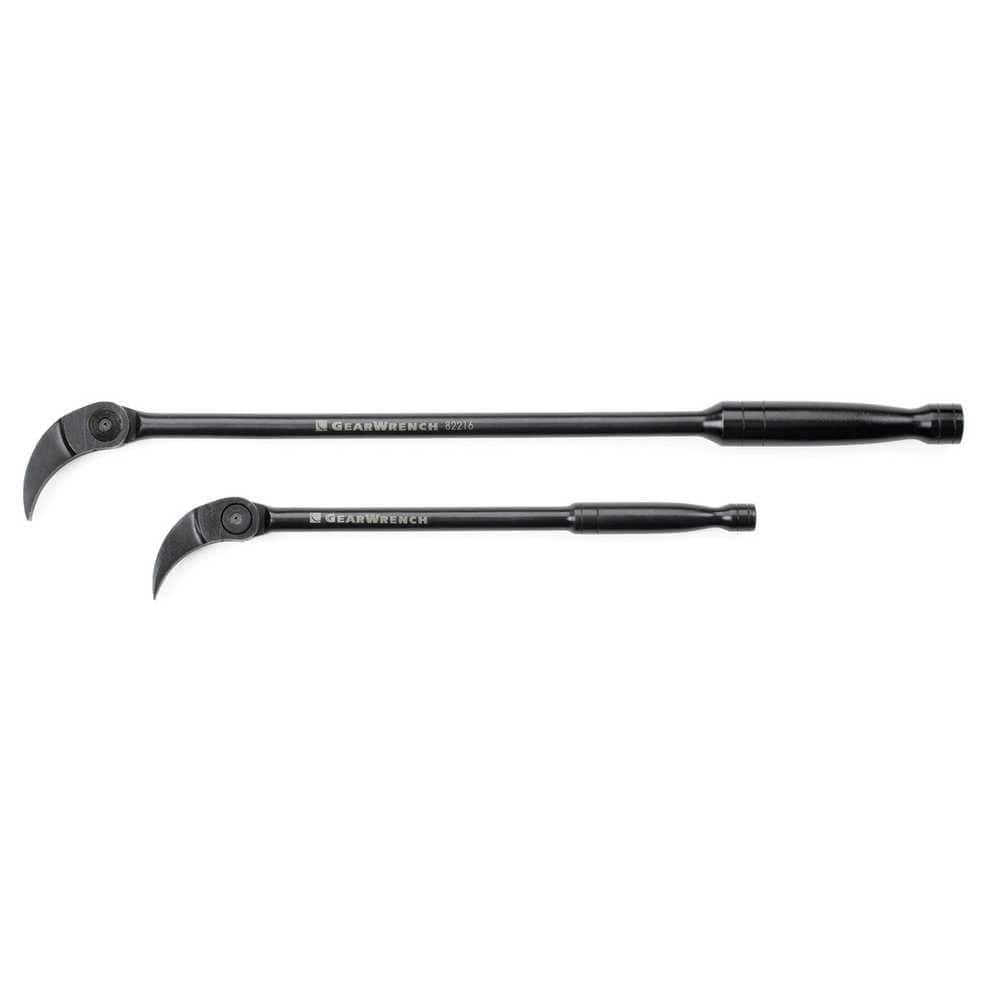
GEARWRENCH 8 in. and 16 in. Indexing Head Pry Bar Set (2-Piece) 82300
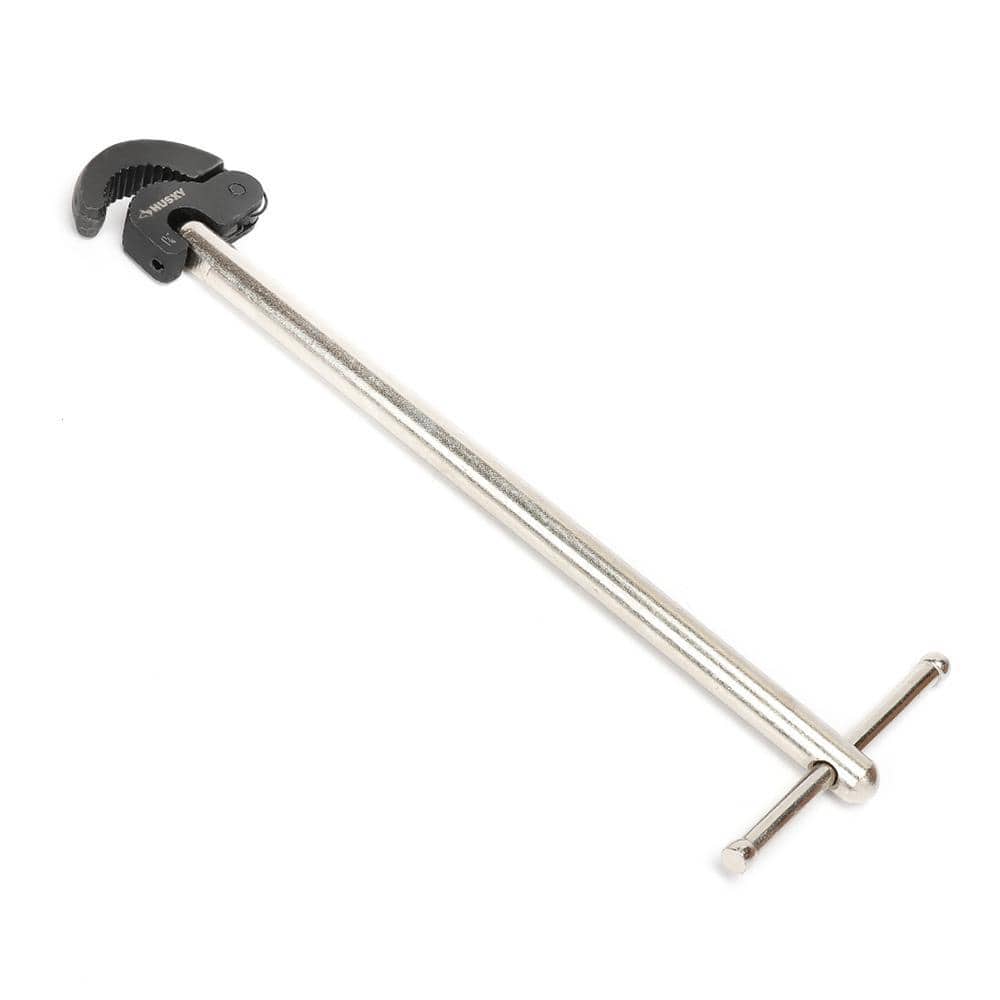
Husky Basin Wrench 16PL0127
Unger 6 Gal. Heavy-Duty Plastic Bucket DB02
The Unger 6-Gallon Heavy-Duty Professional Cleaning Bucket holds more than 6 Gal. of liquid. The bucket can accommodate a scrubber up to 14 in. L. This bucket features measurement marks and 2-pour spouts
Coast HL40 300 Lumen LED Headlamp with Hardhat Compatibility HL40
Whether you want to put it on your hardhat or simply on your head, the HL40 Headlamp is a great all around headlamp for day-to-day use. Equipped with our Wide Angle Flood Beam, this headlamp is perfect
Screwdriver
A tool used to turn screws.
Husky 400 Lumens LED Micro Rechargeable Headlamp PVL-HLP-0004
The Husky 400 Lumens Micro Rechargeable Headlamp packs superior brightness in a compact size. This rechargeable headlamp provides crisp, clean color illumination. The headlamp has 8-light modes, including
GEARWRENCH 8 in. and 16 in. Indexing Head Pry Bar Set (2-Piece) 82300
Auto and industrial technicians need small, powerful, and quick tools to deliver performance in their ever-changing work environment. That's why GEARWRENCH is forging ahead with these portable pry bars,
Husky Basin Wrench 16PL0127
Husky's 11 in. Basin Wrench is made from heavy-duty steel and has a reversible head for accessing faucet nuts in tight spaces. The 180 pivoting head holds its position at any angle to access hard-to-reach
Steps

Prepare Work Area and Shut Off Water
15 minsBegin by clearing the area around the tub to create a safe and efficient workspace. Remove any bath mats, toiletries, or decorative items. Locate the water shut-off valves for the tub. These are often found behind the access panel. If there are no dedicated shut-offs, you must find and close the main water shut-off valve for the entire house. Turn the valves clockwise to close them. Once closed, turn on the old tub faucet handles to confirm the water flow has stopped and to relieve any pressure in the lines. Have a bucket and old rags ready for the next steps.

Gain Access to Underside Plumbing
15 minsLocate and open the access panel on the tub surround. This may be a simple friction-fit panel, or it could be secured with screws. Use a screwdriver if necessary. If the panel seems stuck, a small pry bar can be used, but be extremely gentle to avoid damaging the tile or acrylic. Once open, use your headlamp to get a good view of the faucet's underside, including the supply line connections and the mounting hardware holding the faucet in place.

Disconnect Water Supply Lines
30 minsPosition your bucket underneath the hot and cold water supply line connections. Using a basin wrench or an adjustable wrench, turn the coupling nuts counter-clockwise to loosen them from the faucet inlets. A basin wrench is specially designed for this type of tight, hard-to-reach location. Once the nuts are loose, you can usually unscrew them by hand. Be prepared for a small amount of water to drain into the bucket.

Remove Old Faucet Mounting Hardware
45 minsUsing your basin wrench or deep-socket wrench, loosen and remove the large mounting nuts securing the faucet handles and spout to the underside of the tub deck. These can often be corroded and difficult to remove. If they are stuck, apply a small amount of penetrating oil and allow it to soak in for 15-20 minutes before trying again. Once the nuts are off, collect any washers or mounting plates.

Remove Old Faucet and Clean Deck Surface
20 minsWith all connections and hardware removed from below, move to the top of the tub deck. Carefully lift the old spout and handles straight up and out of their holes. Set them aside. Use a plastic putty knife to gently scrape away any old, hardened plumber's putty or sealant from the deck surface. Follow up with a rag and a suitable cleaner (like mineral spirits or an all-purpose cleaner) to ensure the surface is perfectly clean and smooth for the new installation.

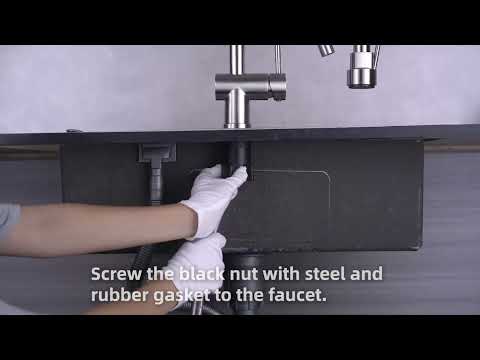
Mount the New Faucet
30 minsConsult the manufacturer's instructions for your new faucet. Typically, you will either place the included rubber or plastic gasket onto the base of the new faucet components or apply a soft rope of plumber's putty around the base. Insert the new spout and handles into the holes on the tub deck. From underneath, slide on any included washers and thread the new mounting nuts. Hand-tighten the nuts first, ensuring the faucet is properly aligned on top, then use your basin wrench or the tool provided to give them a final quarter- to half-turn to secure them. Do not overtighten.
Connect New Plumbing Lines
25 minsFrom underneath, connect the new mixer hoses from the hot and cold handles to the corresponding inlets on the spout. Tighten these connections with an adjustable wrench, but do not overtighten. Next, attach the main hot and cold water supply lines to the inlets on the new faucet handles. It is highly recommended to use new flexible supply lines. If the threads are metal-on-metal without a rubber gasket, wrap them with 2-3 layers of Teflon tape in a clockwise direction before connecting. Tighten the coupling nuts until they are snug, plus an additional quarter-turn.

Turn On Water and Test for Leaks
15 minsThis is the most critical step. With the access panel still open, go to the shut-off valves and turn them on SLOWLY. Listen for any sounds of rushing water. Return to the access panel and use your headlamp to meticulously inspect every single connection point you touched: where the supply lines meet the shut-offs, where the supply lines meet the faucet handles, and where the mixer hoses connect the handles and spout. Place a dry paper towel under each connection to make spotting tiny drips easier. Turn the faucet on and off from the top, running both hot and cold water, and inspect all connections again while the water is running and after it's shut off.

Close Up the Access Panel and Clean Up
10 minsOnce you are completely confident that there are absolutely no leaks after several minutes of observation, you can proceed to the final step. Re-install the access panel, securing it with its original screws or hardware. Clean up all your tools, wipe down the tub deck, and remove any debris from the work area. Your new garden tub faucet is now ready for use.
Common Problems
It is critical to check for leaks to prevent water damage.
Solution: To avoid this issue: Be mindful of this warning and take appropriate precautions.
Do not skip this step. It is critical to identify and fix leaks before closing up the wall.
Solution: To avoid this issue: Be mindful of this warning and take appropriate precautions.
Turn the water back on slowly. A sudden burst of pressure could cause a loose connection to fail.
Solution: To avoid this issue: Be mindful of this warning and take appropriate precautions.
Always shut off the water at the shutoff valves and place a bucket or towel underneath to catch any dripping water before disconnecting the supply lines.
Solution: To avoid this issue: Be mindful of this warning and take appropriate precautions.
Losing unique faucet parts during installation leads to project delays.
Solution: Always keep the special tools that come with appliances or fixtures. Store them in a labeled bag and tape it to the appliance or under the sink.
Chrome finish gets scratched when removing the old faucet nut.
Solution: Place a rag over the nut before using the wrench to avoid scratching the chrome finish.
The nuts, especially on older plumbing, can be very tight. Use two wrenches, one to hold the valve steady and one to turn the nut, to avoid damaging the pipes.
Solution: To avoid this issue: Be mindful of this warning and take appropriate precautions.
Frequently Asked Questions
Is this project truly intermediate, and what are the main challenges I might face?
Yes, this project is rated intermediate due to the tight spaces often found under garden tubs, potential corrosion on old fasteners, and the critical need for watertight seals. Expect to spend significant time gaining access, maneuvering tools, and meticulously checking for leaks. Patience and preparation are key.
My old faucet seems stuck or corroded to the deck. What's the best way to loosen it?
Corrosion is common. Apply a penetrating oil like KROIL directly to the nuts under the tub deck and allow it to soak for at least 30 minutes, or even an hour. Use a basin wrench for extra leverage in tight spots, as it's designed for these hard-to-reach fittings.
What are the most common reasons for leaks after installing a new deck-mount faucet, and how can I prevent them?
Leaks typically occur from improperly sealed connections or loose fittings. Always apply 2-3 wraps of Teflon tape clockwise to all threaded pipe connections before tightening. For the faucet body, ensure you use a generous but neat amount of plumber's putty around the base to create a watertight seal against the tub deck.
My tub's access panel seems too small or is difficult to open. What should I do if I can't reach the plumbing easily?
Gaining proper access is crucial and sometimes the most challenging part. Use a headlamp for visibility and consider temporarily removing any surrounding trim or cabinet components if necessary. If space is extremely limited, you might need to carefully enlarge the access opening, ensuring it can be neatly covered afterward.
Why are two different basin wrenches listed in the required tools, and do I really need both?
Having both a standard and a telescoping basin wrench, or one with interchangeable jaws, increases your chances of fitting and loosening different sized or awkwardly positioned nuts in the cramped space under the tub. While one might suffice, two options provide versatility and can prevent delays if a specific size or reach is needed.
When should I use plumber's putty versus silicone caulk for sealing around the new faucet base?
Use plumber's putty directly under the faucet's flange where it meets the tub deck; it creates a watertight seal while remaining pliable for future removal. Silicone caulk can be used as an additional aesthetic bead around the base after the faucet is secured, but it cures hard and makes future removal more difficult. Stick to plumber's putty for the primary seal.
Since I'm already accessing the plumbing, should I consider replacing the water supply lines as well?
Yes, it's highly recommended, especially if your existing supply lines are old, rigid, or show signs of wear or corrosion. Replacing them with new flexible lines, like PEX-A tubing, while you have everything open can prevent future leaks and is much easier to do now than later, adding minimal extra time to the project.


