

How to Replace a Broken Toilet Flange
About This Project
This guide provides comprehensive instructions for replacing a broken toilet flange. The process involves turning off the water, removing the toilet, extracting the old broken flange, installing a new one, and then reinstalling the toilet with a new wax seal to ensure a leak-proof connection.
Best for advanced DIYers and professionals with basic plumbing knowledge and familiarity with power tools.
Tools & Materials

Unger 6 Gal. Heavy-Duty Plastic Bucket DB02
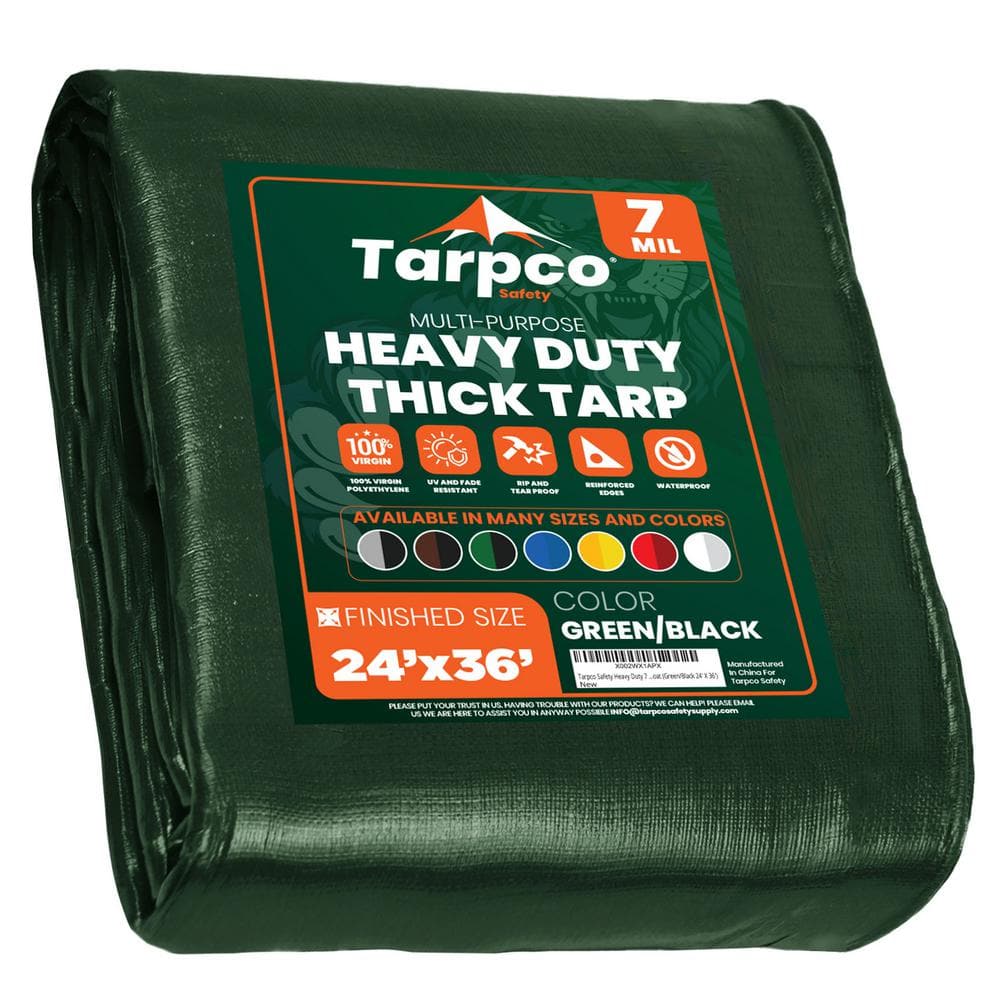
TARPCO SAFETY 24 ft. x 36 ft. Green/Black 7 Mil Heavy Duty Polyethylene Tarp, Waterproof, UV Resistant, Rip and Tear Proof TS-203-24x36

HDX Multi-Purpose Sponge (2- Sponges) 32242
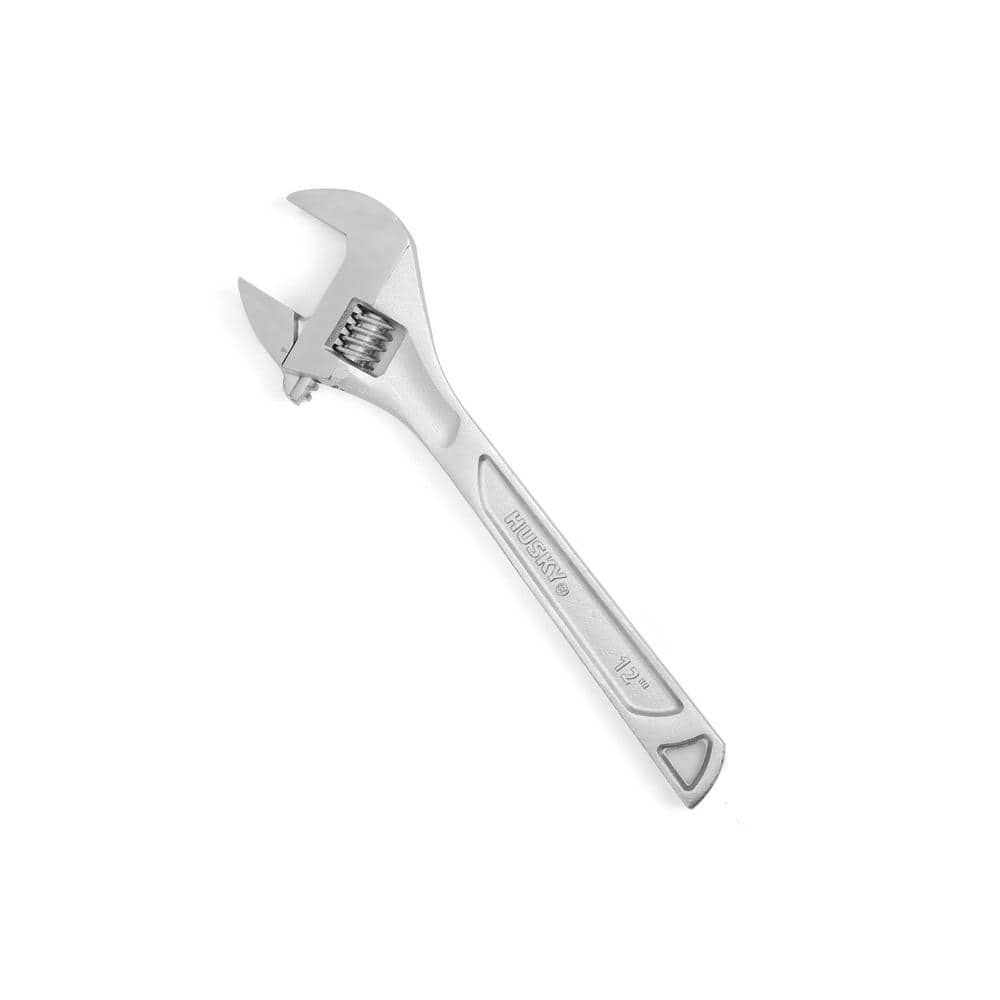
Husky 12 in. Adjustable Wrench 90130
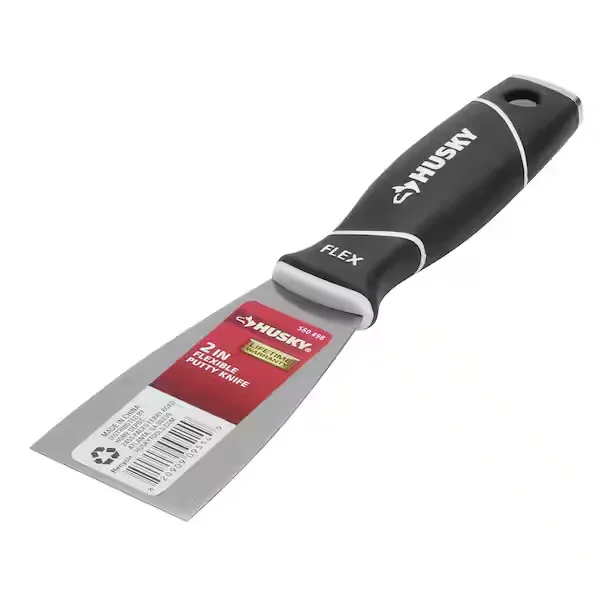
Putty knife

Bucket
Unger 6 Gal. Heavy-Duty Plastic Bucket DB02
The Unger 6-Gallon Heavy-Duty Professional Cleaning Bucket holds more than 6 Gal. of liquid. The bucket can accommodate a scrubber up to 14 in. L. This bucket features measurement marks and 2-pour spouts
TARPCO SAFETY 24 ft. x 36 ft. Green/Black 7 Mil Heavy Duty Polyethylene Tarp, Waterproof, UV Resistant, Rip and Tear Proof TS-203-24x36
One tarp, endless possibilities. Tarpco Safety's multi-purpose tarpaulin cover is a must-have item for every household, thanks to its practicality and endless uses. For example, you can use this tarp sheet to cover your car. boat, pool, roof, or outdoor furniture. You can also use the tarp sheet to cover wood logs and building materials, as well as house floors when you want to paint the walls Let's not forget outdoor activities. This waterproof tarp can be used to build a canopy tent or you can use it as a ground blanket to keep your tent safe from sharp rocks and stones. Tarpco Safety has designed the ultimate weatherproof tarp cover. This heavy duty outdoor tarp sheet is built to cover and effectively protect small and large objects from all extreme weather conditions:Is it too sunny and warm outside? This tarp is UV resistant so the sun rays cannot get through it.Is it raining a lot? The protective tarp sheet is 100% waterproof so it will keep your wood logs dry and ready for use.Is it snowing? You can use the tarpaulin cover to keep your vehicle from getting buried under the snow.Is it windy? The heavy duty tarp with the 12 x 10 weave count and 100% virgin polyethylene will not tear or rip.Tying it down is going to be simple and easy. This polyethylene tarp sheet has metal grommets every 36 inches and reinforced edges. These grommets are ultra strong and they will help you tie down the waterproof canopy tarp easily and in a very steady and secure way.
HDX Multi-Purpose Sponge (2- Sponges) 32242
HDX Hydrophilic Sponge 7.25 in. x 5 in. x 1.875 in. (2-Pack) highly absorbent, the HDX Sponge washes, wipes, and rinses faster. Strong enough for use with acid based products like TSP. Heavy-duty polyester
Husky 12 in. Adjustable Wrench 90130
The Husky 12-in. Adjustable Wrench features a durable, comfortable handle. A large knurl allows for easy adjustment and a tight-fitting hex jaw design reduces slippage and tightly grips the fastener for
Putty knife
Spreads putty with its flat blade.
Bucket
Ideal for carrying or storing liquids.
Steps

Prepare Workspace and Drain Toilet
15 minsBegin by preparing your workspace. Lay down old towels or a tarp around the base of the toilet to absorb any spilled water and protect the floor. Turn off the water supply to the toilet using the shutoff valve located on the wall behind it; turn it clockwise until it stops. Flush the toilet to empty the tank. Use a sponge and a bucket to remove any remaining water from the bottom of the tank and the bowl. This prevents messy spills when you move the toilet.

Disconnect and Remove Toilet
30 minsDisconnect the water supply line from the bottom of the toilet tank using an adjustable wrench. Have a small bucket or rag ready to catch drips. Next, use a putty knife or flathead screwdriver to gently pry off the decorative plastic caps covering the closet bolts at the base of the toilet. Use the wrench to remove the nuts from the closet bolts. With the bolts free, gently rock the toilet to break the wax seal underneath. With a helper, lift the toilet straight up and away, then carefully set it down on the prepared old towels or cardboard.

Remove Old Wax Ring and Broken Flange
45 minsWith the toilet removed, you will see the old wax ring and the broken flange. Immediately stuff a large rag into the drain pipe opening to block sewer gases and prevent tools from falling in. Use a putty knife to scrape all of the old wax off the flange and the bottom of the toilet horn. Dispose of the old wax. Inspect the flange to confirm the damage. Use a screwdriver, hammer, or pry bar to remove the screws holding the broken flange to the subfloor. If the flange is glued to the pipe, you may need to carefully break it apart with a hammer and chisel to remove it. Be careful not to damage the drain pipe.

Install New Flange
30 minsNow it's time to install the new toilet flange. Since the drain pipe is PVC, you will use a PVC flange. First, dry-fit the new flange to ensure it sits level and flush on top of the finished floor (the tile). If the flange sits below the floor level, you must use flange extenders or a taller flange. Once fit is confirmed, apply PVC primer to the inside of the flange hub and the outside of the drain pipe. Follow immediately with an application of PVC cement to the same surfaces. Firmly push the flange onto the pipe with a slight twisting motion and hold for 30 seconds. Align the flange so the closet bolt slots are parallel to the back wall. Secure the flange to the subfloor by driving corrosion-resistant screws through the holes in the flange ring into the wood subfloor below.

Install Wax Ring and Set Toilet
20 minsInsert the new closet bolts into the slots on the newly installed flange, sliding them into position so they are parallel with the back wall. Place the new wax ring either directly onto the flange, centered over the opening, or onto the horn (the outlet) on the bottom of the toilet. Press it gently to make it stick. Carefully, with your helper, lift the toilet, positioning it over the flange and guiding the closet bolts through the holes in the toilet's base. Lower the toilet straight down onto the ring. Press down firmly on the toilet bowl to compress the wax ring and create a seal. Do not twist or rock the toilet once it is set.

Secure Toilet and Reconnect Water
15 minsPlace the plastic retainers, metal washers, and nuts onto the closet bolts that are now sticking through the toilet base. Use an adjustable wrench to tighten the nuts. Alternate between the left and right nut, tightening each one a little at a time to apply even pressure. Tighten until the toilet is stable and does not rock. Be very careful not to overtighten, as this can crack the porcelain base. If the closet bolts are too long, you can trim the excess with a hacksaw before putting on the decorative bolt caps. Finally, reconnect the water supply line to the fill valve on the bottom of the tank, hand-tightening first and then giving it a final quarter-turn with the wrench.

Test for Leaks
10 minsNow for the final test. Slowly turn the water shutoff valve counter-clockwise to turn the water back on. Listen for the tank to fill. Check the supply line connection for any drips. Once the tank is full and the fill valve shuts off, flush the toilet. As the water rushes into the bowl and down the drain, use a flashlight to carefully inspect the entire base of the toilet where it meets the floor. Look for any signs of water seeping out. Use a dry paper towel and wipe it around the base; it will show even the smallest amount of moisture. Flush the toilet several more times and continue to inspect for leaks.
Common Problems
The porcelain tank can be heavy and is very fragile. Handle it with care to avoid dropping or cracking it.
Solution: To avoid this issue: Be mindful of this warning and take appropriate precautions.
Failure to shut off the main water supply will result in uncontrolled water flow when the pipe is cut.
Solution: To avoid this issue: Be mindful of this warning and take appropriate precautions.
Make sure the water is completely turned off. If you still hear water running after turning the valve, it may need to be repaired or replaced before proceeding.
Solution: To avoid this issue: Be mindful of this warning and take appropriate precautions.
Water spills onto the floor when removing the fill valve.
Solution: Using a tray is essential to keep the floor dry, as a fair amount of water will drain from the tank when the fill valve is removed.
Tank lid cracks or chips when placed on hard surfaces.
Solution: Placing the tank lid on a towel prevents it from cracking or chipping.
Do not rock the toilet after it has been set on the wax ring, as this can break the seal.
Solution: To avoid this issue: Be mindful of this warning and take appropriate precautions.
Do not overtighten the flange bolts, as this can crack the porcelain base of the toilet.
Solution: To avoid this issue: Be mindful of this warning and take appropriate precautions.
Frequently Asked Questions
Is replacing a toilet flange a difficult DIY project for a beginner, and how long does it typically take?
This project is rated as intermediate due to the precision required for a leak-proof seal and the need to handle plumbing. While the estimated time is 6 hours, beginners should allocate a full day, as unexpected issues like subfloor damage can extend the duration significantly.
Do I really need all the specific tools and materials listed, or can I substitute some for this project?
Many essential tools like adjustable wrenches, a drill, level, and screwdrivers are critical. While some general tools might be substituted, using the recommended materials like a new PVC flange, primer, cement, and a quality wax ring with bolts ensures a durable, leak-proof repair. Avoid cutting corners on the sealing components.
What's the most common mistake people make when replacing a toilet flange, and how can I avoid leaks?
The most common mistake is not ensuring the new flange is perfectly level with and securely fastened to the finished floor, or improperly seating the wax ring. To avoid leaks, make sure the flange is flush and tight, and carefully set the toilet straight down onto the new wax ring without rocking.
What are the most important safety precautions I should take when replacing a toilet flange?
Always shut off the water supply to the toilet and completely drain the tank and bowl before starting any work. Wear disposable nitrile gloves for hygiene and consider eye protection when working with tools or chemical primers and cements. A tarp is also crucial for protecting your flooring from water or debris.
My existing flange is cast iron, but the new one listed is PVC. Can I use a PVC flange, and how do I connect it to the old cast iron pipe?
Yes, it is common and acceptable to replace a broken cast iron flange with a PVC one. You will need a specific transition coupling (sometimes called a "fernco" fitting) designed to connect PVC to cast iron, which typically uses stainless steel clamps to create a watertight seal. Ensure the existing cast iron pipe is clean and free of corrosion where the coupling will attach.
Approximately how much do the essential materials for replacing a toilet flange cost, assuming I have the necessary tools?
For the essential materials like the new PVC flange, wax ring with bolts, primer, and PVC cement, you can expect to spend approximately $30-$60. This estimate does not include potential costs for subfloor repair materials if damage is discovered.
I've reinstalled my toilet after replacing the flange, but I still see a slow leak at the base. What should I check?
First, ensure the toilet bolts are tightened correctly, avoiding overtightening which can crack the bowl. The most common cause of leaks is an improperly seated or damaged wax ring, or an uneven floor surface preventing proper compression. You'll likely need to remove the toilet again to inspect the wax ring for a complete, even seal and verify the flange is flush with the finished floor.


