
How to Replace a Bathtub Overflow Drain Gasket
About This Project
This guide provides step-by-step instructions for replacing a leaking or worn-out bathtub overflow drain gasket. The process involves removing the overflow cover plate, taking out the old gasket, cleaning the contact surfaces, and installing a new gasket to create a watertight seal. It also includes contingency steps for creating and repairing a drywall access panel if the standard replacement doesn't resolve the leak, addressing both plumbing and drywall repair aspects.
Best for experienced DIYers and homeowners with some experience with basic plumbing knowledge and familiarity with power tools.
Tools & Materials
HDX 3-1/4 in. 6-in-1 Screwdriver 120SD12D
FRESHFOLDS Combed Cotton Absorbent Textured 6 Piece Towel Set EC100755
Watco Innovator Snap-On Bathtub Overflow Plate Kit in Chrome Plated 18009-CP
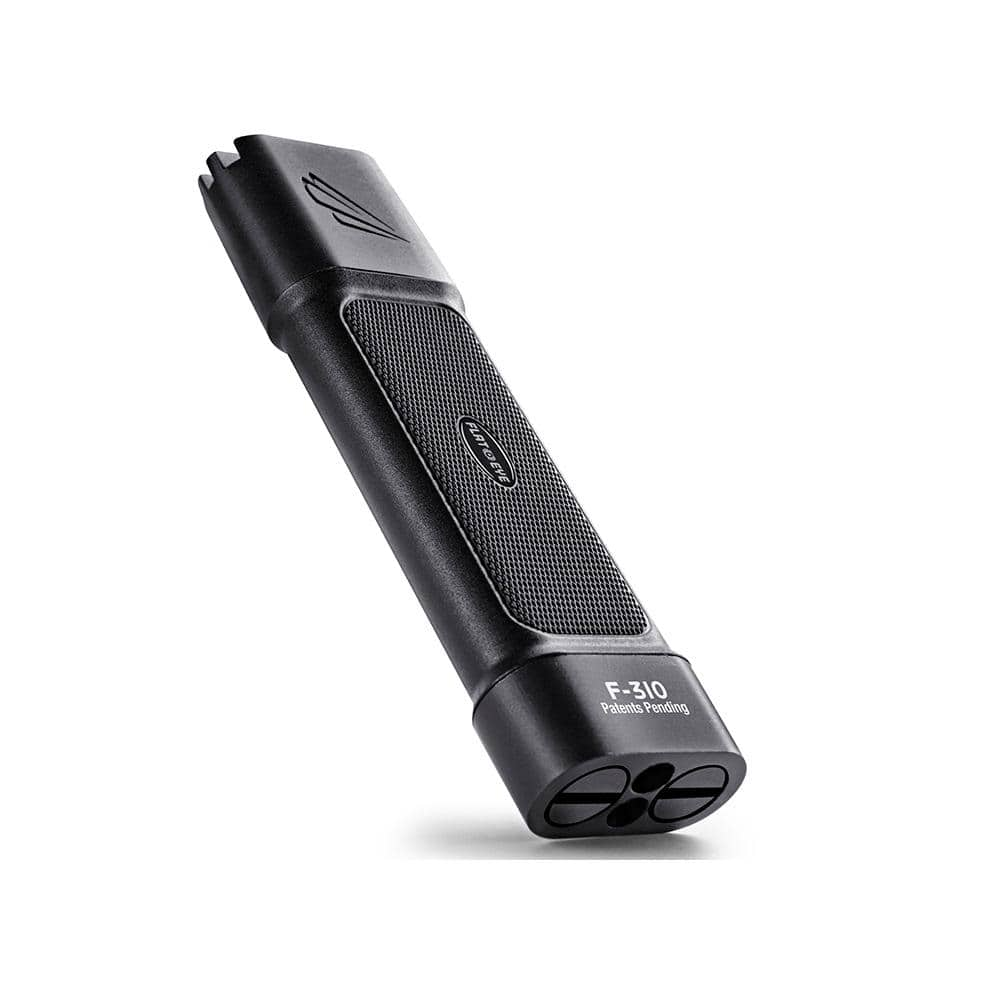
Panther Vision FLATEYE F-310 High Performance 310-Lumen Unround Flashlight CREE LED Multi Position Waterproof and Shockproof FL-6960
Screwdriver (Multi)
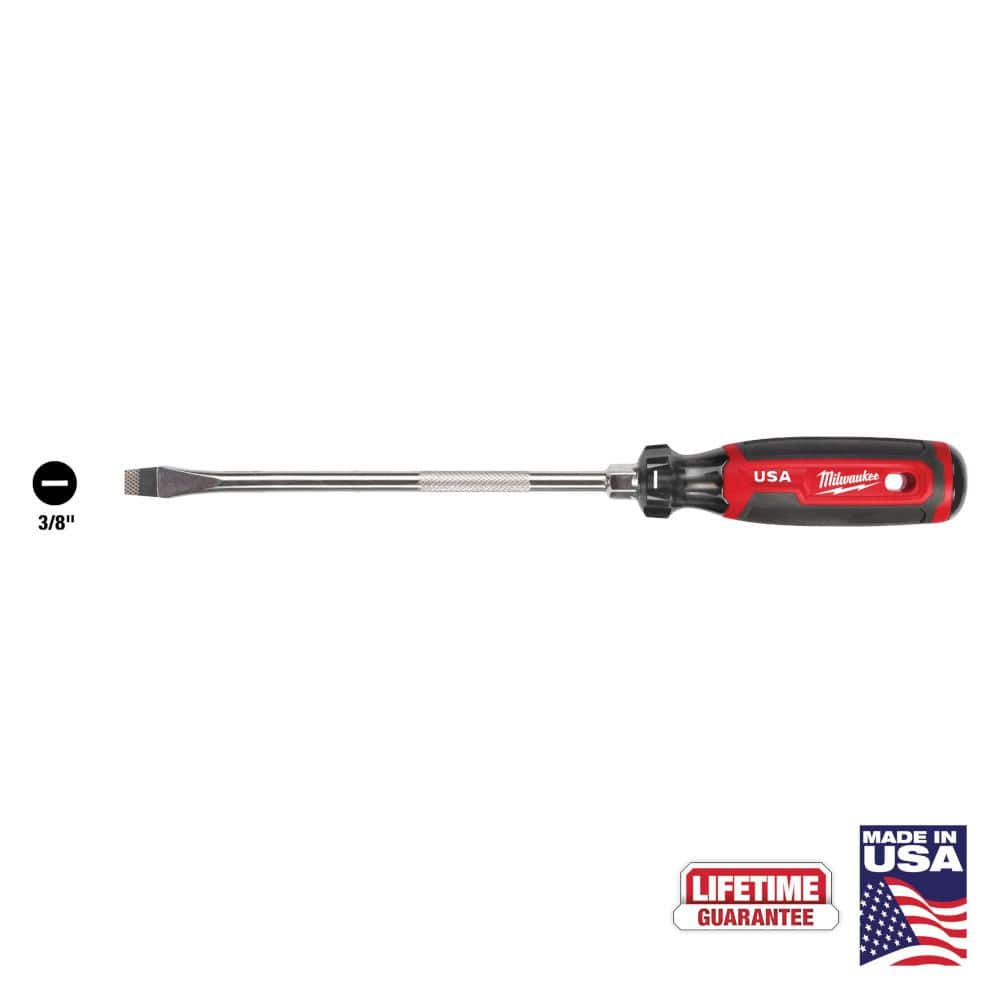
Milwaukee 8 in. x 3/8 in. Slotted Flat Head Screwdriver with Cushion Grip MT209
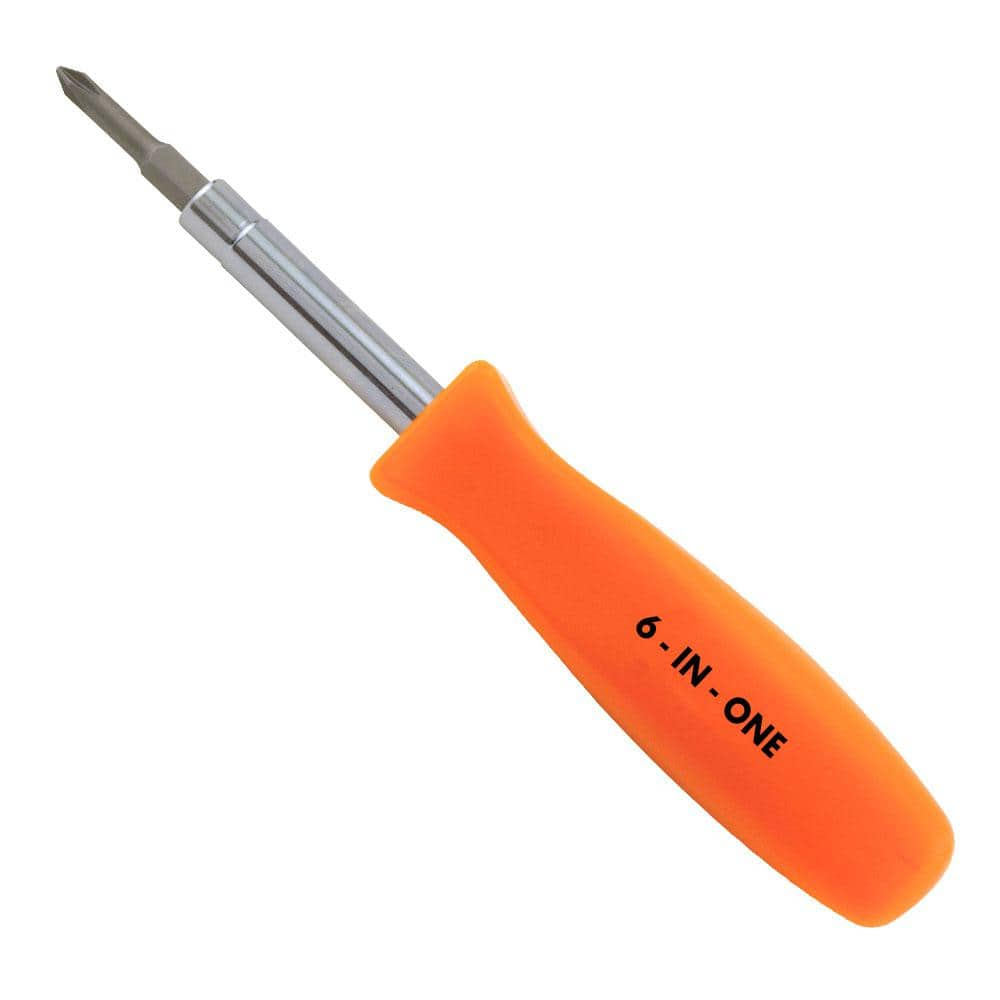
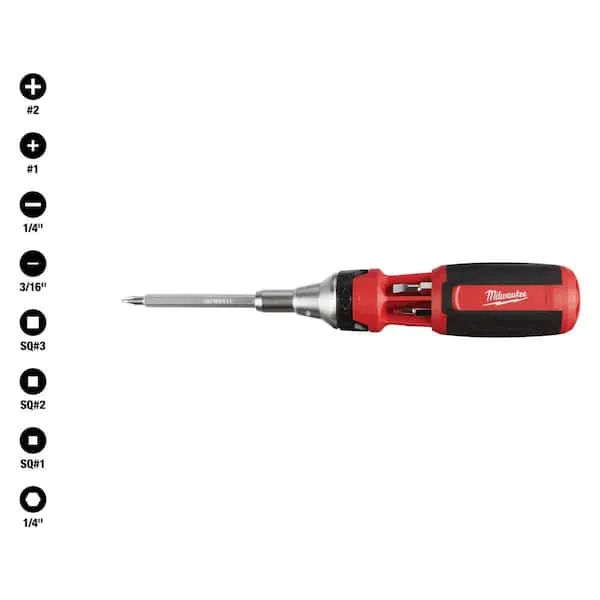
HDX 3-1/4 in. 6-in-1 Screwdriver 120SD12D
The HDX 3-1/4 in. 6-in-1 Screwdriver features double-sided bits with the four most common screwdriver tip styles, including a #1 Phillips bit, a #2 Phillips bit, a 3/16 in. flathead bit and a 1/4 in. flathead bit. Both ends of the shaft can be used as 1/4 in. nut drivers when the bits are removed, offering convenient, versatile use. The high-visibility orange handle makes the handy tool easy to find on a job site or in a toolbox.
FRESHFOLDS Combed Cotton Absorbent Textured 6 Piece Towel Set EC100755
Versatile, stylish, and functional are only a few ways to describe these bath towels. These towels are made with long cotton fibers that are looped to create a soft feel while still offering optimal absorbency
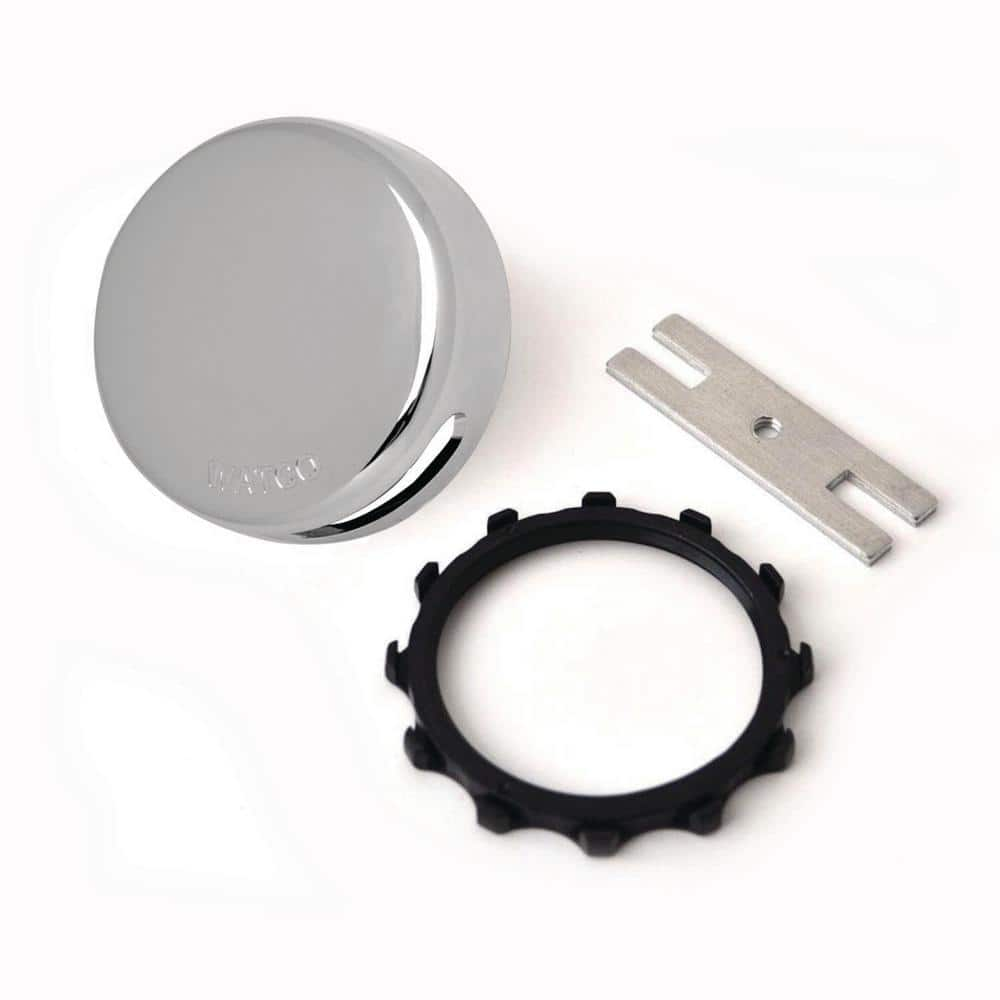
Watco Innovator Snap-On Bathtub Overflow Plate Kit in Chrome Plated 18009-CP
The Watco Innovator Snap-On Bathtub Overflow Plate Kit is perfect to replace, upgrade or repair your existing bathtub overflow plate. The overflow plate is round and does not have a screw hole to create
Panther Vision FLATEYE F-310 High Performance 310-Lumen Unround Flashlight CREE LED Multi Position Waterproof and Shockproof FL-6960
Every revolution starts with a spark. At 310-Lumens the F-310 has the power to ignite our un-round revolution without overpowering your needs or your wallet. Not your granddads flashlight these bad boys
Screwdriver (Multi)
Multiple bits for versatile use.
Milwaukee 8 in. x 3/8 in. Slotted Flat Head Screwdriver with Cushion Grip MT209
The Milwaukee® 3/8" Slotted 8" Cushion Grip Screwdrivers (USA) are manufactured to give the professional the best-fitting screwdriver with max grip. These screwdriver tips are custom machined to deliver
Steps

Gather Tools and Prepare Workspace
10 minsBegin by gathering all necessary tools and supplies. Lay down a protective towel inside the bathtub to prevent scratches and to catch any dropped screws. Ensure your new overflow gasket is the correct size and shape for your tub's drain assembly. Having everything organized and within reach will make the process smoother and more efficient.

Remove the Overflow Cover Plate
5 minsUsing the appropriate screwdriver (usually a Phillips or flathead), carefully loosen and remove the two screws holding the overflow cover plate to the tub wall. Turn the screws counter-clockwise. Be prepared to apply steady pressure, as these screws can sometimes be tight or have minor corrosion. Once the screws are out, gently pull the cover plate away from the tub.

Extract the Old Gasket
5 minsThe old gasket is located behind the bathtub wall, pressed between the tub and the overflow drain pipe. It might come off with the cover plate, or it may be stuck to the tub or the pipe. Use a flathead screwdriver or a putty knife to gently pry the old gasket out of the opening. If it's brittle, it might break into pieces; use needle-nose pliers to pull out any remaining fragments. Ensure the entire old gasket is removed.
Clean Mounting Surfaces
5 minsA clean surface is essential for a good seal. Use a rag dampened with an all-purpose cleaner or mineral spirits to thoroughly clean the back of the overflow cover plate and the area on the bathtub wall where the gasket sits. Remove all soap scum, mineral deposits, and any residue from the old gasket.

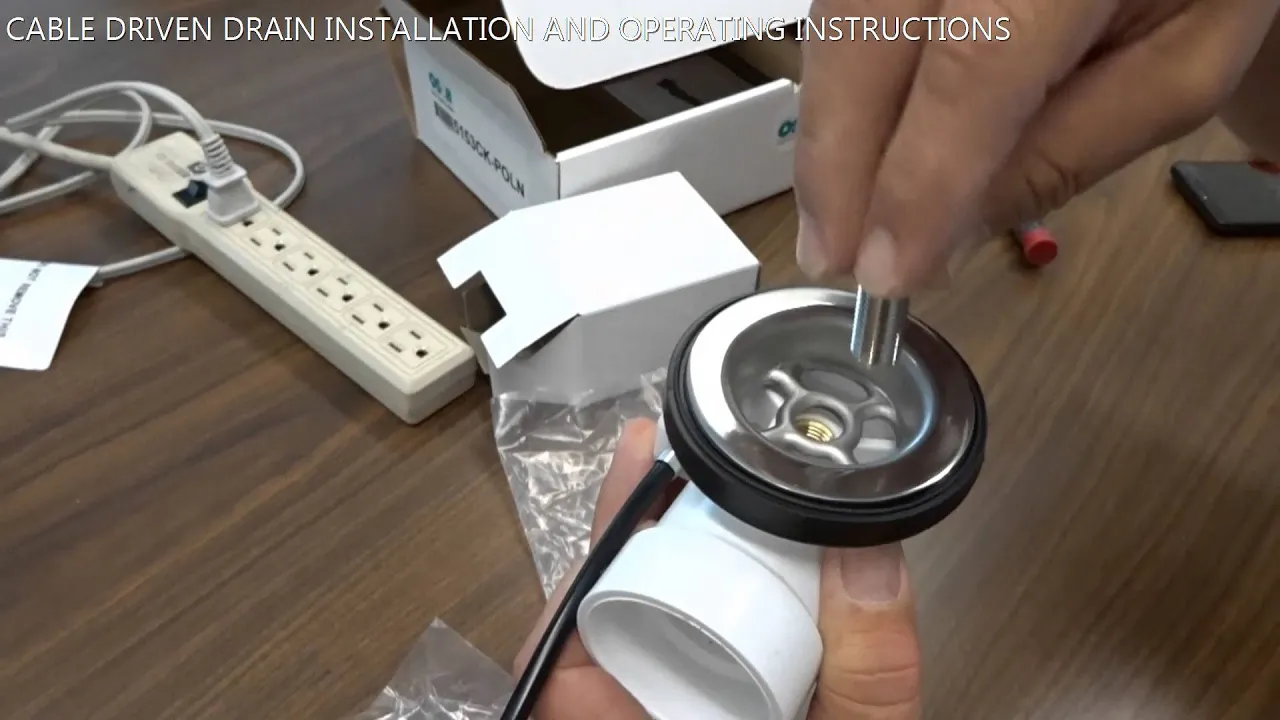
Install the New Gasket
5 minsTake the new overflow gasket and position it correctly. Most overflow gaskets are tapered or beveled. The thicker, wider side of the gasket should face the bathtub wall, and the thinner, tapered side should face into the drain opening, towards the overflow pipe. This wedge shape is designed to create a compression seal when the cover plate is tightened. Press it into place around the opening.

Reinstall the Cover Plate
5 minsAlign the overflow cover plate with the screw holes in the overflow drain assembly. Insert the screws and tighten them by hand first to ensure they are not cross-threaded. Then, use your screwdriver to tighten them snugly. Alternate between the two screws, tightening each one a little at a time to ensure even pressure. Stop when the plate is flush and secure against the tub wall. Do not overtighten.

Test for Leaks
10 minsThe final and most important step is to test your work. Close the main tub drain and fill the bathtub with water. Continue filling until the water level rises above the bottom of the overflow cover plate, causing water to flow into the overflow drain. While the water is draining through the overflow, use a flashlight to look for any drips or moisture around the outside of the cover plate. If you do not have access behind the tub, check carefully around the plate on the inside of the tub. If you do have an access panel, open it and check for leaks on the overflow pipe itself.

Create Drywall Access Panel (If Needed)
30 minsIf your leak test fails and the leak persists, the issue may be with the connection of the pipe to the drain assembly itself, not just the gasket. Since you do not have an access panel, you will need to create one in the drywall on the wall behind the tub's plumbing. Use a stud finder to locate the studs on either side of the plumbing. Use a level and pencil to draw a rectangular access panel (e.g., 12x12 inches). Carefully cut along the lines using a drywall saw or utility knife. This will give you the necessary access to inspect, tighten, or repair the plumbing connections.
Repair Drywall Access Panel
1 minAfter the underlying plumbing leak is fully resolved, you must repair the access hole. You can either reinstall the piece you cut out by adding wood backing strips inside the wall for support, or use a commercial drywall patch kit. Apply drywall joint compound over the seams using a drywall knife, embedding drywall tape in the first coat. Apply one or two more thin coats of compound, allowing each to dry and sanding smooth between coats with a sanding sponge. Once the surface is perfectly smooth and level with the wall, prime and paint it to match the surrounding wall.
Common Problems
Water damage from a hidden leak after caulking.
Solution: It's better to find and fix a leak now than after the tub has been permanently caulked to the floor.
Check for leaks before you install drywall.
Solution: To avoid this issue: Be mindful of this warning and take appropriate precautions.
Do not skip this step. Finding and fixing a leak after the wall is finished is significantly more difficult and expensive.
Solution: To avoid this issue: Be mindful of this warning and take appropriate precautions.
Leaky overflow drain goes unnoticed, causing water damage.
Solution: Place a dry pan or paper towel under the drain while leak testing to make it easier to spot any drips.
Keep the small screw in a safe place so it is not lost.
Solution: To avoid this issue: Be mindful of this warning and take appropriate precautions.
Hold onto the screws securely to avoid dropping them down the drain pipe.
Solution: To avoid this issue: Be mindful of this warning and take appropriate precautions.
Excess putty sticking to hands makes cleanup difficult and messy.
Solution: The putty is designed not to stick to hands, making manual removal of the excess clean and simple.
Frequently Asked Questions
Why is the estimated time for this 'beginner' project so long, and what if I don't need to cut open a wall?
The 6-hour estimate includes the potential need to cut and repair a drywall access panel, which is the most time-consuming part of the project. If your overflow drain is accessible from behind (e.g., through an existing access panel or an unfinished basement/crawl space), or if you can replace the gasket without needing wall access, the project can often be completed in under an hour.
Do I really need all the specialized drywall tools listed if I only plan to replace the gasket?
No, if you can access the overflow gasket without cutting into drywall, you primarily need a screwdriver, rags, cleaning solution, safety glasses, and the new gasket. Tools like the jab saw, joint knife, and sanding sponge are only required if you need to create and repair a drywall access panel to access the overflow plumbing behind the tub.
What are common reasons the overflow might still leak even after replacing the gasket?
A leak might persist if the overflow pipe itself is cracked or loosely connected to the tub, the new gasket isn't seated perfectly flush, or the metal flange around the overflow opening inside the tub is corroded or damaged. Always ensure all contact surfaces are thoroughly cleaned and smooth before installing the new gasket for a watertight seal.
What are the most important safety precautions I should take when replacing the overflow drain gasket?
Always wear safety glasses to protect your eyes from debris and cleaning solutions. If you need to cut into drywall, use a dust mask to avoid inhaling fine particles and a stud finder to prevent cutting into pipes or electrical wires. Ensure the tub is completely drained before starting, and if possible, turn off the main water supply to prevent accidental water damage.
Can I just use silicone caulk or sealant instead of replacing the gasket for a quick fix?
While silicone caulk can create a temporary seal around the *outside* of the overflow cover plate, it is not a proper or long-term replacement for the internal rubber gasket. The gasket is specifically designed to provide a flexible, watertight seal between the overflow pipe and the tub, a function silicone alone cannot reliably replicate under sustained water pressure.
How do I know if I'll need to create a drywall access panel, and what does that involve?
You'll likely need an access panel if you discover the leak is coming from the overflow pipe connections *behind* the tub, rather than just the gasket itself, and there's no existing access. This involves carefully locating the overflow pipe, cutting an opening in the drywall, and then patching and finishing the drywall after the plumbing repair is complete.


