
How to Remove and Replace a Bathtub Drain Flange
About This Project
This guide provides comprehensive, step-by-step instructions for removing an old, corroded, or leaking bathtub drain flange and installing a new one. The process involves removing the stopper, unscrewing the old flange, cleaning the tub surface and drain threads, and then sealing and installing the new flange to ensure a watertight fit.
Best for advanced DIYers and professionals with basic plumbing knowledge and familiarity with power tools.
Tools & Materials

Towel
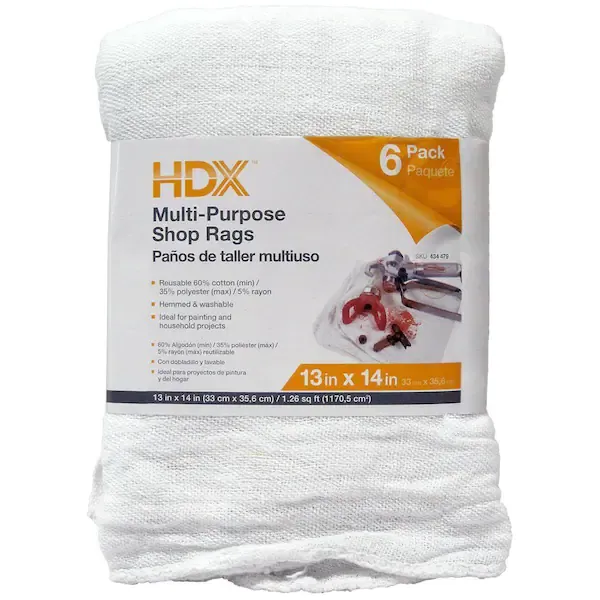
Rag
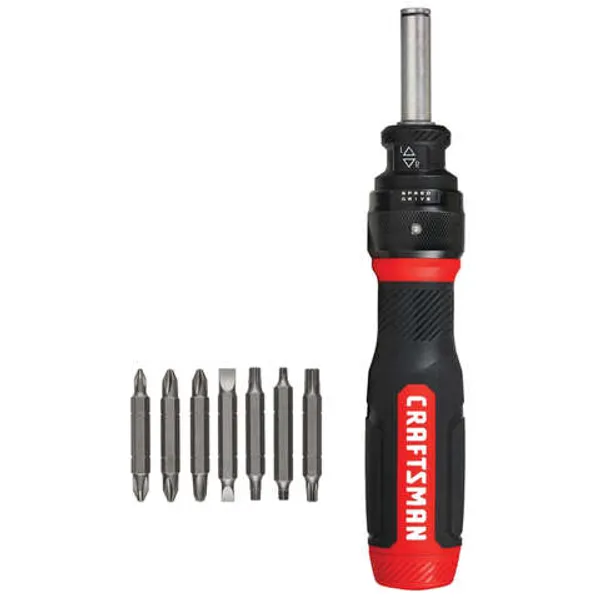
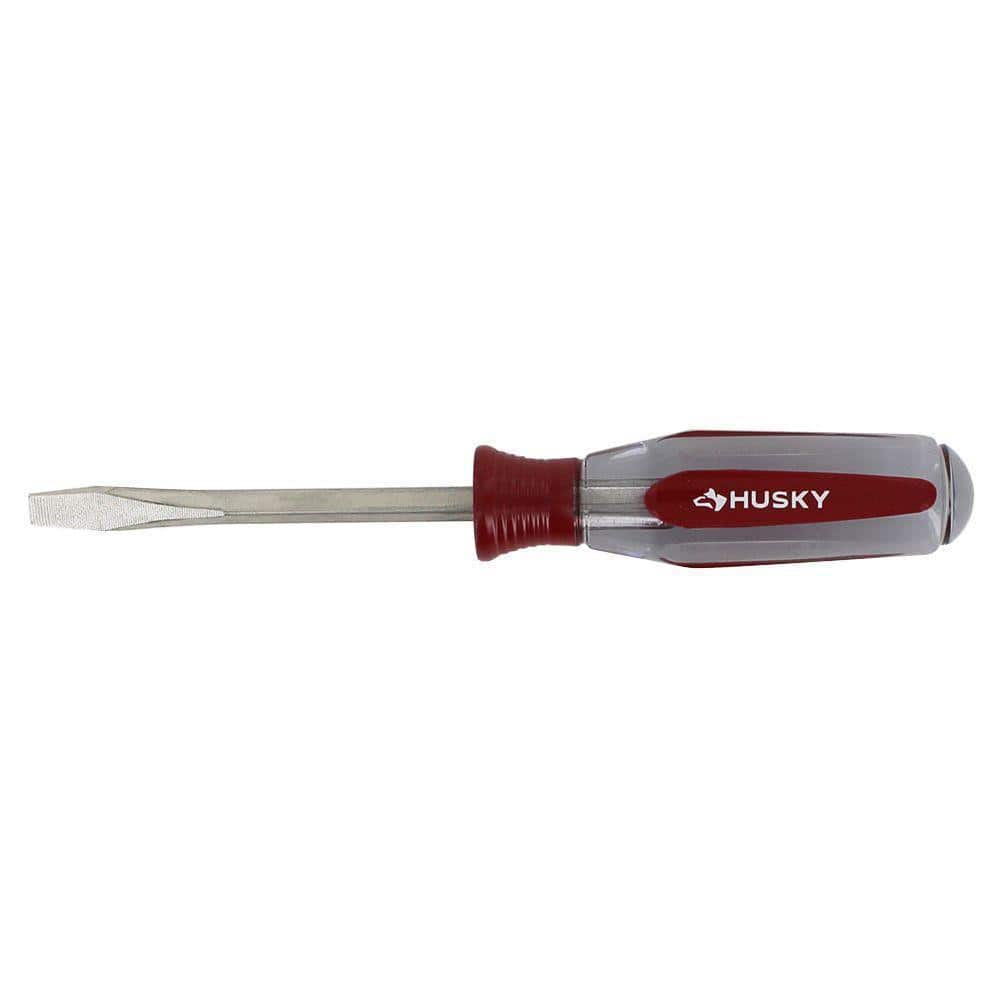
Screwdriver
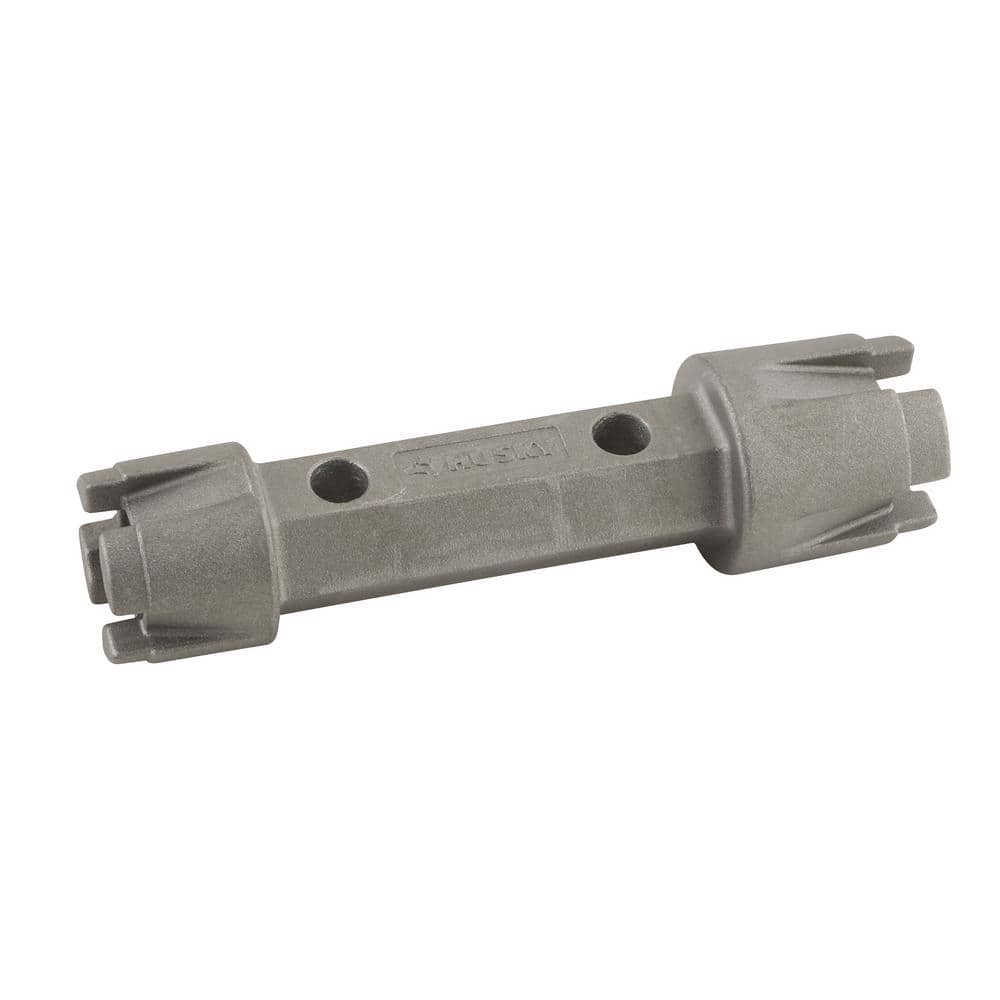
Husky Double Ended Tub Drain Wrench 16PL0128

Adjustable Wrench
Husky 1/4 in. x 4 in. Square Shaft Standard Slotted Screwdriver H14X4FHSD
Towel
Absorbs moisture and dries surfaces.
Rag
Handy for cleaning or wiping tasks.
Screwdriver
A tool used to turn screws.
Husky Double Ended Tub Drain Wrench 16PL0128
This Double Ended Tub Drain Wrench removes most old tub and shower drains and helps during replacement installations. A heavy-duty aluminum die-cast construction ensures long-lasting durability. Its double-ended
Adjustable Wrench
Fits various nut and bolt sizes with its adjustable jaw.
Husky 1/4 in. x 4 in. Square Shaft Standard Slotted Screwdriver H14X4FHSD
This standard slotted screwdriver by Husky features a 4 in. blade forged from superior allow steel and a serrated tip to increase grip and reduce slip. Its impact and chemical-resistant handle is ergonomic
Steps
Prepare the Work Area
5 minsBefore starting, ensure the work area is clean, dry, and prepared. Lay an old towel or thick cloth in the bottom of the bathtub to prevent any accidental scratches or damage from dropped tools. Gather all necessary tools and materials and have them within easy reach. It can also be helpful to temporarily block the overflow opening with a rag to prevent screws or small parts from falling down into the drain system.
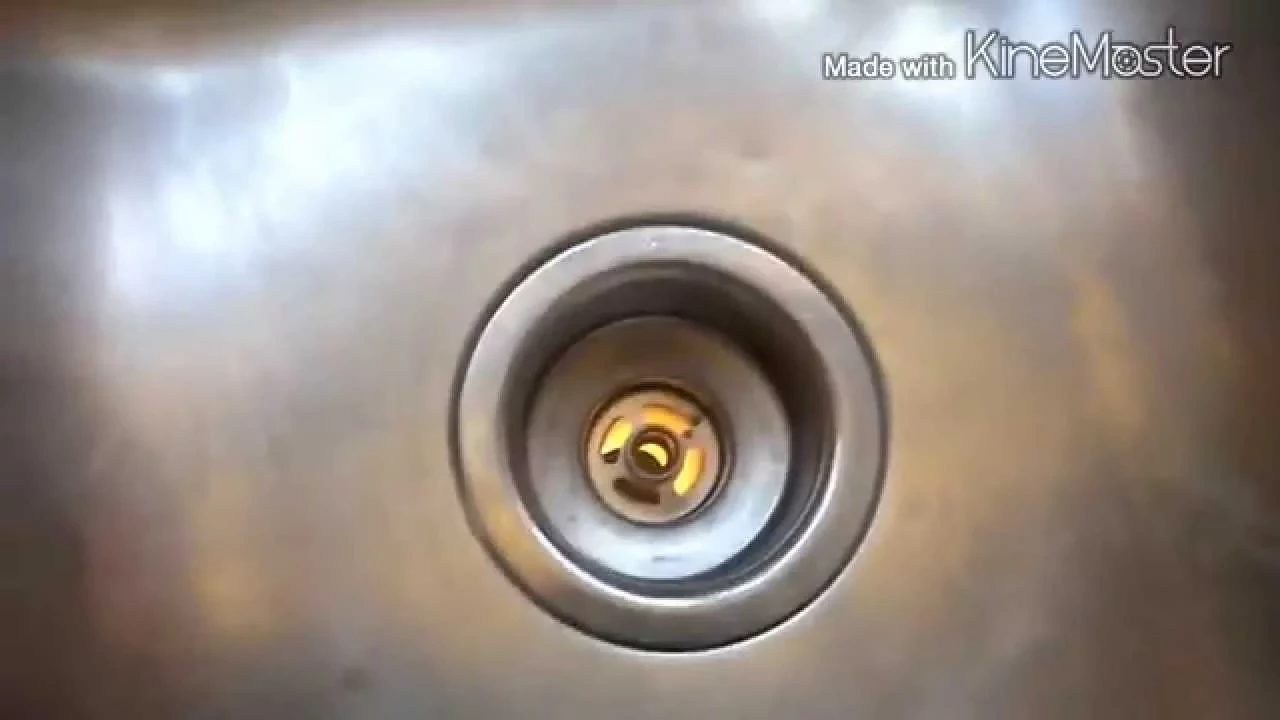
Remove the Tub Stopper
10 minsFor a twist-and-turn stopper, first, open the stopper to the up position. Unscrew the small knob on the very top by turning it counter-clockwise. Once the knob is off, you may see a brass post with a slot for a flathead screwdriver or a small set screw on the side. If there's a set screw, use the appropriate screwdriver to loosen it. If it has a slot on top, hold the main body of the stopper and unscrew the center post counter-clockwise. Once loose, lift the entire stopper mechanism out of the drain.
Remove the Old Drain Flange
15 minsWith the stopper removed, you will see the metal cross-pieces inside the drain. Insert the drain wrench (also known as a dumbbell wrench) so it firmly engages these cross-pieces. Fit the handle of a large adjustable wrench or a large screwdriver through the top of the drain wrench to use as a lever. Apply steady, firm pressure, turning counter-clockwise to unscrew the drain flange from the drain shoe below. This may require significant force if the flange is old and sealed tightly.
Clean the Drain Opening and Threads
15 minsOnce the old flange is removed, you will likely see a ring of old, hardened plumber's putty and other residue around the drain opening on the tub surface. Use a plastic putty knife to carefully scrape away all of this old material. Then, use a rag dampened with denatured alcohol or a mild solvent to thoroughly clean the surface where the new flange will sit. Also, use a separate rag to clean the female threads inside the drain shoe below. A clean surface and clean threads are critical for a proper, leak-free seal.
Prepare the New Drain Flange
10 minsTake a generous amount of plumber's putty and warm it in your hands by kneading it. Roll it into a uniform rope about 1/4 to 3/8 inch thick. Press this rope of putty firmly onto the underside of the lip of the new drain flange, forming a complete circle. For an extra layer of protection against leaks, wrap the male threads of the new flange with 2-3 layers of thread sealant tape in a clockwise direction (the same direction you will tighten it).
Install the New Drain Flange
15 minsYour new drain kit should include a thick rubber gasket. This gasket goes between the underside of the bathtub and the top of the drain shoe. From the top, carefully screw the new, prepared flange into the drain shoe, turning clockwise. Be careful not to cross-thread it. Hand-tighten it as much as possible. Then, insert the drain wrench and use your lever to tighten it another quarter to half turn until it is snug. You should see an even ring of plumber's putty squeeze out from under the flange lip. Use your finger or a soft cloth to wipe away this excess putty for a clean finish.
Reinstall Stopper and Test for Leaks
20 minsReinstall the tub stopper mechanism by reversing the steps you took to remove it. Screw the central post back into the cross-piece, then attach the top knob. Before using the shower, perform a leak test. Close the newly installed stopper and fill the tub with a few inches of water. Let it sit for 10-15 minutes and check for any signs of leaks around the drain (if you have access below) or simply observe if the water level in the tub has dropped. Then, open the stopper and let the tub drain completely, again checking for any leaks while the water is flowing.
Common Problems
Leaky drain due to poor seal from old putty.
Solution: A clean surface is essential for a good seal. Make sure to remove all old putty and debris.
The drain spins and won't tighten when you try to secure the locknut.
Solution: Have someone hold the drain in place from the top while you tighten the locknut from below to prevent it from spinning.
Leaking water due to an incomplete seal under the flange.
Solution: The plumber's putty creates a waterproof seal. Ensure it forms a complete ring under the flange.
Damaged tub lip prevents proper drain flange seal.
Solution: Apply putty to both the top flange and the bottom gasket area if the tub lip is damaged to ensure a better seal.
Uneven putty leads to leaks around the drain.
Solution: Rolling the putty into a uniform rope ensures an even seal when compressed.
Unevenly tightened screws can lead to leaks or damage the drain flange.
Solution: Tighten the three screws in an alternating pattern to ensure even pressure and a good seal.
Stain-free putty prevents stains on natural stone sinks.
Solution: Use stain-free putty if you have a natural stone or porous sink material to prevent staining.
Frequently Asked Questions
How difficult is this project for a beginner, and how long does it typically take?
This is a beginner-friendly plumbing project, but patience is key, especially with old, corroded parts. Expect it to take 1-2 hours, depending on how easily the old flange comes out and the amount of cleaning required. Factor in additional time for thorough leak testing to ensure a watertight seal.
Do I really need a special tub drain wrench, or can I use other tools to remove the old flange?
A dedicated tub drain wrench (like the Husky Double Ended Tub Drain Wrench 16PL0128) is highly recommended. It provides the best grip and leverage, minimizing the risk of stripping the flange or damaging the tub. While some might try large pliers or screwdrivers with a hammer, these often cause more damage and frustration.
My old drain flange is stuck or severely corroded. How can I remove it without damaging the tub?
If the flange is very stuck, try applying penetrating oil and letting it sit for a few hours to loosen corrosion. Use the tub drain wrench firmly but carefully to avoid stripping the interior. For extremely stubborn or corroded flanges, you might need to carefully cut the crossbars inside the flange with a reciprocating saw and then break out the pieces, always protecting the tub surface.
What's the best way to ensure a watertight seal and prevent future leaks when installing the new flange? Should I use plumber's putty or silicone?
Plumber's putty is generally preferred for this application. Apply a generous, even bead of Oatey Plumber's Putty underneath the lip of the new flange before setting it into the drain opening; it should squeeze out when tightened. For added security, you can also wrap Teflon tape around the drain shoe threads before screwing in the new flange.
What precautions should I take when working with older drain systems, especially if rust or corrosion is present?
Always wear gloves and eye protection to guard against rust flakes, sharp edges, and potential plumbing chemicals. Be extra gentle with old pipes, as excessive force can crack or dislodge fragile connections further down the drain. Have old towels or rags ready to catch any debris or residual water during removal and cleaning.
What should I do if the new drain flange still leaks after installation and testing?
First, ensure the flange was tightened sufficiently, but not overtightened which could crack the drain shoe or tub. Remove the flange, thoroughly clean off all old plumber's putty or sealant from both the flange and the tub surface. Reapply a fresh, generous bead of plumber's putty, ensuring it forms a complete, continuous seal, and then reinstall and retest.