
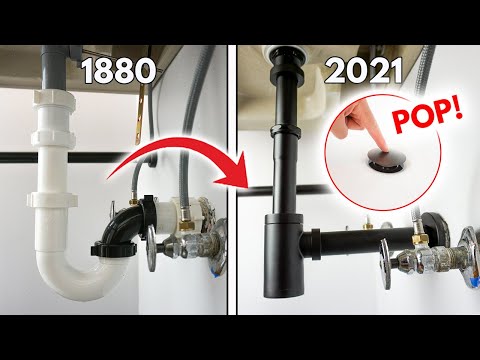
How to Remove and Replace a Bathroom Sink Pop-Up Stopper
About This Project
This guide provides comprehensive instructions for removing a malfunctioning or old bathroom sink pop-up stopper and replacing it with a new one. The process involves working under the sink to disconnect the linkage, removing the old stopper from the drain, installing the new stopper, and reconnecting the mechanism, followed by testing for proper operation and leaks.
Best for experienced DIYers and homeowners with some experience with basic plumbing knowledge.
Tools & Materials

Unger 6 Gal. Heavy-Duty Plastic Bucket DB02

FRESHFOLDS Orange 6-Piece Cotton Quick-Dry Bath Towel Set EC100706
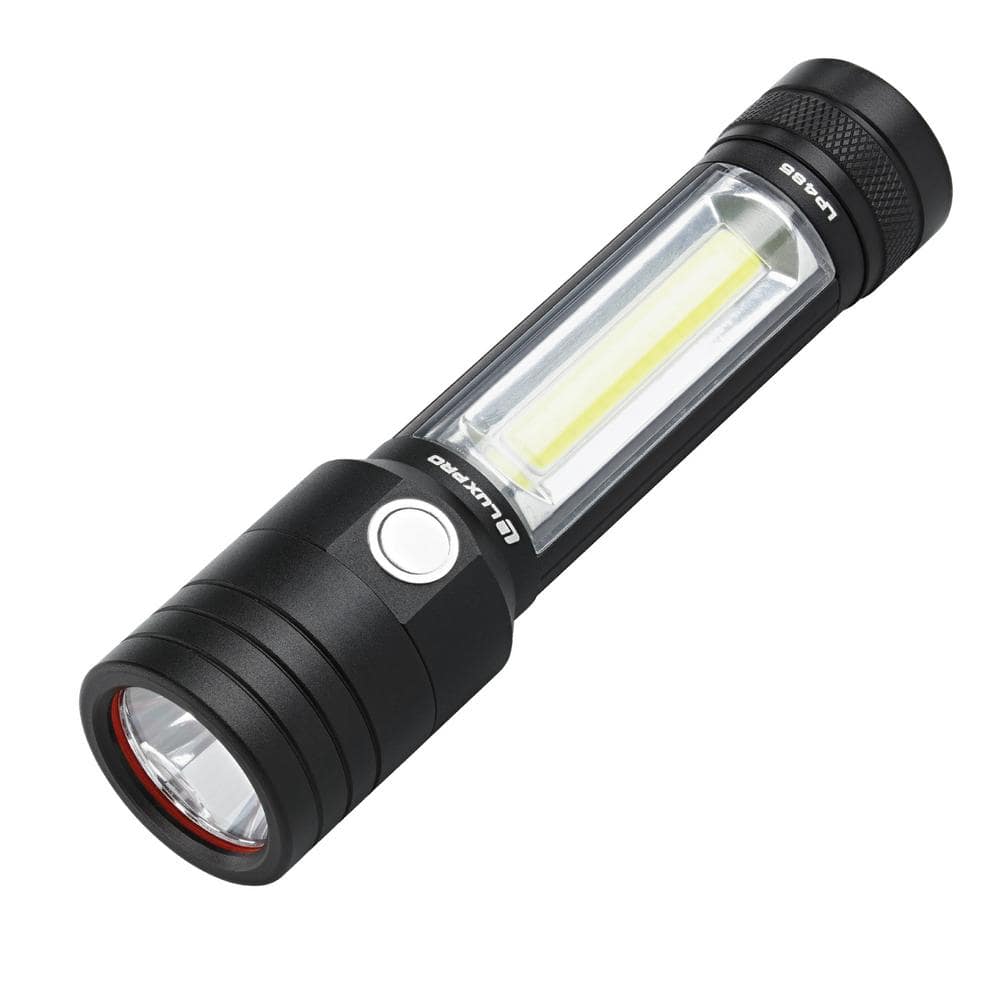
LUXPRO Utility 537 Lumens LED Handheld Flashlight and Work Light LP485
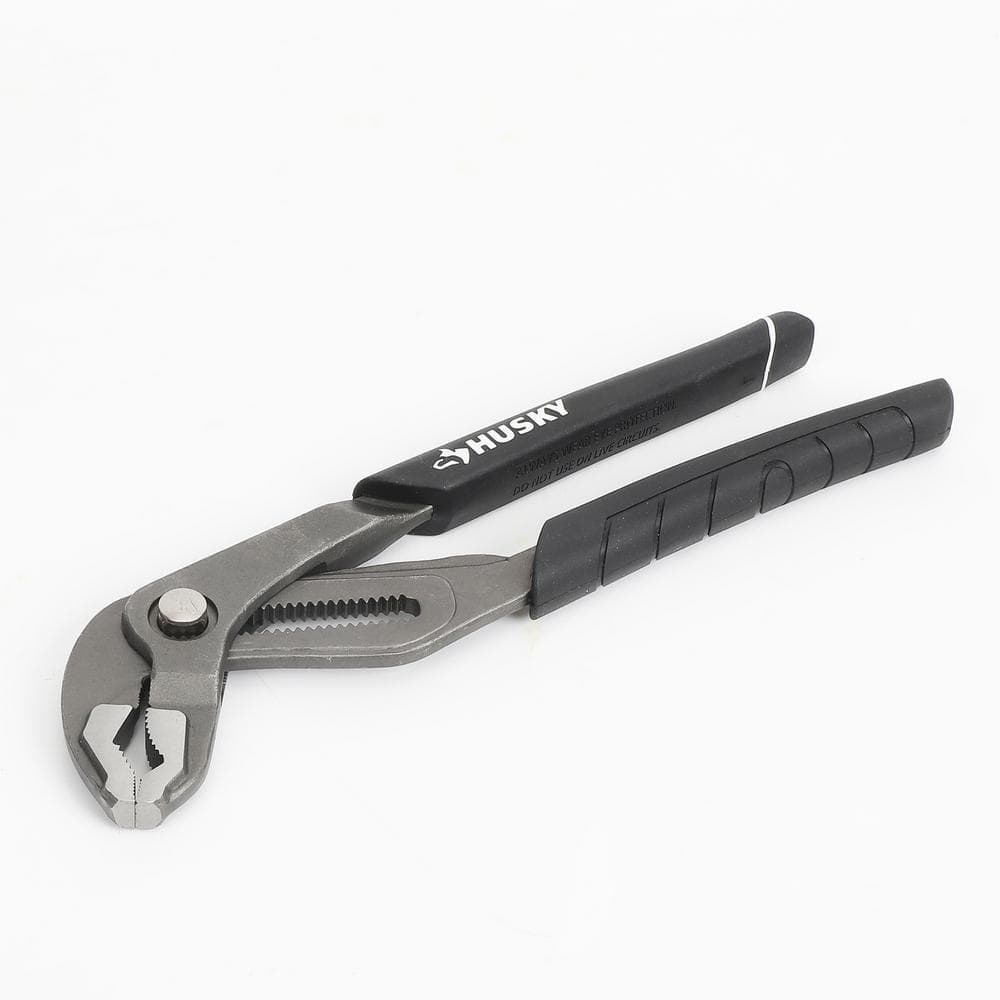
Husky 10 in. Quick Adjusting Groove Joint Pliers with Curved Jaw 90141
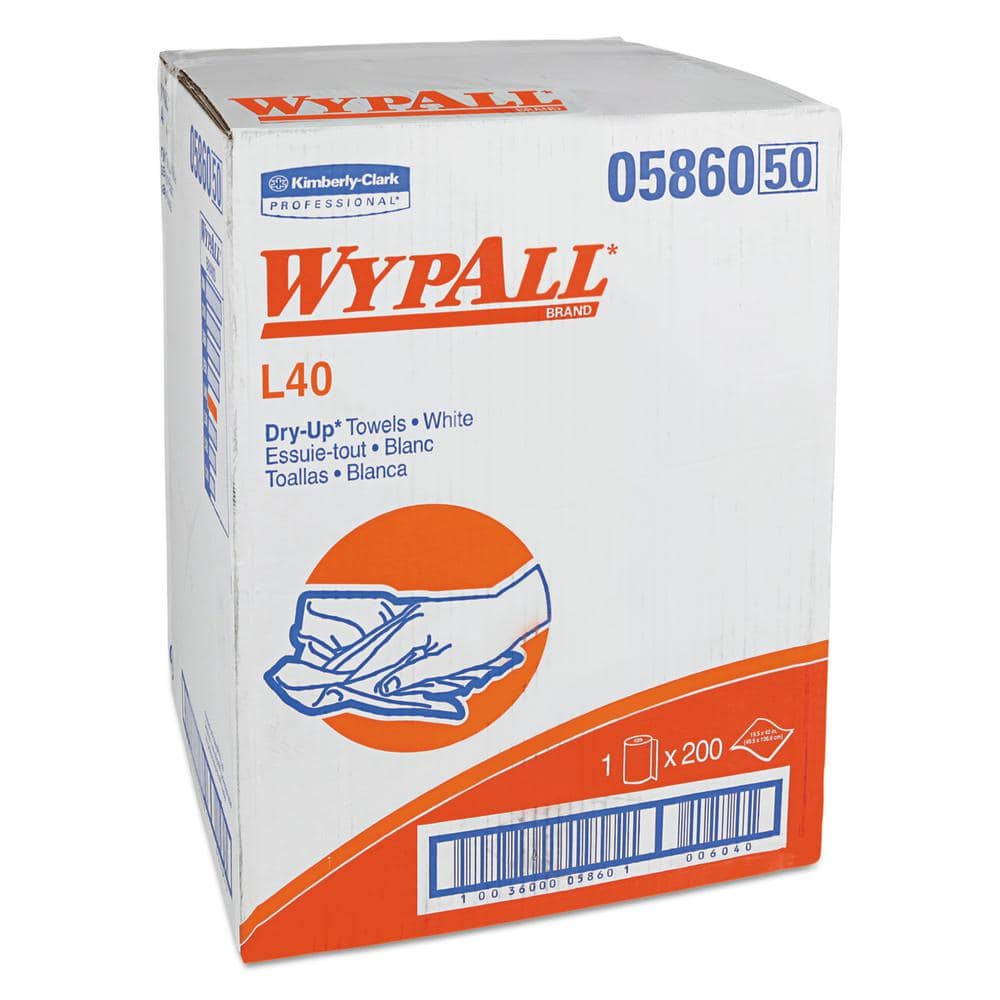
WYPALL L40 Towels, Dry Up Towels, 19-1/2 in. x 42 in., White, 200 Towels/Roll KCC05860

Bell + Howell WorkLight 360 Pro 1000 Lumens Super Bright LED Portable Heavy-Duty Multi-Directional Handheld Work Light 7959
Unger 6 Gal. Heavy-Duty Plastic Bucket DB02
The Unger 6-Gallon Heavy-Duty Professional Cleaning Bucket holds more than 6 Gal. of liquid. The bucket can accommodate a scrubber up to 14 in. L. This bucket features measurement marks and 2-pour spouts
FRESHFOLDS Orange 6-Piece Cotton Quick-Dry Bath Towel Set EC100706
This cotton towel is quick-drying, absorbent and features a soft cotton popcorn texture. These towels are low-twist and two-ply, so the fibers are thicker and more durable. The weave allows for more air
LUXPRO Utility 537 Lumens LED Handheld Flashlight and Work Light LP485
Utility combo LED handheld flashlight and work light by LUXPRO. This is a multi-functional light that features an advanced variable brightness button. Simply select a mode then press and hold the on/off
Husky 10 in. Quick Adjusting Groove Joint Pliers with Curved Jaw 90141
The Husky quick adjusting groove joint pliers are easier to adjust for the perfect fit. At the touch of a button, the jaws can be moved to quickly fit a fastener without having to guess which the appropriate
WYPALL L40 Towels, Dry Up Towels, 19-1/2 in. x 42 in., White, 200 Towels/Roll KCC05860
WYPALL L40 Wipers are effective wipers that absorb liquids lightning-fast. These wipes are made of bonded cellulose using DRC (double re-creped) technology for strength, softness and absorbency. As a wiping cloth, it soaks up liquids fast, but all you'll feel is softness, thanks to a plush, touchable outer layer. In fact, it's a popular choice for patient wiping in healthcare industries, for bathing and patient drying. These utility wipes are specially designed to absorb liquids, lubricants and oils (in restaurants for wiping counters, in mechanic shops, industrial and commercial factories and more), yet they're soft enough for use on face and hands. Experience the difference in superior absorbency and cleaning at your home or office today. Towel/Wipe Type: Dry Wipes; Application: Bathrooms; Material(s): Cloth-Like; Number of Plies: 1.
Bell + Howell WorkLight 360 Pro 1000 Lumens Super Bright LED Portable Heavy-Duty Multi-Directional Handheld Work Light 7959
NEVER GET STUCK in THE DARK AGAIN Worklight 360 Pro is the powerful multi-position mega task light from Bell plus Howell that puts the light where you need it, at the right time every time. and it's easy
Steps
Prepare the Work Area
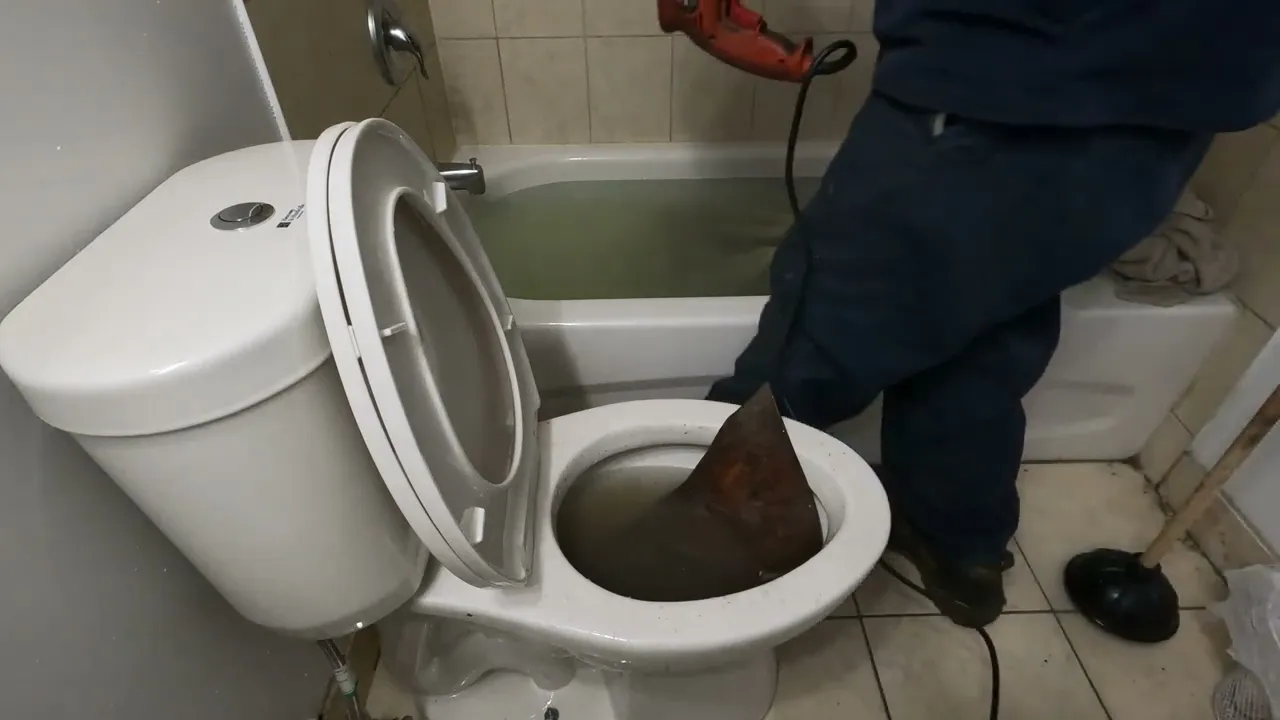
5 minsBegin by completely clearing out the cabinet area beneath the bathroom sink to provide ample room to work. Place a small bucket directly under the drain pipe (P-trap and tailpiece) to catch any residual water that will spill during the process. Lay down several old towels around the bucket to absorb any splashes and protect the cabinet floor from water damage. Using a flashlight or work light will make it much easier to see the plumbing components.

Disconnect the Pivot Rod
10 minsLook under the sink for the vertical metal strip with holes in it (the lift rod strap) that connects to the faucet's lift rod. This strap is connected to a horizontal rod (the pivot rod) via a spring clip. Squeeze the sides of the spring clip together and slide it off the pivot rod, then pull the pivot rod out of the hole in the strap. Next, locate the retaining nut (pivot nut) that holds the pivot rod into the side of the drain tailpiece. Using your hand or a pair of adjustable pliers, turn this nut counter-clockwise to loosen and remove it. As you pull the pivot rod out of the tailpiece, the attached ball will come out; be ready for water to drain into your bucket.

Remove the Old Stopper
2 minsNow that the pivot rod is no longer holding it in place, move back to the top of the sink. The pop-up stopper is free to be removed. Simply grab the top cap of the stopper and lift it straight up and out of the drain opening. If it's been in place for a long time, it may be stuck by soap scum and hair; a slight wiggle as you pull upwards should free it.

Clean Drain and Prepare New Stopper
5 minsBefore installing the new stopper, take the opportunity to clean. Use paper towels or a rag to wipe away all the grime, hair, and soap scum from inside the drain flange where the stopper sits. A small, stiff brush can help dislodge stubborn buildup. Once clean, unpack your new pop-up stopper and inspect it to ensure it matches the old one and has the necessary hole in its stem for the pivot rod.

Install the New Stopper
2 minsTake the new pop-up stopper and drop it into the sink drain opening from above. It's crucial to orient it correctly. The opening or loop at the bottom of the stopper's plastic or metal stem must be facing toward the back of the sink. This ensures that the pivot rod, when re-inserted from the back, will pass through it.

Reconnect the Pivot Rod
10 minsReturn to your position under the sink. Take the horizontal pivot rod and slide it back into its opening on the drain tailpiece. You will need to make sure the end of the rod passes through the hole in the new stopper's stem. You might need to wiggle the stopper from above with one hand while feeding the rod with the other to achieve proper alignment. Once the rod is fully inserted and the pivot ball is seated in the tailpiece, screw the retaining nut back on. Hand-tighten it securely. Finally, re-insert the end of the pivot rod into the lift rod strap and secure it with the spring clip, using the same hole as before or a new one for adjustment.

Test and Adjust
5 minsWith everything reassembled, it's time to test your work. Push and pull the lift rod behind the faucet. The stopper should move up and down freely inside the drain. Push the stopper down to the closed position and fill the sink with a few inches of water. Wait a minute to see if the water level drops, confirming the stopper creates a good seal. Next, pop the stopper open and let the water drain. As it drains, use your flashlight and a dry paper towel to check for any leaks around the pivot rod retaining nut under the sink. If you see a drip, gently tighten the nut a tiny bit more. If the stopper doesn't seem to open high enough or seal tightly enough, you can adjust this by moving the spring clip to a different hole on the lift rod strap.
Common Problems
Overtightening the pivot rod nut prevents the stopper from moving freely.
Solution: Don't overtighten the pivot rod nut; just ensure it's snug to hold the rod in place while allowing up-and-down movement.
Can't see the drain assembly parts to remove the stopper.
Solution: Use a flashlight to get a clear view of all the components.
Difficulty aligning the pivot rod with the stopper loop.
Solution: Aligning the pivot rod with the stopper loop can be tricky. Having a helper jiggle the stopper from above can make this step much easier.
Water and debris will spill onto the floor when removing the p-trap.
Solution: Have a pan underneath the p-trap to catch any water or debris that may fall out during removal.
Stopper won't open or close if the lift rod isn't properly connected.
Solution: Test the pop-up mechanism by moving the lift rod on the faucet to ensure it's connected correctly before fully tightening everything.
Pivot rod won't engage, preventing stopper removal/installation.
Solution: If you cannot engage the pivot rod, the stopper is likely facing the wrong direction. Rotate it 180 degrees and try again.
Stopper won't connect to the drain linkage.
Solution: The hole in the plastic plate of the stopper must face the wall to allow the pivot rod to connect properly.
Frequently Asked Questions
How difficult is it to replace a bathroom sink pop-up stopper for a beginner, and how long should it take?
This project is rated as 'beginner' difficulty. For most DIYers, it should take about 30 minutes to an hour, assuming no major complications like rusted or seized parts. Taking your time to understand the linkage and ensuring a good seal will prevent future issues.
What are the most common problems I might encounter when replacing the stopper, and how can I avoid them?
The most common issues are leaks after reassembly and difficulty with the pivot rod. To avoid leaks, ensure all connections, especially the nut holding the pivot rod, are tightened properly but not overtightened. If the old pivot rod is stuck, apply penetrating oil and let it sit before trying to remove it gently with your Husky 10 in. Quick Adjusting Groove Joint Pliers.
Do I need all the specific tools listed, like the Husky groove joint pliers or the Flateye flashlight?
While specific brands aren't mandatory, having a good pair of adjustable pliers (like groove joint or channel locks) is crucial for loosening nuts under the sink. A bright, hands-free flashlight, such as the Panther Vision FLATEYE, is also highly recommended as lighting under a sink cabinet is usually poor. These tools will make the job significantly easier and safer.
How can I prevent water leaks after installing the new pop-up stopper?
The key to preventing leaks is ensuring the new stopper assembly, especially the part that goes through the drain opening, is properly sealed. Most new stoppers come with gaskets, but applying a small bead of plumber's putty around the underside of the drain flange before inserting it can provide an extra layer of protection. Always test by filling the sink and letting it drain slowly, checking for drips immediately after installation using WYPALL L40 Towels.
Can I just clean or repair my old pop-up stopper instead of completely replacing it?
Often, a malfunctioning pop-up stopper can be fixed with a thorough cleaning. Hair, soap scum, and debris commonly get caught on the stopper and pivot rod, preventing it from sealing or moving correctly. Remove the stopper, clean all components, and reassemble. If parts are broken or corroded, a replacement is usually more effective for long-term function.
What should I prepare for under the sink to make the process smoother and cleaner?
Before you begin, clear out any items from under the sink and place an Unger 6 Gal. Heavy-Duty Plastic Bucket DB02 directly beneath the P-trap connection where the pivot rod enters the drain. This will catch any residual water when you disconnect the pivot rod. Also, have WYPALL L40 Towels or a rag handy for spills, and consider wearing FIRM GRIP Pro Cleaning Disposable Nitrile Gloves for hygiene and grip.


