

How to Remove a Stuck or Screwless Faucet Handle
About This Project
A detailed guide on how to safely remove a faucet handle that is stuck due to mineral deposits, corrosion, or a hidden set screw. The process involves turning off the water, identifying the handle type, applying penetrating solutions, and using appropriate tools to pry or pull the handle off without causing damage.
Best for experienced DIYers and homeowners with some experience with basic plumbing knowledge.
Tools & Materials

Towel
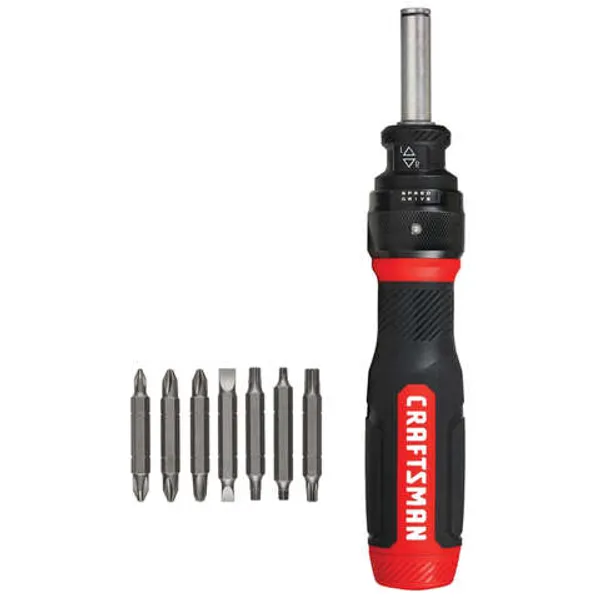
Screwdriver
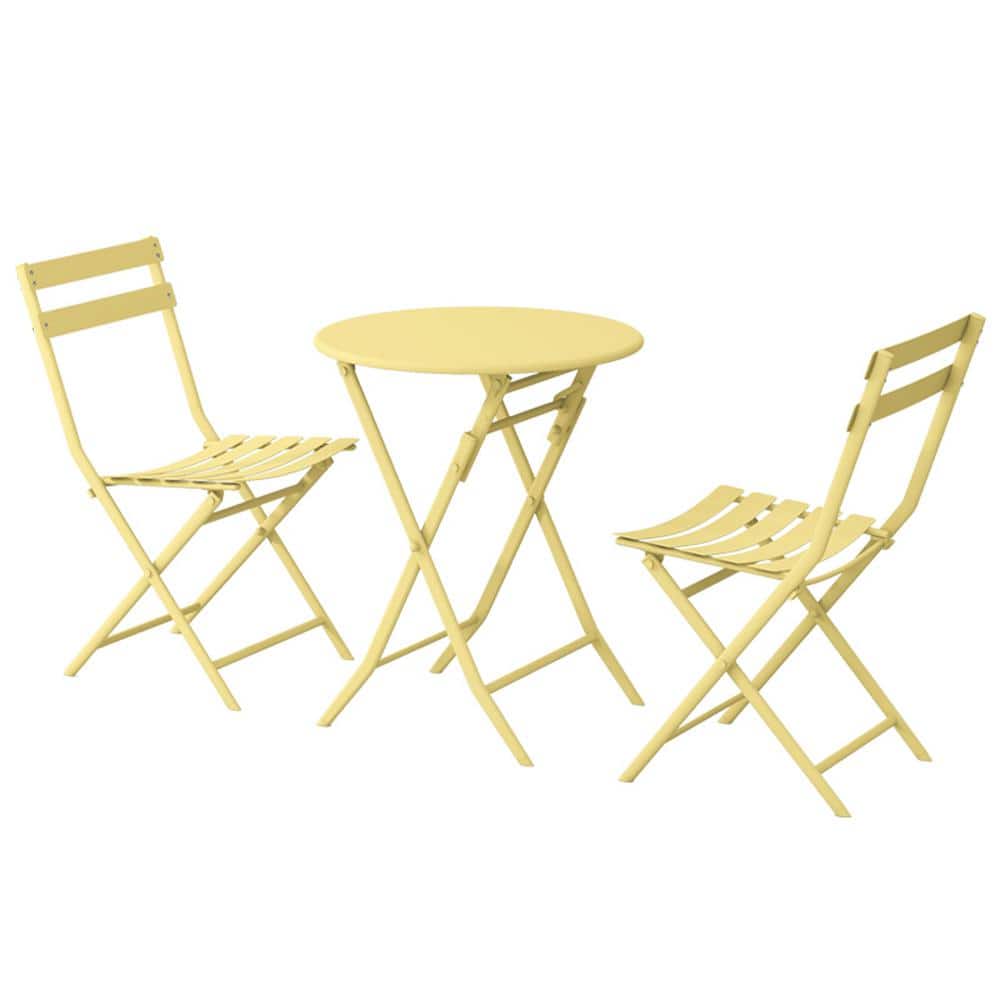
Anvil Yellow 3-Piece Metal Indoor Outdoor Bistro Set, Patio Foldable Round Table and Chairs Set FY-W1586P143143
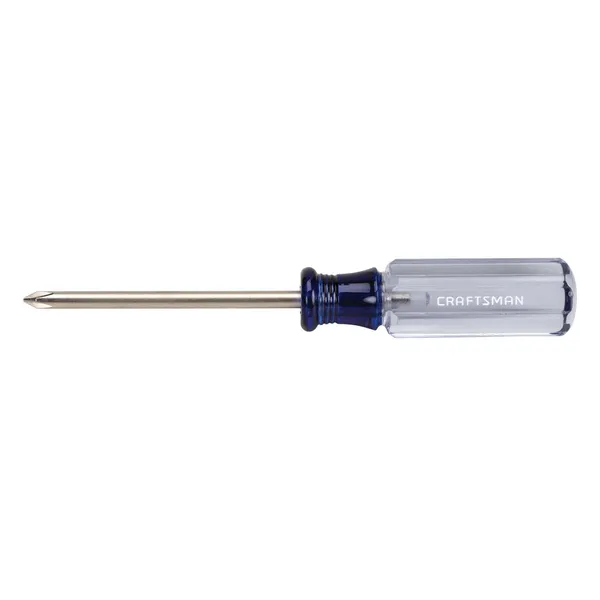
Phillips head screwdriver
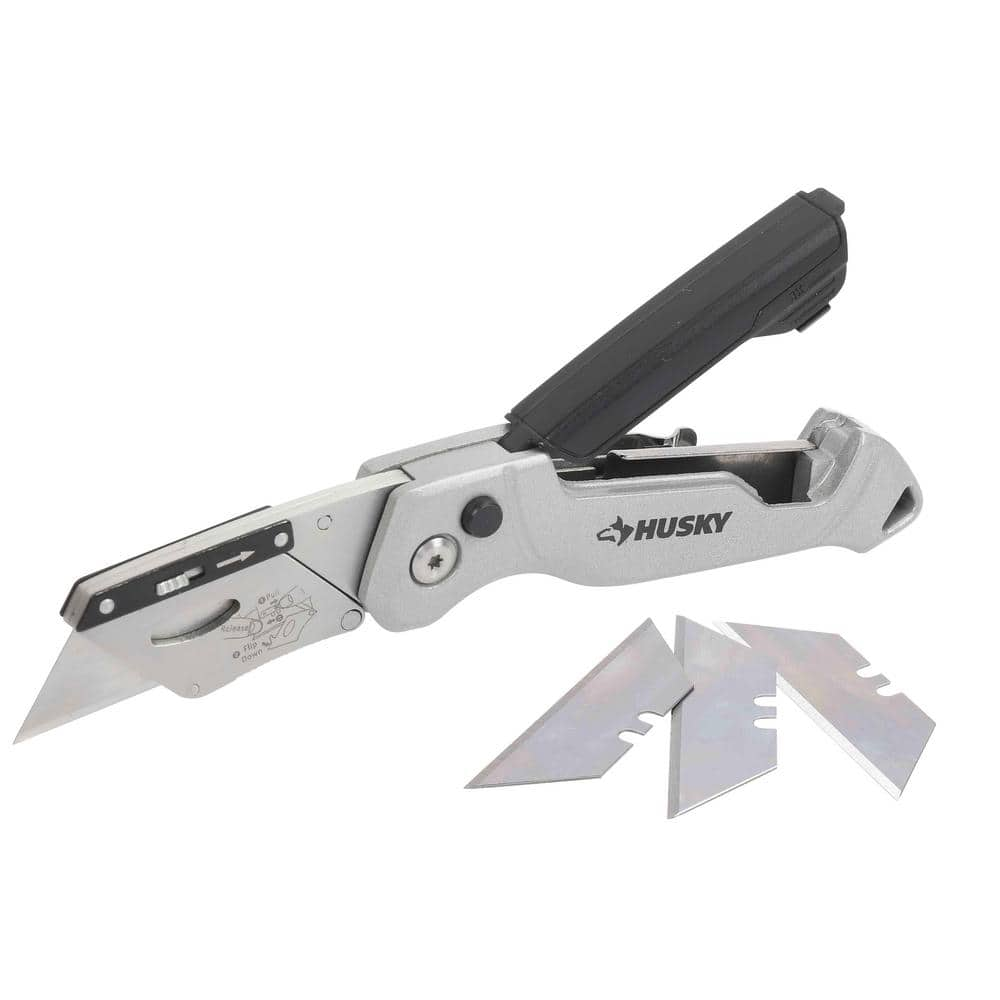
Husky Pro Utility Knife 00004
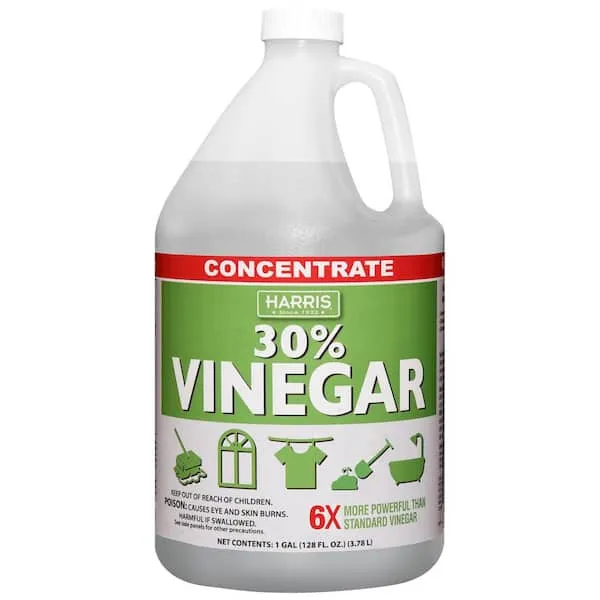
Vinegar
Towel
Absorbs moisture and dries surfaces.
Screwdriver
A tool used to turn screws.
Anvil Yellow 3-Piece Metal Indoor Outdoor Bistro Set, Patio Foldable Round Table and Chairs Set FY-W1586P143143
Enjoy friendly conversation and a cappuccino with the Indoor/Outdoor 3-Piece Bistro Set. This Garden 3-piece folding patio set, featuring 2-dining chairs and 1-dining table. With its simple and practical
Phillips head screwdriver
This is a type of screwdriver that has a cross-shaped tip.
Husky Pro Utility Knife 00004
Offering a precise cut every time, Husky Pro Folding Utility Knife lets you easily adjust the blade to multiple angles to tackle a wide range of jobs. Aluminum die casting handle with plastic spraying
Vinegar
Natural cleaner and culinary ingredient.
Steps

Preparation and Safety
5 minsBefore starting any work, you must shut off the water supply to the faucet. Locate the two shut-off valves under the sink, one for hot and one for cold. Turn the handles clockwise until they are fully closed. If you cannot find these valves or they are seized, you will need to shut off the main water supply to your house. Once the water is off, turn the faucet handle to the 'on' position to relieve any residual water pressure and drain the lines. Finally, place a thick towel or rag into the sink basin to protect the finish and block the drain.

Locate and Loosen the Set Screw
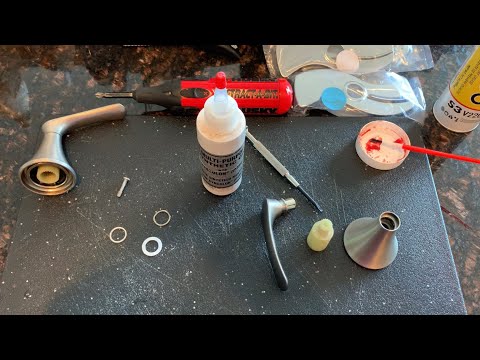
10 minsExamine the faucet handle closely to find the set screw. Since we've assumed it's hidden by a decorative cap, look for a small, often plastic, cap on the front or top of the lever. It may have a small red/blue icon or a brand logo. Carefully use the tip of a utility knife or a small flathead screwdriver to gently pry this cap off. Underneath, you will find the set screw. This is typically a hex (Allen) screw or a Phillips head screw. Select the correct size Allen wrench or screwdriver and turn the screw counter-clockwise to loosen it. You do not need to remove it completely, just loosen it by several turns.

Apply Penetrating Solution
35 minsWith the set screw loosened, the handle is likely fused to the valve stem by mineral deposits (lime and calcium) or corrosion. To break this bond, generously apply a penetrating solution. Spray a quality penetrating oil, like PB B'laster or WD-40 Specialist Penetrant, into the set screw hole and around the base of the handle where it meets the faucet body. For stubborn mineral buildup, a descaler is more effective. Soak a rag in white vinegar or a commercial product like CLR, wrap it tightly around the handle's base, and secure it with a rubber band. Let the chosen solution sit for at least 30-60 minutes; several hours may be needed for severe cases.
Apply Gentle Force and Heat
15 minsAfter letting the solution work, attempt to remove the handle. Grasp the handle firmly and try to wiggle it side-to-side and back-and-forth while pulling straight up. The goal is to break the final bits of corrosion free. If it remains stuck, introduce gentle heat. Use a hairdryer on a high heat setting and aim it at the base of the handle for 2-3 minutes. The heat will cause the handle metal to expand slightly, which can help break the seal. Be careful not to overheat any plastic components. After heating, attempt the wiggling and pulling motion again. You may need to repeat the cycle of applying penetrating oil, waiting, and gentle wiggling.

Use a Faucet Handle Puller
10 minsIf the handle will not budge after all previous steps, the safest and most effective method is to use a dedicated Faucet Handle Puller. This tool is designed specifically for this task and prevents damage. A handle puller has two arms that hook under the base of the faucet handle and a central threaded rod that you position over the valve stem. As you tighten the T-handle on the central rod, it pushes down on the valve stem while the arms pull up evenly on the handle, popping it off without any wiggling or hammering. Position the puller, ensure the arms have a secure grip under the handle, and slowly turn the T-handle clockwise until the handle pops free.

Clean and Inspect
5 minsOnce the handle is off, take the opportunity to clean all the components. Use a wire brush or a stiff nylon utility brush to scrub the mineral deposits and corrosion from the inside of the faucet handle and from the exterior of the valve stem. A final wipe with the vinegar-soaked rag can help dissolve any remaining residue. This cleaning ensures the new or repaired handle will fit properly and will be easier to remove in the future. You can now proceed with your intended repair, such as replacing the faucet cartridge.
Common Problems
Always check if your cleaning product is safe for your specific faucet finish to avoid scratching or damage.
Solution: To avoid this issue: Be mindful of this warning and take appropriate precautions.
Faucet handle won't budge due to limescale buildup.
Solution: Vinegar soak is effective for limescale removal.
Ensure the water supply is off before disassembling faucet handles.
Solution: To avoid this issue: Be mindful of this warning and take appropriate precautions.
Be careful not to scratch or gouge the inside of the brass valve body when using the screwdriver.
Solution: To avoid this issue: Be mindful of this warning and take appropriate precautions.
O-rings degrade and leak when lubricated with petroleum jelly.
Solution: Plumber's silicone grease is a good alternative to petroleum jelly for lubricating O-rings and valve components.
Unexpected water spray can occur if the water supply isn't fully shut off.
Solution: Always double-check that the water is completely off by observing the faucet before you begin disconnecting any lines.
If you cannot find or operate the shutoff valves under the sink, you will need to shut off the main water valve for the entire house.
Solution: To avoid this issue: Be mindful of this warning and take appropriate precautions.
Frequently Asked Questions
How difficult is it for a beginner to remove a stuck or screwless faucet handle, and how long should I expect the project to take?
This DIY project is rated beginner difficulty, but patience is key, especially if the handle is severely stuck. It can take anywhere from 30 minutes to a few hours, depending on the severity of corrosion or mineral buildup. Repeated applications of penetrating solutions may be necessary, extending the overall time.
What crucial safety steps must I take before attempting to remove a stuck faucet handle?
The most important safety step is to turn off both the hot and cold water supply lines to the faucet before you begin to prevent accidental leaks or flooding. Additionally, it's wise to wear eye protection to shield your eyes from any splashes from penetrating solutions or dislodged debris. Keep a towel handy for spills.
Is a specialized tool like the Husky Faucet Handle and Sleeve Puller absolutely necessary, or can I use basic tools?
While screwdrivers (Phillips head and flathead) and penetrating oil are essential, a specialized faucet handle puller like the Husky 410-072-0111 is highly recommended. It provides even, concentrated leverage, significantly reducing the risk of damaging a deeply stuck handle or the faucet body, which can happen when prying with only screwdrivers.
My faucet handle doesn't have a visible screw; how do I remove it if there's no set screw?
Many modern or decorative faucet handles conceal the set screw under a decorative cap, button, or a small plastic plug. Gently pry these covers off with a thin flathead screwdriver or utility knife to expose the screw. If there truly is no hidden screw, it's likely a pull-off style handle that requires a faucet handle puller for removal.
I've applied KROIL Penetrating Oil and gently tried prying, but my faucet handle is still stuck. What's the next step?
If the handle remains stuck, reapply the KROIL Penetrating Oil generously and allow more time for it to penetrate, possibly overnight, reapplying periodically. You can also try gently heating the base of the handle with a hairdryer (never a torch) to encourage expansion. Then, use the dedicated faucet handle puller for maximum leverage without causing damage.
What are the biggest risks of damaging my faucet or handle during removal, and how can I avoid them?
The primary risks include stripping the set screw, breaking the handle (especially plastic ones), or scratching the faucet's finish. To avoid this, always use the correct screwdriver size for the set screw, apply KROIL Penetrating Oil generously to loosen corrosion, and use a dedicated faucet handle puller instead of excessive prying force.
Can I use common household items instead of a commercial penetrating oil like KROIL if I don't have any?
While KROIL Penetrating Oil (KL011) is engineered for superior penetration, a 50/50 mixture of acetone (nail polish remover) and automatic transmission fluid can serve as a makeshift alternative. For handles stuck due to mineral deposits, repeated applications of white vinegar, allowed to soak, can also help dissolve the buildup over time.


