

How to Properly Apply Thread Seal Tape (Teflon Tape)
About This Project
This guide provides comprehensive, step-by-step instructions for the correct application of PTFE thread seal tape, commonly known as Teflon tape, to ensure a watertight, leak-proof seal on threaded pipe fittings in plumbing systems.
Best for beginners and first-time DIYers with basic plumbing knowledge.
Tools & Materials
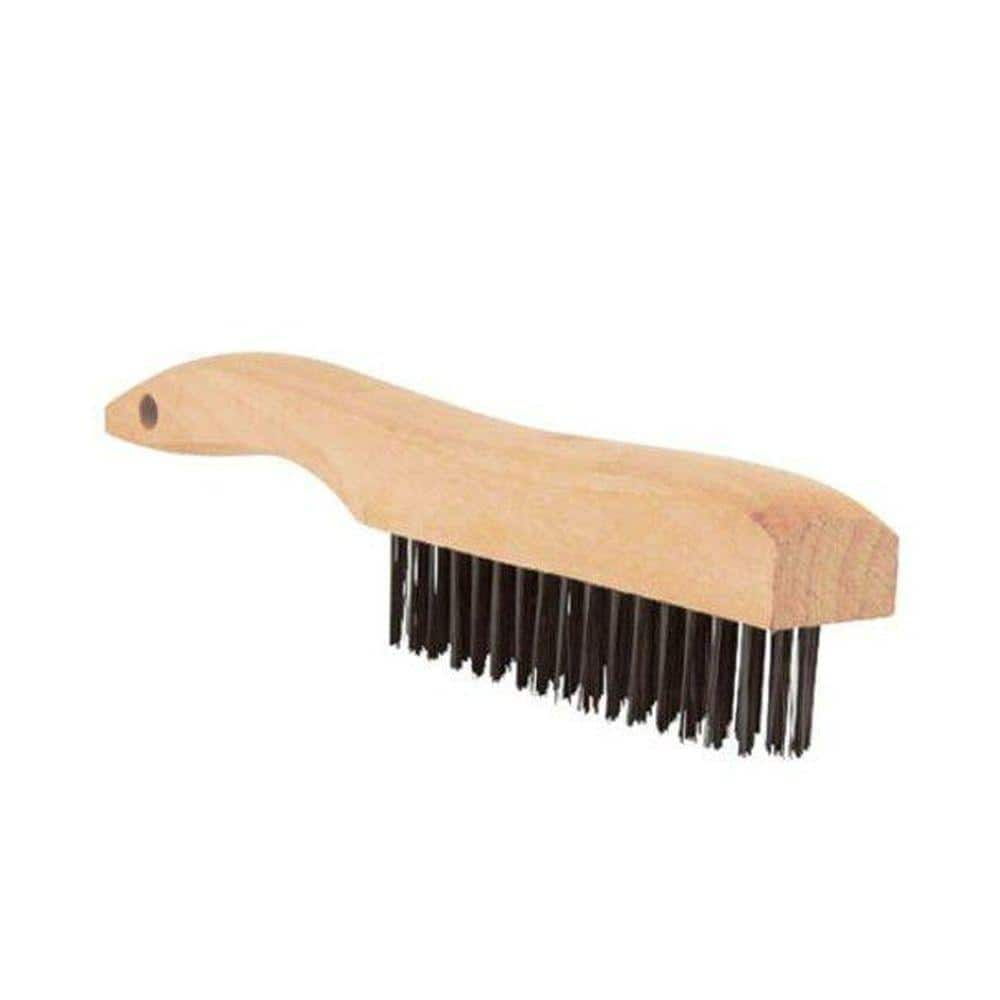
Lincoln Electric 9 in. Long Wooden Handled Carbon Steel Welding Wire Brush (.8 in. x 4.9 in. Bristle Area 4 x 16 Row) KH585
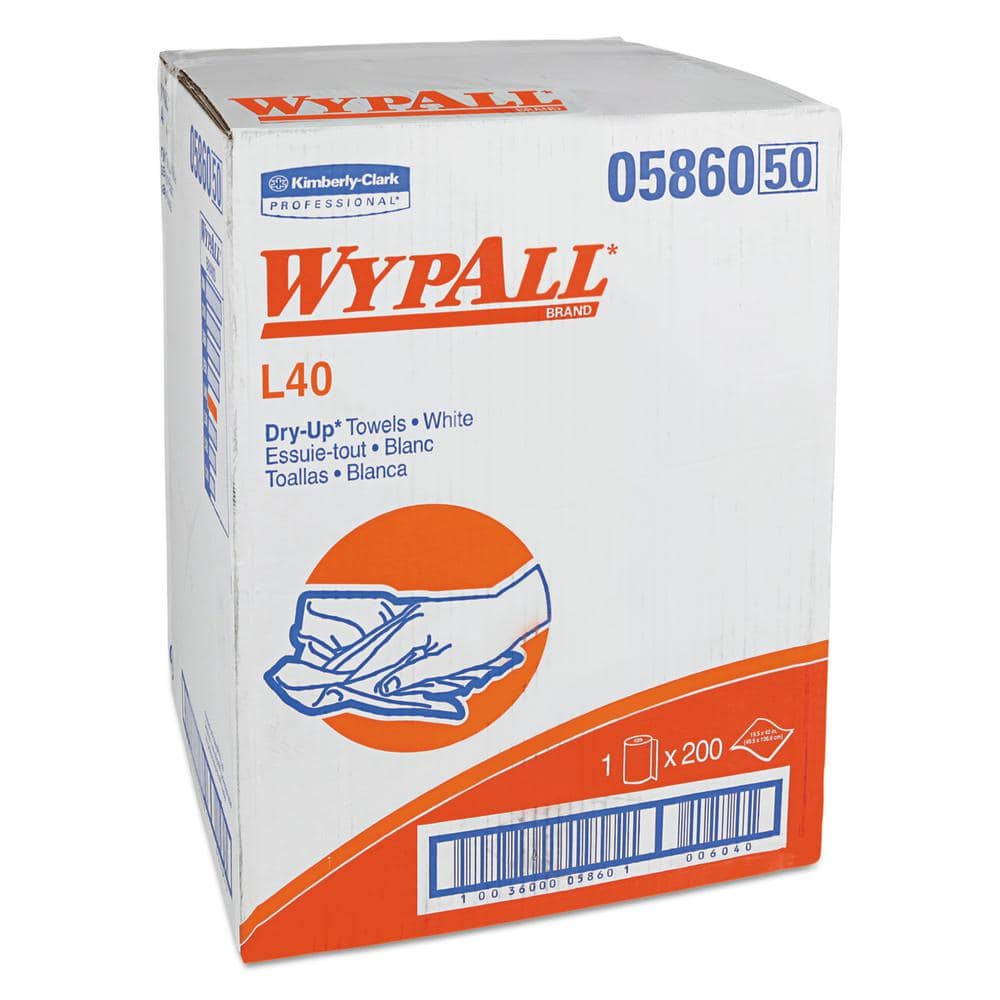
WYPALL L40 Towels, Dry Up Towels, 19-1/2 in. x 42 in., White, 200 Towels/Roll KCC05860
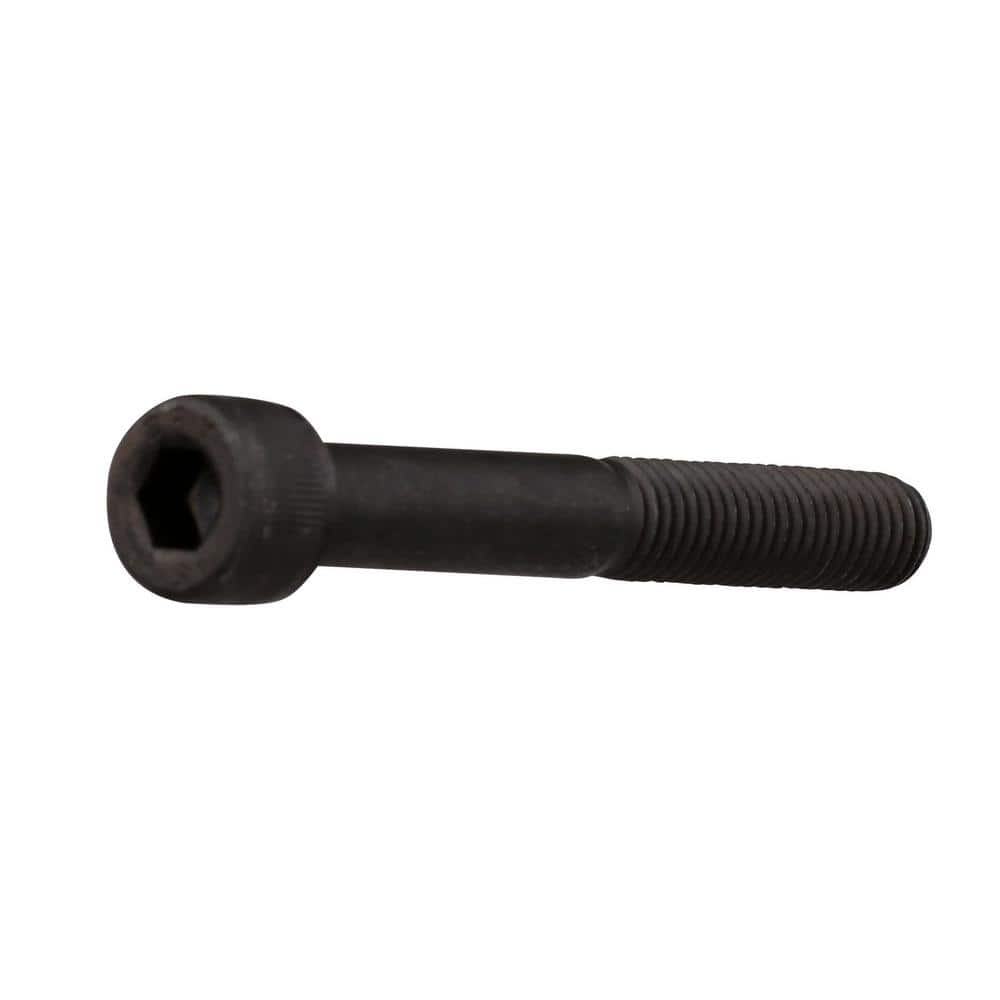
Everbilt M8-1.25 x 60 mm Plain Metric Socket Head Cap Screw 845178
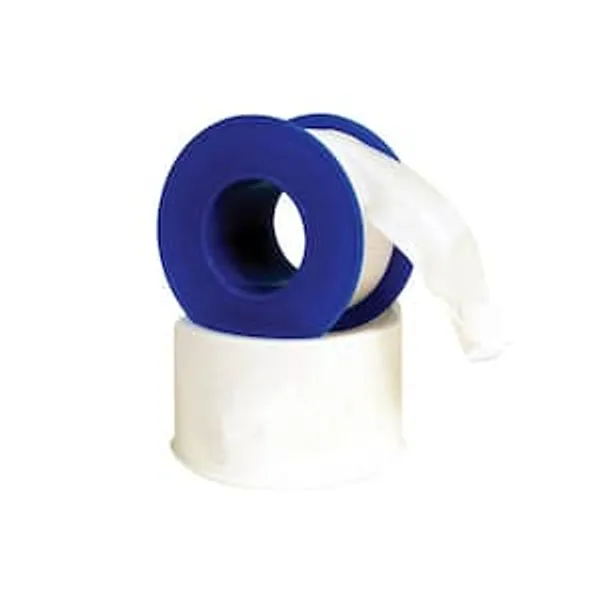
Plumbers Tape
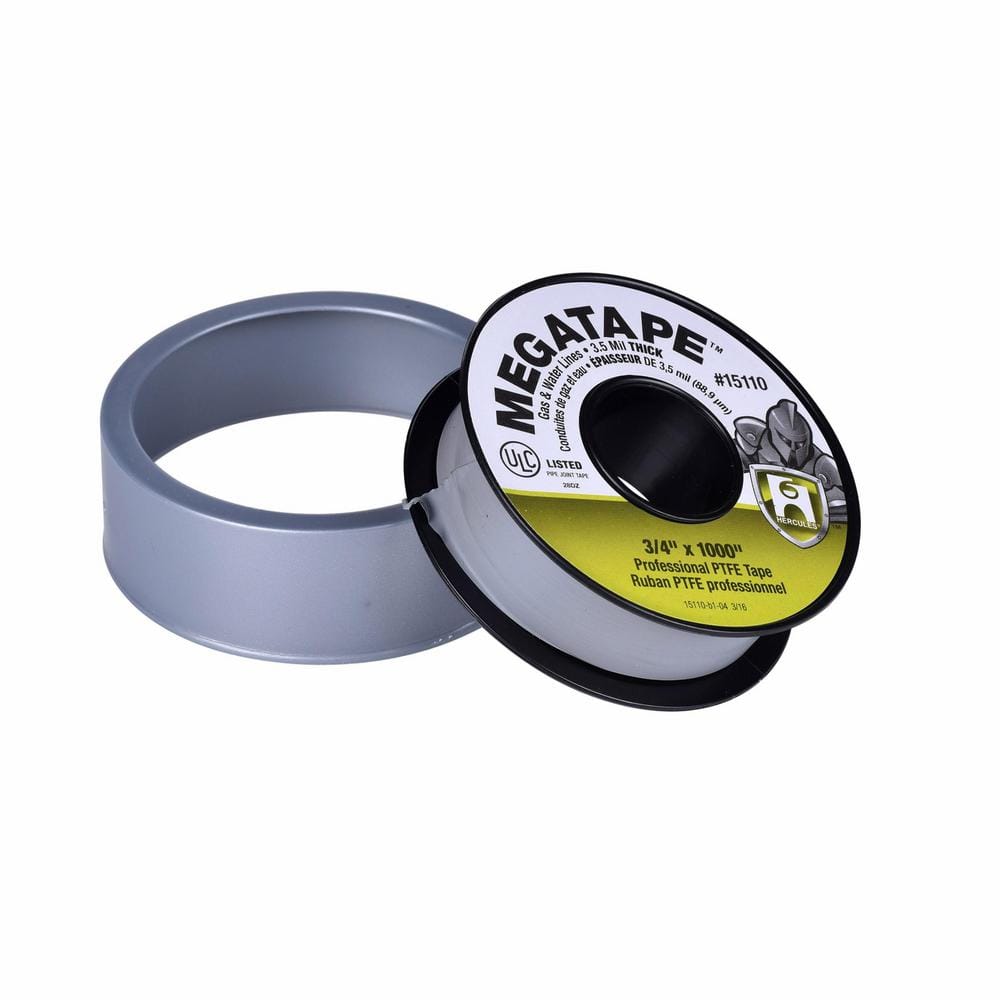
Hercules Mega Tape 3/4 in. x 1000 in. Thread Sealing PTFE Plumber's Tape 15110
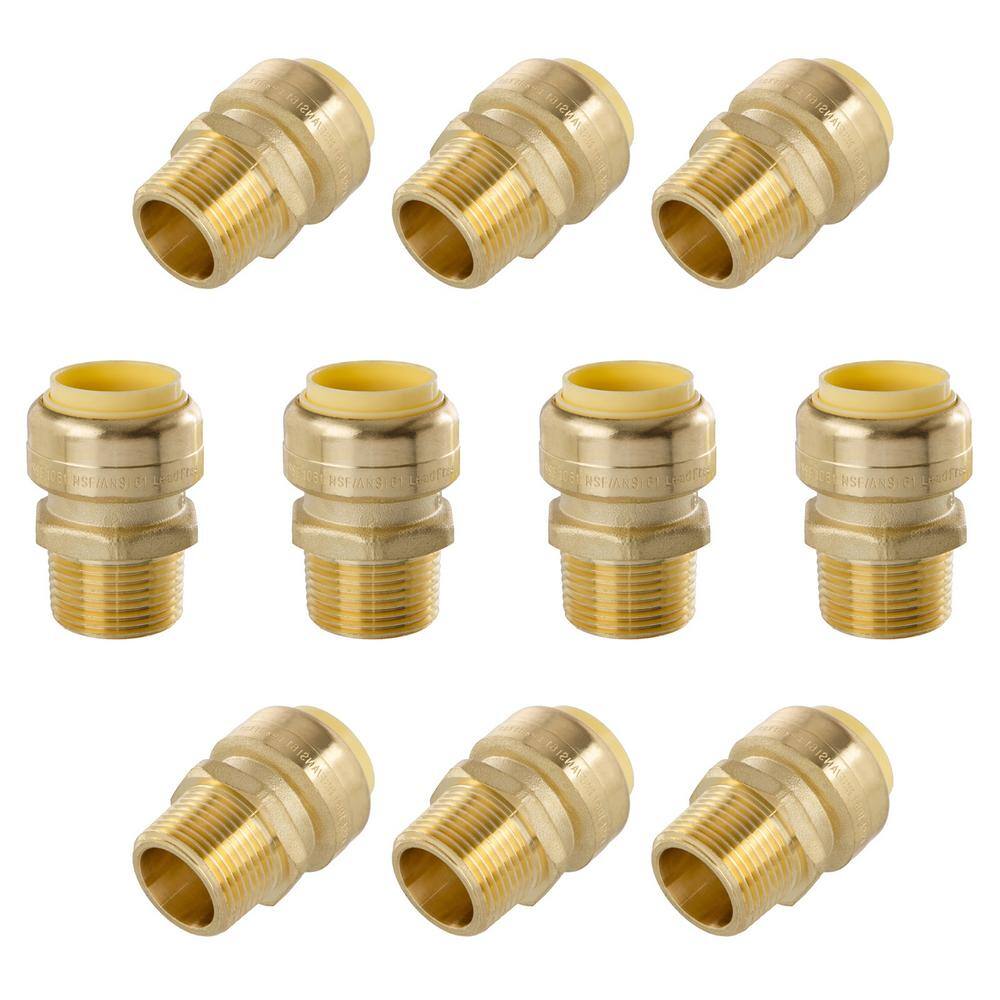
LittleWell 3/4 in. Push-Fit x 3/4 in. Male Pipe Thread Brass Coupling (10-Pack) ACPF12MPT12X10
Lincoln Electric 9 in. Long Wooden Handled Carbon Steel Welding Wire Brush (.8 in. x 4.9 in. Bristle Area 4 x 16 Row) KH585
Lincoln Electric Wooden Shoe Handle Carbon Steel Brush is a heavy-duty brush for cleaning metal and removing slag. The brush has 4 rows of bristles in an ergonomic wooden handle. The brush measures 10-1/4
WYPALL L40 Towels, Dry Up Towels, 19-1/2 in. x 42 in., White, 200 Towels/Roll KCC05860
WYPALL L40 Wipers are effective wipers that absorb liquids lightning-fast. These wipes are made of bonded cellulose using DRC (double re-creped) technology for strength, softness and absorbency. As a wiping cloth, it soaks up liquids fast, but all you'll feel is softness, thanks to a plush, touchable outer layer. In fact, it's a popular choice for patient wiping in healthcare industries, for bathing and patient drying. These utility wipes are specially designed to absorb liquids, lubricants and oils (in restaurants for wiping counters, in mechanic shops, industrial and commercial factories and more), yet they're soft enough for use on face and hands. Experience the difference in superior absorbency and cleaning at your home or office today. Towel/Wipe Type: Dry Wipes; Application: Bathrooms; Material(s): Cloth-Like; Number of Plies: 1.
Everbilt M8-1.25 x 60 mm Plain Metric Socket Head Cap Screw 845178
Use this Everbilt metric socket cap screw for applications requiring a well-tooled appearance or a broader surface bearing. It features a recessed internal socket drive for additional durability and a
Plumbers Tape
Ensures leak-proof pipe joints.
Hercules Mega Tape 3/4 in. x 1000 in. Thread Sealing PTFE Plumber's Tape 15110
Hercules Megatape is an all-purpose, professional-grade PTFE thread-sealing tape designed for use on a wide range of threaded pipes. At 3.5 mils thick, it provides more PTFE than most tapes to seal better
LittleWell 3/4 in. Push-Fit x 3/4 in. Male Pipe Thread Brass Coupling (10-Pack) ACPF12MPT12X10
iSpring LittleWell 3/4 in. Push-Fit x Male Pipe Thread Lead-Free Brass Coupling is the easiest way to connect 2 plumbing pipes in both residential and commercial applications. The coupling features a lead-free solid brass body with push-fit connections to create solid seals and gives you a 3/4 in. Male NPT Adapter on the opposite end. iSpring LittleWell Push-Fit fittings allow you to join copper, CPVC or PEx pipes in any combination with no glue, soldering, clamps or unions. Just insert the pipe and the inside stainless steel teeth bite down and grip tight, while a specially formulated O-ring compresses to create a perfect seal. Disassembly is also easy with the use of the simple removal tool so fittings and valves can be easily separated and reused. It can also be used for waste water processing.
Steps

Prepare the Threads
1 minThoroughly inspect and clean the male threads of the pipe or fitting. Use a wire brush to remove any old tape, pipe dope, rust, or debris. After brushing, wipe the threads clean with a dry rag to ensure they are free of any oils, grease, or moisture. A clean, dry surface is essential for the tape to adhere properly and create an effective seal.
Position the Tape
15 minsHold the male fitting in one hand. With the other hand, place the end of the thread seal tape on the second thread from the end of the pipe. Holding the tape flat against the threads with your thumb, ensure the tape is positioned so that it will wrap in a clockwise direction (when viewing the fitting from the end). Starting on the second thread prevents the tape from being pushed into the pipe during assembly, which could obstruct flow or break off and clog aerators or valves.

Wrap in the Correct Direction
30 minsThe most critical step is to wrap the tape in the correct direction. For standard right-hand threads, you must wrap the tape clockwise. This ensures that when you screw the male fitting into the female fitting, the friction of tightening does not unravel or bunch up the tape. Apply firm, consistent tension as you wrap, pulling the tape taut so it conforms tightly into the root of the threads. Overlap the tape by about half its width on each revolution. For a typical 1/2-inch or 3/4-inch NPT fitting, 3 to 5 full wraps are sufficient. More wraps may be needed for poorer quality threads or larger diameter pipes.
Secure the Tape End
15 minsOnce you have completed the required number of wraps, tear the tape from the roll. You can do this by pulling it sharply against the threads. Firmly press the loose end of the tape against the wrapped layers to ensure it is secure and will not unravel during the initial moments of assembly. The wrapped section should look smooth and uniform, with the thread profile still visible through the tape.

Assemble the Fitting
1 minWith the tape properly applied, you can now assemble the joint. Insert the male fitting into the female fitting and hand-tighten it. You should feel some resistance as the threads engage. Use an appropriate tool, such as an adjustable wrench or pipe wrench, to tighten the fitting further. A general rule is to tighten 1 to 2 full turns past hand-tight. Do not overtighten, as this can damage the threads or crack the fitting. The tape acts as a lubricant and a sealant, filling any microscopic gaps to create a watertight connection.
Common Problems
Leaky pipe connections after assembly.
Solution: Combining Teflon tape and pipe sealant provides a very reliable, leak-free seal.
Tape unwinds or leaks if applied in the wrong direction.
Solution: Apply teflon tape in the tightening direction (usually clockwise) of the male thread.
Do not overlap or crossover the teflon tape onto the mating surfaces of the union as this can interfere with the seal.
Solution: To avoid this issue: Be mindful of this warning and take appropriate precautions.
Tape won't seal properly, leading to leaks.
Solution: Pulling tension on the tape as you wrap is key to getting it to conform to the threads.
Wrapping in the wrong direction (counter-clockwise) will cause the tape to bunch up and unravel as you tighten the fitting, leading to leaks.
Solution: To avoid this issue: Be mindful of this warning and take appropriate precautions.
Tape bunches or unravels when tightening fittings.
Solution: Wrapping clockwise prevents the tape from bunching up or unraveling when you tighten the fitting.
Do not wrap in a counter-clockwise direction.
Solution: To avoid this issue: Be mindful of this warning and take appropriate precautions.
Frequently Asked Questions
What is the most common mistake when applying thread seal tape, and how do I avoid it?
The most common mistake is wrapping the tape in the wrong direction, which causes it to unravel as the fitting is tightened. Always wrap the tape clockwise around the threads when looking at the end of the pipe, ensuring it tightens onto the threads as the fitting is screwed on.
How many times should I wrap the thread seal tape around the pipe threads for an effective seal?
For most common pipe fittings, 3-5 wraps of tape are sufficient to create a proper seal. For larger threads or those requiring a more robust seal, you might apply 6-7 wraps, ensuring the tape is snug but not overly bulky.
How difficult is this project for a beginner, and what's the approximate cost and time commitment?
This is a very beginner-friendly project. Applying tape to a single fitting typically takes just a minute or two. The materials, like a roll of PTFE tape, are very inexpensive, usually costing only a few dollars per roll.
Do I need any special tools specifically for applying thread seal tape?
While applying the tape itself doesn't require special tools, you will need an adjustable wrench or pipe wrench to properly tighten the pipe fittings after the tape is applied. A wire brush can also be helpful for cleaning old threads before application.
What safety precautions should I take when working with plumbing and thread seal tape?
Always shut off the water supply to the area you are working on before disassembling any pipes. Wear appropriate eye protection, and be careful not to overtighten fittings, which can strip threads or crack pipes and cause leaks.
Can I use pipe dope (thread sealant compound) instead of or in addition to thread seal tape?
Yes, pipe dope can often be used as an alternative to thread seal tape, or even in conjunction with it for an extra layer of sealing, especially on older or larger threads. Always check the manufacturer's recommendations for your specific fittings and materials.


