
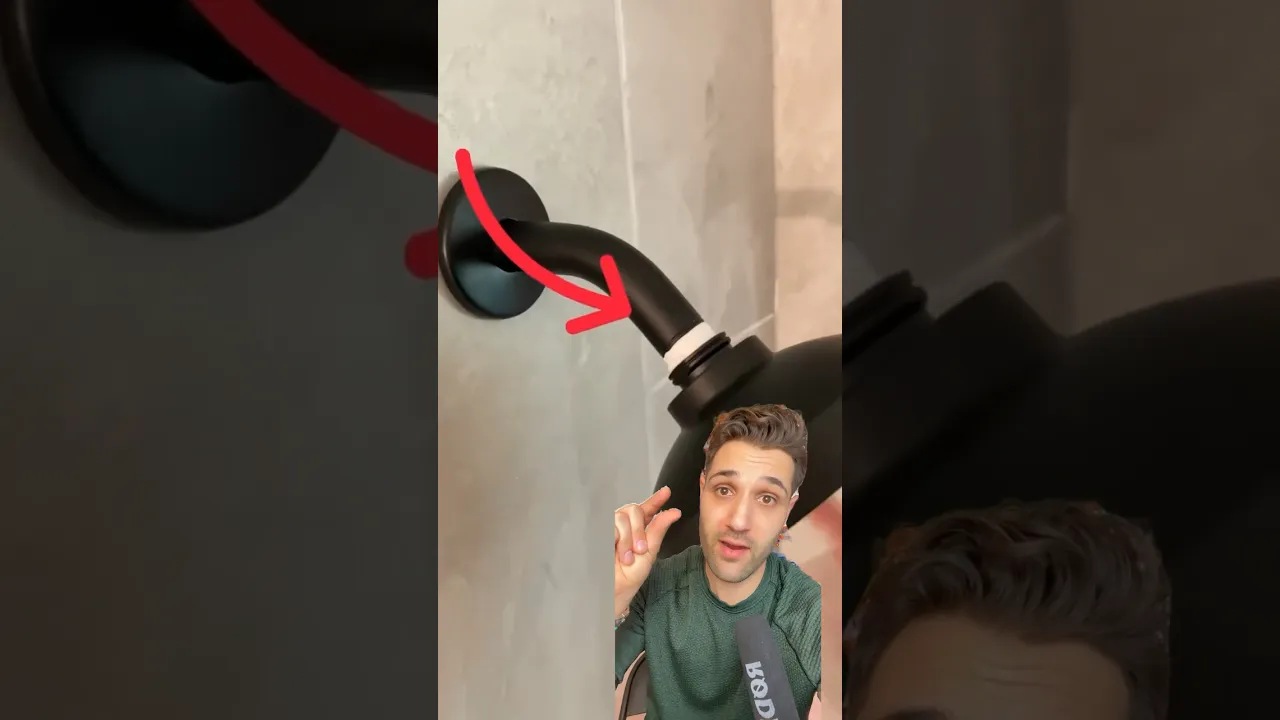
How to Properly Apply Thread Seal Tape (Teflon Tape)
About This Project
A comprehensive, step-by-step guide detailing the correct procedure for applying PTFE thread seal tape, commonly known as Teflon tape, to male pipe threads. This process ensures a secure, leak-proof seal for various plumbing connections, preventing water damage and ensuring the longevity of the joint.
Best for homeowners and DIY enthusiasts with basic plumbing knowledge.
Tools & Materials
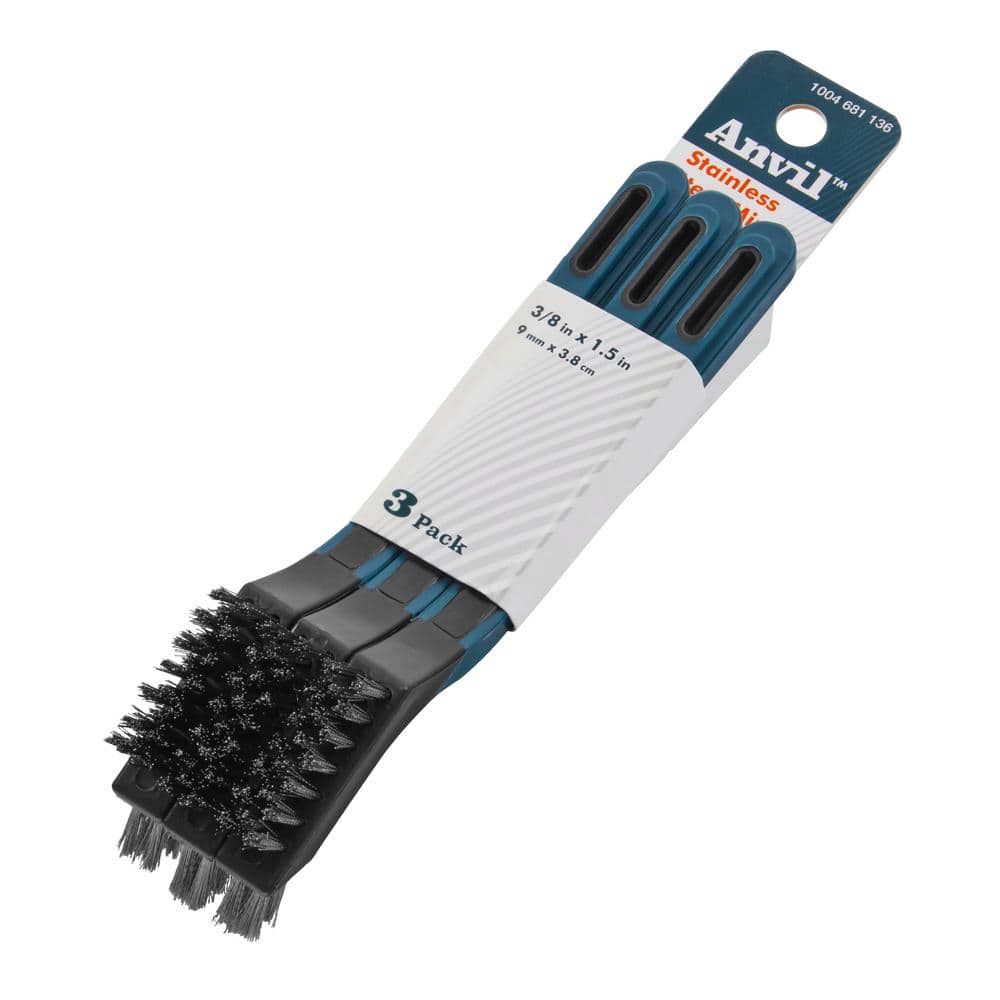
Anvil Stainless Steel Bristles Mini Wire Brushes, 3 Pack SMB3-ANV
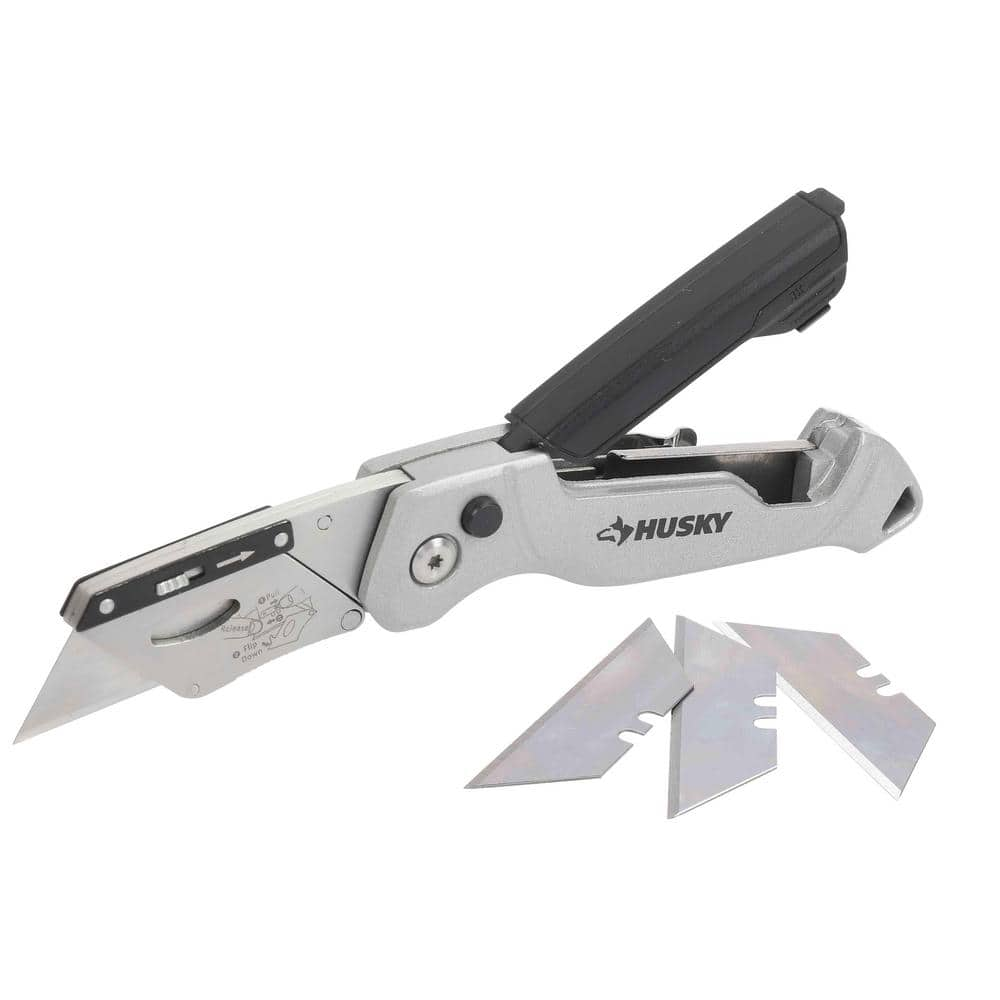
Husky Pro Utility Knife 00004

THE CLEAN STORE Microfiber Pink/White Cleaning Cloths (Pack of 100) 79136
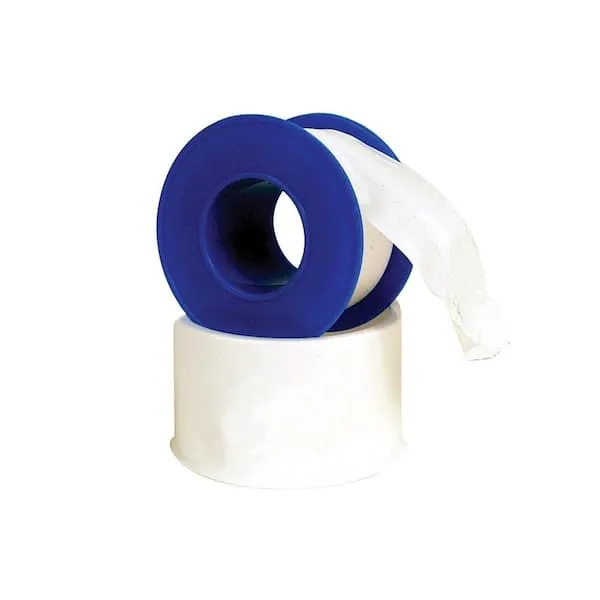
Teflon Tape
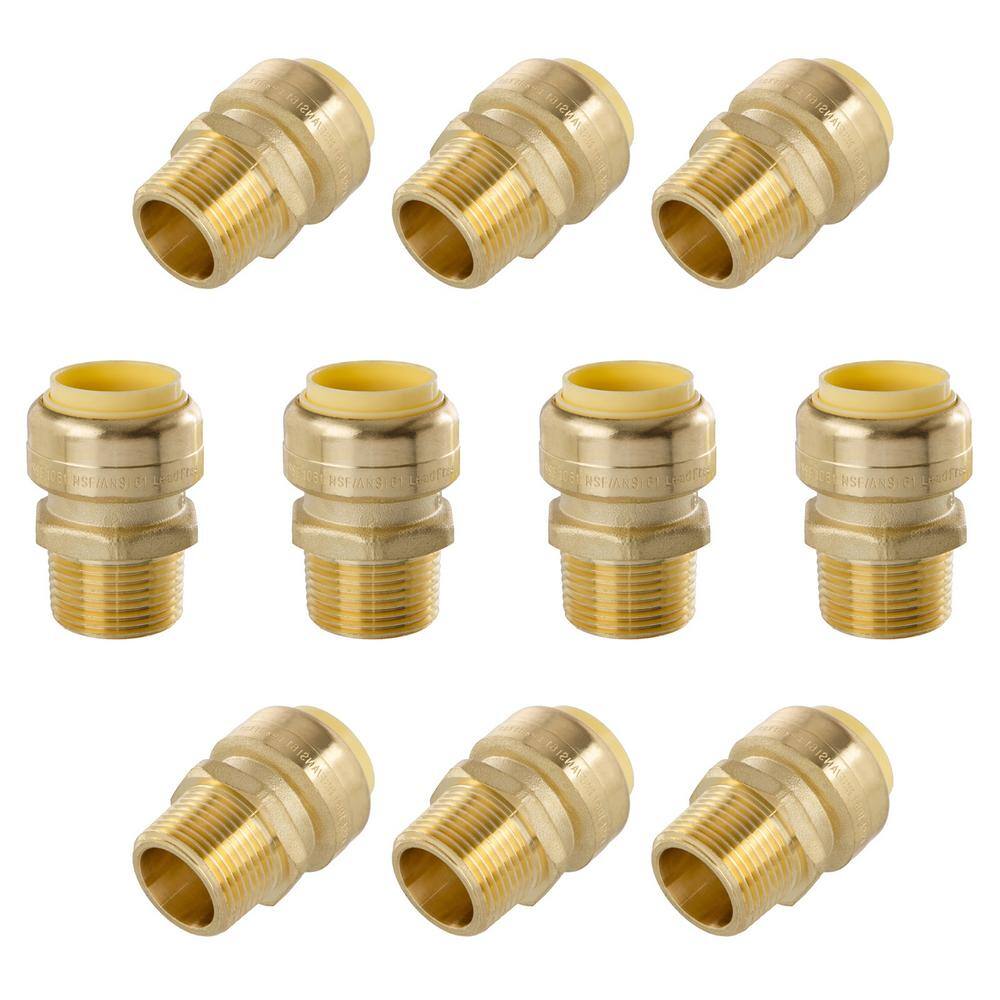
LittleWell 3/4 in. Push-Fit x 3/4 in. Male Pipe Thread Brass Coupling (10-Pack) ACPF12MPT12X10
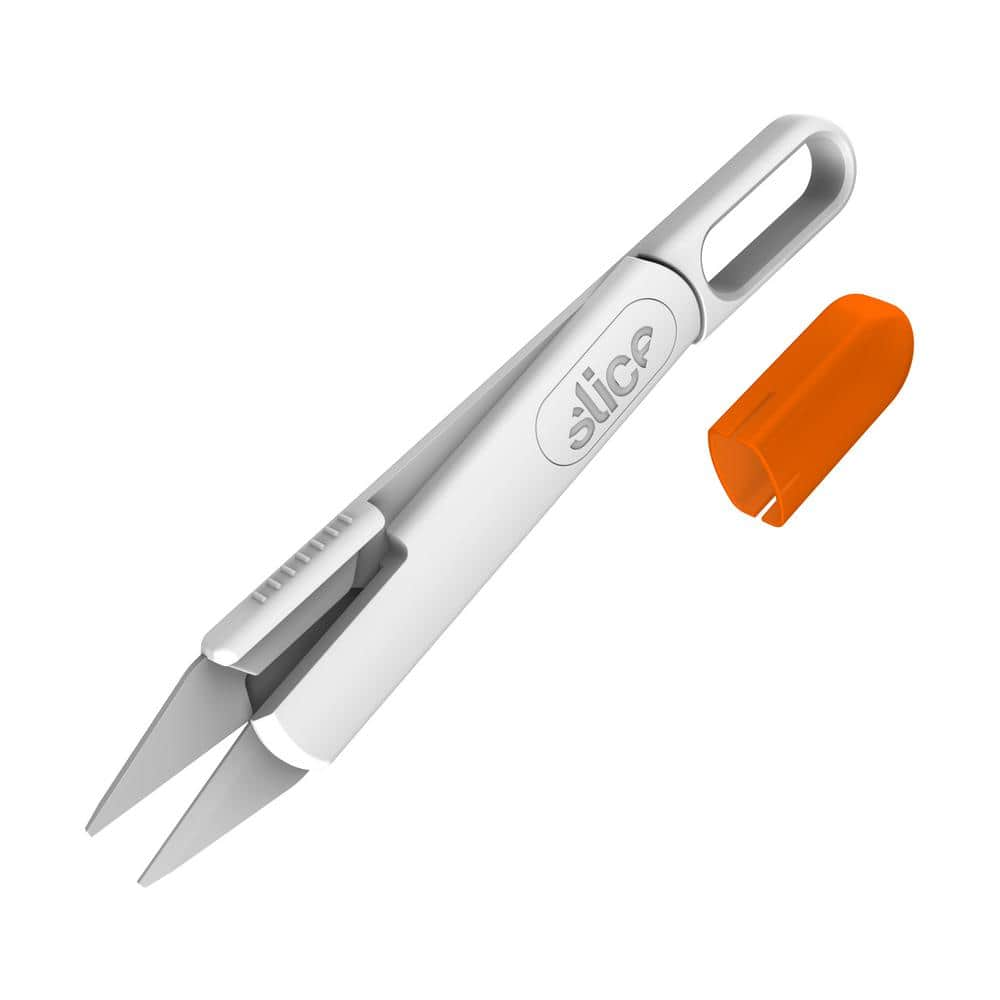
Slice Self-Opening Scissors (Pack of 6) 10595
Anvil Stainless Steel Bristles Mini Wire Brushes, 3 Pack SMB3-ANV
Clean tight spaces efficiently with the Anvil Stainless Steel Mini Wire Brushes (3-Pack.) They feature sturdy bristles that are ideal for moderate metal burnishing and removing paint and corrosion. Each
Husky Pro Utility Knife 00004
Offering a precise cut every time, Husky Pro Folding Utility Knife lets you easily adjust the blade to multiple angles to tackle a wide range of jobs. Aluminum die casting handle with plastic spraying
THE CLEAN STORE Microfiber Pink/White Cleaning Cloths (Pack of 100) 79136
The Pull N Wipe Microfiber Cleaning Rags are the ideal cleaning cloths for all your cleaning needs. Whether you keep a box at Home to clean around the house, In the Kitchen to clean up after cooking or
Teflon Tape
Seals pipe threads without leaks.
LittleWell 3/4 in. Push-Fit x 3/4 in. Male Pipe Thread Brass Coupling (10-Pack) ACPF12MPT12X10
iSpring LittleWell 3/4 in. Push-Fit x Male Pipe Thread Lead-Free Brass Coupling is the easiest way to connect 2 plumbing pipes in both residential and commercial applications. The coupling features a lead-free solid brass body with push-fit connections to create solid seals and gives you a 3/4 in. Male NPT Adapter on the opposite end. iSpring LittleWell Push-Fit fittings allow you to join copper, CPVC or PEx pipes in any combination with no glue, soldering, clamps or unions. Just insert the pipe and the inside stainless steel teeth bite down and grip tight, while a specially formulated O-ring compresses to create a perfect seal. Disassembly is also easy with the use of the simple removal tool so fittings and valves can be easily separated and reused. It can also be used for waste water processing.
Slice Self-Opening Scissors (Pack of 6) 10595
Designed especially for industrial tailors and fibre artists, these scissors are ideal for trimming thread and yarn. Their blades stay open by default, lowering the muscle effort needed to make each snip.
Steps

Prepare and Clean the Threads
2 minsBefore applying new tape, the male threads of the pipe or fitting must be perfectly clean. If you are repairing a leak, use a small wire brush or the edge of a utility knife to carefully scrape away any old thread seal tape, pipe dope, rust, or mineral deposits. Work in the direction of the threads to avoid damaging them. Once all debris is removed, use a clean, dry cloth or rag to wipe the threads thoroughly, ensuring they are free of any moisture or grime that could prevent a good seal.

Begin Wrapping in the Clockwise Direction
1 minHold the fitting or pipe with the male threads facing you in one hand. Take the roll of thread seal tape in your other hand. Place the starting end of the tape flat against the second thread from the end of the pipe. Holding the end in place with your thumb, begin to wrap the tape around the threads in a CLOCKWISE direction. This is the most crucial part of the process. Wrapping clockwise ensures that when you screw the male fitting into the female fitting (which also turns clockwise), the friction tightens the tape onto the threads rather than unravelling it.

Wrap with Overlapping Layers
1 minContinue wrapping the tape around the threads in a clockwise direction. As you wrap, pull the tape taut so it stretches slightly and conforms tightly into the root of the threads. Overlap each successive layer by about one-half the width of the tape. This ensures complete coverage with no gaps. For a standard 1/2-inch or 3/4-inch fitting like a shower arm, 3 to 5 full wraps are typically sufficient. The tape should be applied smoothly and without wrinkles.

Tear and Secure the Tape
30 minsOnce you have completed 3 to 5 wraps, pull the tape sharply to tear it from the roll. There is no need for scissors. After tearing, take your finger and firmly press the loose end of the tape against the wrapped layers. Smooth down the entire wrapped area to ensure the tape is well-adhered and conforms to the shape of the threads. The individual thread profiles should still be somewhat visible through the tape.

Assemble and Tighten the Fitting
1 minYou can now assemble the joint. Align the male fitting with the female fitting and start threading them together by hand. It should turn relatively easily for the first few rotations. Continue to hand-tighten until it is snug. To complete the seal, use an appropriate tool like an adjustable wrench or channel-type pliers to tighten the fitting another one-quarter to one-half turn. Do not overtighten. The tape acts as both a lubricant and a sealant, so excessive force is unnecessary and can cause damage.
Common Problems
Failure to pull the tape tightly will result in it spinning off or bunching up when the fitting is screwed in, compromising the seal.
Solution: To avoid this issue: Be mindful of this warning and take appropriate precautions.
Leaky connections due to tape not being applied tightly enough.
Solution: You should be able to see the definition of the threads through the tape, which indicates it's wrapped tightly enough.
Misaligned tape causes leaks.
Solution: Align the tape with the threads to ensure it seats correctly.
Incorrect tape wraps lead to leaks or overtightened fittings.
Solution: The number of wraps can vary based on the size and type of the fitting, but 12-15 is a good target for 1-inch fittings.
Applying too much tape can prevent the fitting from threading properly or even cause the female fitting to crack.
Solution: To avoid this issue: Be mindful of this warning and take appropriate precautions.
Tape unravels when tightening fittings, causing leaks.
Solution: Wrapping clockwise ensures that when you tighten the connecting fitting, the friction will work with the tape, not against it, preventing it from unraveling.
Leaky pipe connections after assembly.
Solution: Combining Teflon tape and pipe sealant provides a very reliable, leak-free seal.
Frequently Asked Questions
How much Teflon tape should I use, and in which direction should I wrap it for an effective seal?
Aim for 3-5 full wraps around the male threads, ensuring good coverage without excessive bulk. Always wrap the tape in a clockwise direction (when looking at the end of the pipe) so it tightens onto the threads as you screw on the fitting, preventing unraveling and ensuring a proper, leak-proof seal.
Do I need to clean the pipe threads before applying new tape, especially if there's old tape or residue?
Yes, thorough cleaning is crucial for a reliable seal. Use a wire brush, such as the Anvil Stainless Steel Bristles Mini Wire Brush, to remove all old tape, dirt, corrosion, or debris from the male threads. A clean surface allows the new tape to adhere properly and prevents future leaks.
What's the main difference between Teflon tape and pipe dope, and can I use them interchangeably or together?
Teflon tape (PTFE tape) is a lubricating film that helps threads slide and fill gaps, while pipe dope is a liquid or paste sealant. While often used interchangeably for basic seals, using both together can provide an extra robust seal, especially for critical or higher-pressure connections. Tape is generally cleaner and easier for beginners.
What are common mistakes beginners make when applying thread seal tape that can lead to leaks?
Common mistakes include wrapping counter-clockwise (which unravels the tape upon assembly), using too little tape (leading to insufficient seal), or too much tape (preventing proper thread engagement and risking cracking fittings). Not cleaning the threads beforehand also frequently causes leaks.
Is this project suitable for a complete beginner, and what is the realistic time commitment for someone new to plumbing?
Yes, this is an excellent beginner-friendly project. While the estimated time is 45 minutes, a complete novice focusing on meticulous thread preparation and correct application might take a bit longer initially. With practice, applying thread seal tape becomes a very quick and simple task.
What safety precautions should I take when working with plumbing fittings and tightening them to avoid damage?
Always ensure the water supply is completely shut off before working on any plumbing connections. When tightening fittings with tools like an adjustable wrench or Channellock pliers, avoid overtightening, which can strip threads, crack plastic fittings, or damage metal ones. Aim for snug plus a quarter to half turn past hand-tight for a secure, leak-proof joint.
Can I reuse Teflon tape if I have to undo a connection, or should I always use fresh tape for every reassembly?
You should always use fresh Teflon tape for every connection. Once a joint has been assembled and then disassembled, the tape becomes compressed and loses its sealing integrity. Using new tape is inexpensive and is the best way to ensure a reliable, leak-proof seal on reassembled fittings.


