
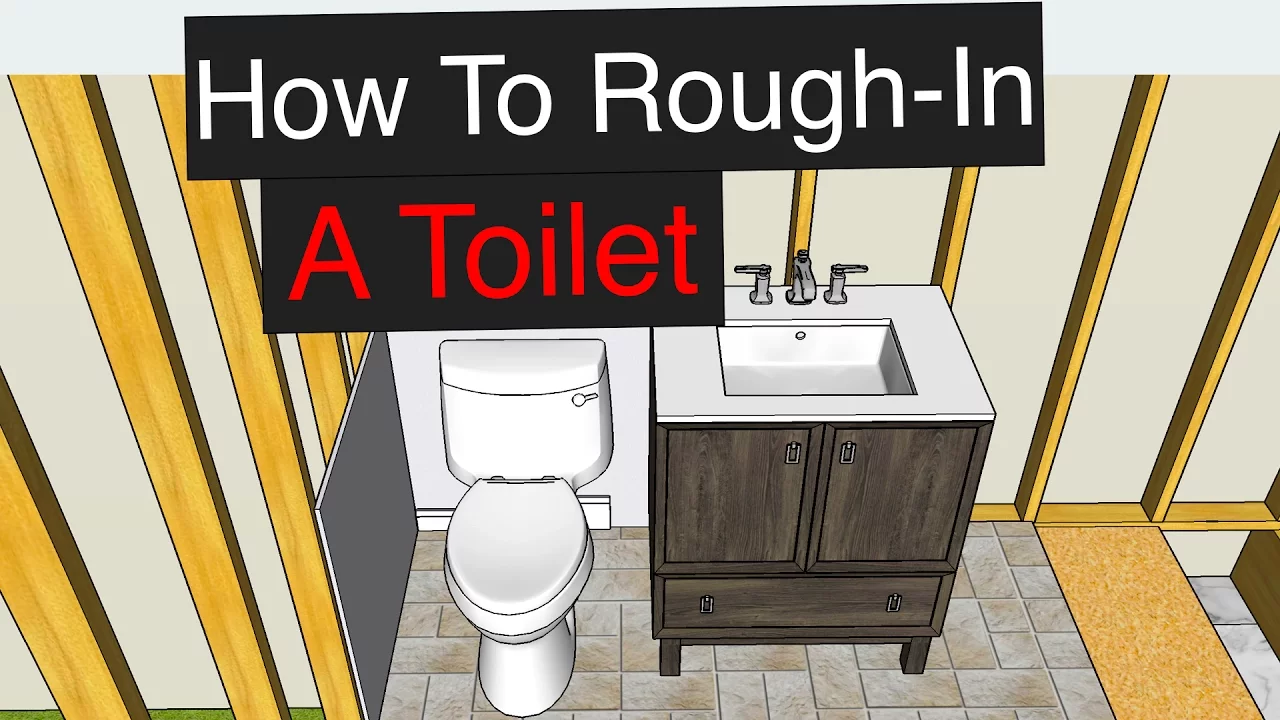
How to Measure Bathroom Plumbing Rough-In Dimensions for a New Vanity
About This Project
This guide provides comprehensive, step-by-step instructions for accurately measuring and marking the rough-in plumbing locations for a new bathroom vanity. It covers establishing a finished floor line, marking the vanity's centerline, and precisely locating the drain and water supply lines based on standard codes and specific vanity dimensions.
Best for homeowners and DIY enthusiasts with basic plumbing knowledge.
Tools & Materials
Measuring Tape

Level
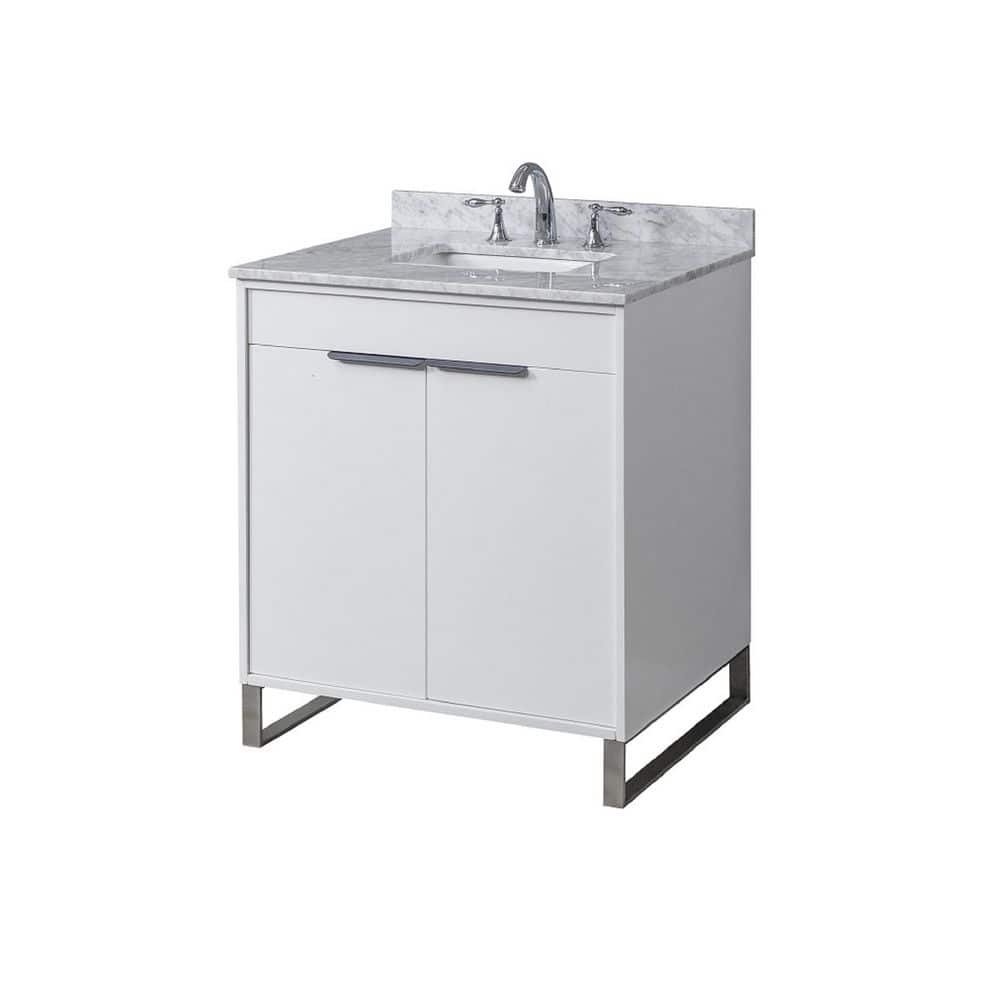
Direct vanity sink Luca 32 in. W x 25 in. D x 36 in. H Vanity in White with White Carrara Marble Top with white basins 32S5-WWC
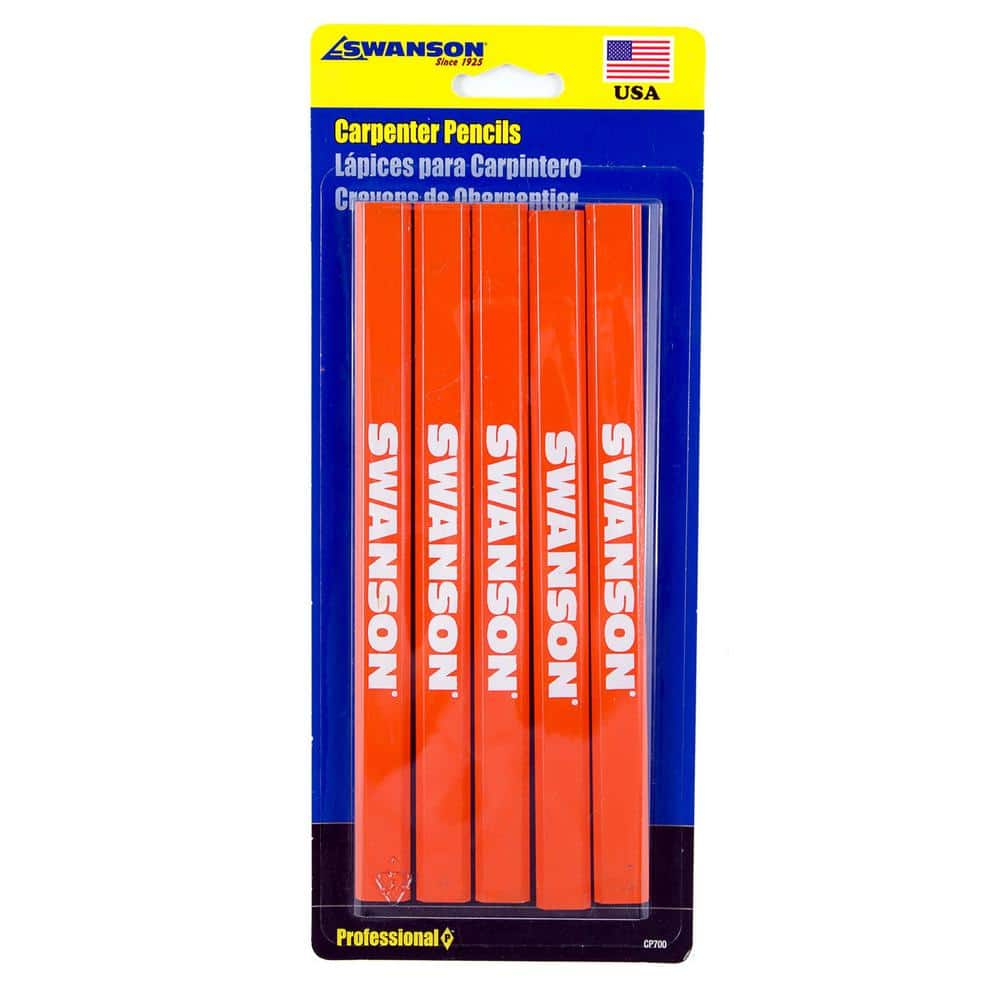
Swanson Carpenter Pencils (5 Pack Carded) CP700

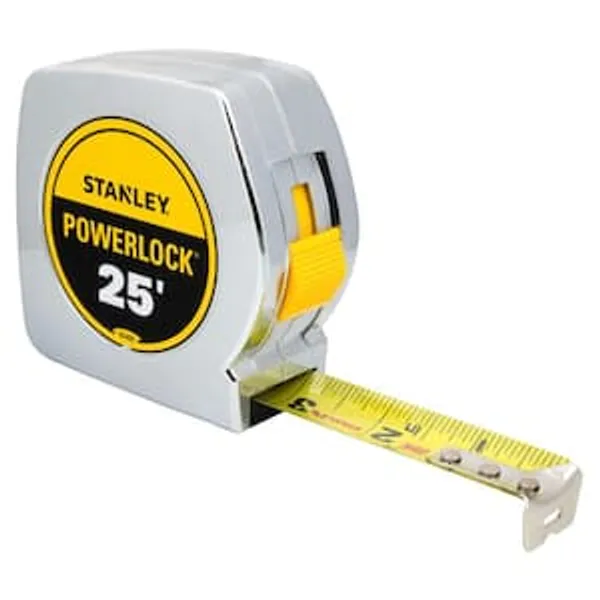
25 ft. Tape Measure

ROOT CANDLES Dipped Taper 12 in. Williamsburg Blue Unscented Taper Candle (Box of 12) 72433
Measuring Tape
Accurate measurements in a snap.
Level
Ensures surfaces are just right.
Direct vanity sink Luca 32 in. W x 25 in. D x 36 in. H Vanity in White with White Carrara Marble Top with white basins 32S5-WWC
Luca collection was envisioned with the simplicity in mind. There is not 1 unnecessary line on the vanity cabinet. It is a perfect combination of transitional design with modern feel. The stainless-steel
Swanson Carpenter Pencils (5 Pack Carded) CP700
Swanson Tool Company's Carpenter Pencils are an essential tool for builders, tradesmen and contractors. These pencils are easy to hold and use in just about every job situation that requires marking. Swanson Tool Company Carpenter Pencils are crafted to be strong and reliable, helping you mark even the roughest of surfaces and materials.
25 ft. Tape Measure
Measure with precision and ease.
ROOT CANDLES Dipped Taper 12 in. Williamsburg Blue Unscented Taper Candle (Box of 12) 72433
For over 150 years, Root Candles has crafted candles of uncompromising quality in Medina, Ohio prompted by Amos Ives Root's passion for bees, beekeeping, and honey. Today, Root Candles still relies on
Steps

Gather Information and Tools
5 minsBefore making any marks, gather all necessary information and tools. The most critical item is the manufacturer's specification sheet for your new vanity and sink. This document contains the precise dimensions needed for a perfect fit. Also, gather a quality tape measure, a level (a 24-inch or 48-inch one works well), and a carpenter's pencil or permanent marker for making clear, visible marks on the wall studs.

Establish the Finished Floor Line
5 minsAll vertical plumbing measurements are based on the height of the finished floor, not the subfloor. Determine the total thickness of your flooring materials (e.g., 1/2-inch backer board + 1/2-inch tile = 1 inch total). Measure up this distance from the subfloor and use your level to draw a crisp, perfectly horizontal line across all the wall studs where the vanity will be located. This line represents your finished floor and is the zero point for all subsequent vertical measurements.

Mark the Vanity Centerline
5 minsDetermine the exact placement of the vanity along the wall. Measure to find the center point of the vanity's location. Using your level, draw a clear, vertical line (plumb line) from the finished floor line up the wall studs. This centerline represents the center of your sink basin and is the primary horizontal reference for your drain and supply lines.

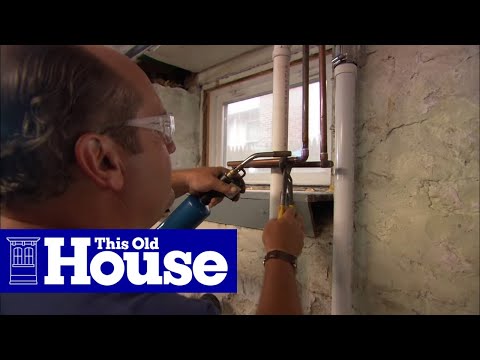
Mark the Drain Pipe Location
5 minsThe drain pipe (typically a 1 1/2-inch pipe for a bathroom sink) needs to be positioned correctly both vertically and horizontally. Horizontally, the drain should be placed directly on the vanity centerline you just marked. Vertically, consult your vanity's spec sheet for the exact height. If no height is specified, a standard height is between 16 and 20 inches above the FINISHED FLOOR line. Mark the center of the drain pipe opening on the stud at the correct height along your centerline.

Mark Water Supply Line Locations
5 minsThe water supply lines (typically 1/2-inch pipes) feed the hot and cold water to the faucet. Standard practice places them a few inches above the drain line and spaced several inches apart. A common layout is: measure 3 inches above your drain centerline mark for the height of the supply lines. Then, measure 4 inches to the left of the main vanity centerline for the hot water line, and 4 inches to the right for the cold water line. This creates an 8-inch spread between them. Mark these two locations clearly. 'Hot on the left, cold on the right' is the universal standard.
Double-Check All Measurements
5 minsWith all your marks on the wall, take a final moment to verify everything. Use your tape measure to re-check all heights from the finished floor line. Re-check the distances from the vanity centerline. Compare your marks one last time against the vanity's specification sheet. This final check ensures that once the pipes are installed, they will align perfectly with the vanity cabinet, sink drain, and faucet supply hoses, preventing costly and time-consuming adjustments later.
Common Problems
Irregularly shaped or torn holes in drywall make it difficult to fit plumbing.
Solution: Use a hole saw attachment for cleaner, more precise holes.
Wear safety glasses when drilling.
Solution: To avoid this issue: Be mindful of this warning and take appropriate precautions.
Incorrect toilet rough-in measurements lead to improper fixture placement.
Solution: Toilet Rough-In Dimensions are typically from the finished wall surface. Read the installation instructions for your specific toilet to be sure.
Vanity placement is off due to inaccurate rough-in measurements.
Solution: For a standard wall with just 1/2-inch drywall, a 12-inch measurement from the rough framing will typically result in the correct placement.
Always confirm the rough-in dimension required by the specific toilet model you plan to install, as some may vary from the standard 12 inches.
Solution: To avoid this issue: Be mindful of this warning and take appropriate precautions.
Drill through only one wall of the pipe. Drilling through both sides will cause leaks.
Solution: To avoid this issue: Be mindful of this warning and take appropriate precautions.
Gurgling drains and slow drainage occur if the drain saddle isn't installed above the P-trap.
Solution: Install the drain saddle above the P-trap to prevent gurgling noises and ensure proper drainage.
Frequently Asked Questions
What are the most critical measurements to double-check to avoid costly plumbing mistakes later?
The finished floor height, the vanity's centerline, and the exact height and horizontal position of the drain and water supply lines are crucial. Verify these multiple times against your new vanity's specifications, as even a small error can lead to significant rework or prevent your vanity from fitting properly.
The tool list includes candles; are these actually needed for measuring bathroom plumbing rough-in?
No, the decorative candles listed (LUMABASE, ROOT CANDLES, Zest Candle) are not required for measuring plumbing rough-in dimensions. You will primarily need accurate measuring tapes (like a 25 ft. tape measure), a level, and pencils for precise marking.
Since this is a beginner-level project, what are the most important safety tips or considerations I should keep in mind while measuring?
While measuring itself poses minimal safety risks, always ensure your work area is well-lit and clear of tripping hazards. If you are working around existing pipes, make sure water is turned off to prevent accidental leaks. Use a stable ladder if measuring higher points to avoid falls.
How do I ensure my rough-in measurements meet standard plumbing codes while also fitting my specific vanity?
Always refer to your new vanity's specification sheet first for its exact drain and supply cutout locations. Then, cross-reference these with local plumbing codes for minimum/maximum heights for drain and supply lines. The vanity's requirements take precedence if they fall within code limits, ensuring both proper fit and compliance.
The project estimate is 3 hours; what can I do beforehand to ensure I complete the measuring accurately within that timeframe?
Gather all necessary tools and your new vanity's detailed specification sheet *before* you start any marking. Clearly understand each step, especially establishing the finished floor line and the vanity's centerline. Taking your time with these initial setup steps will prevent errors that could significantly prolong the overall installation.
What should I do if my current plumbing rough-in doesn't align with the measurements needed for my new vanity?
If your existing plumbing doesn't match the new vanity's requirements, you will likely need to adjust the rough-in. This typically involves opening the wall, repositioning the drain and water supply lines, and then patching the drywall. Consult a licensed plumber if you're uncomfortable with this more involved step.
How can I ensure maximum accuracy when marking the locations for the drain and water supply lines?
To ensure maximum accuracy, always use a reliable tape measure and a level to establish true horizontal and vertical lines. Measure each point multiple times from consistent reference marks, such as the finished floor line and the vanity's centerline. Use a carpenter's pencil for clear, visible markings on the wall.


