
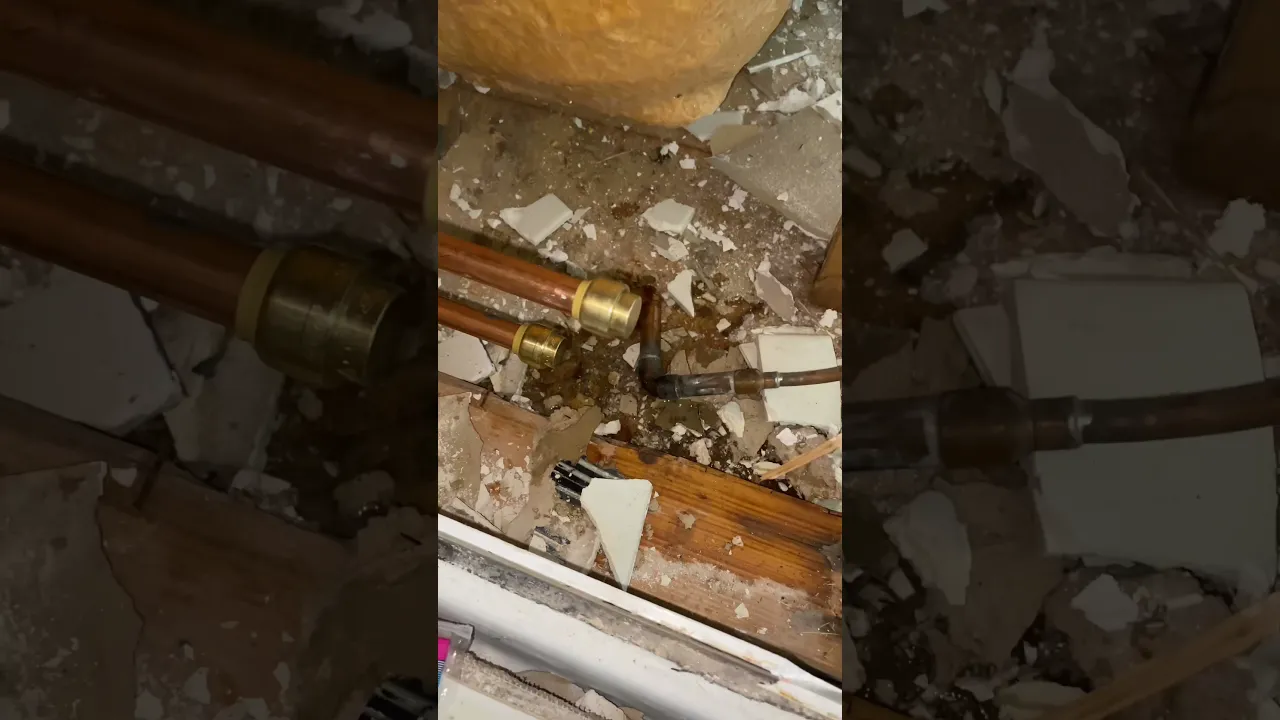
How to Make a Quick Pipe Repair with Push-to-Connect Fittings
About This Project
This guide provides detailed instructions for performing a quick and reliable pipe repair using push-to-connect fittings. The process involves shutting off the water supply, removing the damaged section of pipe, preparing the pipe ends, and installing a new fitting to create a watertight seal.
Best for homeowners and DIY enthusiasts with basic plumbing knowledge. Requires MCR Safety BearKat Safety Glasses MCSCRWBK110.
Tools & Materials
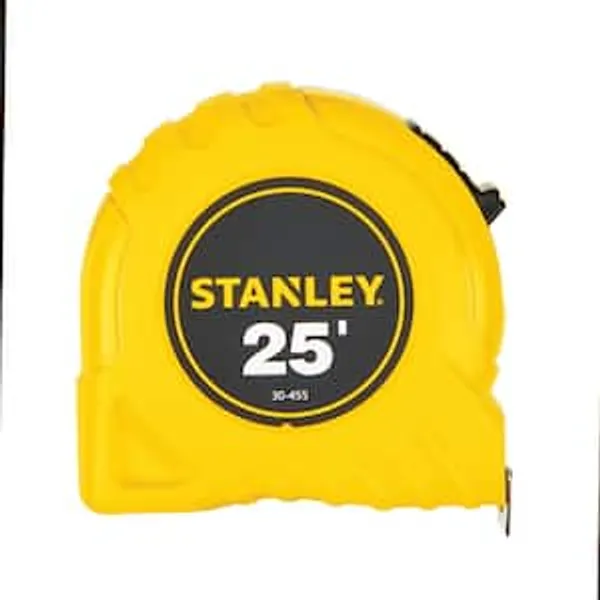
25 ft. Tape Measure
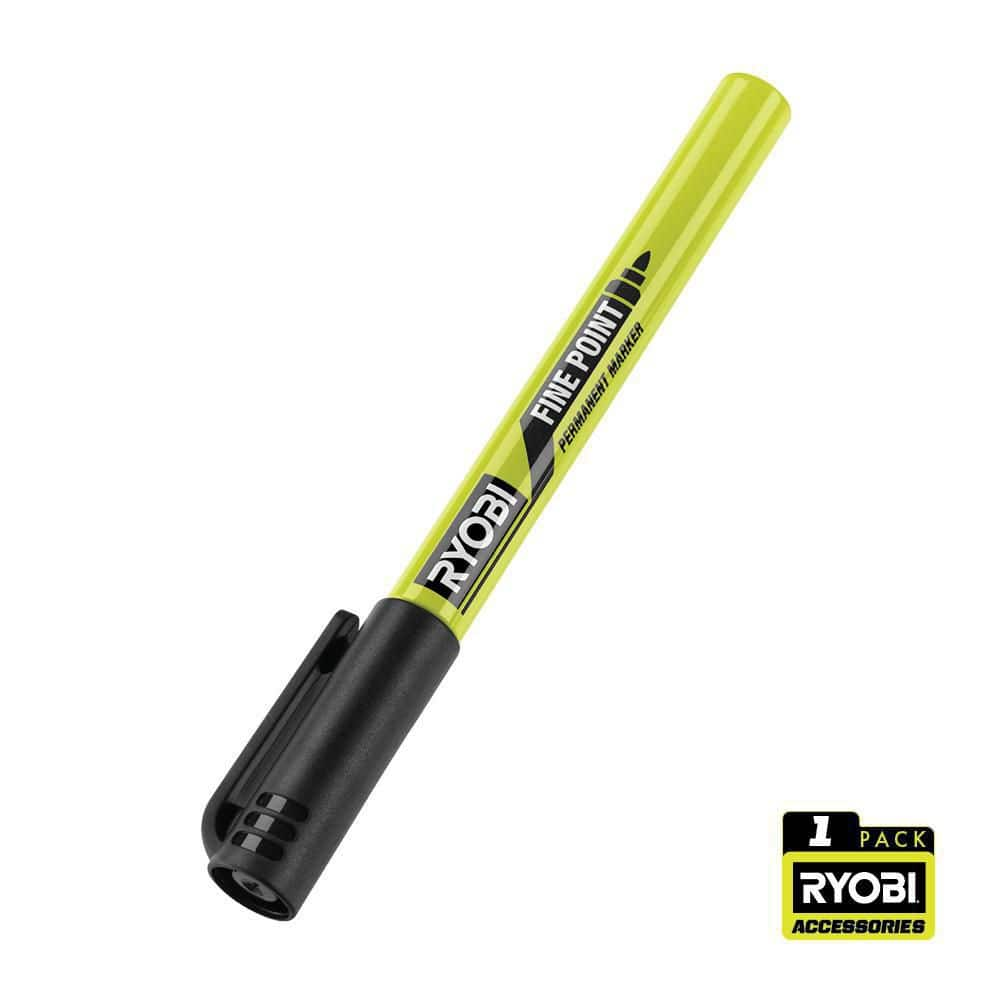
RYOBI Black Fine Point Permanent Workshop Marker RPM121
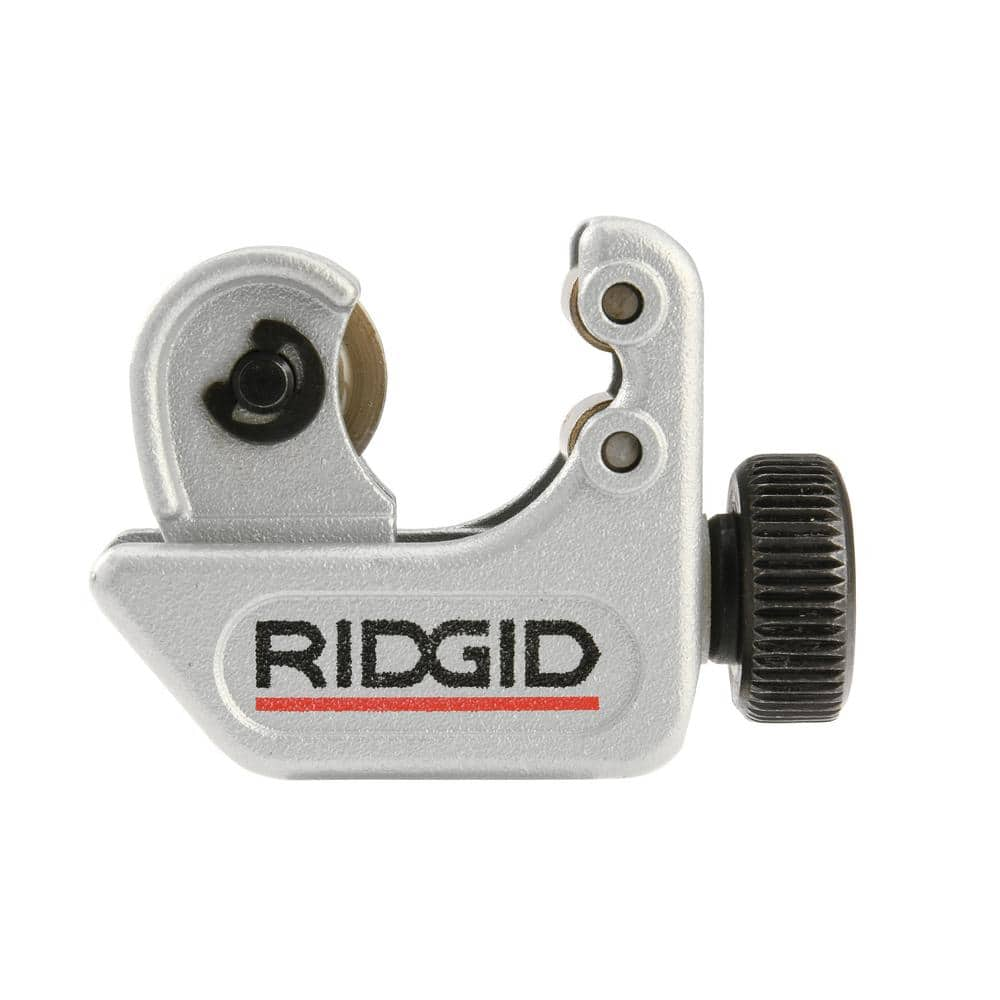
RIDGID 3/16 in. to 15/16 in. 104 Close Quarters Copper, Aluminum, Brass, and Plastic Tubing Cutter, Multi-Use Tubing Tool 32985
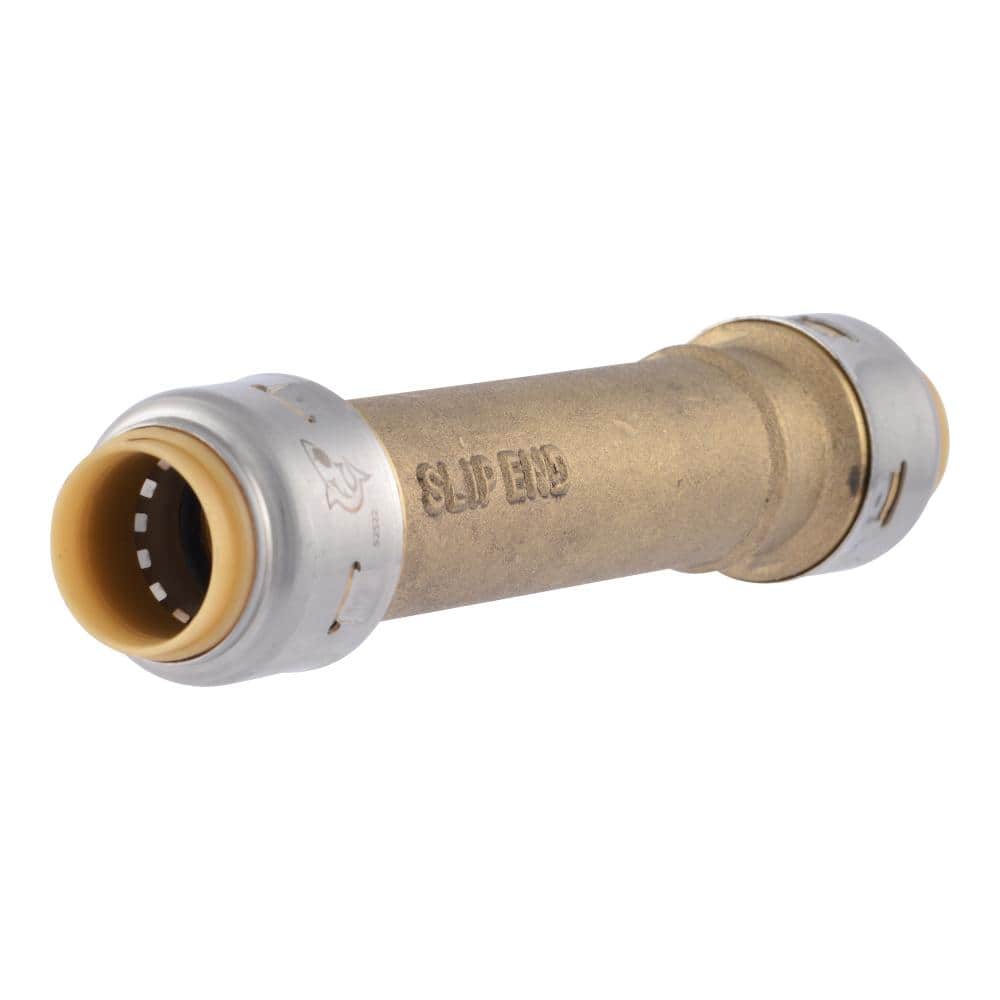
SharkBite Max 1/2 in. Push-to-Connect Brass Slip Coupling Fitting UR3008A
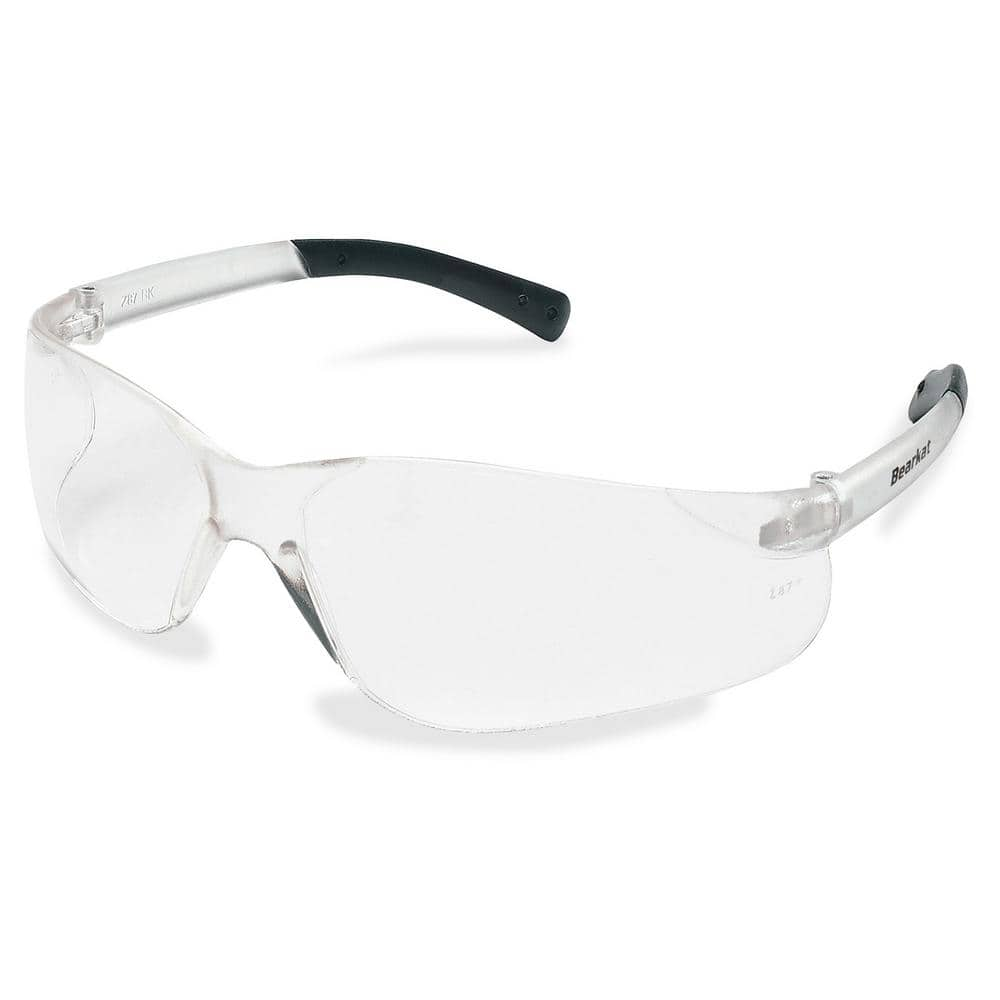
MCR Safety BearKat Safety Glasses MCSCRWBK110
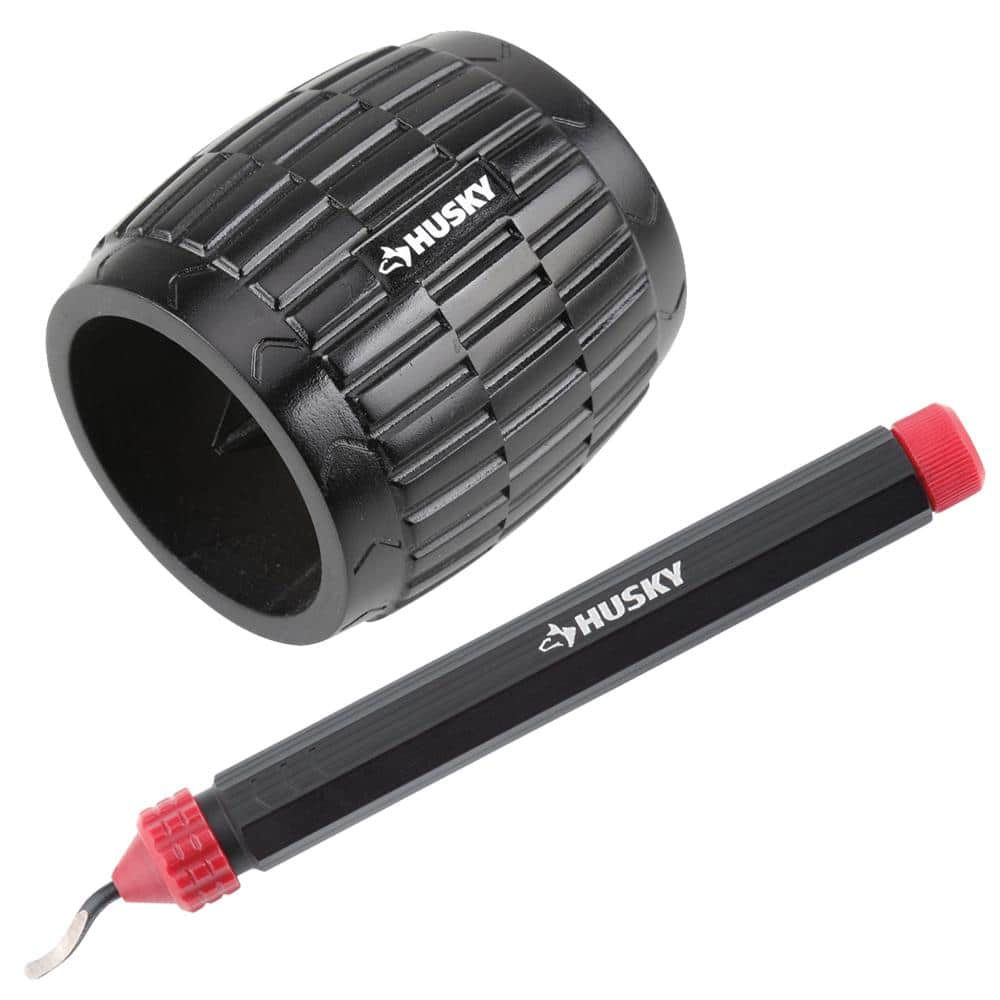
Husky 1-5/8 in. Inner/Outer Reamer and Deburring Tool 410-248-0111
25 ft. Tape Measure
Measure with precision and ease.
RYOBI Black Fine Point Permanent Workshop Marker RPM121
The RYOBI Black Fine Point Permanent Marker provides precise, clean marks on most materials. This marker is perfect for your workshop or the jobsite because of its durability. Its high quality ink is easily visible on rough surfaces. Common surfaces include wood, plastic, tile, and metal. The marker also features a hang clip for easy storage and accessibility. This pack includes one Black Fine Point Permanent Workshop Marker.
RIDGID 3/16 in. to 15/16 in. 104 Close Quarters Copper, Aluminum, Brass, and Plastic Tubing Cutter, Multi-Use Tubing Tool 32985
Built on the trust of the trades, you need tools designed for experts and built to last. Experience the durability of the RIDGID 104 Close Quarters Copper, Aluminum, Brass, and Plastic Tubing Compact Cutter with 3/16"-15/16" capacity (catalog number 32985, model 104). This powerful cutter allows you to make clean and precise cuts on copper, brass, aluminum, and plastic tubing with a capacity of 3/16 inch to 15/16 inch. Specifically designed for use in restricted spaces, this compact cutter makes tight cutting jobs significantly easier and more manageable. It features a strong yet lightweight slide and wheel housing for ease of operation and long-lasting durability as well as a large knurled feed screw knob that provides users with optimal cutting pressure control to produce superior clean cuts. Engineered for maximum accuracy, this cutter is constructed with a high-quality steel cutting wheel for a long life and contains a spare wheel stored in the knob. RIDGID is a global manufacturer trusted by the skilled trades in more than 100 countries. RIDGID products are purpose built for professionals in the evolving commercial, industrial and energy markets who install and maintain the world's infrastructure. BUILT FOR THOSE WHO KNOW.
SharkBite Max 1/2 in. Push-to-Connect Brass Slip Coupling Fitting UR3008A
SharkBite Max push-to-connect slip fittings are the fastest way to make repairs on copper or CPVC pipe. The slip fitting allows for the removal of only the damaged section of pipe (up to 2 in.) without
MCR Safety BearKat Safety Glasses MCSCRWBK110
Safety glasses feature a well thought-out construction that combines the best in safety, comfort and affordability. Your vision is unobstructed by the 1-piece wraparound lens which, by its tight fit, provides for maximum safety. Flexible temples enhance your comfort during extended use. Nonslip rubber head grips are notched for a clip-on breakaway cord.
Husky 1-5/8 in. Inner/Outer Reamer and Deburring Tool 410-248-0111
Husky's Inner/Outer Reamer removes burrs from the inside and outside of copper, steel, iron and brass piping and tubing from 1/8 in. up to 1- 5/8 in. diameter. It delivers easy, clean inside diameter reaming and outside diameter beveling. The reamer features a textured body for firm gripping. Precision-ground cutting blades result in smooth surfaces. Husky's Deburring Tool removes burrs from metal or plastic pipe edges resulting from cutting, drilling, grinding or milling tasks. Boasting a lightweight design, this contoured, hex-handled tool creates smooth surfaces for any project. The blades are easy to replace using the push button blade release. Includes two types of blades: the black deburrs aluminum, copper and PVC pipes while the silver deburrs brass and cast-iron pipes. Built to last and backed by the Husky lifetime warranty.
Steps

Shut Off Water Supply and Drain the Line
5 minsThe first and most critical step is to stop the flow of water to the area you'll be working on. Locate the main water shut-off valve for your entire house, which is often found in the basement, a utility closet, or near the water meter. Turn the valve handle clockwise until it is fully closed. To relieve pressure and drain the remaining water from the system, go to the lowest faucet in your house (like a basement sink or outdoor spigot) and open it. Also, open the faucet closest to your repair area. Have a bucket and some old towels ready to place under the pipe to catch any residual water that will drain out once you make a cut.

Mark and Cut the Damaged Section
5 minsPrecisely mark the section of pipe to be removed. Identify the pinhole leak or crack. Using a tape measure and a permanent marker, mark the pipe on both sides of the damaged area. You need to cut out a section large enough to remove the damage completely. For this repair, we will use a push-to-connect slip coupling, which requires a specific size gap. Check the instructions for your slip coupling; typically, you need to cut out a section of pipe that is about 2 inches longer than the coupling itself. This allows the slip end to slide fully onto the pipe before being slid back. Once marked, use a tubing cutter for a clean, square cut. Place the cutter on the mark, tighten it slightly, rotate it around the pipe, tighten again, and repeat until the pipe is cut. Repeat for the second mark. Wear safety glasses to protect your eyes from any metal filings.

Deburr and Clean the Pipe Ends
5 minsThis is a non-negotiable step for a leak-free repair. After cutting, the pipe ends will have sharp burrs. Use a deburring tool (often integrated into a tubing cutter, or as a separate pen-style tool) to ream the inside and chamfer the outside of both pipe ends. This removes any sharp edges that could slice or damage the O-ring inside the push-to-connect fitting. Once deburred, take a piece of emery cloth or fine-grit sandpaper and thoroughly clean the outside surface of both pipe ends, extending about 1-2 inches from the end. You need to sand off all oxidation, dirt, and any residue until the copper is shiny and smooth. A perfectly clean and smooth surface is essential for the O-ring to create a durable, watertight seal.

Mark Insertion Depth and Install Fitting
5 minsBefore installing the fitting, you must know how far the pipe needs to be inserted. The push-to-connect fitting will come with a depth gauge tool, or the required depth will be printed in the instructions. Use this gauge or a tape measure to measure from the end of each pipe and make a clear mark with your permanent marker. This mark is your visual confirmation of a successful connection. Take your slip coupling and the provided disconnection clip. Push the coupling completely onto one of the pipe ends until it can't go any further. Now, place the disconnection clip on that same pipe, press it against the fitting, and slide the coupling back over the gap and onto the other pipe. Ensure it's centered over the gap. Push both ends of the pipe firmly into the fitting with a steady, even pressure and a slight twisting motion until you reach the depth marks you made earlier. You should feel a solid 'click' or 'thunk' as the pipe passes the O-ring and seats into the grab ring.

Restore Water and Check for Leaks
5 minsWith the fitting securely in place, it's time to test your work. Go back to the main water shut-off valve and turn it on very slowly. Opening the valve too quickly can cause a pressure surge known as 'water hammer,' which can stress pipe joints. Once the valve is fully open, return to the repair site. Closely inspect the new fitting at both connection points. Look for any signs of moisture, from a slow drip to a fine spray. Wipe the entire fitting and the adjacent pipe with a dry towel or paper towel; this makes it much easier to spot any new water beading up. Listen for any faint hissing sounds, which could indicate a pinhole leak. Let the water run through a nearby faucet for several minutes to ensure the repair holds under continuous operating pressure.
Common Problems
Small leaks go unnoticed, causing water damage and wasted water.
Solution: Place a dry paper towel under the repair to make it easier to spot even the smallest drips.
Turn the water back on slowly. A sudden burst of pressure could cause a loose connection to fail.
Solution: To avoid this issue: Be mindful of this warning and take appropriate precautions.
Sudden leaks or blowouts at weak points due to rapid water pressure increase.
Solution: Turn the water on slowly to allow the pressure to build gradually, which can help prevent sudden leaks at weak points.
Open the water supply system and make sure there is no leakage at every joint. Failure to do so can cause major water damage later.
Solution: To avoid this issue: Be mindful of this warning and take appropriate precautions.
Turn the water on slowly to avoid a water hammer effect that could damage pipes or the new repair.
Solution: To avoid this issue: Be mindful of this warning and take appropriate precautions.
Leaky joints due to debris or rough cuts.
Solution: A clean cut and thoroughly cleaned pipe surface are critical for a successful solder joint.
Any burrs or sharp edges left on the pipe can damage the O-ring inside the fitting, leading to a failed connection and potential leaks.
Solution: To avoid this issue: Be mindful of this warning and take appropriate precautions.
Frequently Asked Questions
How reliable are push-to-connect fittings for a permanent pipe repair, especially compared to traditional soldering?
Push-to-connect fittings offer a very reliable and watertight seal suitable for permanent repairs in most residential plumbing systems. While soldering provides a rigid, fused connection, these fittings are engineered for longevity and can withstand typical household water pressures for many years. Proper installation, including marking the insertion depth, ensures a secure and durable connection comparable to other methods.
Can push-to-connect fittings be used on all types of pipes, or are there limitations?
Push-to-connect fittings are highly versatile and compatible with common residential pipe materials such as copper, PEX, and CPVC. However, they are generally not recommended for use with galvanized steel, black iron, or PVC pipes due to material incompatibility or specific fitting designs. Always check the manufacturer's specifications to confirm compatibility with your existing pipe material and size before starting the repair.
Do I really need specialized tools like a deburring tool and a tubing cutter for this quick repair, or can I use alternatives?
Yes, using a dedicated tubing cutter (like the RIDGID 104) is crucial for making a clean, straight cut, which is vital for a proper seal. A deburring tool (such as the Husky 410-248-0111) is essential to remove any sharp edges from the pipe ends, preventing damage to the fitting's internal O-rings. Skipping these tools significantly increases the risk of leaks and an unreliable repair.
What's the most critical safety step in this repair, and how do I ensure there's no water pressure when cutting the pipe?
The most critical safety step is completely shutting off the main water supply to your home before beginning any work. After turning off the main valve, open the lowest faucet in your house or a nearby faucet to relieve any remaining pressure and drain water from the pipes. This prevents flooding, allows for a dry work area, and eliminates the risk of injury from pressurized water.
What are some common mistakes beginners make when installing push-to-connect fittings, and how can I avoid them?
Common mistakes include not cutting the pipe squarely, failing to deburr and clean the pipe ends properly, and not inserting the pipe fully into the fitting. To avoid these, always use a dedicated tubing cutter for a square cut, thoroughly deburr and clean the pipe before assembly, and mark the correct insertion depth on the pipe to ensure a complete and secure connection.
Is this a cost-effective repair method, and can a beginner realistically complete it within the estimated 2-hour timeframe?
While push-to-connect fittings can be slightly more expensive per fitting than traditional soldering or crimp methods, they often save significant time and the cost of specialized tools or hiring a professional. A beginner can absolutely complete this repair within 2 hours, especially by preparing all tools and materials beforehand and ensuring the water shut-off process is smooth.


