
How to Make a Quick Pipe Repair with Push-to-Connect Fittings
About This Project
This guide provides step-by-step instructions for performing a quick and reliable repair on a leaking pipe using push-to-connect fittings. The process involves shutting off the water supply, cutting out the damaged section of pipe, preparing the pipe ends, and installing new push-to-connect couplings and a replacement pipe section.
Best for homeowners and DIY enthusiasts with basic plumbing knowledge and familiarity with power tools. Requires HDX Indoor Safety Glasses Clear (1-Pack) VS-9300, clear and Safety Glasses.
Tools & Materials
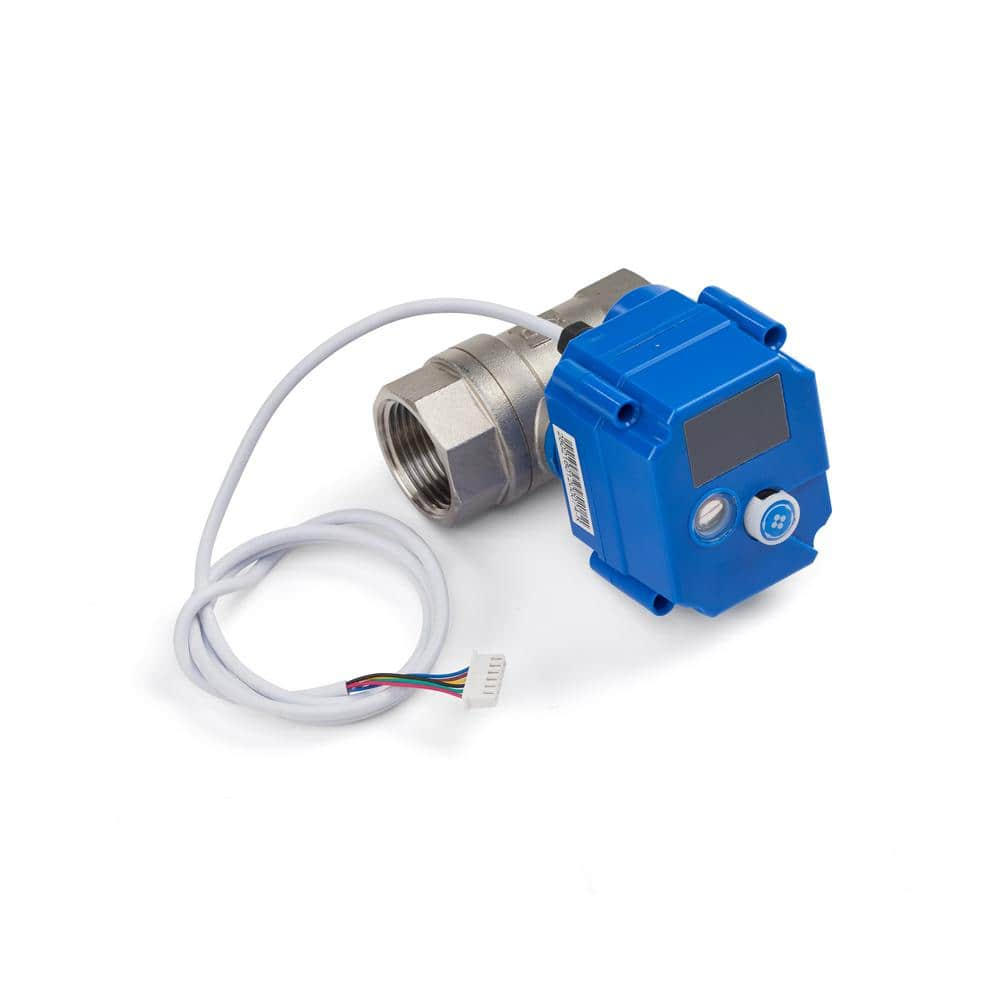
Rheem Preferred Series Remote Water Shut-Off Valve 7388598
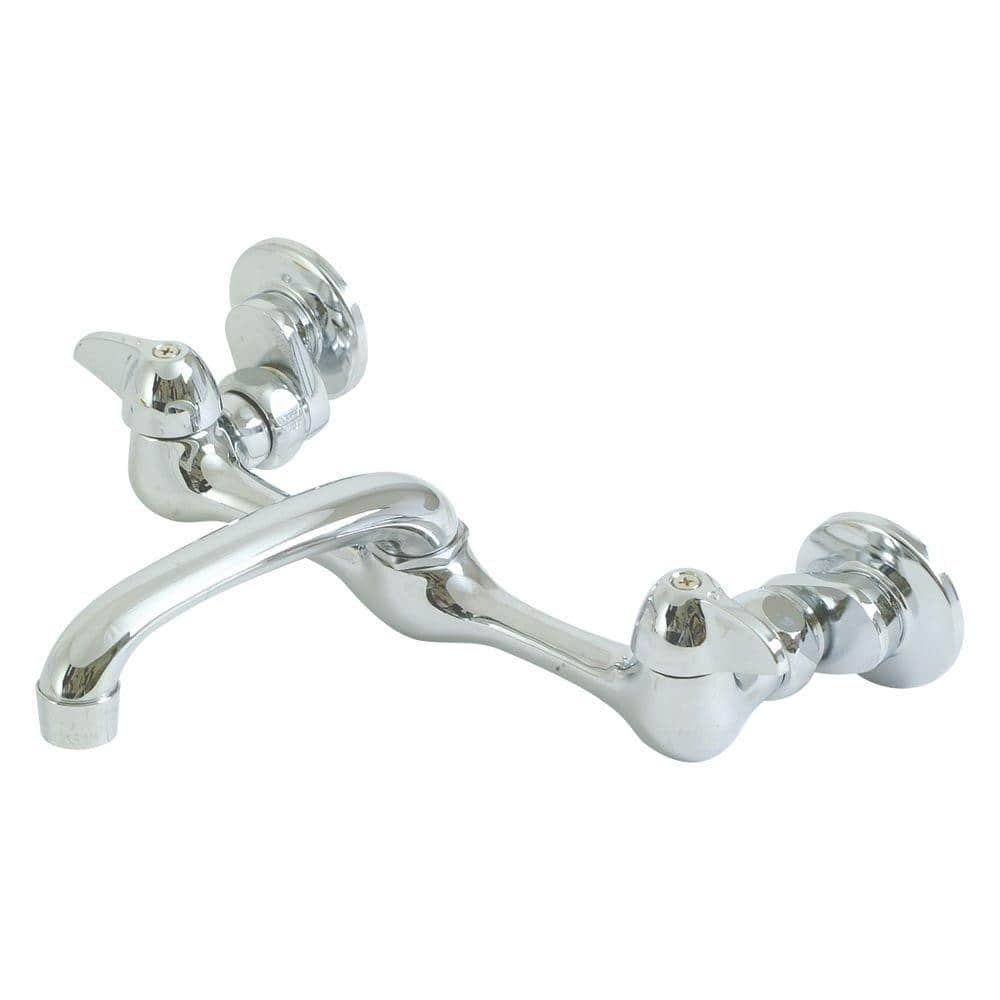
EZ-FLO 6 in. 2-Handle Wall-Mount Adjustable Commercial Utility Faucet in Chrome 10142LF

Unger 6 Gal. Heavy-Duty Plastic Bucket DB02
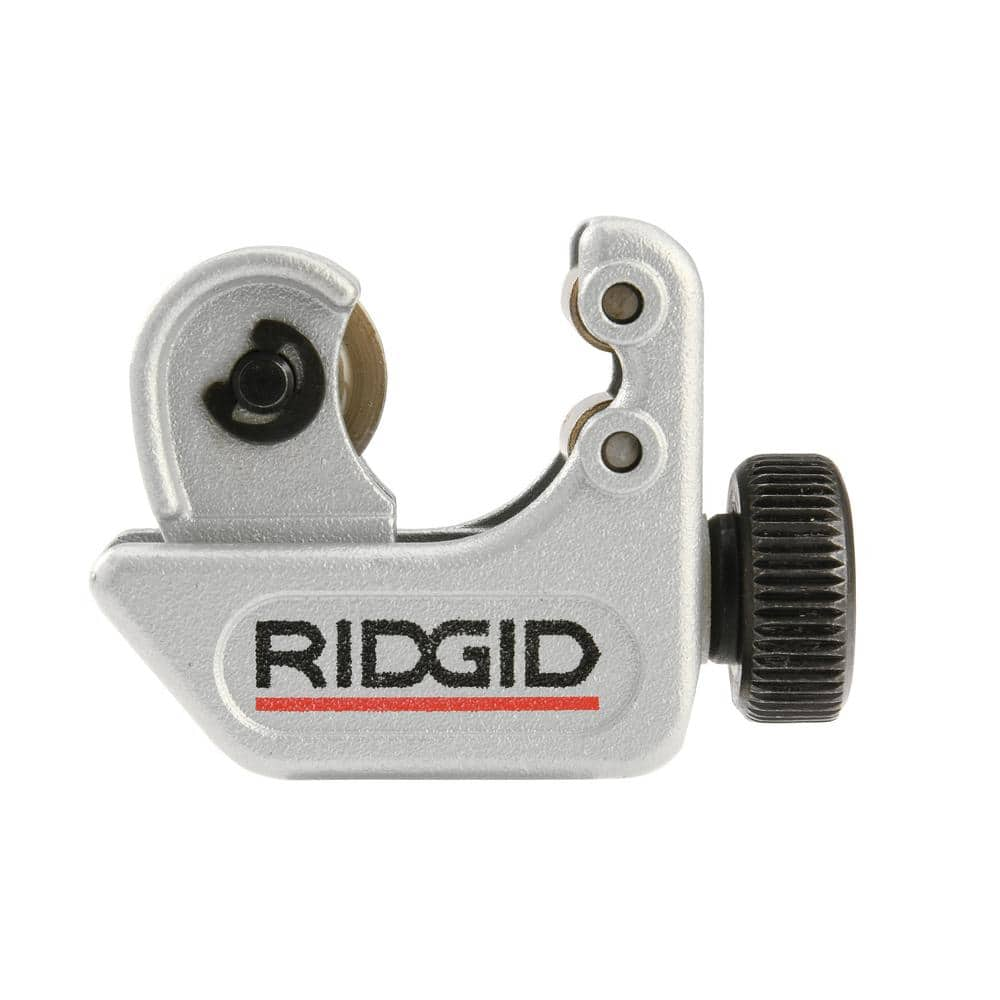
RIDGID 3/16 in. to 15/16 in. 104 Close Quarters Copper, Aluminum, Brass, and Plastic Tubing Cutter, Multi-Use Tubing Tool 32985
Sharpie Fine Point Black Permanent Marker (12 per Pack) 2005126
HDX Indoor Safety Glasses Clear (1-Pack) VS-9300, clear
Rheem Preferred Series Remote Water Shut-Off Valve 7388598
Enhance your Rheem PREFERRED Platinum Water Softener Wi-Fi capabilities with an optional Rheem PREFERRED Series Water Shut-Off Valve. Using the iQua app, you will be able to quickly respond to any continuous
EZ-FLO 6 in. 2-Handle Wall-Mount Adjustable Commercial Utility Faucet in Chrome 10142LF
EZ-FLO's Wall Mount Faucet is made of a solid brass waterway and valve body. This faucet is adjustable with centers from 6-1/2 in. to 9-1/2 in. making this easy to install. The faucet is made in a chrome
Unger 6 Gal. Heavy-Duty Plastic Bucket DB02
The Unger 6-Gallon Heavy-Duty Professional Cleaning Bucket holds more than 6 Gal. of liquid. The bucket can accommodate a scrubber up to 14 in. L. This bucket features measurement marks and 2-pour spouts
RIDGID 3/16 in. to 15/16 in. 104 Close Quarters Copper, Aluminum, Brass, and Plastic Tubing Cutter, Multi-Use Tubing Tool 32985
Built on the trust of the trades, you need tools designed for experts and built to last. Experience the durability of the RIDGID 104 Close Quarters Copper, Aluminum, Brass, and Plastic Tubing Compact Cutter with 3/16"-15/16" capacity (catalog number 32985, model 104). This powerful cutter allows you to make clean and precise cuts on copper, brass, aluminum, and plastic tubing with a capacity of 3/16 inch to 15/16 inch. Specifically designed for use in restricted spaces, this compact cutter makes tight cutting jobs significantly easier and more manageable. It features a strong yet lightweight slide and wheel housing for ease of operation and long-lasting durability as well as a large knurled feed screw knob that provides users with optimal cutting pressure control to produce superior clean cuts. Engineered for maximum accuracy, this cutter is constructed with a high-quality steel cutting wheel for a long life and contains a spare wheel stored in the knob. RIDGID is a global manufacturer trusted by the skilled trades in more than 100 countries. RIDGID products are purpose built for professionals in the evolving commercial, industrial and energy markets who install and maintain the world's infrastructure. BUILT FOR THOSE WHO KNOW.
Sharpie Fine Point Black Permanent Marker (12 per Pack) 2005126
The Sharpie Permanent Markers can mark on most hard-to-mark surfaces. Suggested use on plastic, metal, cardboard, vinyl, and leather and glass surfaces. These permanent markers have an alcohol based ink
HDX Indoor Safety Glasses Clear (1-Pack) VS-9300, clear
Indoor safety glasses with anti-scratch lenses absorb UV lights and protect the eyes from particles, airborne debris and most commonly encountered eye hazards. Strong wraparound, light weight PC lens offer great and comfortable eye protection for indoor projects. Meet the requirements of ANZI Z87.1.
Steps

Shut Off Water Supply and Drain the Line
5 minsFirst, you must isolate the work area from water pressure. Locate the main water shut-off valve for your home, which is often found in the basement, a utility closet, or near the water meter. Turn the valve handle clockwise until it is fully closed. To ensure the line is depressurized and to drain any remaining water, open a faucet that is at a lower elevation than the pipe you are repairing (e.g., a basement utility sink or an outdoor spigot). Place a bucket under the work area to catch any residual water that drips out.
Cut Out the Damaged Pipe Section
5 minsUsing a permanent marker, mark the pipe on either side of the pinhole leak or crack, ensuring you leave at least one inch of clean, straight pipe on the outside of each mark. Position a tubing cutter around the pipe on one of the marks. Tighten the knob slightly and rotate the cutter around the pipe. After each full rotation, tighten the knob a little more. Continue this process until the pipe is cut through. Repeat on the second mark to completely remove the damaged section. Aim for perfectly square cuts.

Deburr and Clean the Pipe Ends
5 minsThis is the most critical step for a successful repair. Take a deburring tool and insert it into the freshly cut pipe end, rotating it to remove any metal burrs from the inside edge. Then, use the outside portion of the tool to smooth the outer edge. If you don't have a deburring tool, a round file and a flat file can be used. Next, take a piece of sandpaper or emery cloth and thoroughly clean the outside of both pipe ends, polishing about 1 to 1.5 inches back from the cut. The surface must be perfectly smooth and free of any dirt, paint, or oxidation for the O-ring inside the fitting to create a watertight seal.

Measure and Cut Replacement Pipe
5 minsPush one of your push-to-connect couplings onto a pipe end to measure its insertion depth, or use the manufacturer-provided depth gauge. Mark this depth on the pipe with your marker. Remove the fitting. Now, measure the exact distance of the gap you created by cutting out the damaged section. The required length for your new piece of pipe is calculated as: (Gap Length) + (Insertion Depth) + (Insertion Depth). Cut a new piece of 1/2-inch copper pipe to this precise measurement using your tubing cutter. Once cut, deburr and clean both ends of this new pipe piece just as you did in the previous step.

Mark Depth and Install Fittings
5 minsUsing your marker, transfer the insertion depth measurement onto all four pipe ends: the two existing ends and both ends of your new pipe piece. Take one of the push-to-connect couplings and push it straight onto one of the existing pipe ends with a firm, steady motion until it bottoms out at the depth mark you made. You should feel it 'grab' the pipe. Repeat this for the other coupling on the other existing pipe end. Now, take your new pipe section and insert one end into one of the installed couplings. Finally, align the other end and push it firmly into the remaining coupling. Give each connection a gentle tug to ensure it is secure.

Restore Water and Check for Leaks
5 minsEnsure all faucets are closed. Return to the main water shut-off valve and turn the handle counter-clockwise SLOWLY to reintroduce water into the pipes. Turning it on slowly helps prevent a 'water hammer,' a pressure surge that can damage pipes and appliances. Once the valve is fully open, go back to your repair and meticulously inspect the two new fittings for any signs of water, drips, or beads of moisture. Use a dry paper towel to wipe the fittings and connections completely dry, then watch closely for any new moisture appearing. If it remains dry, the repair is successful.
Common Problems
Drill bit spinning counter-clockwise can damage pipe or fitting.
Solution: Always move the drill in a clockwise direction to ensure the cutter works efficiently and safely.
Forcing the tool can damage the pipe or fitting.
Solution: Apply steady, gentle outward pressure. Do not force the tool; let the blade's rotation do the work.
Uneven pipe cuts prevent push-to-connect fittings from sealing properly.
Solution: Using proper pipe cutters ensures a clean, square cut which is important for a good seal.
Using a hacksaw can create a rough cut with burrs that will damage the O-ring and cause a leak. Always use a designated pipe cutter.
Solution: To avoid this issue: Be mindful of this warning and take appropriate precautions.
Sharp pipe edges can damage O-rings, causing leaks.
Solution: Deburring is a critical step; a small burr on the pipe's edge can easily slice the O-ring during installation.
Damaged cutting wheel or uneven pipe cuts result from too much force.
Solution: Tighten the cutter gradually with each rotation to avoid damaging the cutting wheel and to ensure a smooth cut.
Sudden water pressure can damage new pipe repairs.
Solution: Turn the water on slowly to prevent a sudden pressure surge, known as a water hammer.
Frequently Asked Questions
What are the most crucial safety precautions I need to take before starting this pipe repair?
Always shut off the main water supply to your home completely before beginning any plumbing work to prevent flooding. Wear safety glasses, such as the HDX Indoor Safety Glasses, to protect your eyes from debris or splashing water during cutting and draining. Having an emergency shut-off valve like the Rheem Preferred Series Remote Water Shut-Off Valve can make this step quicker.
Why is deburring the pipe ends so important after cutting, and what tool should I use?
Deburring creates a smooth edge on the cut pipe, which is crucial for a watertight seal with push-to-connect fittings and prevents damage to the internal O-rings. Use a dedicated tool like the Husky 1-5/8 in. Inner/Outer Reamer and Deburring Tool to quickly and effectively prepare your pipe ends after cutting with a RIDGID tubing cutter.
How can I ensure the push-to-connect fitting is properly installed to avoid future leaks?
First, use a permanent marker, like a Sharpie, to clearly mark the insertion depth on your pipe according to the fitting's specifications. Then, push the fitting firmly onto the pipe until it reaches your mark, ensuring a secure and leak-free connection. Give the fitting a slight tug to confirm it's seated properly and won't pull off.
The project estimates 3 hours; is this realistic for a beginner, and what might make it take longer?
Three hours is a reasonable estimate for someone new to plumbing, assuming you have all tools ready and the leak is easily accessible. Factors like difficulty locating the main shut-off, unexpected pipe damage, or working in tight, cramped spaces can extend the project time significantly. It's always best to budget extra time.
Can push-to-connect fittings be used on any type of pipe, or are there limitations?
Push-to-connect fittings, such as the Tectite 1/2 in. Brass Push-to-Connect Coupling, are generally compatible with copper, PEX, and CPVC pipes. However, they are not suitable for galvanized, black iron, or PVC (drainage) pipes. Always verify the fitting's compatibility with your specific pipe material before purchase and installation.
What should I do if the new connection still leaks after restoring water, and does this type of repair save money?
If a leak persists, immediately shut off the water again. Recheck your pipe ends for proper deburring and ensure the fitting was fully inserted to the depth mark and seated firmly. This DIY repair, utilizing relatively inexpensive push-to-connect fittings, can save significantly on plumber call-out fees, making it a cost-effective solution for small leaks.


