
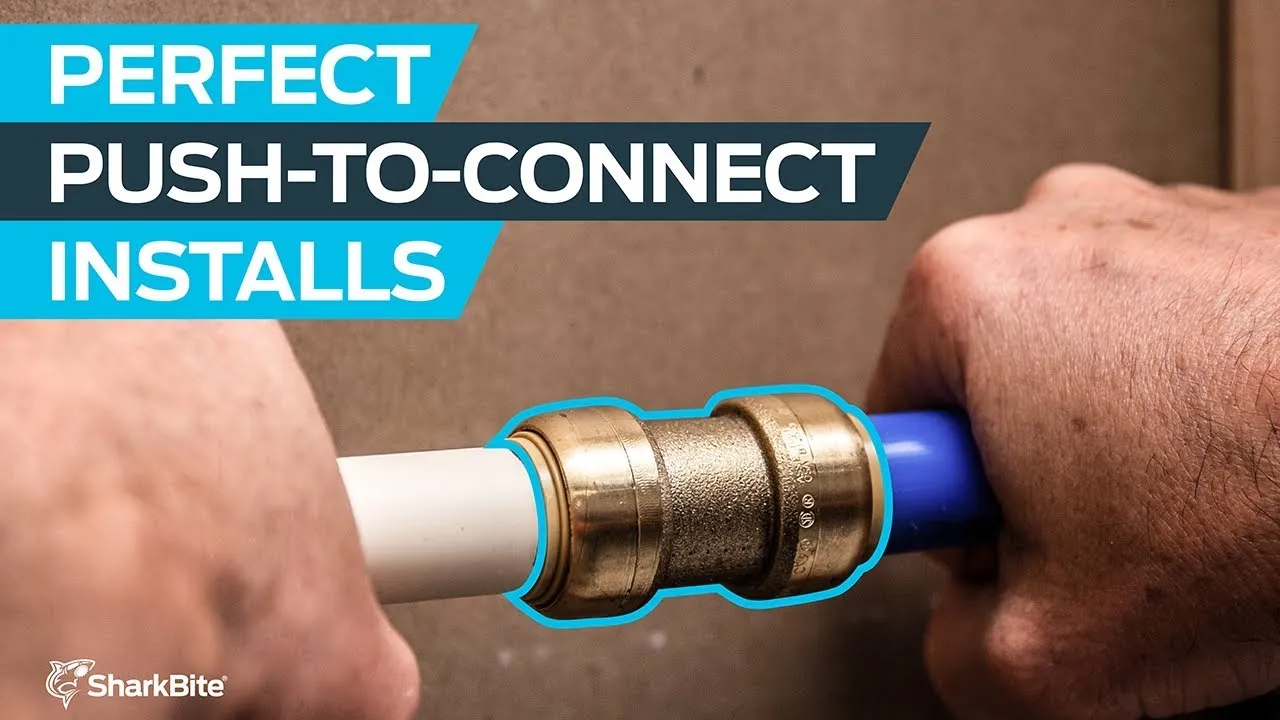
How to Make a Quick Pipe Repair with Push-to-Connect Fittings
About This Project
A step-by-step guide to quickly and effectively repair a damaged section of a water pipe using solder-free push-to-connect fittings. This method involves cutting out the bad section, cleaning the pipe ends, and installing new fittings and a replacement pipe piece.
Best for homeowners and DIY enthusiasts with basic plumbing knowledge.
Tools & Materials

Unger 6 Gal. Heavy-Duty Plastic Bucket DB02
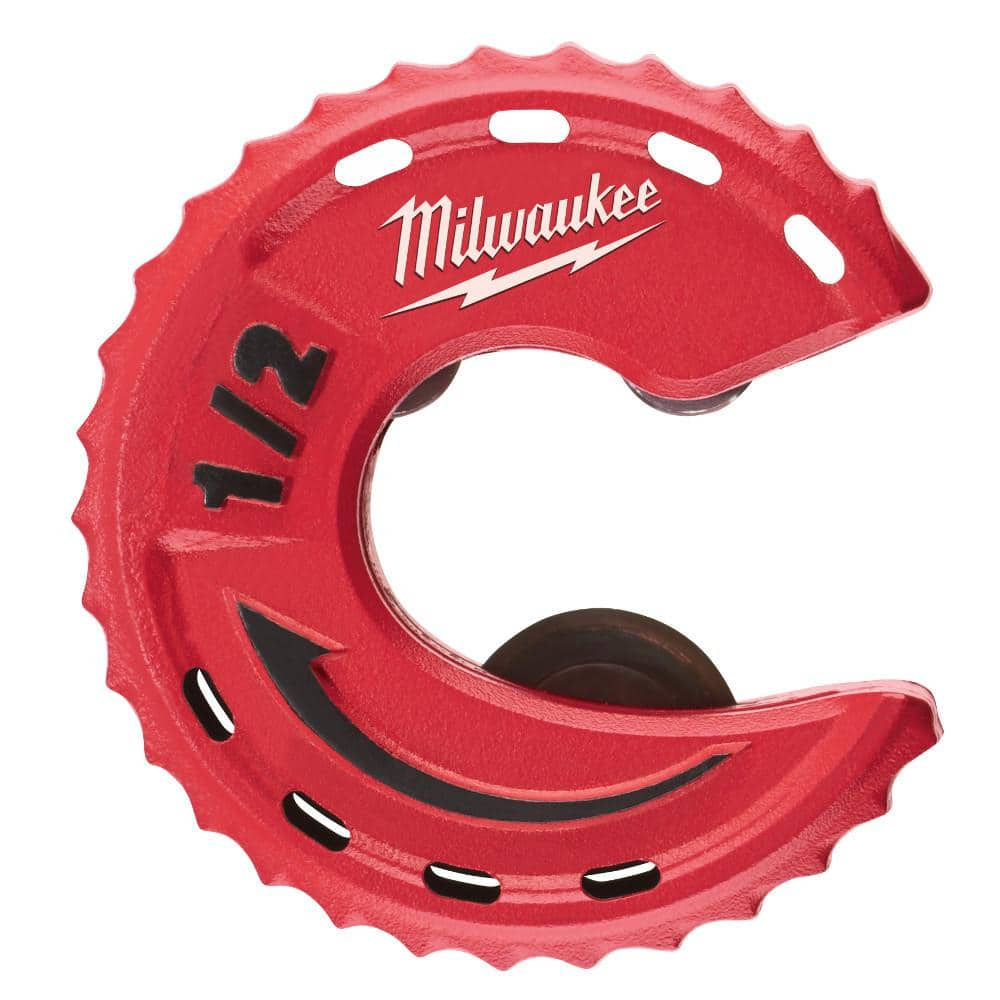
Milwaukee 1/2 in. Close Quarters Tubing Cutter 48-22-4260

Sharpie Black Fine Point Permanent Markers (2-Pack) 30162PP

Safety gloves
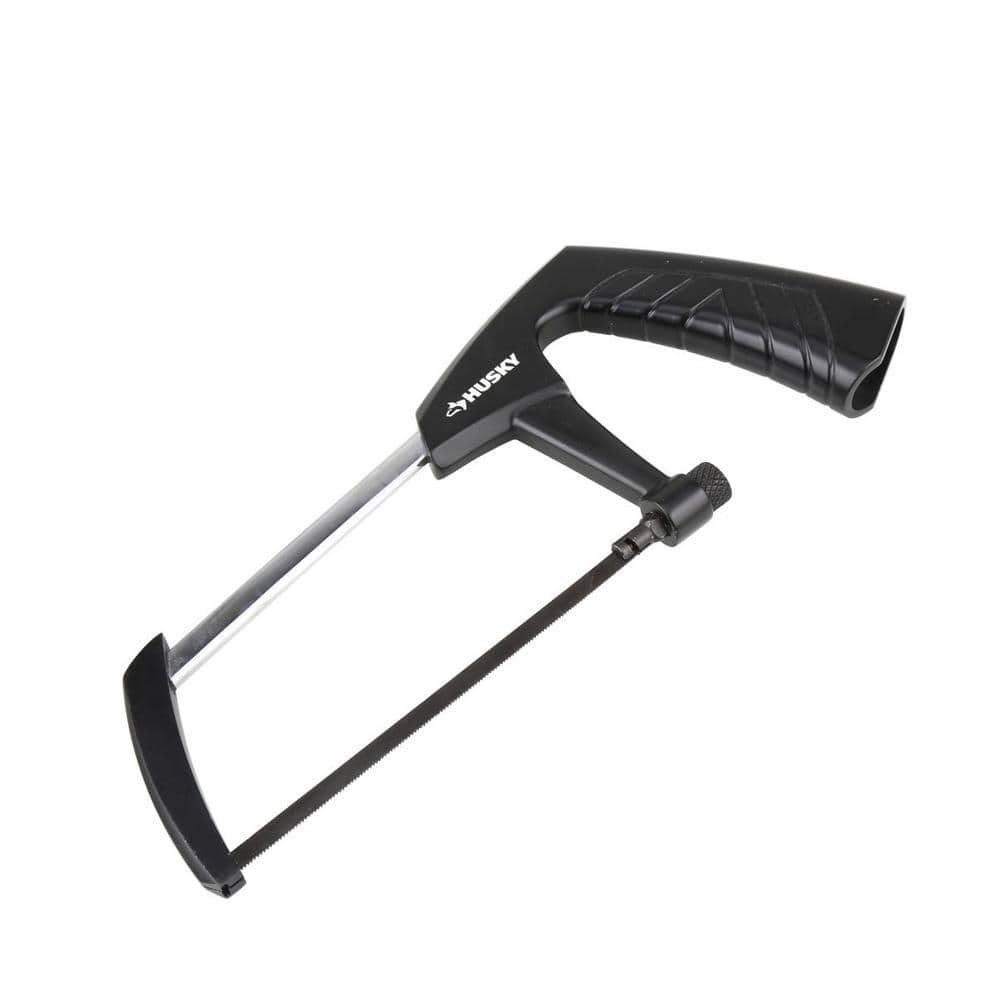
Husky 6 in. Mini Hacksaw 80-510-111
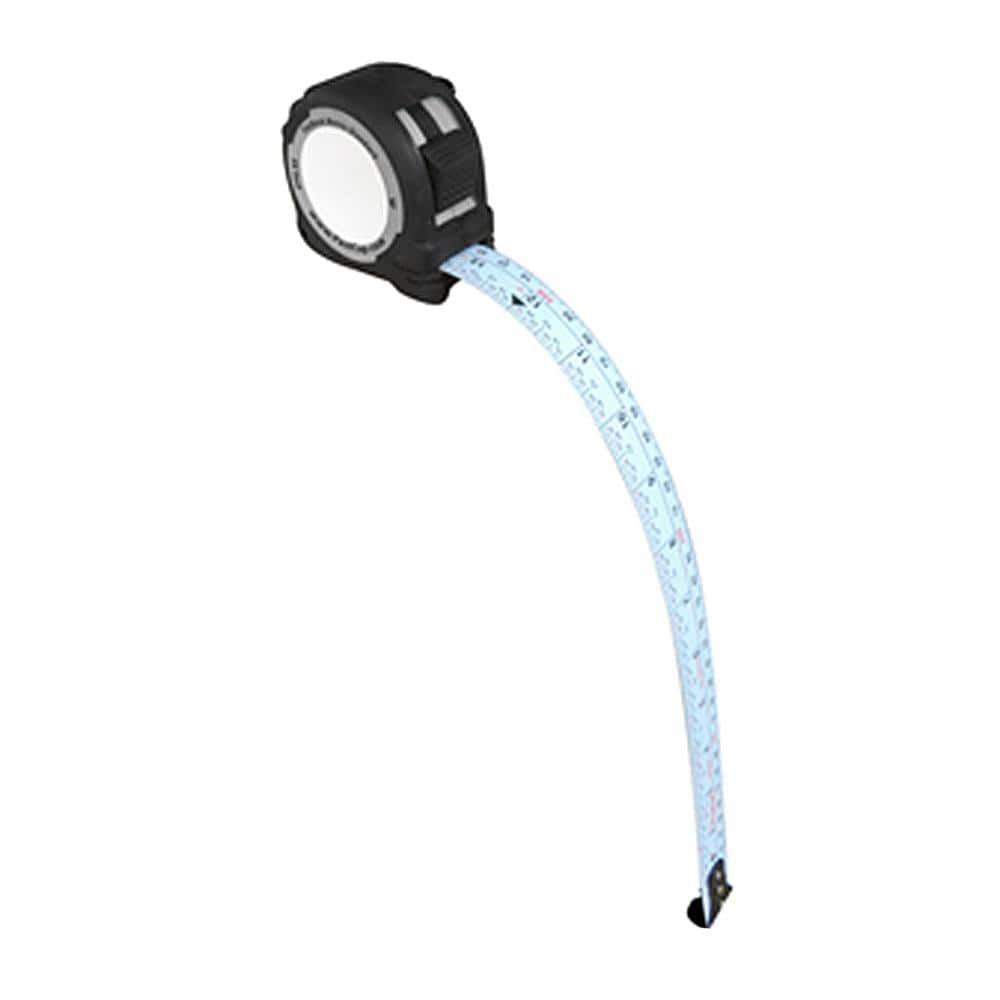
FASTCAP 16 ft. Metric/Standard Flat Back Measure Tape FC.PMS.F16
Unger 6 Gal. Heavy-Duty Plastic Bucket DB02
The Unger 6-Gallon Heavy-Duty Professional Cleaning Bucket holds more than 6 Gal. of liquid. The bucket can accommodate a scrubber up to 14 in. L. This bucket features measurement marks and 2-pour spouts
Milwaukee 1/2 in. Close Quarters Tubing Cutter 48-22-4260
Milwaukee Close Quarters Tubing Cutters are optimized for tough cuts in tight spaces. The compact design allows access to the tightest spaces. Chrome rollers deliver best in class rust protection while
Sharpie Black Fine Point Permanent Markers (2-Pack) 30162PP
The Sharpie Permanent Markers can mark on most hard-to-mark surfaces. Suggested use on plastic, metal, cardboard, vinyl, and leather and glass surfaces. These permanent markers have an alcohol based ink
Safety gloves
Shields hands from potential harm.
Husky 6 in. Mini Hacksaw 80-510-111
Husky's heavy-duty lightweight 6 in. Mini Hacksaw cuts aluminum and other metals, PVC, wood, and plastic tubing. It features a durable ergonomic handle for a comfortable grip and strong, lightweight high
FASTCAP 16 ft. Metric/Standard Flat Back Measure Tape FC.PMS.F16
Face it, not all surfaces are flat. The ProCarpenter Flat back is a flexible tape for measuring curves and flat panels with precision and ease. The PMS blade style has both the metric and standard measurements
Steps

Shut Off Water and Drain Pipes
5 minsLocate the main water shut-off valve for your home, which is typically found in the basement, a crawlspace, or a utility closet near where the water service line enters the house. Turn the valve clockwise until it is fully closed. To drain the remaining water from the system, go to the lowest point in your home (like a basement sink or outdoor spigot) and open the faucet. Also, open a faucet on an upper floor to help break the vacuum and allow the water to drain faster. Place a bucket under the work area to catch any residual water that will drain from the cut pipe.

Cut Out Damaged Pipe Section
5 minsPrecisely locate the leak or damaged area on the pipe. Using a permanent marker, make two marks on the pipe, one on each side of the damaged section. Ensure these marks provide enough room to completely remove the bad section, typically leaving about a 1-inch gap on either side of the damage. Take your tubing cutter, place it on the first mark, and tighten the knob until the cutting wheel makes contact. Rotate the cutter around the pipe, tightening the knob slightly with each full rotation, until the pipe is cut cleanly. Repeat this process for the second mark. Remove the damaged section of pipe.

Deburr and Clean Pipe Ends
5 minsA clean, smooth pipe end is critical for a leak-proof connection. Take your deburring tool and insert it into the freshly cut pipe end, rotating it to remove any interior burrs or sharp edges. Then, use the outside part of the tool to smooth the exterior edge. Afterward, use a piece of emery cloth or fine-grit sandpaper to thoroughly clean the outside of the pipe ends for at least one inch from the cut. The goal is to remove any oxidation, paint, dirt, or grease, revealing a shiny, smooth copper surface for the fitting's O-ring to seal against.

Measure and Cut Replacement Pipe
3 minsUsing a tape measure, carefully measure the exact length of the gap you created between the two cut ends of the existing pipe. It's important to be precise. Now, measure and mark this exact length onto your new piece of copper pipe using the permanent marker. Use your tubing cutter to make a straight, clean cut on the new pipe section, just as you did with the old pipe.

Mark Insertion Depth
2 minsProper insertion is key to a leak-free seal. Many push-to-connect fitting brands include a depth gauge/deburring tool. Use this tool to mark the proper insertion depth on both ends of the existing pipe and on both ends of your new replacement pipe section. If you do not have a depth tool, measure it with your tape measure and mark with the permanent marker. For 1/2-inch pipe, the insertion depth is typically 15/16 of an inch. Making this mark is crucial as it provides a clear visual confirmation that the pipe is fully seated within the fitting during installation.

Install the Push-to-Connect Fittings
5 minsFirst, clean and deburr the ends of your new pipe section, just as you did for the existing pipe. For the initial connection, take a standard push-to-connect coupling and push it firmly onto one of the existing pipe ends with a slight twisting motion until it hits the insertion depth mark. You should feel a 'click' as the internal teeth grab the pipe. Now, take the new pipe section and push it into the other end of that same coupling, ensuring it reaches the depth mark. For the final connection, which is difficult with a standard coupling, use a push-to-connect slip coupling. Push the slip coupling completely onto the free end of your new pipe section. Align the new pipe with the remaining existing pipe end. Now, using the special disconnect clip, slide the slip coupling back over the joint until it is centered between the two depth marks. Give all connections a firm tug to ensure they are securely locked in place.

Restore Water and Check for Leaks
5 minsClear the work area of tools and wipe the repaired section and fittings completely dry with a rag. Go back to the main water shut-off valve and turn it on *slowly* by rotating it counter-clockwise. Opening the valve slowly prevents a sudden pressure surge, known as water hammer, that could damage your plumbing. Once the valve is fully open, return to the repaired section and meticulously inspect the fittings and pipe for any signs of dripping or leaks. Also, listen for any hissing sounds. Keep an eye on it for several minutes. If the repair remains dry, the job is complete. Finally, go and close the faucets you opened earlier to drain the system.
Common Problems
Uneven pipe cuts prevent push-to-connect fittings from sealing properly.
Solution: Using proper pipe cutters ensures a clean, square cut which is important for a good seal.
Damaged cutting wheel or jagged pipe edges from cutting too fast.
Solution: Tighten the cutter gradually with each rotation to avoid damaging the cutting wheel and to ensure a smooth cut.
Uneven pipe cuts from misaligned cutters.
Solution: For a straight cut, make sure the cutter's rollers are properly aligned before tightening the cutting wheel. Don't lead with the blade.
Sharp pipe edges damage O-rings, causing leaks.
Solution: Deburring the pipe is a critical step; failure to do so can damage the O-ring in a press-fit coupling and cause a new leak.
Fittings won't slide on if the cement dries too fast.
Solution: Moving quickly is key here to ensure the coupling slides easily before the cement begins to set.
Clamps are difficult to reattach if screws are fully removed.
Solution: Loosen the clamps just enough to slide the coupling over the pipe. Do not remove the screws completely.
Fittings won't adhere if cement dries before assembly.
Solution: Work quickly after applying cement, as it sets fast. Have everything ready before you start gluing.
Frequently Asked Questions
Do I need special tools like a tubing cutter and reamer, or can I use basic tools I already own for this repair?
Yes, a dedicated tubing cutter and a deburring tool are highly recommended for this project. They ensure clean, straight cuts and smooth pipe ends, which are crucial for a leak-proof seal with push-to-connect fittings. Using incorrect tools can damage the pipe or compromise the fitting's integrity.
What's the most critical safety step I need to take before starting any plumbing repair, especially this one?
The absolute most critical step is to completely shut off the main water supply to your home or the affected area and drain the pipes thoroughly. This prevents accidental flooding and ensures you can work safely without water pressure. Always double-check by opening a nearby faucet to confirm no water is flowing.
Is the 2-hour estimated time realistic for a beginner, and what might make the project take longer?
For a beginner, 2 hours is a realistic estimate if you have all your tools and materials ready and the damaged section is easily accessible. The project might take longer if you encounter unexpected pipe types, struggle to make straight cuts, or need extra time to locate and operate your home's main water shut-off valve.
What are the most common mistakes beginners make when installing push-to-connect fittings, and how can I avoid leaks?
Common mistakes include not properly deburring pipe ends, failing to mark the correct insertion depth, and not pushing the pipe fully into the fitting. To avoid leaks, ensure all pipe ends are smooth, mark the recommended insertion depth from the fitting's instructions, and apply firm, even pressure until the pipe is fully seated.
Are push-to-connect fittings a permanent solution, or should I plan for a more traditional soldered repair later?
When installed correctly, push-to-connect fittings are designed to be a permanent and reliable repair solution. They provide a strong, leak-free connection that can last for many years, often exceeding the lifespan of the pipe itself. You typically do not need to plan for a subsequent traditional repair.
Can I use push-to-connect fittings on all types of water pipes, or are there limitations?
Push-to-connect fittings are generally compatible with copper, PEX, and CPVC pipes. However, they are typically not recommended for galvanized steel, black iron, or polybutylene pipes due to potential compatibility or sealing issues. Always verify the fitting's specifications against your existing pipe material to ensure a secure connection.
How much does a DIY push-to-connect pipe repair typically cost compared to hiring a professional plumber?
A DIY push-to-connect repair is significantly more cost-effective, often costing under $50-$100 for the necessary fittings, a small section of pipe, and basic tools if you don't already own them. Hiring a professional plumber for a similar repair could easily cost several hundred dollars or more, making DIY a great budget-friendly option.


