
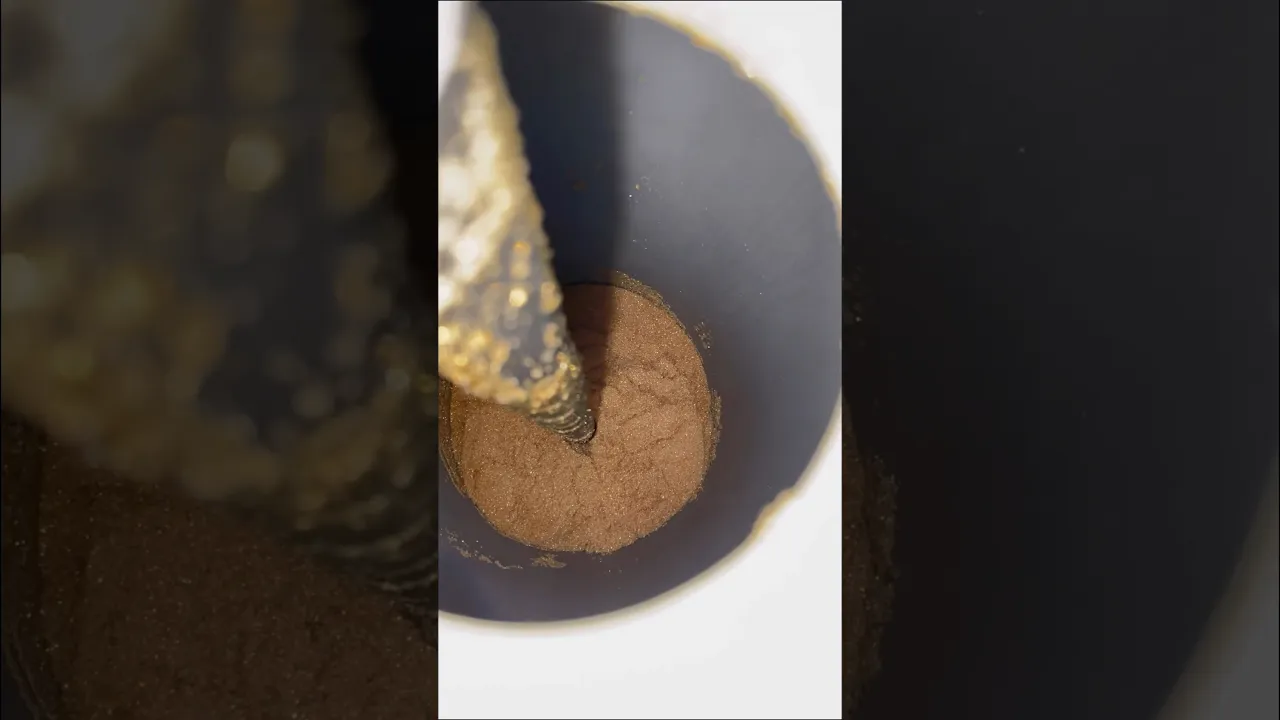
How to Install an In-Sink Air Switch for a Garbage Disposal
About This Project
This guide provides comprehensive, step-by-step instructions for installing an in-sink air switch for a garbage disposal. The process involves mounting a push-button on the sink or countertop, connecting it via a flexible air tube to a power control module located under the sink, and then integrating this module into the electrical circuit for the disposal.
Best for homeowners and DIY enthusiasts with basic plumbing knowledge. Requires Klein Tools Non Contact Voltage Tester Pen, 50 1000V AC (NCVT1PR) NCVT1PR and Voltage / Circuit Tester.
Tools & Materials
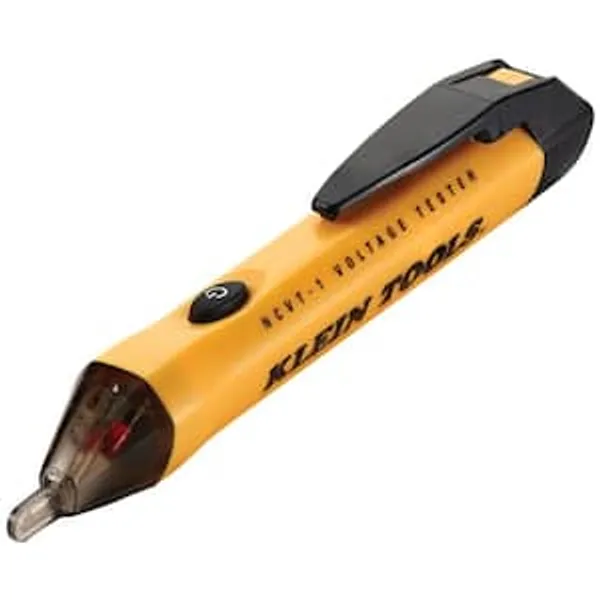
Voltage / Circuit Tester

Rag
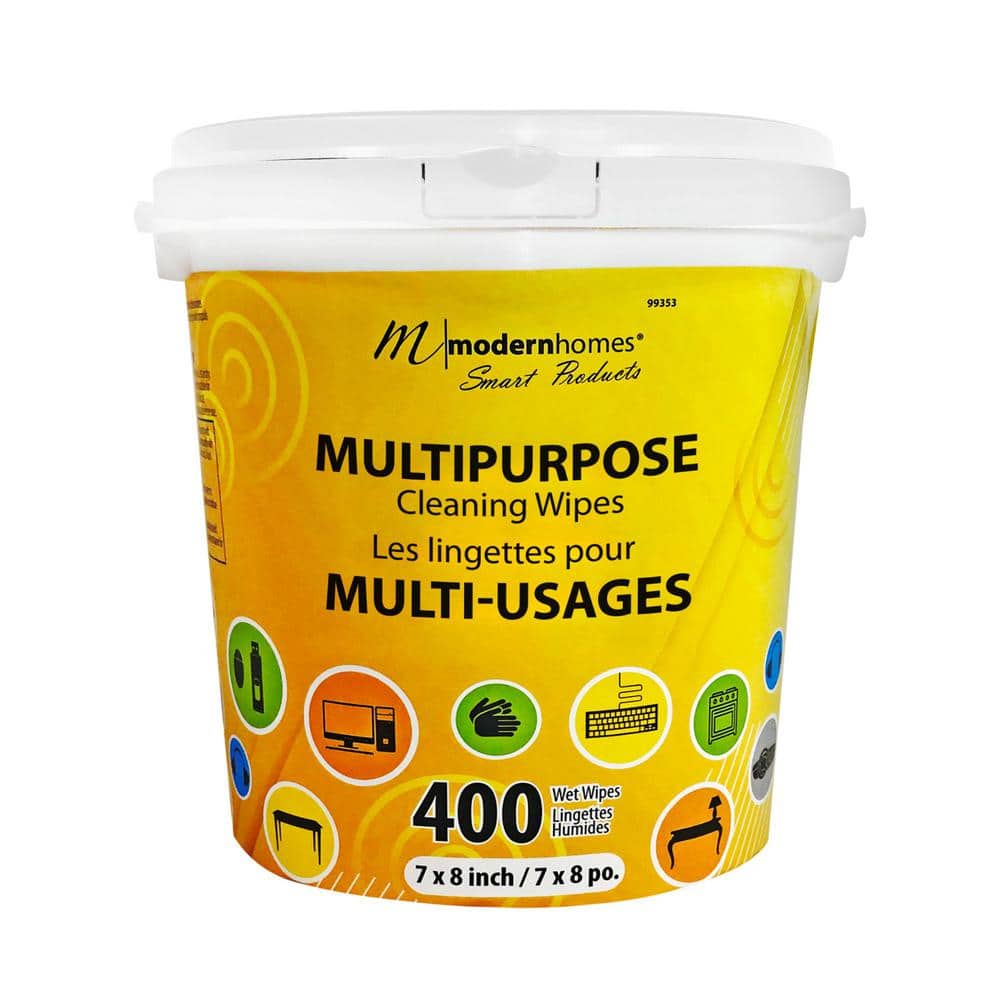
Modern Homes MH Wipes Citrus All-Purpose Cleaner (400-Pack) 99353
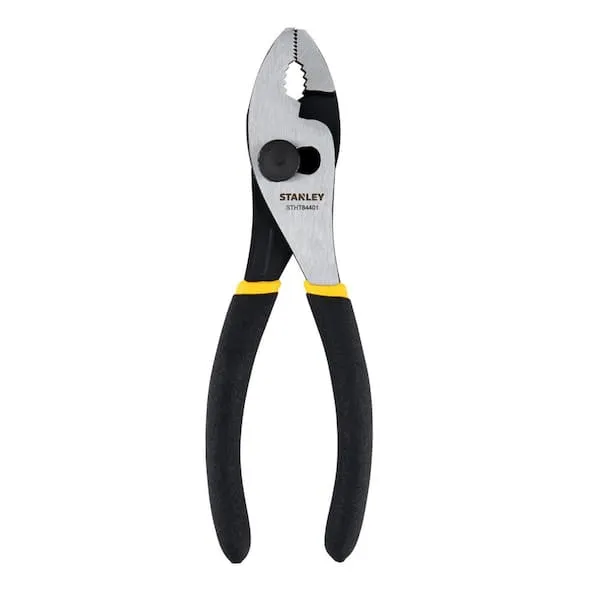
Pliers
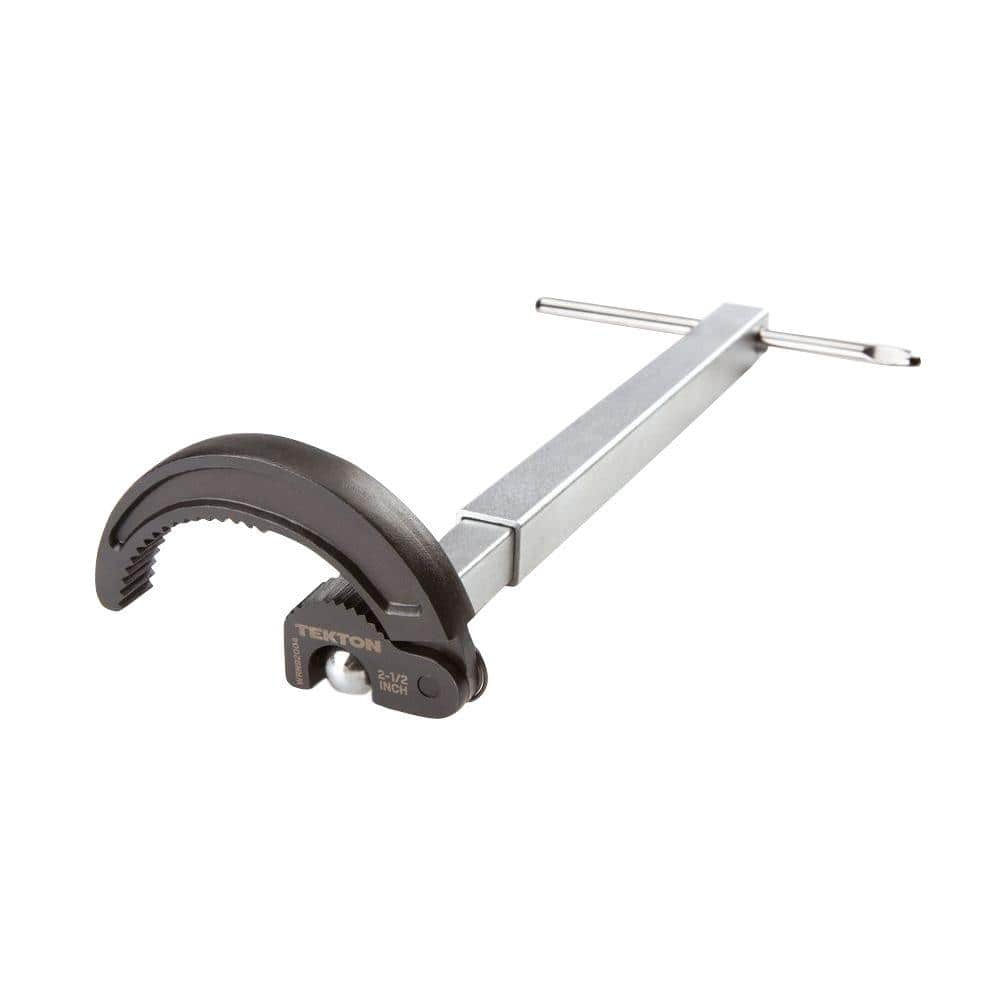
TEKTON 10 in. to 17 in. Telescoping 7/8 - 2-1/2 in. Basin Wrench WRN92004
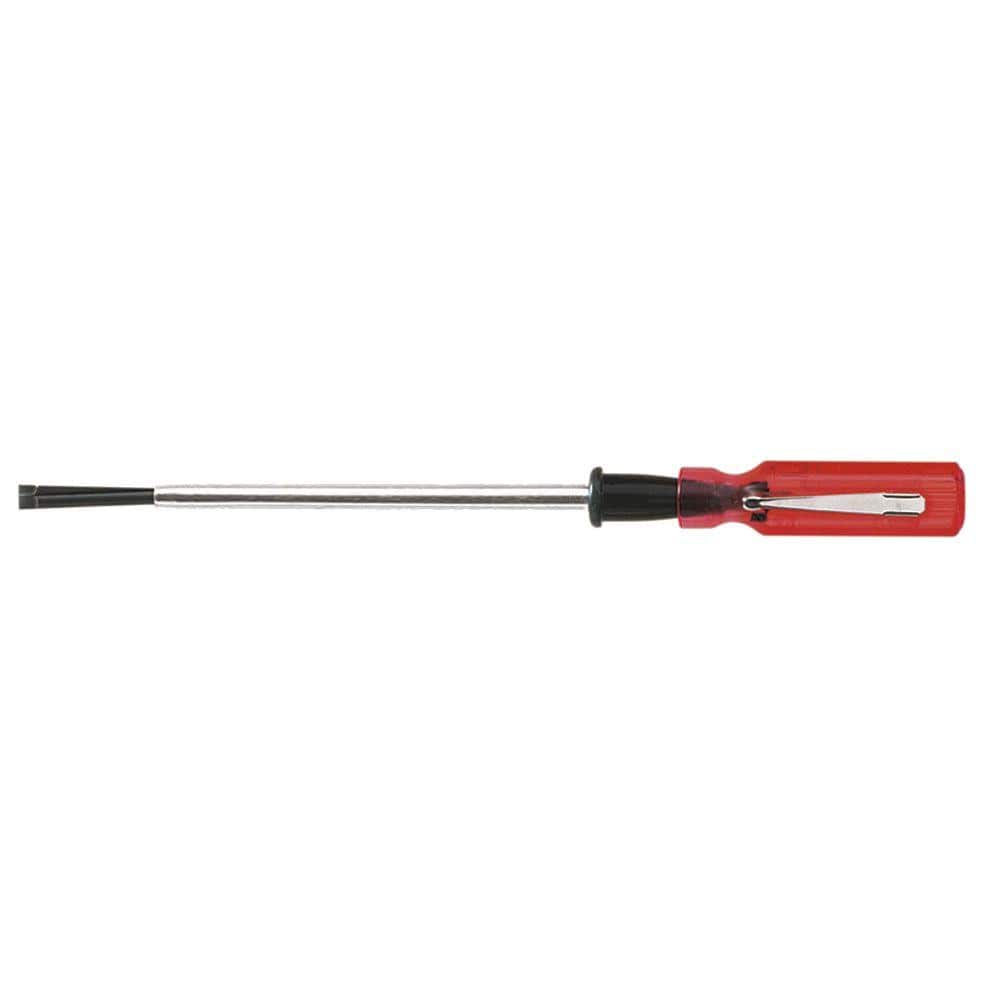
Klein Tools 3/16 in. Slotted Screw-Holding Flat Head Screwdriver with 8 in. Round Shank K28
Voltage / Circuit Tester
Detects electrical voltage presence.
Rag
Handy for cleaning or wiping tasks.
Modern Homes MH Wipes Citrus All-Purpose Cleaner (400-Pack) 99353
These Modern Homes Multi-Purpose Wipes are an all natural solution that cleans, shines and deodorizes all hard washable surfaces. It contains propolis extracts and natural orange oil.Great to put in our
Pliers
Grips and manipulates objects.
TEKTON 10 in. to 17 in. Telescoping 7/8 - 2-1/2 in. Basin Wrench WRN92004
Uniquely designed for easy, one-handed operation in confined areas, the TEKTON Telescoping Basin Wrench takes the frustration out of under-sink work. Ideal for larger nuts and retaining collars on faucets,
Klein Tools 3/16 in. Slotted Screw-Holding Flat Head Screwdriver with 8 in. Round Shank K28
Getting that screw to stay put while you get it in place is much easier with Klein's Slotted Screw-Holding screwdriver. Positive gripping action holds, starts, and drives slotted screws in awkward, hard-to-reach
Steps

Safety First: Disconnect Power
5 minsBefore starting any work, locate your home's main electrical panel (circuit breaker box). Identify the breaker that controls the outlet for your garbage disposal and switch it to the 'OFF' position. Go back to the kitchen and, from under the sink, physically unplug the garbage disposal's power cord from the wall outlet. For absolute safety, use a non-contact voltage tester to probe the outlet and confirm that there is no electrical current present.

Prepare the Mounting Hole
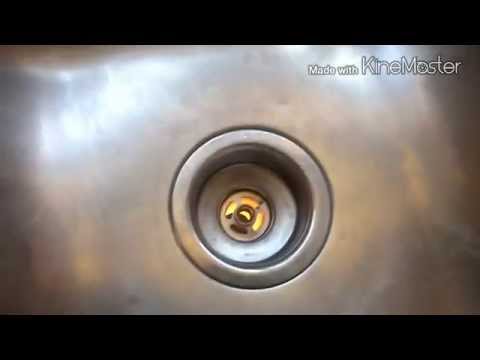
10 minsLocate the spare hole on your sink deck or countertop. This is often covered with a simple metal or plastic cap, or it may house an unused sink sprayer or soap dispenser. If there is a cap, it can usually be pried off or unscrewed from below. If there is an accessory, you will need to disconnect it from underneath the sink first, which may require pliers or a basin wrench. Once the hole is clear, use a rag and a household cleaner to wipe down the surface area both above and below the sink to ensure a clean, dry surface for the new switch.
Install the Air Switch Button
10 minsUnpack your air switch kit. Take the decorative push-button and unscrew the plastic mounting nut from its threaded body. Ensure the thin rubber or silicone gasket is positioned on the underside of the button's top flange. From above the sink, insert the button's body through the prepared hole. From underneath the sink, slide the friction washer (if included) onto the threaded body, followed by the plastic mounting nut. Hand-tighten the nut until it is snug. The button should be secure and not spin freely. Avoid using a wrench, as this can easily crack the plastic nut.
Mount the Power Control Module
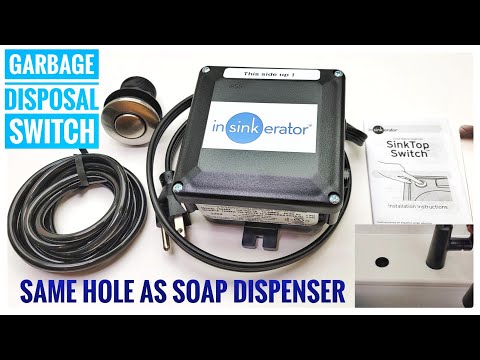
10 minsChoose a spot on the back or side wall of the under-sink cabinet to mount the power control module. It should be high enough to be safe from potential minor leaks but low enough so the disposal cord and the module's own power cord can reach it and the wall outlet without being strained. Hold the module in place and mark the screw holes with a pencil. Use a drill or screwdriver to drive the supplied screws, securing the module firmly to the cabinet wall.

Connect the Air Tube
5 minsTake the flexible plastic air tube included in the kit. Firmly push one end onto the small air nipple located on the bottom of the air switch button you installed in the sink. Route the tubing towards the power control module, being careful to avoid sharp corners, hot water pipes, or areas where it could be pinched or kinked. Push the other end of the tube firmly onto the corresponding air nipple on the power control module. If the tube is excessively long, you can trim it with a utility knife, but it's wise to leave some slack for future servicing.

Connect the Electrical Components
5 minsWith the power still confirmed to be off at the breaker, you can now complete the electrical connections. Take the power cord from the control module and plug it into the wall outlet under the sink. Then, take the power cord from the garbage disposal unit and plug it into the switched receptacle on the power control module itself. Make sure both plugs are pushed in firmly and are fully seated.

Test the System
5 minsClear all tools and materials from the sink cabinet. Return to the circuit breaker panel and switch the breaker for the garbage disposal back to the 'ON' position. Go to the sink and turn on a steady stream of cold water. Press the newly installed air switch button. You should hear a distinct 'click' from the power module as the garbage disposal turns on. Press the button again to turn it off. Test it a few times to ensure it operates reliably.
Common Problems
Difficulty aligning and potential injury during installation.
Solution: This step requires two people for safety and to make alignment easier.
Be cautious when drilling into walls to avoid hitting any plumbing pipes or electrical wires.
Solution: To avoid this issue: Be mindful of this warning and take appropriate precautions.
Disposal air switch installation prevents filter replacement issues.
Solution: Make sure you leave enough room (at least a few inches) below the filter cartridges to be able to twist and pull them down for replacement.
Ensure the power module is mounted securely to the cabinet wall, not left loose.
Solution: To avoid this issue: Be mindful of this warning and take appropriate precautions.
Difficulty removing the air switch cover without bending or breaking it.
Solution: The cover may be positioned tightly behind the P-trap, so some careful wiggling might be necessary to remove it without force.
Losing the set screw during installation.
Solution: The set screw only needs to be loosened enough to release the handle; you don't have to remove it completely, which reduces the risk of losing it.
The sink basin is heavy and can break if dropped. Lift with your legs, not your back, and get help if needed.
Solution: To avoid this issue: Be mindful of this warning and take appropriate precautions.
Frequently Asked Questions
The project is rated 'beginner' and takes 3 hours. Is this accurate, and what's the most challenging part for a novice?
Yes, 'beginner' is fair, but careful electrical safety is crucial. The most challenging part is often drilling the initial hole in your sink or countertop, ensuring it's the correct size and location without damaging the surface. Take your time with measurements and use the appropriate drill bit for your material.
Since this involves electricity and water under the sink, what are the most critical safety precautions I need to take?
Always start by turning off the power to the garbage disposal circuit at your main electrical panel to prevent shock. Double-check with a non-contact voltage tester before proceeding. Ensure all electrical connections are secure and that the power control module is mounted in a dry, accessible location to avoid water exposure.
The materials list includes a 'QuietWarmth Power Module with Built-in GFCI TH-POWER'. Is a GFCI module essential, and can I use a standard wall outlet?
Yes, a GFCI (Ground Fault Circuit Interrupter) module is highly recommended for safety in wet environments, providing critical shock protection. You will plug the module into a standard wall outlet, but the module itself (or the outlet it plugs into) *must* provide GFCI protection for the disposal circuit. This is a vital safety feature.
What's the most common mistake beginners make, and how can I troubleshoot if my air switch doesn't work after installation?
A common mistake is not fully seating the flexible air tube, leading to a weak or unresponsive button. If the switch doesn't work, first confirm the disposal power is on at the breaker, then check the air tube connections at both the button and the power module for tightness. Also, verify all electrical connections are secure and the power module is receiving power.
Can I install the air switch button in an existing unused hole on my sink, like for a soap dispenser, or do I always need to drill a new one?
Yes, you can often use an existing unused hole, such as one for a soap dispenser or sprayer, as long as its diameter matches the air switch button's requirements. This avoids drilling a new hole, but always verify the hole size with your specific air switch kit's specifications beforehand. Make sure the hole isn't too close to the faucet or other fixtures.
The steps mention 'Connect the Electrical Components'. How complex is this part for someone with limited electrical experience?
This step is generally straightforward: it involves plugging the garbage disposal's power cord into the air switch's control module, then plugging the module into a wall outlet. No complex wiring is usually required. However, always ensure the wall outlet is properly grounded and preferably GFCI protected; if unsure, consult a qualified electrician.


