
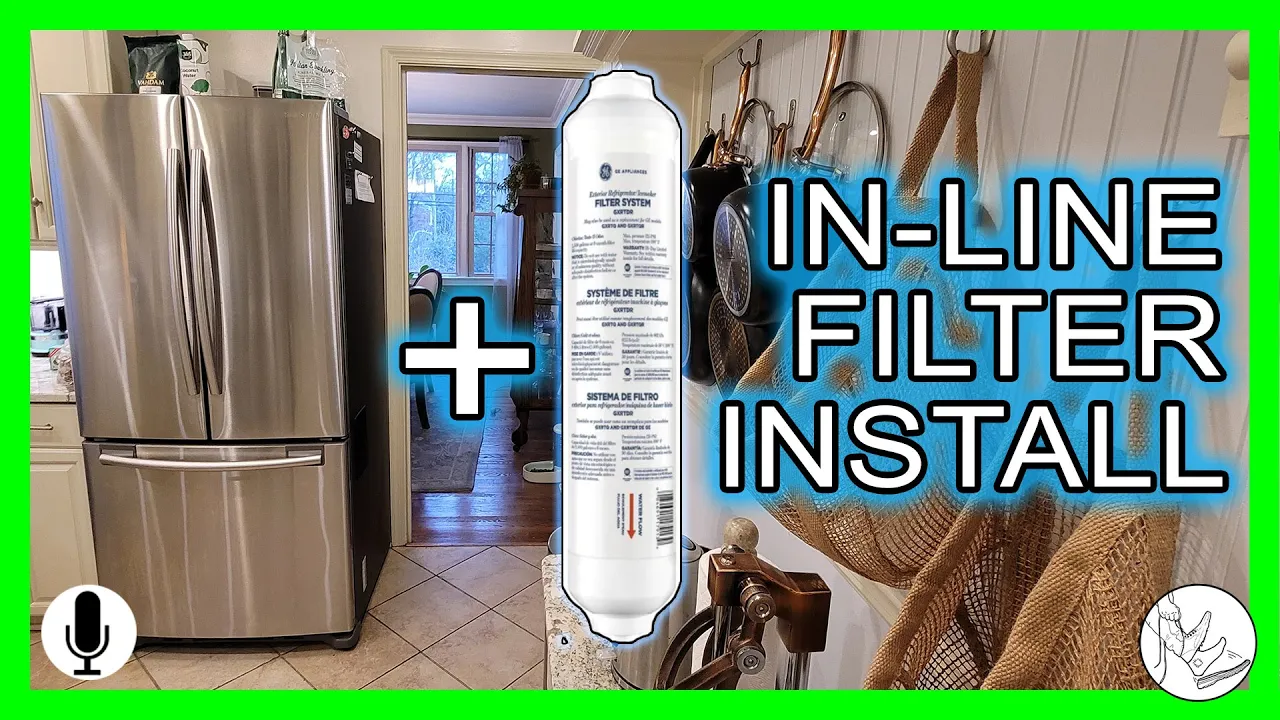
How to Install an In-Line Water Filter for a Refrigerator Ice Maker
About This Project
This project involves installing a new in-line water filter for a refrigerator's ice maker and water dispenser. The process includes shutting off the water supply, cutting the existing water line, attaching the new filter using compression fittings, and carefully checking for leaks before restoring service. This improves water quality by filtering out sediment, chlorine, and other impurities.
Best for experienced DIYers and homeowners with some experience with basic plumbing knowledge.
Tools & Materials
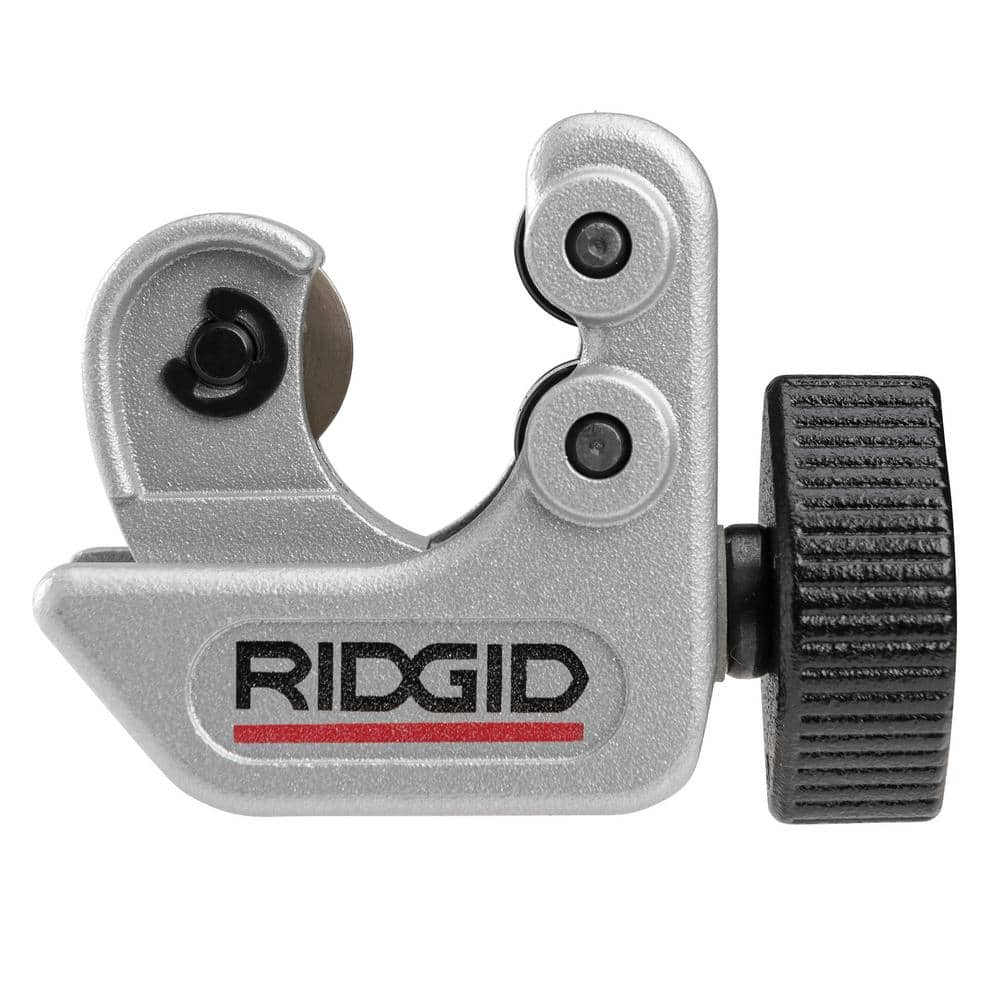
RIDGID 1/4 in. to 1-1/8 in. 101 Close Quarters Copper, Aluminum, Brass, and Plastic Tubing Cutter, Multi-Use Tubing Tool 40617

Husky 12 in. Adjustable Wrench 90933

DRINKPOD Universal Ice Maker Water Line Installation Kit for Standard 1/4 in. Water Filter, RO Systems and Refrigerators DPIMK

Towel

Unger 6 Gal. Heavy-Duty Plastic Bucket DB02
WYPALL L40 Towels, Dry Up Towels, 19-1/2 in. x 42 in., White, 200 Towels/Roll KCC05860
RIDGID 1/4 in. to 1-1/8 in. 101 Close Quarters Copper, Aluminum, Brass, and Plastic Tubing Cutter, Multi-Use Tubing Tool 40617
Built on the trust of the trades, you need tools designed for experts and built to last. Experience the durability of the RIDGID 101 Close Quarters Tubing Cutter with 1/4"-1-1/8" capacity (catalog number
Husky 12 in. Adjustable Wrench 90933
The Husky 12 in. Adjustable Wrench features a durable, comfortable handle. A large knurl allows for easy adjustment and a tight-fitting hex jaw design reduces slippage and tightly grips the fastener for
DRINKPOD Universal Ice Maker Water Line Installation Kit for Standard 1/4 in. Water Filter, RO Systems and Refrigerators DPIMK
Drink pod Ice Maker water line Installation Kit. Connects Filtered Water , Reverse Osmosis Water Filtration System (RO Water Filter Systems) and Under Sink Water Filters to any Refrigerator with an ice
Towel
Absorbs moisture and dries surfaces.
Unger 6 Gal. Heavy-Duty Plastic Bucket DB02
The Unger 6-Gallon Heavy-Duty Professional Cleaning Bucket holds more than 6 Gal. of liquid. The bucket can accommodate a scrubber up to 14 in. L. This bucket features measurement marks and 2-pour spouts
WYPALL L40 Towels, Dry Up Towels, 19-1/2 in. x 42 in., White, 200 Towels/Roll KCC05860
WYPALL L40 Wipers are effective wipers that absorb liquids lightning-fast. These wipes are made of bonded cellulose using DRC (double re-creped) technology for strength, softness and absorbency. As a wiping cloth, it soaks up liquids fast, but all you'll feel is softness, thanks to a plush, touchable outer layer. In fact, it's a popular choice for patient wiping in healthcare industries, for bathing and patient drying. These utility wipes are specially designed to absorb liquids, lubricants and oils (in restaurants for wiping counters, in mechanic shops, industrial and commercial factories and more), yet they're soft enough for use on face and hands. Experience the difference in superior absorbency and cleaning at your home or office today. Towel/Wipe Type: Dry Wipes; Application: Bathrooms; Material(s): Cloth-Like; Number of Plies: 1.
Steps

Gather Tools and Materials
5 minsBegin by gathering all necessary tools and materials. Unpack your in-line water filter kit and verify all parts are present, typically including the filter cartridge and two compression fittings (nuts and ferrules/sleeves). Lay out your tools, including a tubing cutter for a clean cut, two adjustable wrenches for tightening the fittings, and several old towels and a bucket to manage any water spills. Having everything prepared and within reach will make the installation process smooth and efficient.

Shut Off Water Supply and Prepare Area
10 minsLocate the water shutoff valve for the refrigerator, which is often a small saddle valve on a pipe under the sink or in the basement. Turn the valve clockwise until it is fully closed. Next, carefully pull the refrigerator away from the wall to access the water line behind it. Be mindful of the flooring. To relieve pressure in the line, dispense a glass of water from the refrigerator's door dispenser until it stops flowing. Place towels on the floor where you will be working.

Cut the Water Line
5 minsIdentify a straight, accessible section of the 1/4-inch plastic water line behind the refrigerator. You need enough space to fit the filter, which is typically 10-12 inches long. Using your tubing cutter, make one clean, square cut through the line. A square cut is critical for ensuring the compression fitting seals properly. Discard the small section of tubing you've removed. You should now have two open ends of the water line.
Install Compression Fittings on Tubing
5 minsTake one of the cut ends of the water line. Slide a compression nut from your kit onto the tubing, ensuring the threaded side faces the end of the tube. After the nut, slide on the brass or plastic ferrule (also called a sleeve). The tapered end of the ferrule should face the end of the tube. Push the nut and ferrule about 1/2 inch down the tubing. Repeat this exact process on the other cut end of the water line. Both ends should now be prepped with a nut and a ferrule, ready to connect to the filter.

Connect Filter to Water Line
10 minsExamine the new filter cartridge and locate the arrow indicating the direction of water flow. This arrow must point towards the refrigerator. Take the water line coming from the supply valve and insert it into the 'IN' side of the filter. Push the tubing in until it bottoms out. Slide the ferrule and nut up to the filter's threaded port and hand-tighten the nut. Now, take the water line going to the refrigerator and connect it to the 'OUT' side of the filter in the same manner. Using two adjustable wrenches—one to hold the filter body steady and the other to turn the nut—tighten each compression nut an additional 1/4 to 1/2 turn past hand-tight. Do not overtighten.

Turn On Water and Check for Leaks
5 minsWith the filter installed, it's time to test for leaks. Go back to the shutoff valve and turn it on very slowly, allowing the line and filter to fill with water gradually. Once the hissing sound stops, fully open the valve. Return to the filter and meticulously inspect both the 'IN' and 'OUT' connections for any signs of dripping. Use a dry towel or your fingers to feel around the fittings, as some leaks can be very slow. If you detect a leak, shut off the water immediately and tighten the leaking nut slightly (about 1/8 turn) before testing again.

Flush Filter and Finalize
5 minsOnce you have confirmed there are no leaks, the final step is to flush the new filter. New carbon filters often release fine, harmless carbon particles ('fines') initially. Place a large bucket or pitcher under the refrigerator's water dispenser and run the water for 2-3 minutes, or until you've dispensed about 2-3 gallons. This will clear the fines and any trapped air from the system. Refer to your filter's instructions for the specific flushing procedure. Once flushed, you can carefully push the refrigerator back into its place, ensuring you do not kink or pinch the water line. Your installation is now complete.
Common Problems
Ignoring warnings can lead to leaks or damaged components.
Solution: Carefully read all attention and warning notices before starting the installation.
You might need more parts than initially planned. The video mentions making several trips to Lowe's for things they didn't even know they needed.
Solution: To avoid this issue: Be mindful of this warning and take appropriate precautions.
Small leaks go unnoticed, causing water damage.
Solution: Placing a dry paper towel under the connections can make it easier to spot very small drips.
Improper drip rate leads to an empty trap or water waste.
Solution: Adjusting the drip rate can be sensitive. It may take several small adjustments to get it just right. The goal is to keep the trap full without wasting excessive water.
Turn the water back on slowly. A sudden burst of pressure could cause a loose connection to fail.
Solution: To avoid this issue: Be mindful of this warning and take appropriate precautions.
Leaky fittings go unnoticed due to residual moisture.
Solution: Wipe all fittings with a dry paper towel before pressurizing. Any moisture will be much easier to spot on the dry surface.
Turn the water on very slowly to prevent water hammer, which can damage pipes and appliances.
Solution: To avoid this issue: Be mindful of this warning and take appropriate precautions.
Frequently Asked Questions
The project says 'beginner' and '3 hours'. Is it really that easy and quick for someone new to plumbing?
Yes, this is considered a beginner-friendly project. The 3-hour estimate accounts for gathering tools, preparing the area, and meticulously checking for leaks. Most of the hands-on work takes less than an hour, but taking your time, especially during leak detection, is crucial for success and preventing water damage.
What are the most important safety precautions I need to take, especially to avoid leaks and water damage?
Always shut off the main water supply to your refrigerator or the whole house before starting. Keep plenty of towels and a bucket handy to manage residual water and accidental spills. When tightening compression fittings, ensure they are snug but do not overtighten, as this can crack plastic lines or fittings and lead to leaks. Perform a thorough leak check for at least 30 minutes after restoring water.
Do I need all the specific tubing cutters and wrenches listed, or can I use basic tools I might already have?
A dedicated tubing cutter like the RIDGID 101 or 104 is highly recommended for clean, straight cuts on plastic or copper tubing, which are essential for leak-free connections. While an adjustable wrench is necessary, having two (one to hold the fitting, one to turn the nut) makes the job much easier and prevents twisting the water line. Avoid using utility knives for cutting if possible, as they often result in uneven cuts that can cause leaks.
Why is flushing the filter important, and how do I do it correctly during installation?
Flushing the new filter is crucial to remove any carbon dust or air from the filter cartridge before it reaches your refrigerator. After installing the filter but *before* connecting it to the fridge's water inlet, run several gallons of water through it into a bucket until the water runs completely clear. This prevents cloudy water in your dispenser and protects your ice maker from sediment.
What should I do if my refrigerator's ice maker or water dispenser isn't working after installing the filter?
First, ensure the main water supply valve to the refrigerator is fully open. Check all connections and the water line itself for any kinks or pinches that might restrict water flow. Verify the filter is installed with the correct flow direction (usually indicated by an arrow). Finally, allow some time for the water lines to refill and the ice maker to cycle; it can take several hours to produce the first batch of ice after a full water line disruption.
How often do I need to replace this type of in-line water filter?
Most in-line refrigerator water filters, such as the filtered. Inline Water Filter System, typically require replacement every 6 to 12 months, or after filtering a specific volume of water (e.g., 1,500 gallons), depending on your household's water usage and local water quality. Always refer to the specific filter's manufacturer recommendations for optimal performance and filtration effectiveness.


