
How to Install an ADA-Compliant Under-Sink Plumbing Shield
About This Project
This guide provides comprehensive, step-by-step instructions for installing an ADA-compliant under-sink plumbing shield. The process involves preparing the work area, measuring and trimming the shield components, and securely fitting them over the P-trap, water supply lines, and shut-off valves to protect individuals in wheelchairs from burns and abrasions.
Best for homeowners and DIY enthusiasts with basic plumbing knowledge. Requires HDX Over the Glass Indoor Safety Glasses VS-265 and HDX Indoor Safety Glasses Clear (1-Pack) VS-9300, clear and Safety Glasses.
Tools & Materials
THE CLEAN STORE Terry Towel Cleaning Cloths Standard, White (100-Pack) 79428
Formula 88 All Purpose Cleaner and Degreaser 128 oz. 04312

Safety Glasses
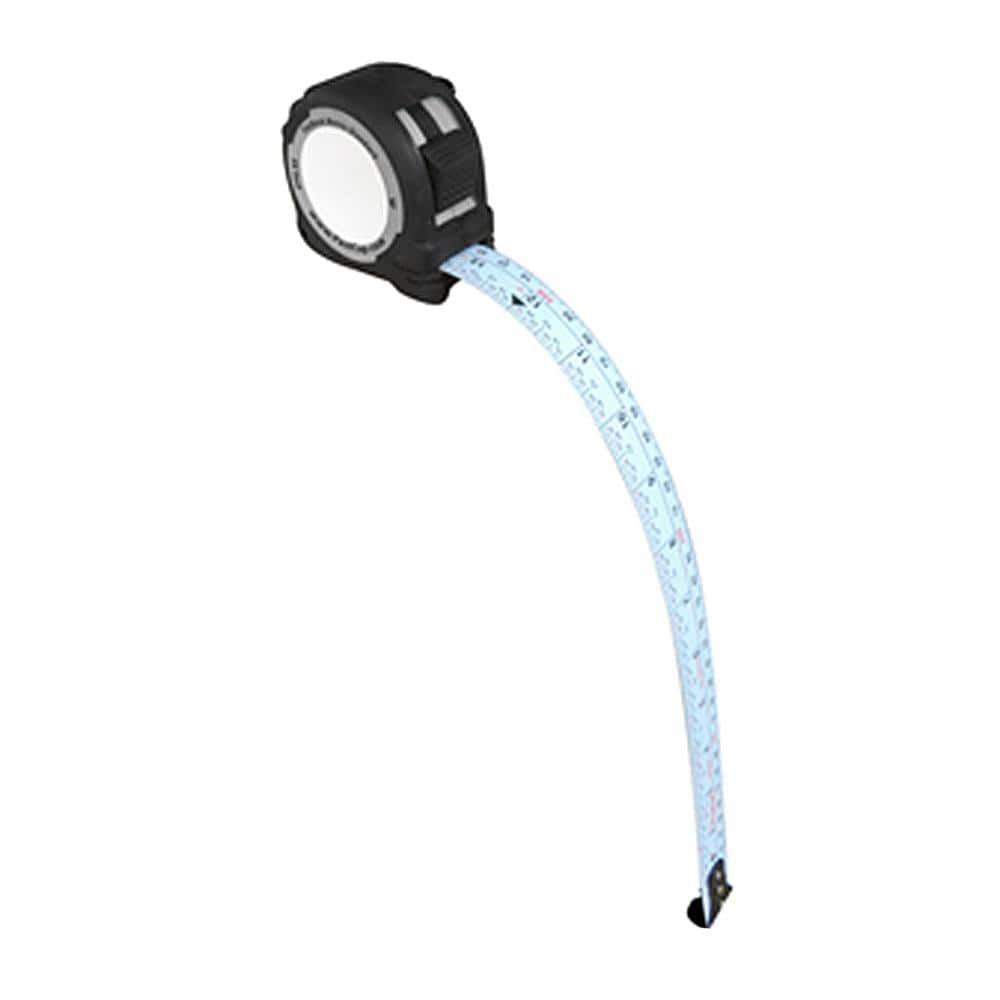
FASTCAP 16 ft. Metric/Standard Flat Back Measure Tape FC.PMS.F16
Rite in the Rain Weatherproof 3 in. x 5 in. Top Spiral Notebook, Gray Cover (6-Pack) 835L6
Etokfoks 21 in. White Dimmable Integrated LED Goose Neck Desk Lamp with Wireless Charger and Pen Holder MLPH005LT563
THE CLEAN STORE Terry Towel Cleaning Cloths Standard, White (100-Pack) 79428
The Clean Store Auto Detailing Terry Cloths Towels offer the perfect combination of softness and strength. The high-quality pure cotton soft plush cleaning cloth is extremely convenient and reusable. These very durable towels are finished with a hemmed edge. The ultra-soft material will not scratch paints of any surface and is perfect for Multi-purpose usage for cleaning cars, windows and other uses. The cotton cleaning cloths measure approximately 14 in. x 17 in. and make a useful addition to any home, office, automobile or construction site.
Formula 88 All Purpose Cleaner and Degreaser 128 oz. 04312
Formula 88 is a versatile, all-purpose cleaner. It replaces most cleaners, detergents, degreasers and laundry pre-soaks. It only takes a small amount of Formula 88 to get a big job done around the house
Safety Glasses
Keeps eyes safe from potential hazards.
FASTCAP 16 ft. Metric/Standard Flat Back Measure Tape FC.PMS.F16
Face it, not all surfaces are flat. The ProCarpenter Flat back is a flexible tape for measuring curves and flat panels with precision and ease. The PMS blade style has both the metric and standard measurements
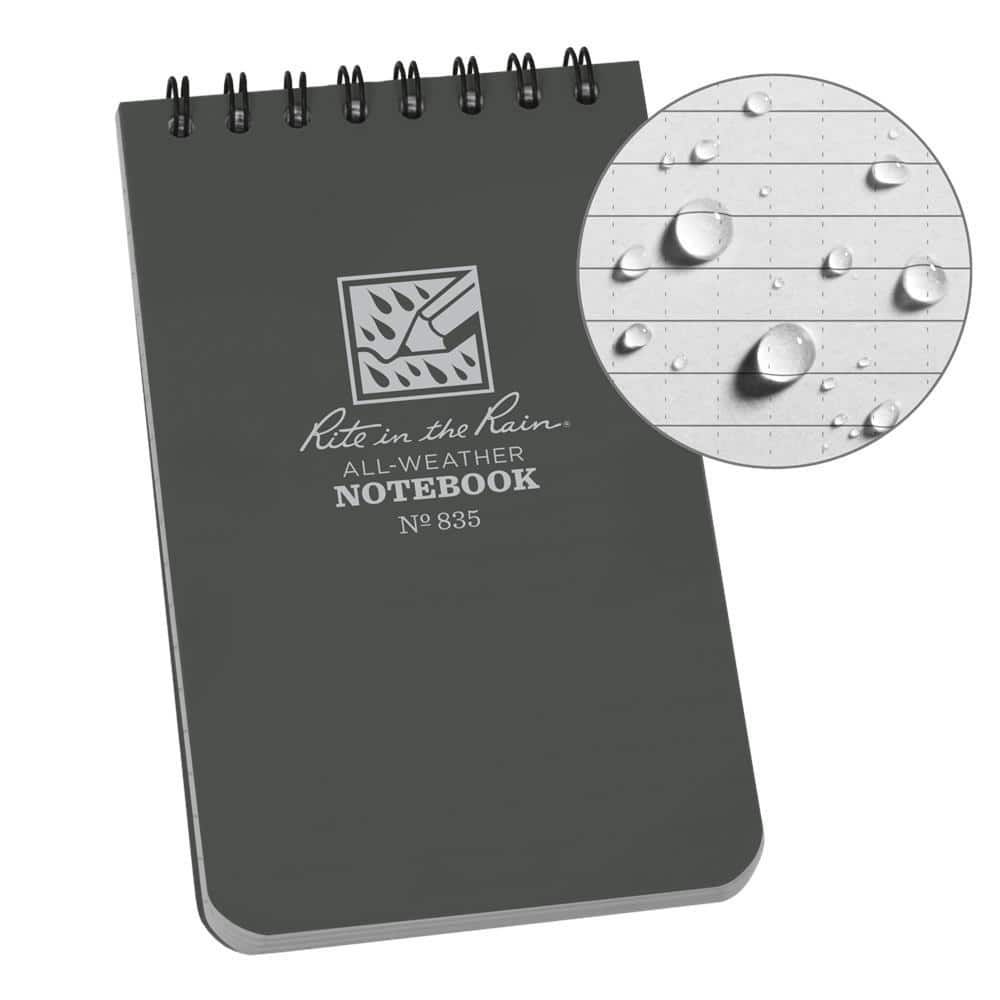
Rite in the Rain Weatherproof 3 in. x 5 in. Top Spiral Notebook, Gray Cover (6-Pack) 835L6
THIS IS A 6-PACK OF NOTEBOOKS: The Gray 3 in. x 5 in. top spiral notebook is small enough to fit comfortably in your pocket and tough enough to survive any of Mother Nature's onslaughts. This scrappy pocket notepad will survive rain, sweat, mud, snow, oil, and grease. The non-glare gray paper is legible in bright sunlight. Impact-resistant Wire-O binding won't lose its shape when tossed around in packs or put in a back pocket. The Polydura cover defends your field notes from scratches and stains. Each notepad is printed with a standard and metric ruler on the back cover. Rite in the Rain All-Weather Writing Products have been made in Tacoma Washington, since 1916. Recycle Rite in the Rain Paper with standard papers. Recycle the entire notebook using most curbside programs (paper, plastic, and metal). Simply separate the Wire-O binding from the cover prior to recycling for easier processing.
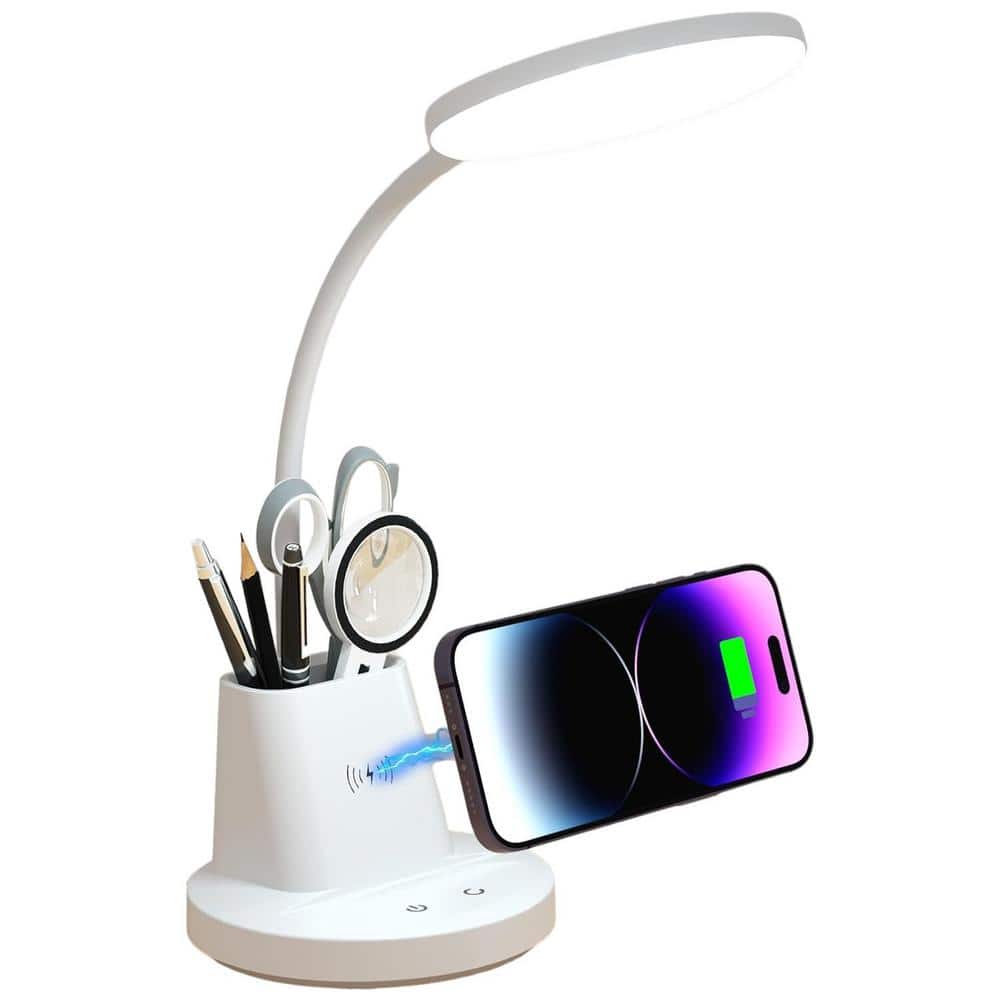
Etokfoks 21 in. White Dimmable Integrated LED Goose Neck Desk Lamp with Wireless Charger and Pen Holder MLPH005LT563
Illuminate your workspace with the 21 in. White Dimmable Integrated LED Goose Neck Desk Lamp, a versatile addition to your home office. With a built-in wireless phone charger and convenient pen holder,
Steps

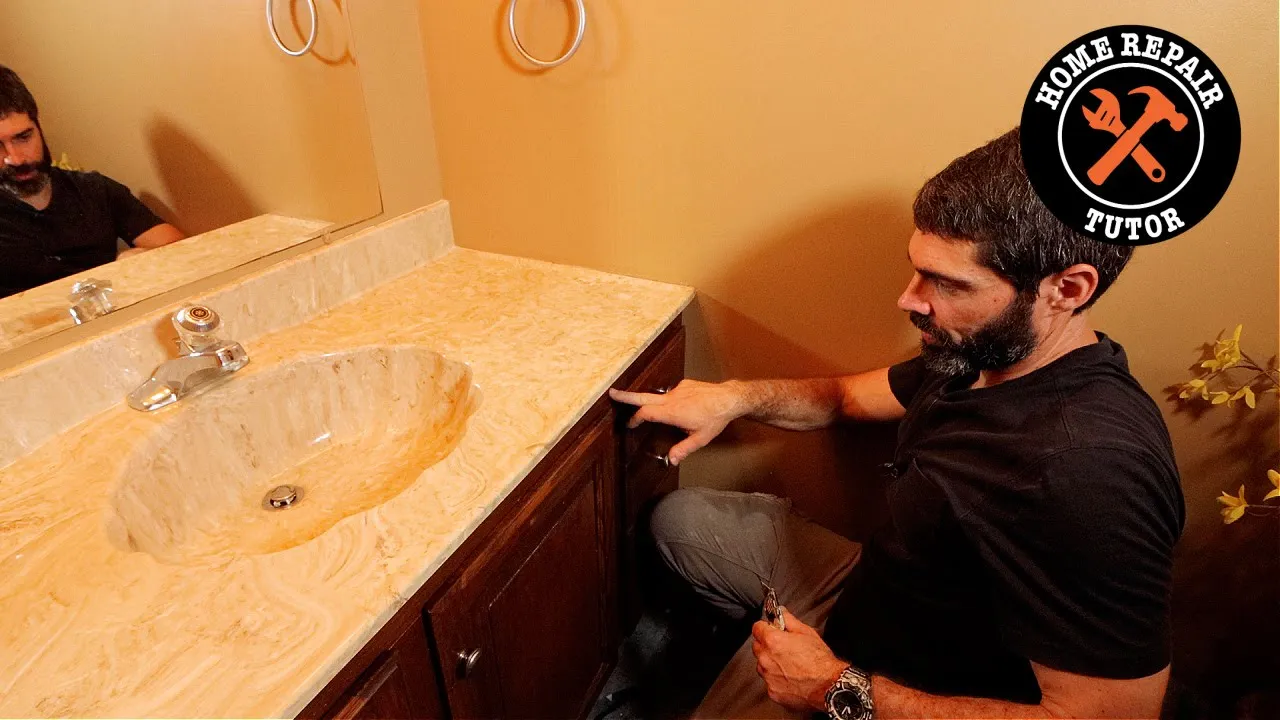
Prepare Work Area and Pipes
5 minsBegin by clearing all items from underneath the sink to ensure you have an unobstructed and safe workspace. If the hot water has been used recently, wait for the hot water supply line and P-trap to cool to room temperature to prevent burns. Using a cleaning cloth and a mild degreaser or all-purpose cleaner, thoroughly wipe down the P-trap, both hot and cold angle stops (shut-off valves), and the water supply lines. A clean, dry surface is essential for a secure fit of the shield components.

Measure Plumbing for Shield Fitment
5 minsUsing a flexible tape measure, take precise measurements of all plumbing components that will be covered. Measure the length of the P-trap U-bend. Measure the vertical sink tailpiece from the sink drain down to the P-trap inlet. Measure the horizontal trap arm from the P-trap outlet to the sanitary tee connection in the wall. Finally, measure the hot and cold water supply lines, from the top of the angle stop valve body up to the faucet connection nut. Write down all measurements on a notepad to reference when cutting.
Trim the Insulation Covers
10 minsLay out the shield components on a flat, stable work surface, preferably a cutting mat to protect the underlying surface. Transfer the measurements from your notepad to the corresponding shield pieces. Most pre-molded kits are made of a semi-rigid vinyl or PVC that can be cut easily. Use a sharp utility knife with a new blade or a pair of heavy-duty scissors/shears to make clean, straight cuts. Follow any score lines provided on the pieces. For your safety, always cut away from your body. Re-measure the cut pieces to confirm they match your required dimensions.

Install P-Trap Cover
5 minsStart with the main P-trap cover. These are often hinged or two-piece designs. Open the cover and carefully position it around the entire P-trap assembly, ensuring it covers the U-bend, tailpiece connection, and trap arm connection. Align the seams and close the cover. Secure it using the fastening mechanism provided with the kit. This could be interlocking tabs that snap together, hook-and-loop (Velcro) straps that wrap around the cover, or plastic snap rivets that push through corresponding holes. Ensure the fit is snug and the cover does not slide.

Install Angle Stop (Valve) Covers
5 minsNext, install the covers for the hot and cold water angle stops. These covers are typically molded into a bulbous or box-like shape to fit over the valve body and handle. Like the P-trap cover, they are usually hinged or two-piece. Snap one cover over the hot water valve (left side) and the other over the cold water valve (right side). Ensure they close completely and are securely fastened. The design should fully encapsulate the valve to prevent any accidental contact.

Install Supply Line Covers
5 minsTake the trimmed tubular covers for the water supply lines. These covers are slit along their length, allowing them to be opened and fitted over the pipe. Start with the hot water line. Pry open the slit and press the cover onto the supply line, working your way from the top of the angle stop cover up to the faucet connection at the base of the sink. Ensure the seam closes fully. Repeat the exact same process for the cold water supply line. The covers should fit snugly and conceal the entire length of the lines.

Final Inspection
5 minsPerform a final, thorough inspection of the complete installation. Visually check from multiple angles, including from below, to ensure no sections of pipe are exposed. Pay special attention to the hot water components. Physically test each shield piece by gently pulling and wiggling it to confirm it is securely fastened and will not come loose with incidental contact. Verify that the shield does not obstruct the sink drain, faucet operation, or access to valve handles if required by the design. The final result should be a safe, clean, and professional-looking installation that meets ADA requirements.
Common Problems
The pivot rod won't engage if the tailpipe hole faces the wrong direction.
Solution: Make sure the hole for the pivot rod in the tailpipe is facing towards the back of the sink before fully tightening.
Do not over-tighten the plastic slip nuts, as this can cause them to crack.
Solution: To avoid this issue: Be mindful of this warning and take appropriate precautions.
Leaky pipes due to improperly tightened or cracked plastic nuts.
Solution: Hand-tighten the nuts first. If there are any drips after testing, use channel-lock pliers to give them a slight quarter-turn, but be careful not to overtighten and crack the plastic.
Uneven cement application leads to weak pipe joints.
Solution: A twisting motion when joining cemented parts helps distribute the cement evenly and ensures a stronger bond.
Work in a well-ventilated area when using pipe cleaners, primers, and cements.
Solution: To avoid this issue: Be mindful of this warning and take appropriate precautions.
Losing small parts down the drain during installation.
Solution: Placing a towel or drain stopper over the drain is a simple way to prevent losing small components.
Water leaks and flooding occur if the water supply isn't turned off during valve cartridge removal.
Solution: The narrator notes that shutting off the water is optional if you are certain you won't be removing the valve cartridge, but it is the safest practice.
Frequently Asked Questions
How difficult is it to install an ADA-compliant under-sink plumbing shield, and how long should I expect the project to take?
This project is rated as 'beginner' difficulty, making it accessible for most DIYers. Typically, the installation can be completed within 1 to 2 hours, depending on your prior experience and the specific configuration of your under-sink plumbing. The main skills involved are accurate measuring and careful cutting.
What are the key safety precautions I should take when installing this under-sink plumbing shield?
Always ensure the area under the sink is well-lit and clear of obstructions to prevent accidental bumps or falls. While not directly altering plumbing, it's a good practice to turn off the water supply to the sink if you'll be working very closely to the pipes. Wear gloves to protect your hands from any sharp edges on existing plumbing or newly cut shield components.
Do I really need a specialized plastic sheet cutting tool, or can I use a standard utility knife for trimming the shield components?
While a standard utility knife can work, a specialized plastic sheet cutting tool (like the 'Utility Knife Plastic Sheet Cutting Tool GE-41' listed) is highly recommended. It provides cleaner, more precise cuts on the thick plastic material of the shield, ensuring a better fit and reducing the risk of material cracking or an uneven edge.
What's the most common mistake people make during installation, and how can I ensure a perfect fit for my plumbing?
The most common mistake is inaccurate measurement, leading to gaps or an ill-fitting shield. To avoid this, meticulously measure all plumbing components, especially the P-trap, supply lines, and shut-off valves, using a reliable tape measure. Remember the DIY adage: 'Measure twice, cut once,' and always cut slightly smaller initially if unsure, as you can always trim more.
Why is an ADA-compliant plumbing shield necessary, and what specific protections does it offer?
An ADA-compliant plumbing shield creates a protective barrier around the hot water pipes and sharp components under the sink. Its primary purpose is to prevent individuals using wheelchairs from sustaining burns from hot pipes or abrasions/injuries from exposed plumbing parts. It ensures safety and accessibility in compliance with ADA standards.
What if my sink's plumbing configuration is unusual or I have very limited space under the sink?
While the 'TRUEBRO LAV GUARD 2 Fast Fit' is designed for adaptability, unusual plumbing or very tight spaces might require extra trimming or a different approach. Carefully measure your specific layout. If standard modifications don't work, you might need to research flexible shield options or consult a professional plumber for advice on adjusting the plumbing itself for better shield compatibility.


