
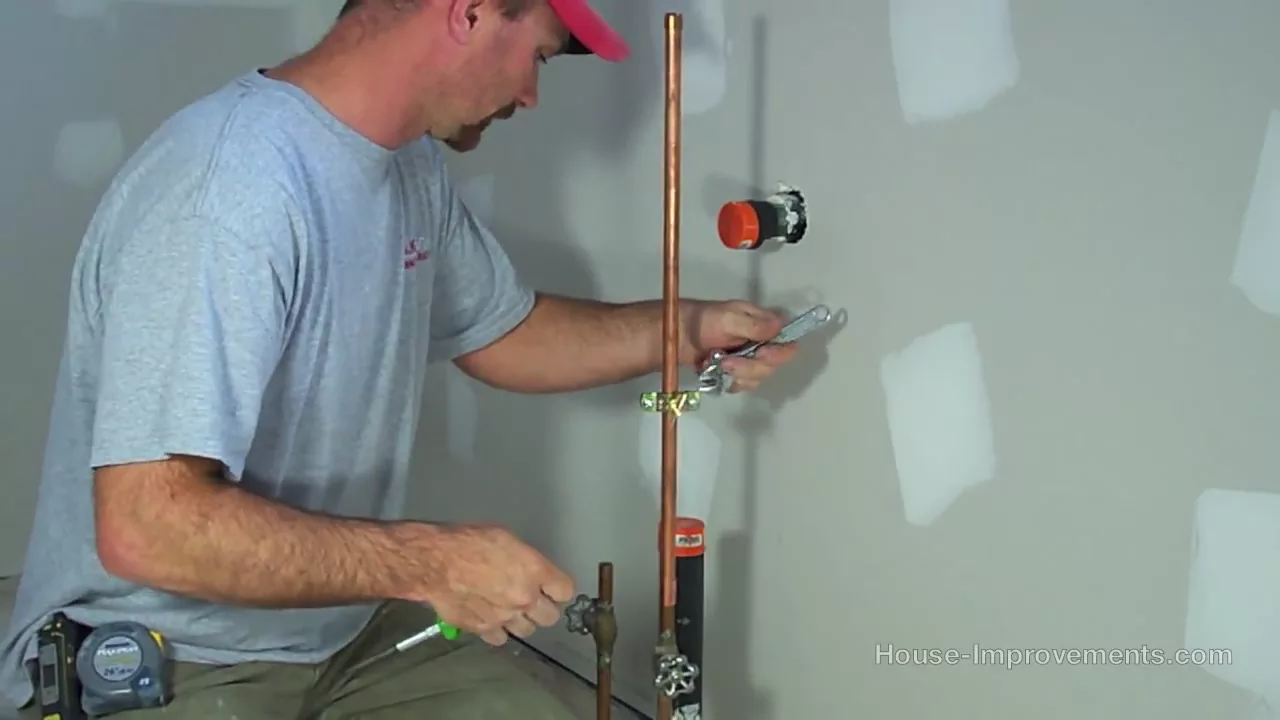
How to Install a Whole-House Sediment Water Filter
About This Project
This guide provides comprehensive, step-by-step instructions for installing a whole-house sediment water filter on a main water supply line. The process involves shutting off the water supply, cutting a section of the main pipe, assembling the filter housing with a bypass loop, installing the assembly using compression fittings, and carefully checking for leaks before activating the system.
Best for advanced DIYers and professionals with basic plumbing knowledge and familiarity with power tools.
Tools & Materials
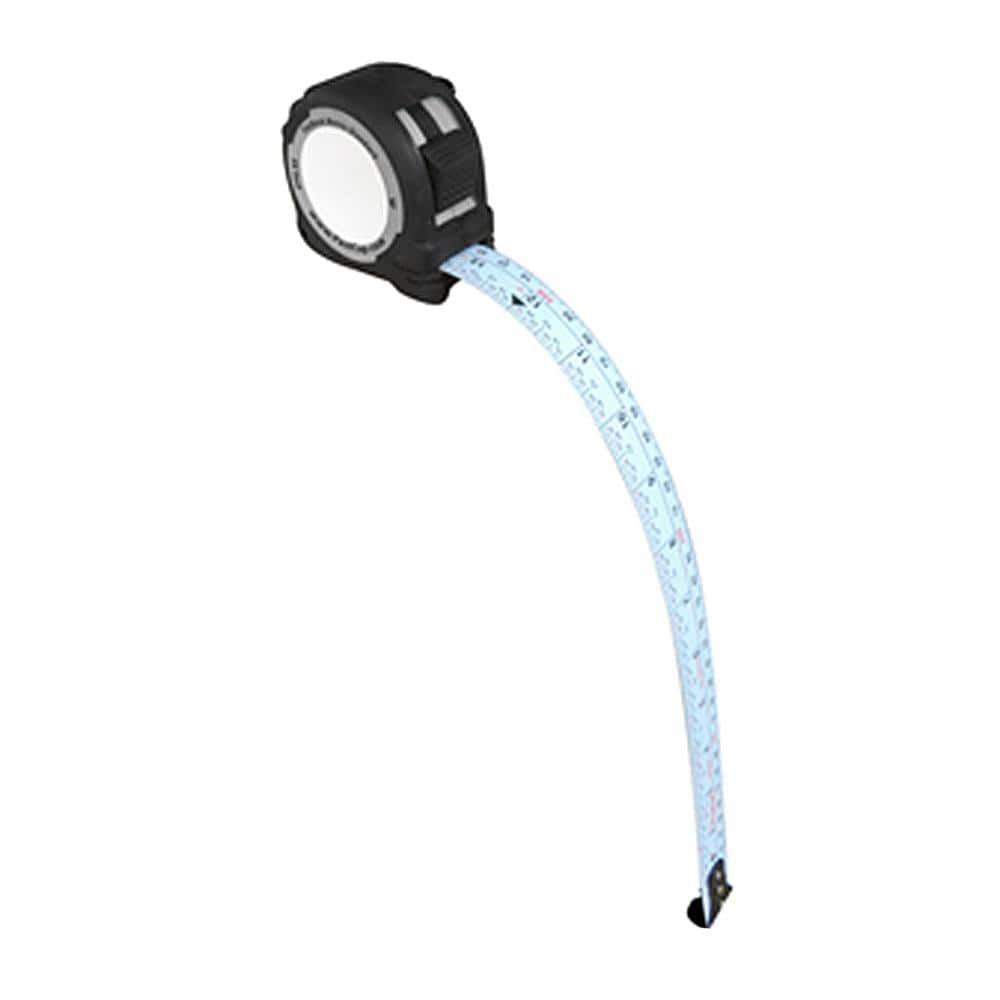
FASTCAP 16 ft. Metric/Standard Flat Back Measure Tape FC.PMS.F16
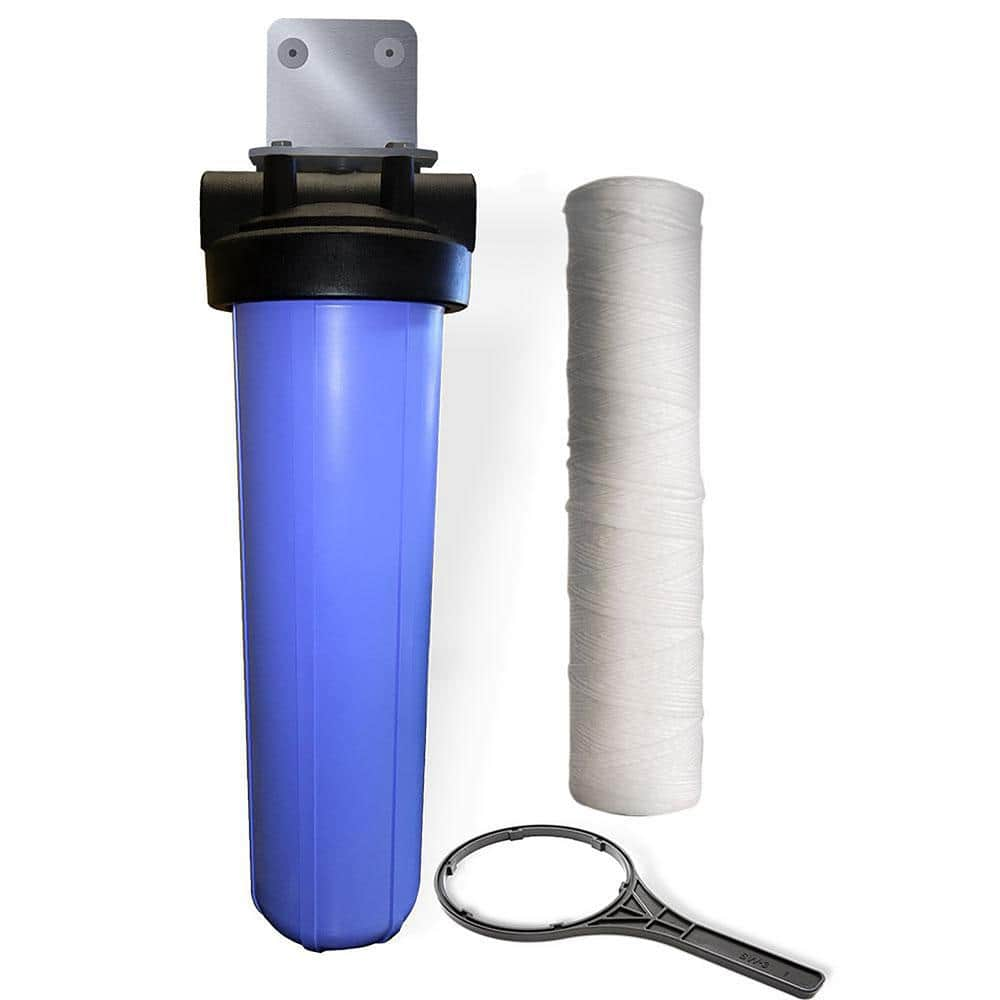
PENTAIR 20 in. Whole House 5 Mic Sediment Water Filter System in Blue BB20-P
LUMABASE Red Battery Operated 3D Wick Flame Taper Candles (Set of 4) 59704
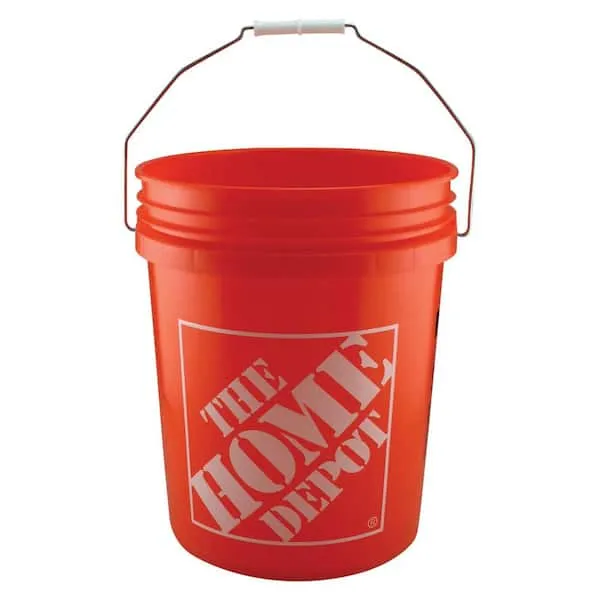
Bucket
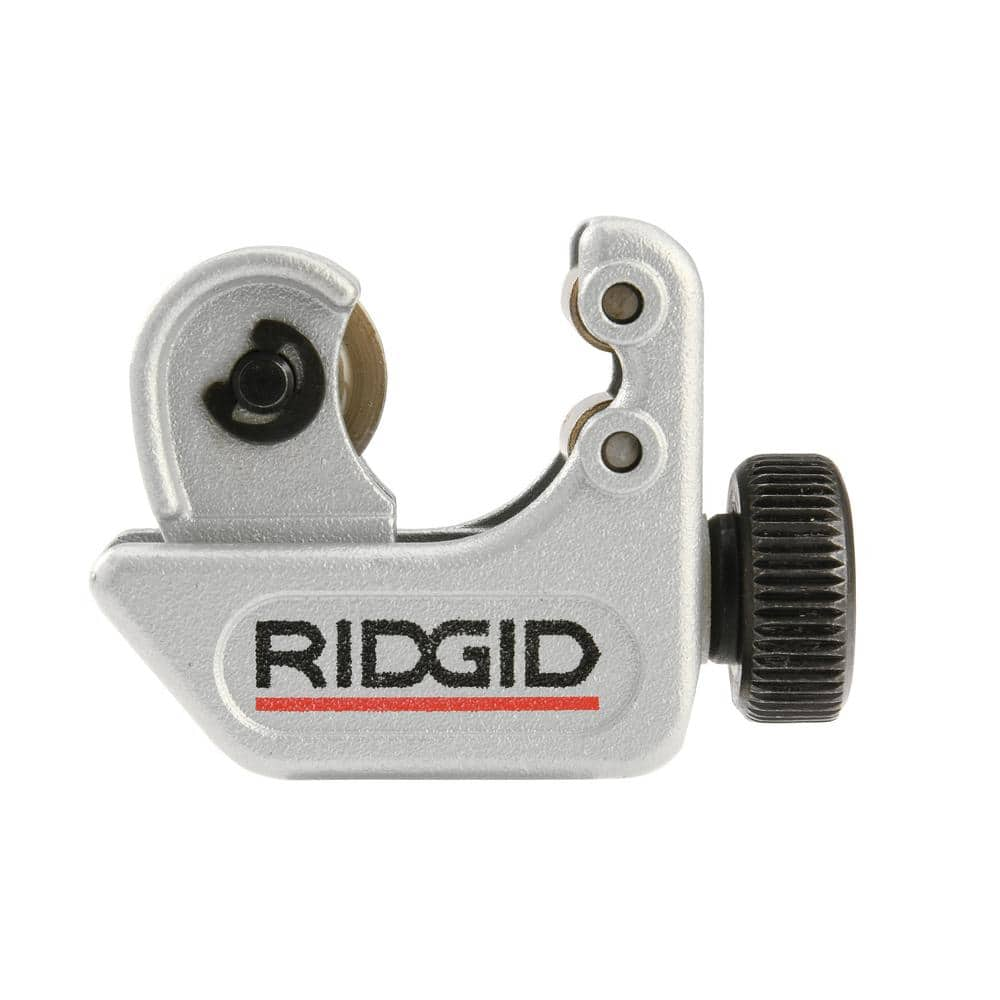
RIDGID 3/16 in. to 15/16 in. 104 Close Quarters Copper, Aluminum, Brass, and Plastic Tubing Cutter, Multi-Use Tubing Tool 32985
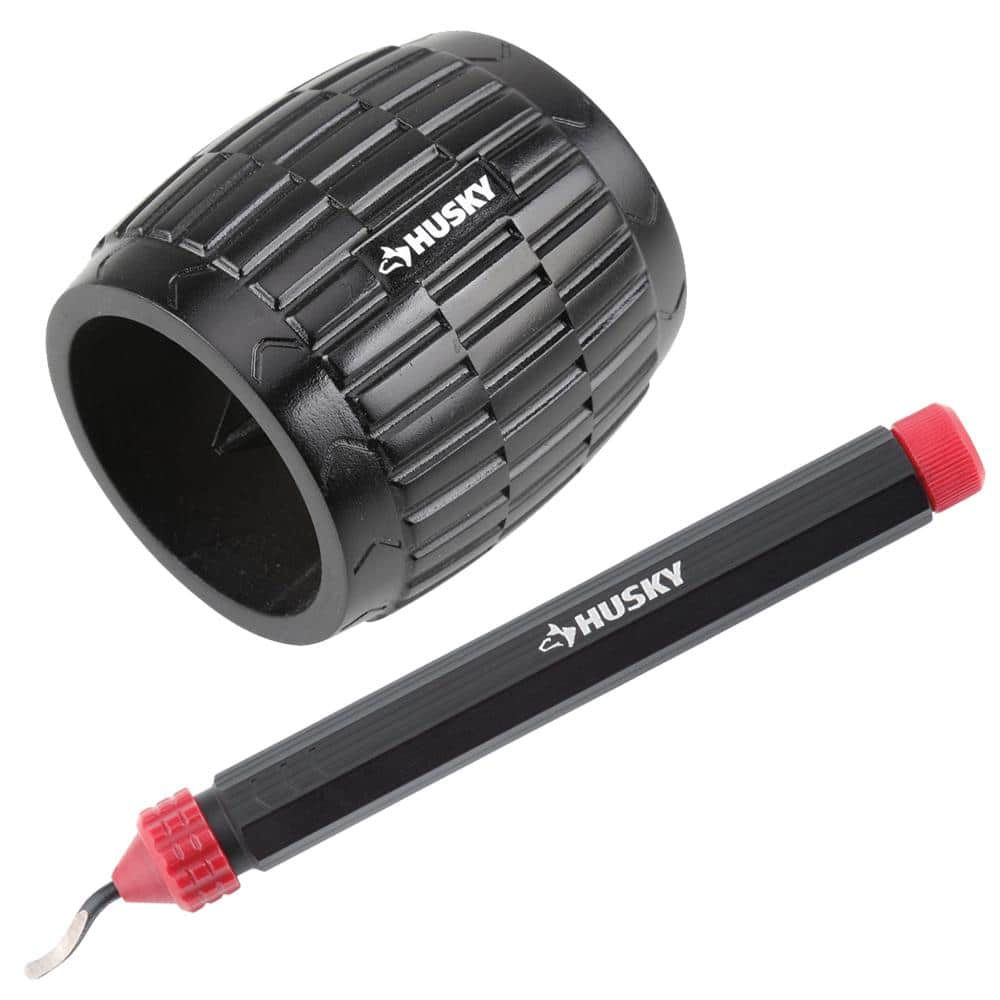
Husky 1-5/8 in. Inner/Outer Reamer and Deburring Tool 410-248-0111
FASTCAP 16 ft. Metric/Standard Flat Back Measure Tape FC.PMS.F16
Face it, not all surfaces are flat. The ProCarpenter Flat back is a flexible tape for measuring curves and flat panels with precision and ease. The PMS blade style has both the metric and standard measurements
PENTAIR 20 in. Whole House 5 Mic Sediment Water Filter System in Blue BB20-P
The 20 in. 5 mic Sediment Filter System is recommended for homes with heavy sediment. This kit comes complete with everything you will need for installation. Helps protect your new filter system and your
LUMABASE Red Battery Operated 3D Wick Flame Taper Candles (Set of 4) 59704
Add a touch of elegance to a special event or everyday home decor with the flickering glow of battery-operated 3D wick flame taper candles. This set of 4 red flameless candles have a pivoted flame-shaped
Bucket
Ideal for carrying or storing liquids.
RIDGID 3/16 in. to 15/16 in. 104 Close Quarters Copper, Aluminum, Brass, and Plastic Tubing Cutter, Multi-Use Tubing Tool 32985
Built on the trust of the trades, you need tools designed for experts and built to last. Experience the durability of the RIDGID 104 Close Quarters Copper, Aluminum, Brass, and Plastic Tubing Compact Cutter with 3/16"-15/16" capacity (catalog number 32985, model 104). This powerful cutter allows you to make clean and precise cuts on copper, brass, aluminum, and plastic tubing with a capacity of 3/16 inch to 15/16 inch. Specifically designed for use in restricted spaces, this compact cutter makes tight cutting jobs significantly easier and more manageable. It features a strong yet lightweight slide and wheel housing for ease of operation and long-lasting durability as well as a large knurled feed screw knob that provides users with optimal cutting pressure control to produce superior clean cuts. Engineered for maximum accuracy, this cutter is constructed with a high-quality steel cutting wheel for a long life and contains a spare wheel stored in the knob. RIDGID is a global manufacturer trusted by the skilled trades in more than 100 countries. RIDGID products are purpose built for professionals in the evolving commercial, industrial and energy markets who install and maintain the world's infrastructure. BUILT FOR THOSE WHO KNOW.
Husky 1-5/8 in. Inner/Outer Reamer and Deburring Tool 410-248-0111
Husky's Inner/Outer Reamer removes burrs from the inside and outside of copper, steel, iron and brass piping and tubing from 1/8 in. up to 1- 5/8 in. diameter. It delivers easy, clean inside diameter reaming and outside diameter beveling. The reamer features a textured body for firm gripping. Precision-ground cutting blades result in smooth surfaces. Husky's Deburring Tool removes burrs from metal or plastic pipe edges resulting from cutting, drilling, grinding or milling tasks. Boasting a lightweight design, this contoured, hex-handled tool creates smooth surfaces for any project. The blades are easy to replace using the push button blade release. Includes two types of blades: the black deburrs aluminum, copper and PVC pipes while the silver deburrs brass and cast-iron pipes. Built to last and backed by the Husky lifetime warranty.
Steps

Plan and Prepare
30 minsFirst, select a suitable location for the filter system. It should be on the main water line just after the main shutoff valve and water meter, but before the water heater. Ensure there is enough vertical and horizontal space to comfortably work and to allow for future filter changes (you'll need at least 6 inches of clearance below the filter housing to unscrew the sump). Gather all your tools and materials. Unpack the whole-house filter kit and lay out all the parts, including the filter housing, mounting bracket, and any included hardware. Perform a 'dry fit' by holding the assembly in the proposed location to visualize the final installation and confirm measurements.

Shut Off Water and Drain Pipes
15 minsLocate the main shutoff valve for your house. It is typically found where the water service pipe enters your home, often in the basement or a utility closet near the water meter. Turn the valve clockwise until it is fully closed. To drain the remaining water from the pipes, go to the lowest faucet in your house (like a basement utility sink) and the highest faucet (like an upstairs bathroom) and open them both. This will allow air to enter the system and help the water drain out completely. Place a bucket under the section of pipe where you will be working to catch any residual water.

Measure and Cut the Main Water Line
30 minsMeasure the total width of your assembled filter unit, including the threaded fittings you will use to connect it to the pipe. Transfer this measurement to the main water pipe and mark two cut lines with a marker. Double-check your measurement before cutting. Position the tubing cutter on the first mark, tighten it slightly, and rotate it around the pipe. Tighten the cutter knob after each rotation until the pipe is cut cleanly. Repeat for the second mark. After cutting, use a deburring tool to smooth the inside and outside edges of the cut pipe. This is critical for ensuring a watertight seal with compression fittings.

Assemble the Filter and Bypass Loop
60 minsIt's best to assemble the filter and bypass loop before installing it. First, wrap the threads of the male pipe nipples with 3-4 layers of Teflon tape in a clockwise direction. Screw one nipple into the 'IN' port and one into the 'OUT' port of the filter housing, tightening them securely with a wrench. Attach the filter housing to its mounting bracket using the provided screws. Mount the bracket to a secure surface like a wall stud or floor joist. Now, build the bypass. This will consist of two tee fittings and three ball valves. Using short pieces of 3/4-inch copper pipe and compression fittings, connect the tees to the main line connections and then build a parallel line above or around the filter with the third ball valve in the middle. This allows you to shut off water to the filter and route it through the bypass for maintenance.

Install the Filter Assembly
30 minsWith the filter and bypass assembly built, it's time to connect it to the main water line. Loosen the compression nuts on the assembly's connection points. Slide a compression nut and then a ferrule (compression ring) onto each of the cut ends of the main house pipe. Insert the ends of the pipe fully into the tee fittings on your assembly. The pipe must bottom out in the fitting socket. Slide the ferrules and nuts up to the fitting body. Hand-tighten the nuts first, then use two wrenches—one to hold the fitting steady and one to tighten the compression nut an additional half to three-quarters of a turn. The goal is to compress the ferrule onto the pipe, creating a watertight seal.

Turn on Water and Check for Leaks
20 minsThis is the most critical step. First, ensure the filter cartridge is NOT yet in the housing. Close the two ball valves leading to the filter and open the ball valve on the bypass loop. Make sure all faucets in the house are still closed. Go to the main shutoff valve and turn it on very slowly, allowing the pipes to fill with water gradually. Listen for the sound of rushing water to stop. Go back to the filter assembly and meticulously inspect every single joint and fitting for drips. Use a flashlight and a dry paper towel to wipe each connection and check for moisture. If you find a leak, shut off the water and tighten the leaking fitting slightly. Once the bypass is confirmed leak-free, close the bypass valve and slowly open the inlet and outlet valves to the filter housing. Again, check all connections around the filter housing for leaks.

Install Filter Cartridge and Flush System
15 minsOnce you've confirmed there are no leaks, close the inlet valve to the filter. Press the red pressure-relief button on top of the filter housing to release any trapped pressure and water. Unscrew the filter sump using the supplied filter wrench. Remove the protective plastic wrapping from the new sediment filter cartridge and insert it into the sump, ensuring it's centered on the standpipe at the bottom. Apply a light coat of food-grade silicone grease to the O-ring to ensure a good seal. Screw the sump back onto the housing and hand-tighten it, then give it a final quarter-turn with the filter wrench. Do not over-tighten. Slowly open the inlet valve. The housing will fill with water. Press the pressure-relief button again until water squirts out to purge any remaining air. Open a nearby faucet and let it run for 5-10 minutes to flush any carbon fines or air from the new filter before using the water elsewhere in the house.
Common Problems
Water gushes out if the supply isn't turned off.
Solution: You can leave the water on. The system has a spring-loaded valve to prevent water from gushing out.
You can't detect leaks after installation if the area is wet.
Solution: Drying the area beforehand makes it much easier to see if there are any drips or leaks from the new installation.
Ensure the water is fully shut off and pressure is relieved before disconnecting any fittings to prevent water from spraying.
Solution: To avoid this issue: Be mindful of this warning and take appropriate precautions.
Lifting the old water filter tank can cause injury or damage due to unexpected weight.
Solution: The old tank may be very heavy with water and sediment; be prepared for the weight when lifting it.
Filter changes are difficult if the unit is too low in the cabinet.
Solution: Mount the water filter at least 2 inches higher than the bottom of the cabinet for easier filter change.
Filter changes are difficult to access later.
Solution: Pick a spot with easy access for future filter changes.
Failure to turn off the main water supply will result in significant flooding.
Solution: To avoid this issue: Be mindful of this warning and take appropriate precautions.
Frequently Asked Questions
What makes this whole-house filter installation "intermediate" difficulty, and what are the trickiest parts for a DIYer?
The "intermediate" rating comes from working with pressurized plumbing, requiring precise pipe cutting, and ensuring leak-free compression fittings. Beginners often find accurately measuring and cutting the main line, along with properly tightening fittings without over-tightening, to be the most challenging aspects.
Are the specialized pipe cutting tools like the RIDGID 104 or AUTOCUT 1/2 in. cutter truly necessary, or can I use a standard hacksaw?
Specialized tubing cutters are highly recommended for clean, straight cuts on copper pipe, which is crucial for a secure, leak-free connection with compression fittings. A hacksaw can leave burrs and uneven edges, significantly increasing the risk of leaks, making extra deburring and cleaning essential if used.
What are the most common mistakes that lead to leaks during this filter installation, and how can I avoid them?
The most common mistakes include uneven pipe cuts, insufficient deburring, improper application of Teflon tape, and over-tightening or under-tightening compression fittings. To avoid leaks, ensure perfectly straight and burr-free pipe ends, apply Teflon tape clockwise on male threads, and tighten compression fittings just enough to seal, often with a final quarter to half turn past hand-tight.
Why is a bypass loop an essential component for this whole-house filter system, and can I install one without it?
A bypass loop allows you to isolate the filter system for cartridge changes or maintenance without shutting off your entire home's water supply. While technically you could install it without a bypass, it's strongly advised against, as it means you'd have no running water during filter service or if the filter housing needed repair.
What should I do immediately if I discover a leak after turning the main water supply back on?
Immediately shut off the main water supply again and carefully drain the pipes to relieve pressure. Inspect the source of the leak, checking for loose fittings, damaged O-rings, or improperly applied Teflon tape. Re-tighten connections as needed, or disassemble and re-seal the problematic joint before slowly reintroducing water.
Is this installation process and the listed tools compatible with all types of main water lines, such as PEX, PVC, or galvanized pipe?
The listed tools, especially the tubing cutters, are specifically for copper pipe, as compression fittings are typically designed for it. If your home has PEX, PVC, or galvanized pipe, you'll need different cutting tools, specific adapters or fittings (like PEX crimp fittings or PVC solvent weld fittings), and potentially different installation techniques.
Beyond the initial setup, how often will I need to replace the sediment filter cartridge, and how will I know it's time?
Sediment filter cartridges typically need replacement every 3 to 6 months, depending on your water quality and household usage. You'll know it's time when you notice a significant drop in water pressure or flow throughout your home, or if the filter housing becomes visibly dirty.


