

How to Install a Water Hammer Arrestor to Stop Banging Pipes
About This Project
This guide provides comprehensive, step-by-step instructions for installing a water hammer arrestor to eliminate the loud banging noises in plumbing pipes. The process involves identifying the source of the noise, shutting off the water supply, cutting into the problematic pipe, and installing a T-fitting with an attached water hammer arrestor.
Best for experienced DIYers and homeowners with some experience with basic plumbing knowledge. Requires MCR Safety BearKat Safety Glasses MCSCRWBK110.
Tools & Materials
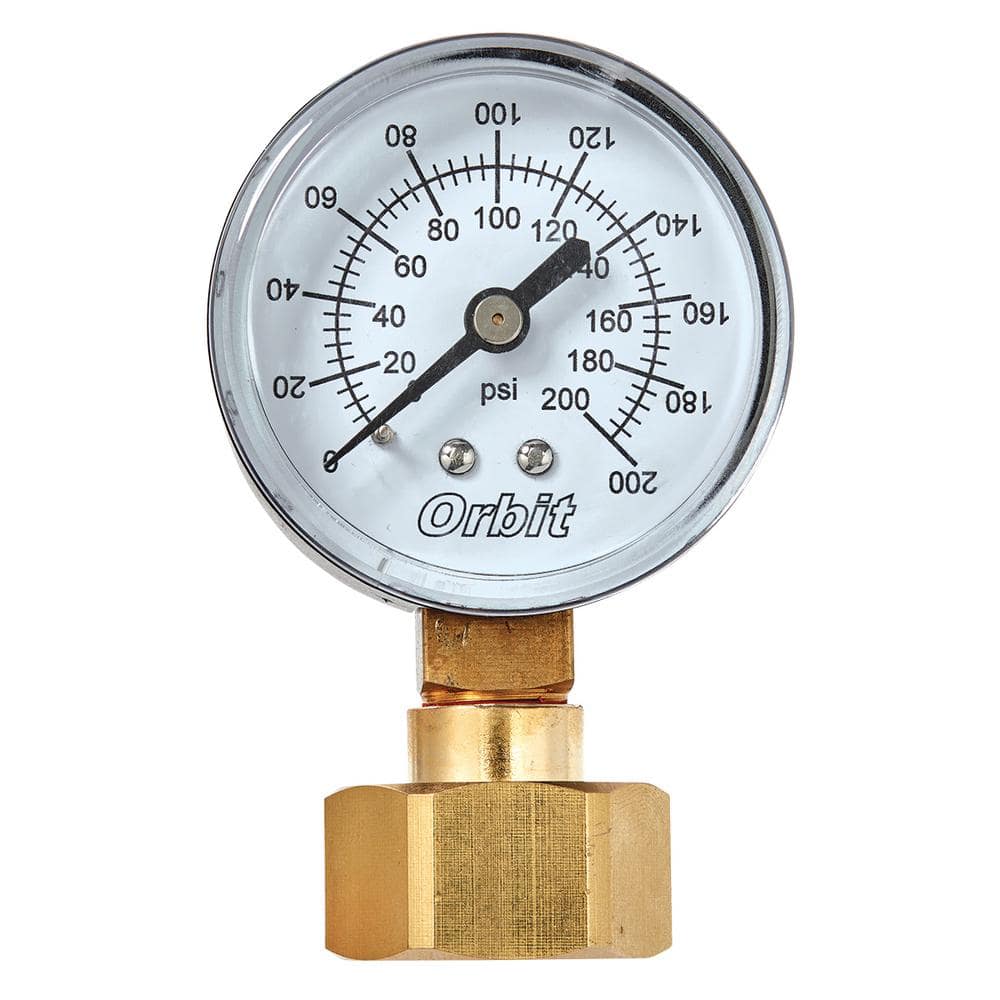
Orbit Pressure Gauge 91130

Bucket

FRESHFOLDS Combed Cotton Absorbent Textured 6 Piece Hand Towel Set EC100757

AUTOCUT 1/2 in. Copper Pipe Tubing Cutter ATC12
Measuring Tape
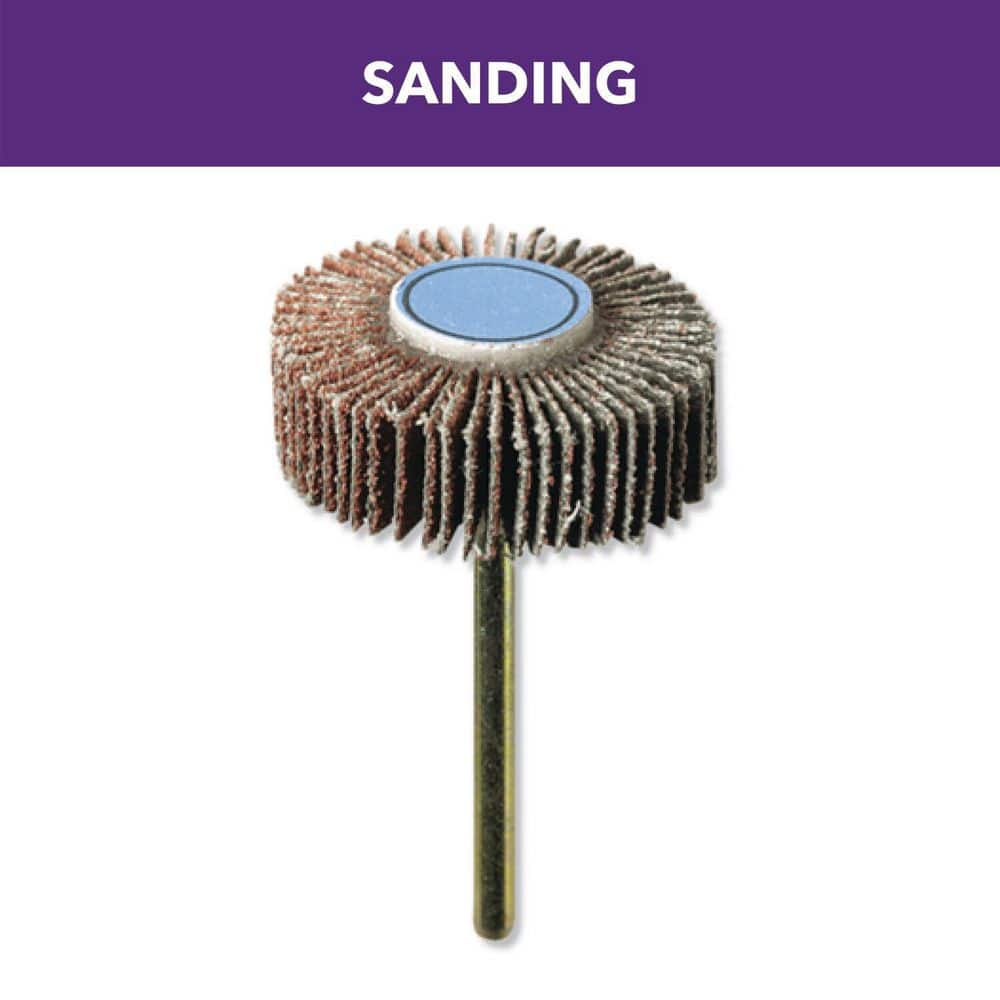
Dremel 3/8 in. Rotary Tool 120-Grit Sanding Flapwheel for Wood, Rubber, Plastic, and Metal 503
Orbit Pressure Gauge 91130
The Orbit 3/4 in. female hose thread (FHT) pressure gauge is engineered to measure water pressure up to 200 psi. It is constructed from high-quality materials, including a metal case, plastic face, precision
Bucket
Ideal for carrying or storing liquids.
FRESHFOLDS Combed Cotton Absorbent Textured 6 Piece Hand Towel Set EC100757
Versatile, stylish, and functional are only a few ways to describe these bath towels. These towels are made with long cotton fibers that are looped to create a soft feel while still offering optimal absorbency
AUTOCUT 1/2 in. Copper Pipe Tubing Cutter ATC12
Autocut copper tubing cutters are a great tool to have when you don't have enough swing room to use a full-size tubing cutter. You can cut copper tubing with less than one inch of clearance or you can
Measuring Tape
For accurate measurements of plywood and components, ensuring proper assembly.
Dremel 3/8 in. Rotary Tool 120-Grit Sanding Flapwheel for Wood, Rubber, Plastic, and Metal 503
Turn your Dremel rotary tool into a versatile sanding machine with the 503 3/8 In. (9.5 mm) 120 Grit Flapwheel. Flapwheels work well for gentle paint or rust removal, light material clean up, and polishing
Steps

Diagnose and Locate the Problem
15 minsThe first step is to confirm the source of the water hammer. Operate fixtures one at a time, such as flushing toilets, running the dishwasher, and starting the washing machine. Listen for the distinct banging or knocking sound that occurs when the water flow is abruptly shut off by a valve. In our assumed scenario, the washing machine's fast-acting solenoid valves are the culprits. You will need to install an arrestor on both the hot and cold water supply lines leading to the machine for the best results.
Shut Off Water and Drain the Pipes
20 minsBefore starting any work, shut off the water to the entire house. Locate your main water shutoff valve, which is typically found in a basement, crawl space, or utility room near where the water service enters the house. Turn the valve handle clockwise until it is fully closed. Next, relieve the pressure in the pipes by opening a faucet at the highest point of your house (like a second-floor shower) and the lowest point (like a basement utility sink). Let the water drain out until it stops. Place a bucket and have some towels ready under the section of pipe you will be working on to catch any residual water.

Cut the Pipe
10 minsTo install the T-fitting, you must remove a small section of the existing pipe. Take your push-to-connect T-fitting and measure its length from end to end. Precisely mark this measurement on the 1/2 inch copper pipe near the washing machine's shutoff valve. Attach a tubing cutter to one of your marks, tighten the knob until the cutting wheel makes contact, and rotate it around the pipe. With each full rotation, tighten the knob slightly. Continue this process until the pipe is cleanly severed. Repeat for the second mark. A clean, square cut is crucial for a leak-proof seal.

Deburr and Clean Pipe Ends
5 minsAfter cutting, the pipe ends will have sharp edges and small burrs. These must be removed to prevent them from slicing the O-ring inside the push-to-connect fitting, which would cause a leak. Use a deburring tool to ream the inside edge and smooth the outside edge of both cut ends of the copper pipe. Once smooth, use a clean cloth to thoroughly wipe the ends of the pipes, removing any copper filings, dust, or oils.
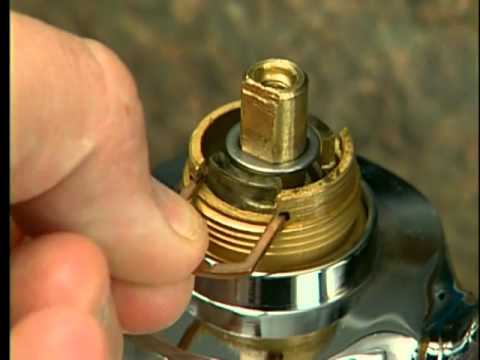
Install the Fitting and Arrestor
15 minsFirst, prepare the arrestor assembly. Wrap the male threads of the water hammer arrestor with 3-4 layers of Teflon tape, wrapping in the same clockwise direction that you will tighten it. Screw the arrestor into the threaded port of the push-to-connect T-fitting and hand-tighten. Use an adjustable wrench to give it a final quarter-turn to snug it up. Now, take the entire T-fitting assembly and push one end firmly onto one of the cleaned copper pipes until it bottoms out. You may hear or feel a 'click'. Then, align and push the other end of the T-fitting onto the other pipe end. Ensure both sides are pushed on completely. Repeat this entire process for the second water line (e.g., the hot water line for the washing machine).

Restore Water and Check for Leaks
15 minsWith the installation complete, it's time to test your work. First, ensure all the faucets you opened to drain the system are now closed. Go back to the main water shutoff valve. Turn the handle counter-clockwise VERY SLOWLY. You should hear the pipes filling with water. Opening the valve slowly prevents a sudden pressure surge that could damage your plumbing. Once the valve is fully open, return to your work area. Carefully inspect the new fittings on all sides for any signs of dripping or moisture. Use a dry paper towel to wipe the connections and see if any wetness appears, which would indicate a very slow leak.
Test the System
10 minsThe final step is to confirm the problem is solved. Go to the appliance that was causing the issue—in this case, the washing machine. Start a wash cycle that uses both hot and cold water. Pay close attention during the fill cycle when the water valves will snap shut. The loud, sharp banging noise should be eliminated or significantly reduced to a very quiet thud. If the arrestors have worked, the hydraulic shock is now being absorbed by the air cushion within them. Your pipes are now protected from the damaging effects of water hammer.
Common Problems
A clean, square cut is essential for a leak-proof seal.
Solution: To avoid this issue: Be mindful of this warning and take appropriate precautions.
Deburring copper pipe is mandatory to avoid damaging the fitting.
Solution: To avoid this issue: Be mindful of this warning and take appropriate precautions.
Failure to deburr the pipe can lead to a damaged fitting and potential leaks.
Solution: To avoid this issue: Be mindful of this warning and take appropriate precautions.
Ensure the copper pipes are thoroughly cleaned to achieve a strong solder joint.
Solution: To avoid this issue: Be mindful of this warning and take appropriate precautions.
Always deburr the inside and outside of pipes to prevent turbulence and ensure proper fitting.
Solution: To avoid this issue: Be mindful of this warning and take appropriate precautions.
These devices can be bulky and may need to be installed in a concealed location like a cupboard or under the floor.
Solution: To avoid this issue: Be mindful of this warning and take appropriate precautions.
Over-installing water hammer arrestors can cause new pipe noises or restrict flow.
Solution: Water arrestors on washing machines are not always necessary and can sometimes create their own set of noises or restrict water flow.
Frequently Asked Questions
What essential tools do I need for this project, especially for cutting and preparing pipes?
You'll definitely need an AUTOCUT 1/2 in. Copper Pipe Tubing Cutter to make clean, straight cuts. Don't forget the Husky 1-5/8 in. Inner/Outer Reamer and Deburring Tool to smooth the pipe ends, which is crucial for leak-free push-to-connect fitting installation. An adjustable wrench will also be handy for general tightening tasks.
What are the most important safety precautions to take before starting this plumbing project?
Always start by completely shutting off the main water supply to your home and draining the pipes to relieve any pressure, which prevents unexpected floods. Wear appropriate eye protection and gloves when cutting pipes to protect against sharp edges and debris. Have a bucket and towels ready for any residual water.
How difficult is this project for a beginner, and what's a realistic time and cost expectation?
This project is rated 'beginner' friendly, primarily due to the use of push-to-connect fittings which significantly simplify the installation process. You can realistically expect to complete it within the estimated 3 hours. Material costs will mainly involve the water hammer arrestor and a T-fitting, likely under $50 depending on your local store.
I'm worried about leaks. What are common mistakes beginners make during installation, and how can I prevent them?
A common mistake is not fully deburring the pipe ends or not pushing the push-to-connect fittings all the way in until they seat firmly. Ensure the pipe is clean and smooth, and mark the insertion depth on the pipe to confirm it's fully seated before pushing. After restoring water, carefully check all new connections for any drips immediately.
How can I be sure the banging noise is water hammer, and where's the best place to install the arrestor?
Water hammer is typically a loud banging or thudding sound that occurs when a faucet or appliance (like a washing machine or dishwasher) quickly shuts off. To locate the best installation spot, identify the pipe closest to the fixture causing the noise. Installing the arrestor on the hot and/or cold supply lines near the problematic appliance, often in a vertical position, is most effective.
Are there alternatives to push-to-connect fittings if I prefer a different method, or specific types of arrestors to consider?
While push-to-connect fittings are recommended for their ease of use for beginners, you could use traditional sweat (solder) fittings or compression fittings if you have the tools and experience. The project uses The Plumber's Choice 1/2 in. Male Sweat Copper Water Hammer Arrestor Type AA HA12MS-NL, which is a piston-style arrestor suitable for most residential applications. There are also diaphragm-style arrestors available.


