

How to Install a Washing Machine Outlet Box
About This Project
This guide provides comprehensive instructions for installing a recessed washing machine outlet box in an existing wall. The process includes locating a suitable wall cavity, cutting an opening, adding support framing, running new hot and cold water supply lines, connecting a new drain line to the existing waste stack, mounting the box, and making all final plumbing connections.
Best for advanced DIYers and professionals with basic plumbing knowledge and familiarity with power tools. Requires HDX Over the Glass - Indoor Safety Glasses (1-Pack) VS-265.
Tools & Materials

DEWALT 1-1/2 in. Stud Finder DW0150
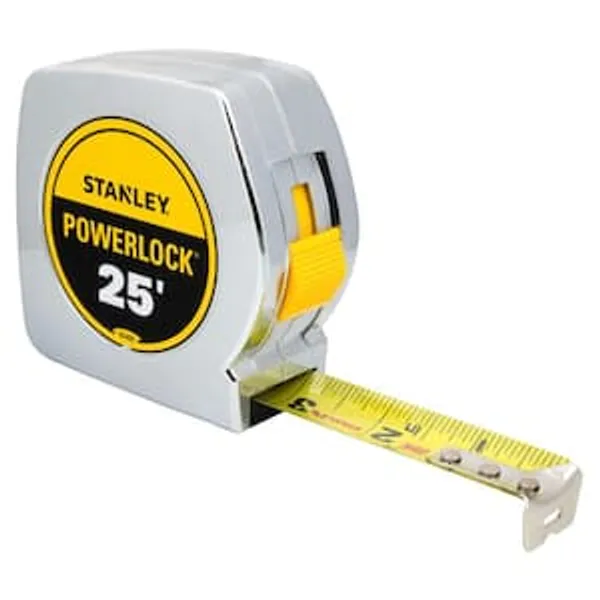
Measuring Tape
Aspen Creative Corporation 14 in. x 10 in. Ivory Hardback Empire Lamp Shade 32012
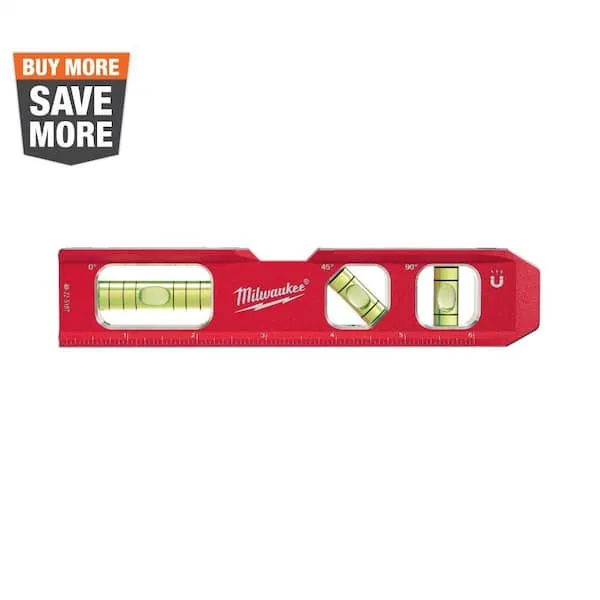
Level

Milwaukee Folding Jab Saw with 6 in. 8TPI SAWZALL Drywall Blade with Thin Metal Cutting SAWZALL Reciprocating Saw Blades (7-Piece) 48-22-0307-48-00-5186
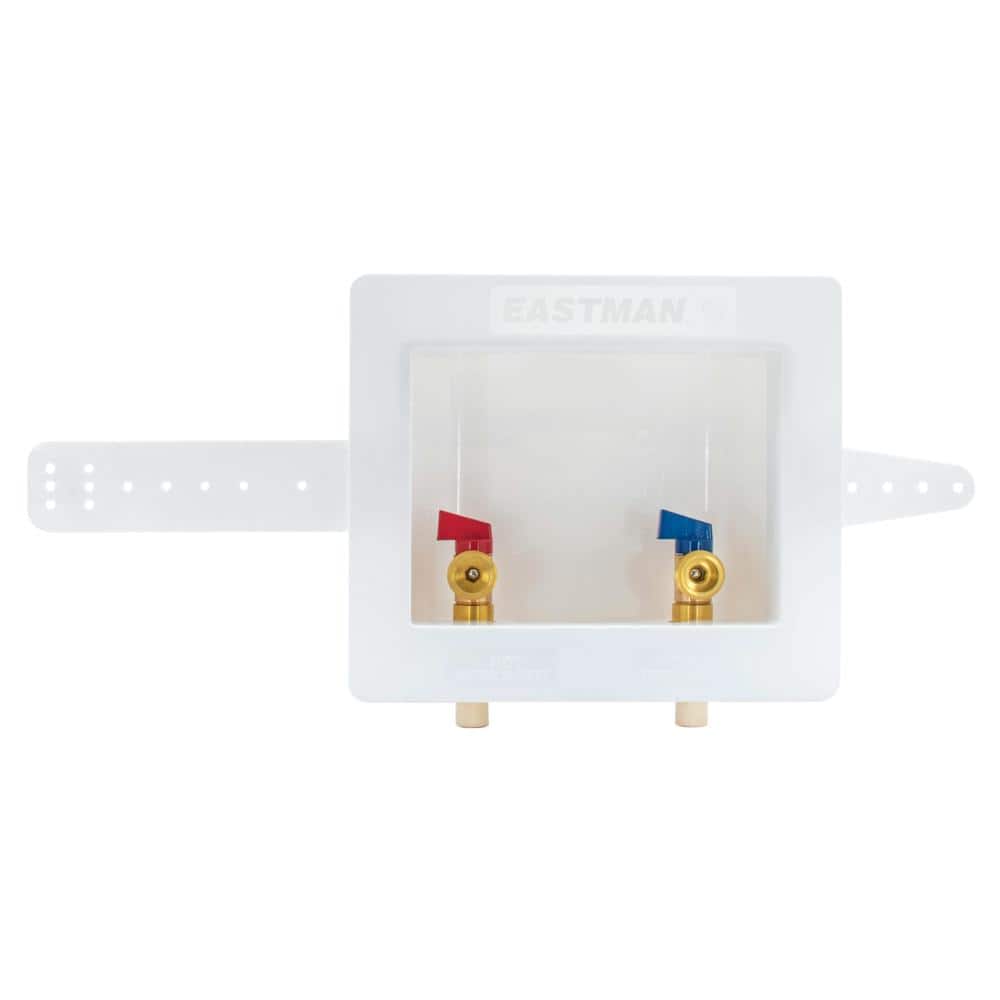
EASTMAN 1/2 in. CPVC Center Drain Washing Machine Outlet Box 60249
DEWALT 1-1/2 in. Stud Finder DW0150
This Center Sensor Stud Finder has a detection depth of 1-1/2 in. for wood and metal. Traditional stud sensors locate the edge of the stud, but our new product locates the center for a more efficient read, even when held at an angle. Plus, it is constantly calibrating to save time during use. An audible alert and directional LED arrows clearly notify you once the stud is located and you can easily mark the center of the stud with the center marking channel.
Measuring Tape
Accurate measurements in a snap.
Aspen Creative Corporation 14 in. x 10 in. Ivory Hardback Empire Lamp Shade 32012
Aspen Creative offers a 1 pack of empire shaped lamp shades with spider fitter. Made with ivory colored tetoron cotton fabric. The lamp shade dimensions are 12 inch top, 14 inch bottom, 10 inch slant height. This lamp shade is a spider construction which is designed to attach to a lamp harp. Our hardback shades use Virgin Styrene backing board to produce a warm, natural & smooth light - more appealing than shades made with recycled Styrene board that can crack & yellow over time. Suitable for table lamps, accent lamps, vintage lamps, candle stick lamps, kid's room lamps, bedroom lamps, bedroom table lamps, night stand lamps, reading lamps, bedside reading lamps, living room end table lamps, bedroom night stand lamps and pendant lights.
Level
Ensures surfaces are just right.
Milwaukee Folding Jab Saw with 6 in. 8TPI SAWZALL Drywall Blade with Thin Metal Cutting SAWZALL Reciprocating Saw Blades (7-Piece) 48-22-0307-48-00-5186
Our Milwaukee Folding Jab Saw fits all 6 in. Sawzall blades for quick cutting into multiple materials. The slide lock design offers the fastest blade change to increase productivity on the jobsite. The
EASTMAN 1/2 in. CPVC Center Drain Washing Machine Outlet Box 60249
The Eastman Center Drain Washing Machine Outlet Box is designed for recessed residential applications. The outlet box comes complete with hot and cold valves installed, support bracket, and faceplate cover. This outlet box is built with 1-piece construction and a raised drip guard that prevents potential leaks.
Steps

Plan and Locate the Box
15 minsBegin by selecting the ideal location for your washing machine outlet box. The standard height is typically between 42 and 48 inches from the floor to the top of the box. Use an electronic stud finder to locate the vertical wall studs. The box must be installed in the cavity between two studs. Once you've found a suitable bay, use a pencil and tape measure to mark the desired height. Also, identify the paths of the nearest hot and cold water supply lines and the main vertical drain stack you will be tying into. Planning these routes now will save significant time later.

Cut Wall Opening
15 minsPlace the washing machine outlet box against the drywall at your marked location and trace the outline of the box's body (not the wider faceplate). Use a level to ensure your traced lines are perfectly straight. With a drywall saw, carefully cut along the pencil lines. Start with a shallow plunge to make sure the area is clear of obstructions. Once you've cut all four sides, gently remove the piece of drywall to reveal the wall cavity.

Install Support Framing
30 minsFor a secure installation, you must add horizontal blocking. Measure the distance between the two vertical studs inside the wall cavity. Cut two pieces of 2x4 lumber to this length. Position one piece just above where the top of the box will be and the second piece just below the bottom. Secure these blocks by driving 3-inch wood screws at an angle through the ends of the blocks and into the studs (a technique called toe-nailing). These blocks will provide a solid surface to mount the outlet box.

Install Drain Line
60 minsThis is a critical plumbing step. Locate the 2-inch PVC vertical drain stack you plan to connect to. Use a reciprocating saw or PVC pipe cutter to remove a section of the pipe where your new line will connect. Clean the cut ends. Apply PVC primer to the inside of a 2-inch PVC sanitary tee fitting and the outside of the pipe ends. Then, apply PVC cement over the primer and quickly push the pipe ends into the fitting with a quarter-turn motion to ensure a good seal. Run a new 2-inch PVC pipe from the sanitary tee to the outlet box location. Ensure the pipe has a constant downward slope of at least 1/4 inch for every foot of horizontal run to ensure proper drainage. You will likely need to install a P-trap assembly near the box connection point to block sewer gases, as per code.

Install Water Supply Lines
45 minsFirst, SHUT OFF THE MAIN WATER SUPPLY to the house and open a nearby faucet to relieve pressure. Locate the nearest 1/2-inch hot and cold water lines. Assuming they are PEX, use a PEX cutter for a clean, square cut. Insert a 1/2-inch PEX tee fitting into each line. Slide a copper crimp ring over the pipe, push the fitting fully into place, and use a PEX crimping tool to secure the ring. Repeat for all three ends of both tees. From the open ends of the tees, run new lines of 1/2-inch red PEX (for hot) and blue PEX (for cold) up through the wall to the outlet box opening. Leave several inches of extra pipe extending into the opening.

Mount the Outlet Box
10 minsPrepare the washing machine outlet box by removing the knockouts for the hot, cold, and drain connections. Feed the PEX pipes and the PVC drain pipe through the corresponding holes in the back of the box. Insert the box into the opening in the wall, pressing it firmly against the 2x4 blocking you installed. The front flange of the box should be flush with the face of the drywall. Secure the box to the blocking using the mounting clips or screws provided with the unit.

Connect Pipes to Box Valves
20 minsCut the PEX pipes extending through the box so they are the correct length to connect to the valve inlets. Slide a 1/2-inch copper crimp ring onto the blue (cold) PEX pipe. Push the pipe fully onto the cold valve inlet (typically on the right). Position the crimp ring 1/8 to 1/4 inch from the end of the pipe and use the PEX crimping tool to compress the ring until it's secure. Repeat the process for the red (hot) PEX pipe on the hot valve inlet (typically on the left). For the drain, cut the 2-inch PVC pipe to the proper length and use PVC primer and cement to glue it into the drain port on the outlet box.

Test for Leaks
15 minsThe moment of truth. Ensure the new hot and cold water valves on the outlet box are in the fully closed position. Go to the main water shutoff for the house and turn it on SLOWLY. Listen for the sound of rushing water, which should stop once the pipes are full. Return to the laundry room and use a flashlight to meticulously inspect every new joint and connection for any signs of moisture or dripping. Check the PEX tee fittings where you tapped into the main lines and the crimp connections on the back of the outlet box. If you see any leak, shut off the main water supply immediately and remake the faulty connection.
Common Problems
Leaky connections due to uneven glue or pipes pushing back out.
Solution: When gluing PVC, push the pipe into the fitting and give it a quarter turn to spread the cement evenly. Hold it in place for 15-30 seconds to prevent it from pushing back out.
Pipes misalign during gluing, leading to leaks.
Solution: Use a marker to draw alignment lines across the joints of the dry-fitted pipes. This will help you quickly align them correctly during the gluing stage.
Uneven cement distribution leads to weak pipe bonds.
Solution: A twisting motion when joining cemented parts helps distribute the cement evenly and ensures a stronger bond.
Work in a well-ventilated area when using pipe cleaners, primers, and cements.
Solution: To avoid this issue: Be mindful of this warning and take appropriate precautions.
Ensure the water is completely shut off and lines are drained before cutting to avoid flooding.
Solution: To avoid this issue: Be mindful of this warning and take appropriate precautions.
Improper crimp ring placement leads to leaks.
Solution: Ensure the PEX crimp ring is positioned 1/8 to 1/4 inch from the end of the pipe before crimping for a secure seal.
Ensure you have a solid, complete crimp on the PEX rings. An incomplete crimp is a common source of leaks.
Solution: To avoid this issue: Be mindful of this warning and take appropriate precautions.
Frequently Asked Questions
Is the estimated 8-hour completion time realistic for an intermediate DIYer, or should I budget more time if I'm less experienced?
The 8-hour estimate is for an intermediate DIYer with some plumbing and carpentry experience. If you're a beginner, budget 1.5 to 2 times that, as learning new skills like pipe cutting, solvent welding, and working in tight spaces will add significant time. Always prioritize careful work over speed to avoid costly mistakes.
What are the most critical safety precautions I should take, especially when cutting into existing walls and dealing with water lines?
Before cutting into any wall, always use a stud finder with AC detection to locate studs, pipes, and electrical wires to avoid accidental damage. Turn off the main water supply before making any connections to existing lines. Have buckets and towels ready, and be prepared to shut off water immediately if a leak occurs during testing.
The project lists PEX crimp tools; can I use PEX expansion tools or SharkBite fittings instead, and what are the pros and cons?
Yes, PEX expansion tools like Uponor/ProPEX or SharkBite push-to-connect fittings are viable alternatives. Expansion tools require specific PEX-A tubing and offer a strong, reliable connection. SharkBite fittings are quicker and require no special tools beyond a cutter, but they are significantly more expensive per fitting and less permanent in nature.
What's the best way to ensure all my plumbing connections are leak-free, especially for the drain and supply lines?
For PVC drain lines, ensure you apply primer and cement generously and twist the pipe firmly into the fitting for a secure bond. For PEX supply lines, double-check that crimp rings are properly compressed or SharkBite fittings are fully seated. After all connections, slowly turn on the main water supply and thoroughly inspect every joint for drips or seeping water before closing the wall.
How do I ensure proper drainage and prevent future clogs when connecting the new drain line to the existing waste stack?
It's crucial to maintain a consistent downward slope of at least 1/4 inch per foot for the new drain line towards the waste stack to ensure proper gravity flow. Use appropriate DWV fittings (like the sanitary tee listed) to ensure smooth transitions and minimize turbulence, which can prevent clogs. Ensure your P-trap is installed correctly to prevent sewer gases from entering your home.
Are there any hidden costs or permit requirements I should be aware of beyond the listed materials and tools?
Beyond the listed materials, you might incur additional costs for patching drywall, paint, or unexpected framing modifications. Depending on your local municipality, significant plumbing alterations like connecting to a waste stack often require a permit and inspection, which adds to the overall cost and time. Always check with your local building department first to avoid issues.
What are the main benefits of installing a recessed washing machine outlet box compared to surface-mounted connections?
A recessed washing machine outlet box offers a much cleaner and more aesthetic installation, keeping the water supply valves and drain hose connection hidden within the wall. This allows the washing machine to sit closer to the wall, saving valuable floor space and preventing accidental damage to exposed pipes or hoses.


