

How to Install a New Bathtub and Drain Assembly
About This Project
This guide provides comprehensive, step-by-step instructions for removing an old bathtub, preparing the installation area, setting a new bathtub, and installing a new drain and overflow assembly. The process covers everything from initial demolition and subfloor inspection to the final plumbing connections and leak testing.
Best for advanced DIYers and professionals with basic plumbing knowledge and familiarity with power tools. Requires HDX Indoor Safety Glasses Clear (1-Pack) VS-9300, clear and HDX Clear Indoor Safety Glasses (1-Pack) VS-9300, clear and Work Gloves.
Tools & Materials
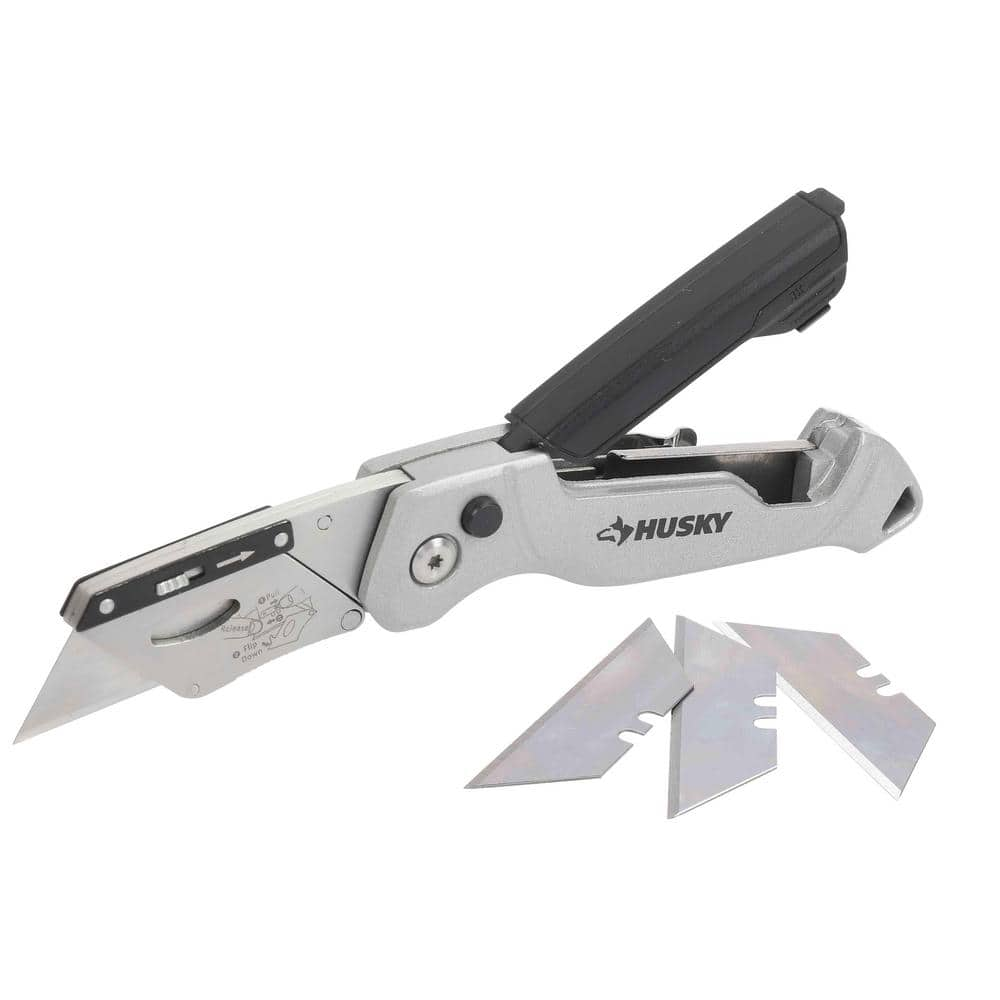
Husky Pro Utility Knife 00004
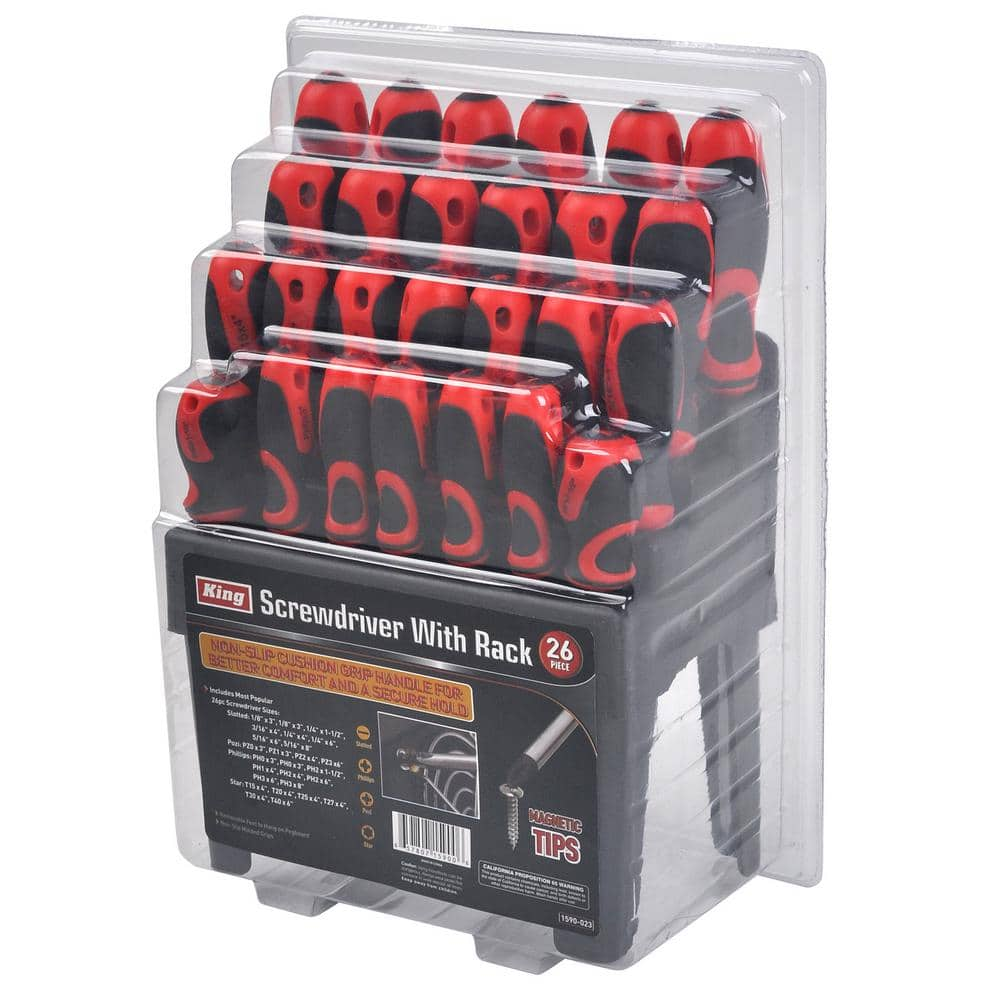
KING Screwdriver set with Stand (26-Piece) 1590-0
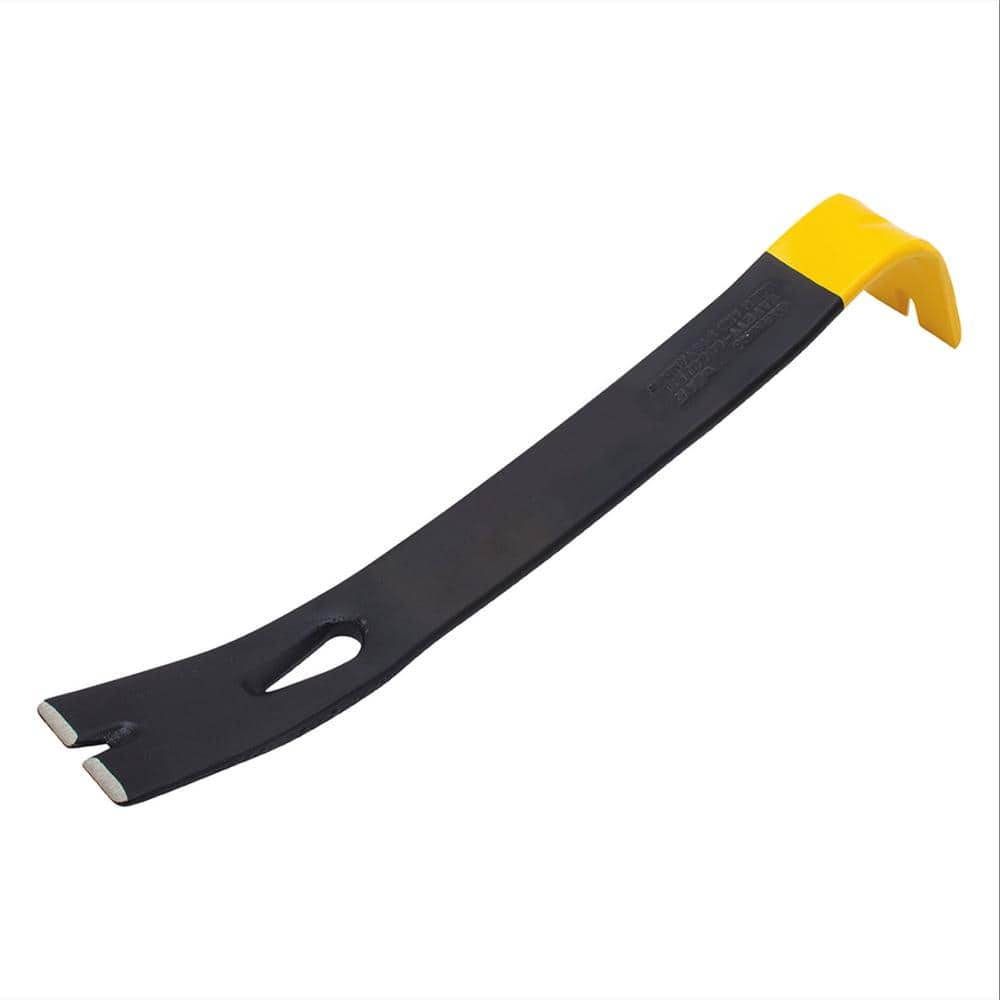
Stanley 12 in. Wonder Bar Pry Bar 55-515K

Hampton Forge Melody 45 Piece Hammered Flatware Set (Service for 8) 515B045HSN

Milwaukee 12 Amp SAWZALL Reciprocating Saw with Case 6519-31
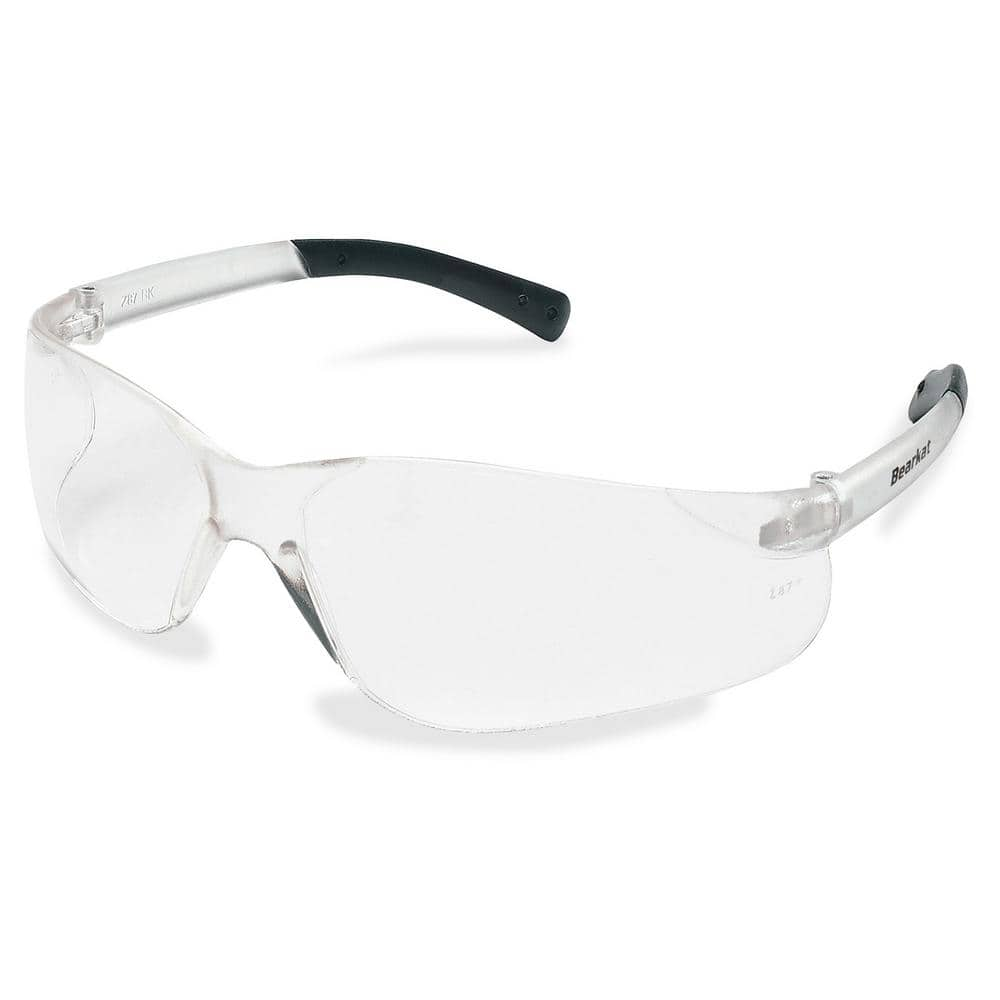
MCR Safety BearKat Safety Glasses MCSCRWBK110
Husky Pro Utility Knife 00004
Offering a precise cut every time, Husky Pro Folding Utility Knife lets you easily adjust the blade to multiple angles to tackle a wide range of jobs. Aluminum die casting handle with plastic spraying
KING Screwdriver set with Stand (26-Piece) 1590-0
Our 26-Piece Screwdriver Set with Stand includes 26 of the Most Popular Sizes. The non-slip cushion grip handle with magnetic tips gives you better comfort for a secure hold. The set also comes with removable
Stanley 12 in. Wonder Bar Pry Bar 55-515K
Get the prying power you need with the 12-3/4" Wonder Bar Pry Bar. The strong high-carbon steel hand tool is designed to give you excellent leverage for pulling nails, lifting, and scraping.
Hampton Forge Melody 45 Piece Hammered Flatware Set (Service for 8) 515B045HSN
Melody's delightfully simple shape embraces a gently curved and flowing silhouette that gleams with an intricate feather hammered texture finish. The 45-piece set includes 8 dinner forks, 8 dinner knives,
Milwaukee 12 Amp SAWZALL Reciprocating Saw with Case 6519-31
The 6519-31 Sawzall Recip Saw delivers best in class cut speed, durability and power with 0-3,000 strokes per minute, a 1-1/8" stroke length and a 12 Amp motor. The gear protecting clutch extends gear
MCR Safety BearKat Safety Glasses MCSCRWBK110
Safety glasses feature a well thought-out construction that combines the best in safety, comfort and affordability. Your vision is unobstructed by the 1-piece wraparound lens which, by its tight fit, provides for maximum safety. Flexible temples enhance your comfort during extended use. Nonslip rubber head grips are notched for a clip-on breakaway cord.
Steps

Preparation and Old Tub Removal
3 minsBegin by ensuring your safety and preparing the work area. Shut off the main water supply to your home. Open the faucet at the tub and a lower-level faucet to drain the lines. Use a utility knife to score the caulk line between the old tub and the wall surround. Remove the faucet handles, escutcheons, and tub spout. Disconnect the drain linkage at the overflow plate. Next, you must expose the tub's flange by removing the wall material (tile or surround) at least 6-8 inches above the tub deck. A pry bar, hammer, and reciprocating saw may be needed. Finally, disconnect the tub's drain from the P-trap, which may require cutting the pipe. With a helper, carefully pry and lift the old tub out of the alcove.

Subfloor and Stud Inspection
2 minsWith the old tub removed, thoroughly clean the alcove of all debris using a shop vac. Carefully inspect the subfloor for any signs of water damage, rot, or mold. Replace any damaged sections of plywood. Use a 4-foot level to check if the subfloor is level. If it is not, you may need to apply a self-leveling compound. Also, inspect the wall studs for any damage. Reinforce or replace any studs that are not structurally sound. This is a critical step to ensure a stable and long-lasting installation.

Pre-assemble the Drain and Overflow
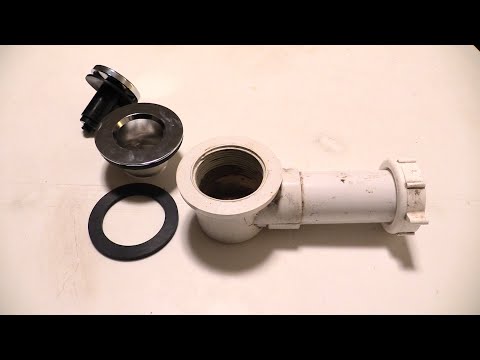
1 minIt is vastly easier to assemble the drain and overflow components onto the new tub before it is placed in the alcove. Unbox the new tub and the new waste and overflow kit. Apply a rope of plumber's putty under the flange of the main drain fitting (the drain shoe) and insert it from inside the tub. From underneath, place the rubber gasket over the threads and screw on the drain tee. Tighten it securely using a tub drain wrench or pliers. Next, attach the overflow tube to the drain tee and to the overflow elbow. Fit the overflow gasket between the tub and the overflow plate and screw the plate on from inside the tub. Do not overtighten any connections.

Install Stringer Board
30 minsTo provide solid, level support, most alcove tubs require a stringer board (or ledger board). Refer to your tub's installation manual to find the required height from the subfloor to the underside of the tub's flange. Mark this height on the studs at both ends of the back wall. Use a 4-foot level to draw a perfectly level line connecting these marks across all the studs. Cut a 2x4 to the length of the back wall and secure it to the studs with screws, aligning the top edge of the board with your level line. This will support the weight of the tub's rim.

Set the Bathtub in Place
1 minMany fiberglass and acrylic tubs require a mortar bed for support to prevent flexing and cracking. Check your tub's instructions. If required, mix a bag of mortar mix with water in a bucket to a thick, pancake-batter consistency. Trowel a 1-2 inch thick layer of the mortar onto the subfloor where the base of the tub will sit. With a helper, carefully lift the new tub, angling it to get the pre-assembled drain through the hole in the floor. Slide it into the alcove, resting the back flange on the stringer board. Gently press the tub down into the mortar bed. Use your level across the tub deck in both directions (lengthwise and widthwise) to ensure it is perfectly level. Use wood shims under the feet if necessary to achieve level before the mortar sets.

Secure Tub to Studs
30 minsOnce the tub is perfectly level and set (allow mortar to cure if used), you must secure it to the wall framing. Most tubs have an integrated flange with pre-drilled holes that rests against the studs. Using a drill, drive 1-1/2 inch galvanized roofing nails or stainless steel screws through these holes into the studs. If there are no pre-drilled holes, drill them yourself about every 8-12 inches along the flange. Do not overtighten the fasteners, as this can crack the acrylic or fiberglass flange.

Connect Drain to Waste Line
1 minNow you will make the final plumbing connection. Working from your access point, dry-fit the tailpiece from the new tub's overflow tee to the existing P-trap. You will likely need to cut a piece of PVC or ABS pipe to the correct length to join them. Use a pipe cutter or hacksaw for a clean cut. Once you are certain of the fit, apply PVC/ABS primer to the outside of the pipes and the inside of the fittings, followed immediately by the cement. Push the pieces together with a slight twist and hold for 30 seconds to allow the solvent weld to set. Ensure the P-trap is properly aligned to hold water.
Leak Test
30 minsBefore closing up the wall, it is absolutely essential to test for leaks. Use a test plug or a tightly packed rag to block the drain from inside the tub. Fill the tub with 3-4 inches of water. From the access panel, use a flashlight to carefully inspect every joint you made: the drain shoe, the overflow gasket, and all cemented connections. Look for even the smallest drips. After 15 minutes, if there are no leaks, remove the plug and let the tub drain completely. As it drains, watch the connection at the P-trap to ensure it is also watertight. If you find a leak, you must drain the tub and fix the connection.

Install Faucet and Final Touches
2 minsWith the plumbing confirmed to be leak-free, you can now complete the installation. Install the new tub spout and faucet handles onto the valve body in the wall. Once all plumbing fixtures are installed, you can proceed with closing the wall. This typically involves installing cement backer board, followed by your chosen tile or a solid surface surround. After the walls are finished, the final plumbing step is to apply a thick bead of 100% silicone caulk in the gap where the tub deck meets the finished wall. Smooth the bead with a wet finger or caulk tool for a clean, waterproof seal.
Common Problems
Loose tub spout can cause leaks behind the wall.
Solution: Properly securing the tub spout is critical. If it moves, it can break the seal behind the wall, leading to leaks.
Drain button doesn't align with tile.
Solution: The button protrusion is adjustable to ensure a perfect fit with your chosen tile thickness.
Tub leaks and instability if silicone isn't fully cured before use.
Solution: Let the silicone set up completely before using the tub. This ensures the strongest possible bond for maximum stability.
Have a helper when lifting and moving the tub to avoid injury or damage to the tub or floor.
Solution: To avoid this issue: Be mindful of this warning and take appropriate precautions.
Water trapped behind the escutcheon plate can cause mold and damage.
Solution: Leave the bottom edge of the escutcheon plate unsealed to allow any water that gets behind it to drain out.
Bathtub not draining properly due to an unlevel deck.
Solution: Most bathtubs have a built-in slope towards the drain, so leveling the top deck ensures proper drainage.
Bathtubs are heavy and cumbersome. Lift with your legs, not your back, and get help from another person if possible.
Solution: To avoid this issue: Be mindful of this warning and take appropriate precautions.
Frequently Asked Questions
The tool list includes some unusual items. What are the truly essential tools I'll need for this bathtub installation, focusing on the specialized tasks?
Beyond basic hand tools like a tape measure and screwdriver, you'll definitely need a reciprocating saw for demolition, a level, pipe wrenches or channel locks for plumbing, a caulk gun, and a drill for securing the tub. Ignore items like bistro sets or candles from the provided list; they are not needed for this project.
This project involves demolition and plumbing. What are the most crucial safety precautions I should take throughout the process?
Always wear appropriate personal protective equipment, including eye protection, work gloves, and a dust mask, especially during demolition. Ensure the water supply is completely shut off before disconnecting any plumbing to prevent flooding. When lifting the new tub, use proper lifting techniques or get assistance to prevent back injuries.
The project is rated 'intermediate' with an estimated 24 hours. What aspects make it challenging for a DIYer, and is the time estimate realistic?
The intermediate difficulty stems from the precision required for plumbing connections, ensuring the tub is perfectly level, and potential subfloor or stud repairs. The 24-hour estimate is for active working time, not calendar days; expect to spread this project over several days or a long weekend to account for drying times and unexpected issues.
What are the most common mistakes DIYers make with the drain and overflow assembly that lead to leaks, and how can I prevent them?
The most common mistake is improper sealing. Ensure you use plumber's putty or silicone caulk correctly around the drain shoe and overflow gasket, making sure all connections are tight but not overtightened. Always perform the leak test step thoroughly before enclosing any plumbing, as undetected leaks can cause significant water damage.
Before setting the new tub, what should I meticulously check and prepare regarding the subfloor and wall studs?
Thoroughly inspect the subfloor for any water damage, rot, or weakness; repair or reinforce as necessary to ensure a stable, level base. Verify that wall studs are plumb and square where the tub flange will attach, adding a stringer board for additional support as needed to create a perfectly level and secure foundation for the tub.
Is a mortar bed recommended for supporting the new tub, and are there alternatives to the standard lumber framing for support?
A mortar bed (typically a thin layer of setting-type cement) is highly recommended for acrylic or fiberglass tubs as it provides full, even support across the base, preventing flexing, squeaking, and potential cracking over time. While the project mentions stringer board and lumber framing, a mortar bed offers superior long-term stability and is generally the preferred method for these tub types.


